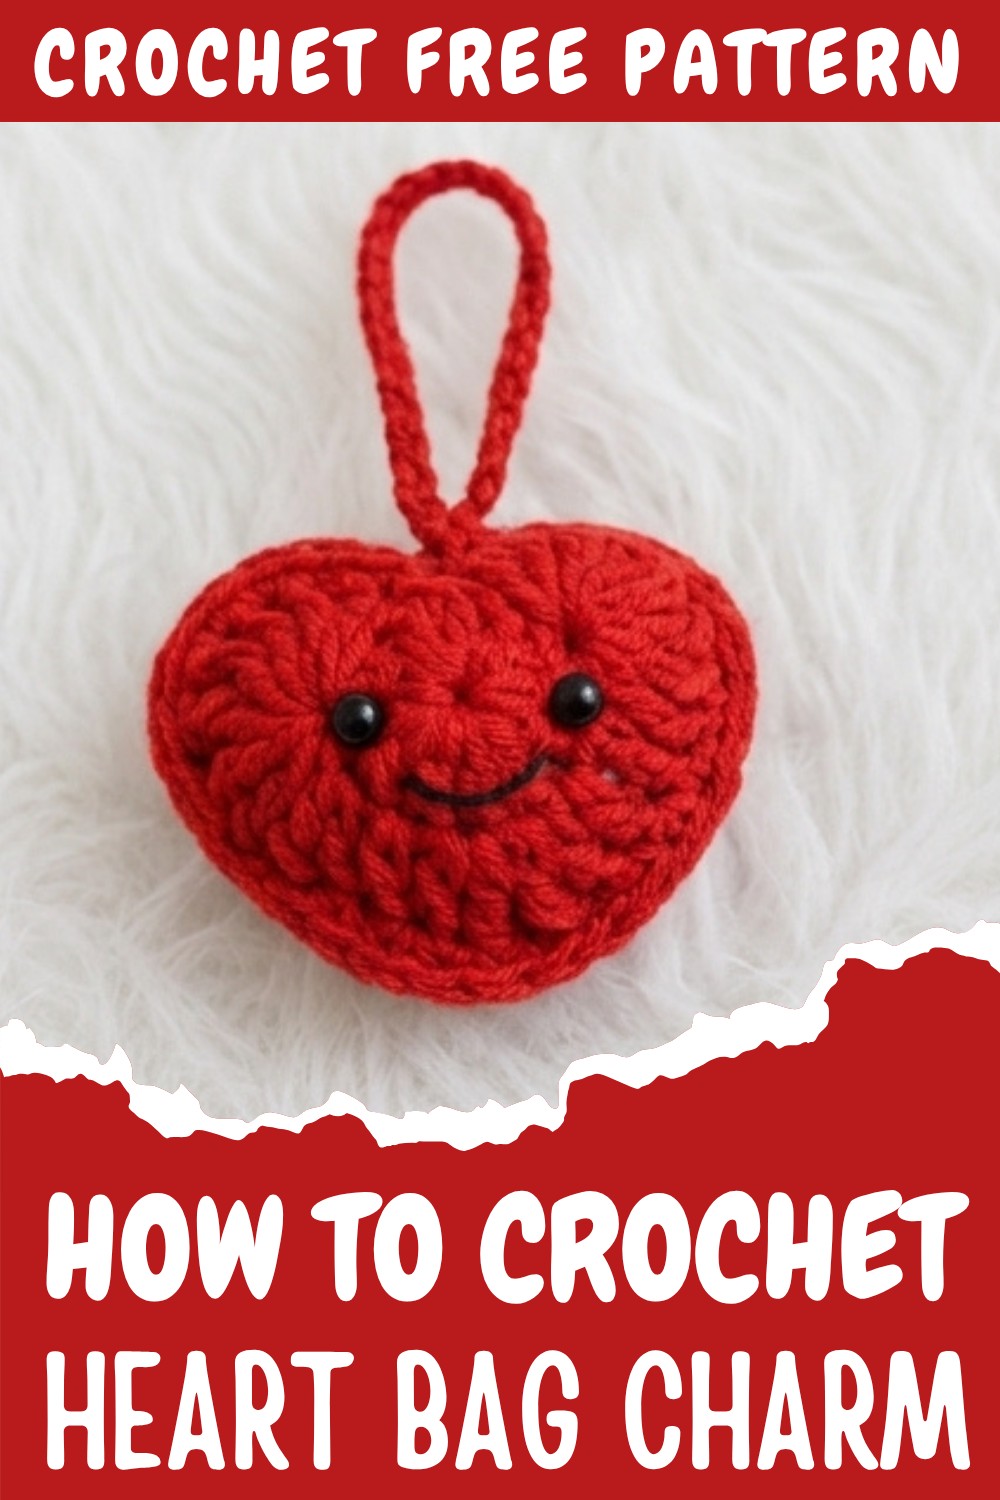
How to Free Crochet Heart Bag Charm Pattern for Unique Style
Switch up your bag’s vibe using the Free Crochet Heart Bag Charm Pattern to bring sweet, playful charm and easy handmade fun to your routine.
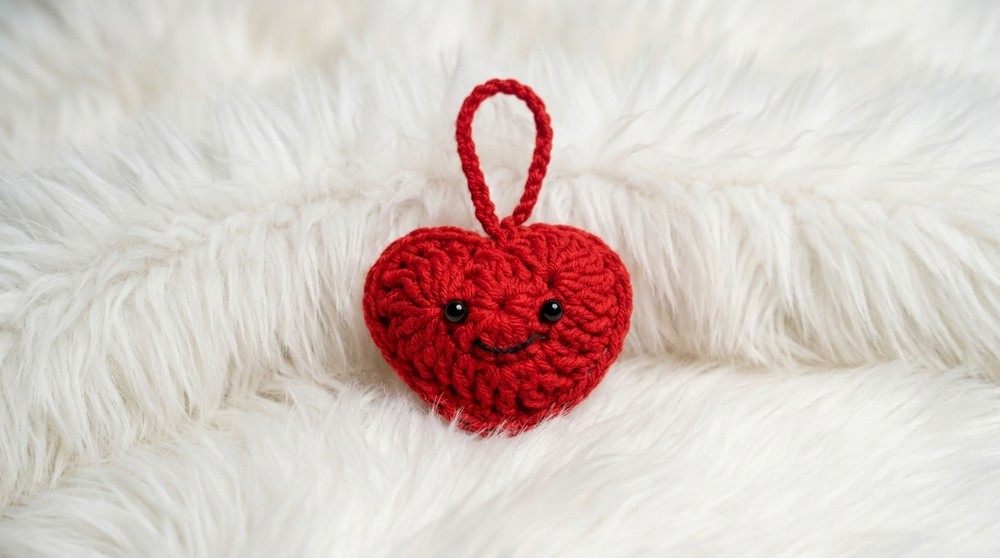
There’s something truly special about crocheting a heartfelt gift, especially when it’s simple yet full of charm. If creating a red, puffy heart that hangs beautifully from your bag or keychain, showcasing your creativity and handmade project. This crochet heart bag charm pattern is designed to be quick, beginner-friendly, and irresistibly cute. Its beauty lies in the soft curves shaped by easy stitches and its versatility in color choices. Whether you go for timeless reds, pastel tones, or rainbow combinations, the end result is customizable to suit every style and occasion. Add a little face, embellishments like safety eyes, or playful embroidery to make it uniquely yours.
Step-by-Step Crochet Heart Bag Charm Pattern for Beginners
What makes this pattern shine is its use of treble crochet stitches, which help shape the heart’s 3D texture, giving it a lovely plush appearance. Other foundational techniques like double crochet, slip stitches, and working in the round bring everything together seamlessly, making it perfect for beginners to learn and enjoy. Plus, the heart is assembled through simple single crochet stitches—no sewing needed, which makes the process much faster and easier. With minimal materials, this project can be whipped up in no time, giving you a polished result that feels just like a professionally crocheted piece.
By working through this pattern, you’ll learn how to start a foundation ring, shape rounded edges using treble crochets, and creatively join two halves to form a 3D object. These skills are not only key for making cute bag charms but can also be used to create designs like amigurumi, decorative garlands, or festive ornaments.
What You Can Make With These Skills
- Decorative hearts for Valentine’s Day or parties.
- Colorful keychains or bag charms.
- Festive ornaments for holidays like Christmas.
- Unique appliqués for blankets, hats, or cushions.
Puffy Crochet Heart Bag Charm – Free Pattern
A fun, beginner-friendly crochet project that combines charm, creativity, and zero sewing! Perfect for crocheting last-minute gifts or personalized tokens of love. Let’s make a cute 3D puffy heart charm that can brighten up any bag, keychain, or home decor. This pattern provides step-by-step instructions to ensure even beginner crocheters can create something polished.
Skill Level & Terminology
- Skill Level: Beginner
- Crochet Terminology: US Terms
Materials & Tools
Here’s what you’ll need for this adorable project:
- Yarn: 4-ply milk cotton yarn (red color used in this pattern or you can use any of your choice)
- Hook Size: 2.5 mm crochet hook
- Extras: Stitch marker, glue, stuffing, two small safety eyes, and black yarn for the smile
Optional: Experiment with color combinations for vibrant hearts or use glittery yarn for a festive finish.
Gauge
Gauge is not critical for this project, but keeping stitches tight will ensure the heart maintains its shape.
Abbreviations List
Here are the crochet terms used in this pattern:
- Ch: Chain
- Sl st: Slip stitch
- Dc: Double crochet
- Tr: Treble crochet
- Sc: Single crochet
Special Stitch Instructions
- Treble Crochet: Yarn over twice, insert the hook, yarn over and pull through. You should have four loops on your hook. Yarn over, pull through two loops three times until only one loop remains.
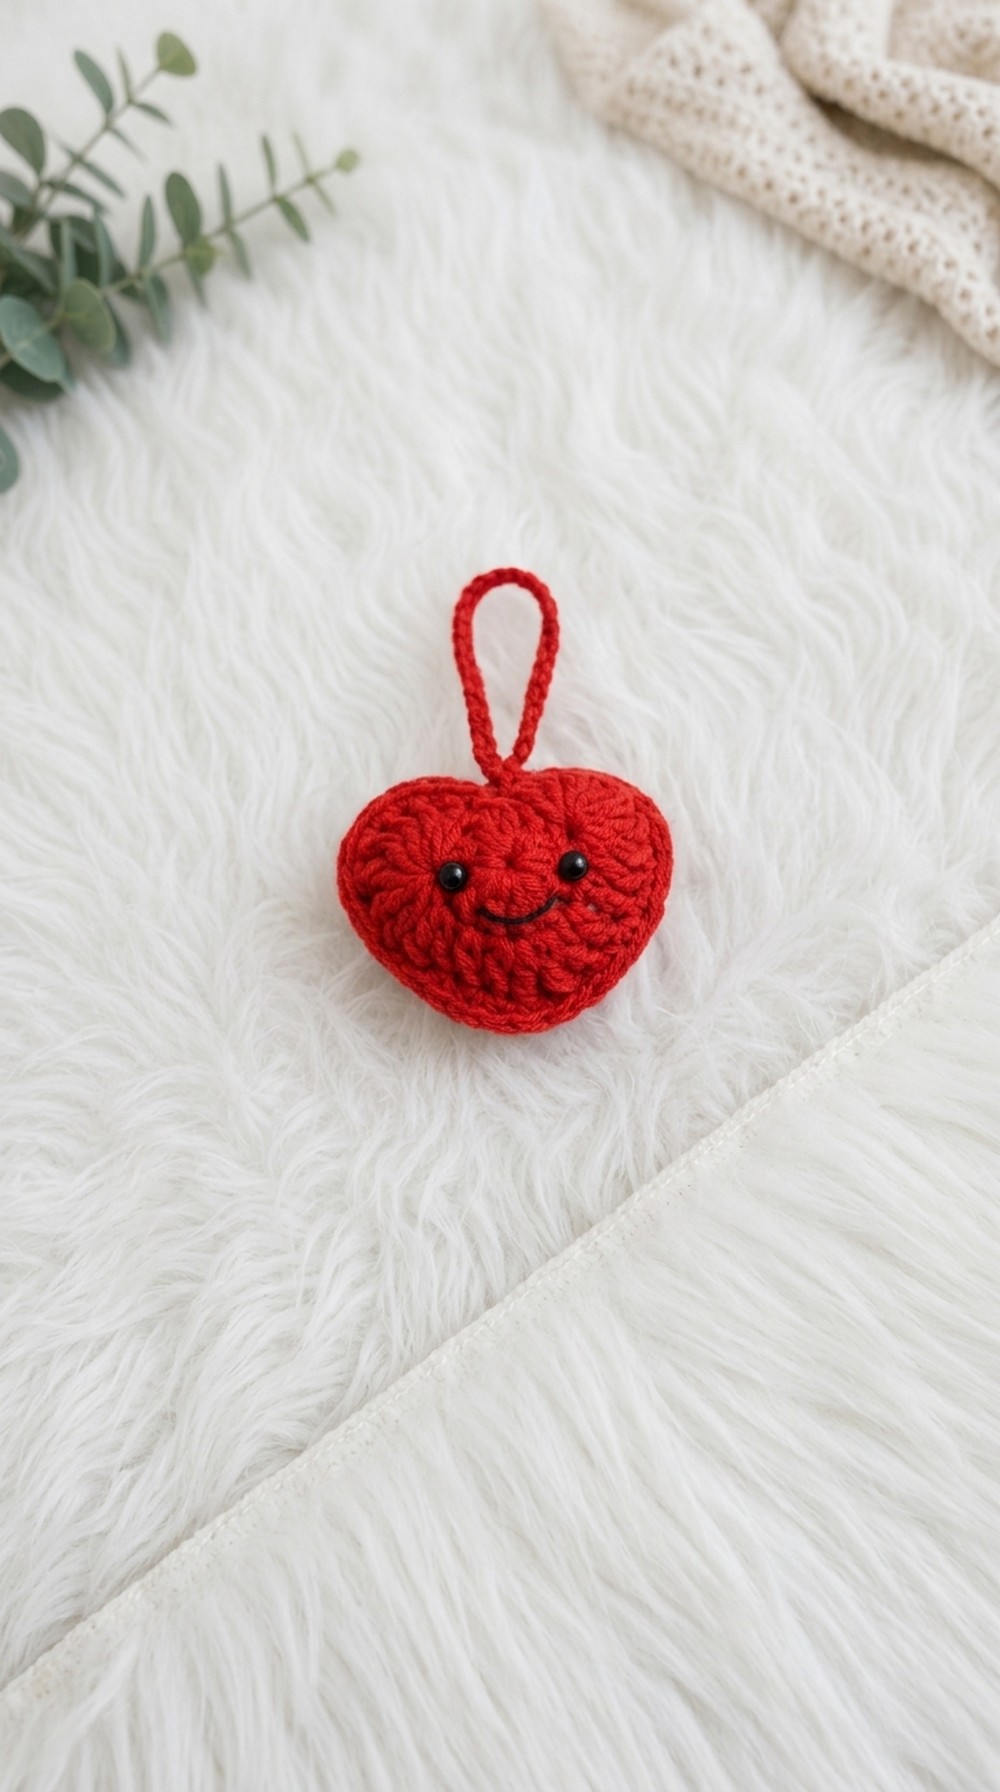
Finished Size
The final heart bag charm measures approximately 5 cm wide and 4 cm tall, depending on your tension and yarn choice.
Step-by-Step Crochet Pattern
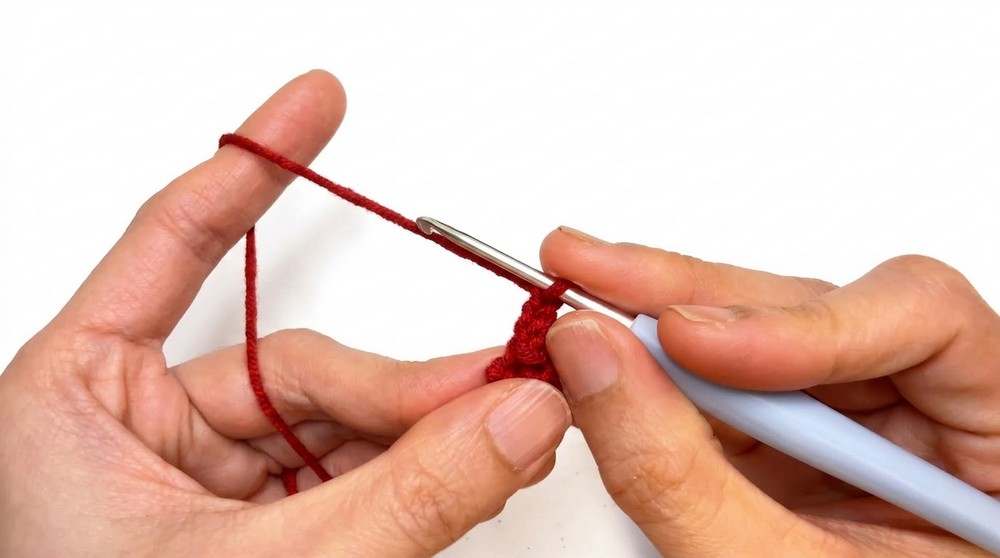
Foundation Ring & Round 1
- Make a slip knot: Wrap the yarn around your fingers to form a loop. Pull the working yarn through the loop and tighten.
- Ch 4, then join into a ring with sl st into the first chain.
- Round 1:
- Ch 3 (counts as the first dc).
- Work 11 dc into the ring for a total of 12 dc.
- Sl st to the first stitch to close the round.
Tip for Beginners: Don’t forget to pull the loose tail to tighten the ring. This creates a neat foundation for the heart shape. Round 1 forms the circular base of the heart.
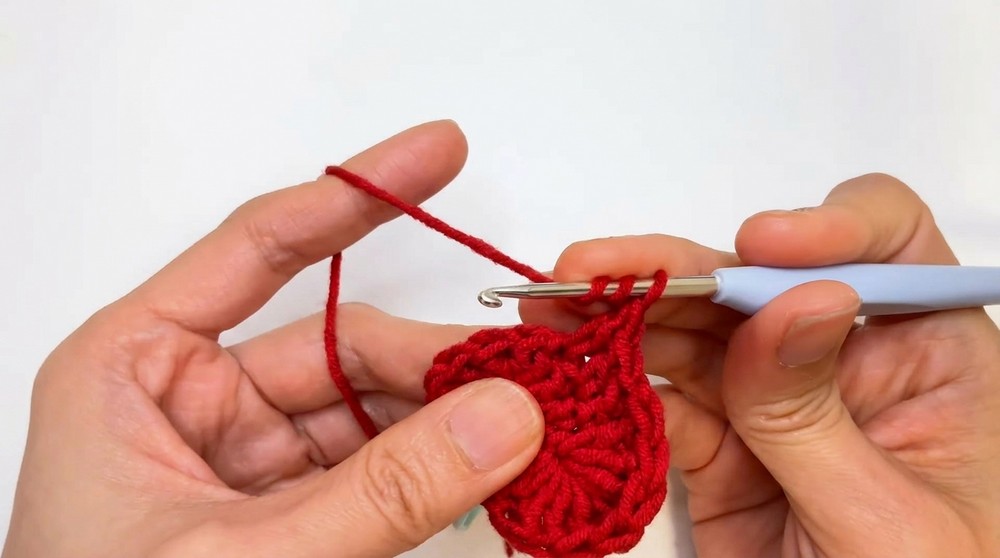
Round 2 (Heart Shape)
- Start Round 2 without chaining: Skip the first two stitches and work 8 tr into the third stitch.
- Place a stitch marker in the first stitch to keep track.
- Slide treble stitches to the side as needed to fit all 8 into the same stitch.
- In the next stitch, work 1 dc, then another dc in the following stitch.
- In the next stitch, work 1 dc + 1 tr (both together).
- Ch 1 to create the bottom tip of the heart.
- Mirror the stitches on the other side:
- Work 1 tr + 1 dc into the next stitch.
- Work 1 dc into the following two stitches.
- Work 8 tr into the last stitch.
- Sl st to the first stitch to complete the heart shape.
- Cut the yarn but leave a short tail. Make a second heart using the same instructions but do not cut the yarn.
Explanation for Beginners: Round 2 shapes your heart into the recognizable 3D puff with treble crochets forming the curved areas. The chain bottom helps sharpen the point.
Assembly & Stuffing
- Place the two hearts together, wrong sides facing each other.
- Join hearts with single crochet: Insert your hook through matching stitches on both hearts and work sc around the edge, leaving 5 stitches open.
- Lightly stuff the heart before closing the last stitches with sc.
Important Notes: The stuffing adds volume and gives the heart its charming 3D puffy look. Adjust the amount to maintain the desired firmness.
Making the Hanging Loop
- Chain 25: This will form the loop handle for the charm.
- Slip stitch into the first stitch at the top of the heart to secure the loop.
- Cut the yarn, pull through, and hide the tail inside the heart.
Loop Tips: You can adjust the chain count for a longer or shorter hanging loop.
Adding the Smile & Eyes
- Use black yarn to stitch an embroidered smile onto the heart. Position it slightly below the center for a cute look.
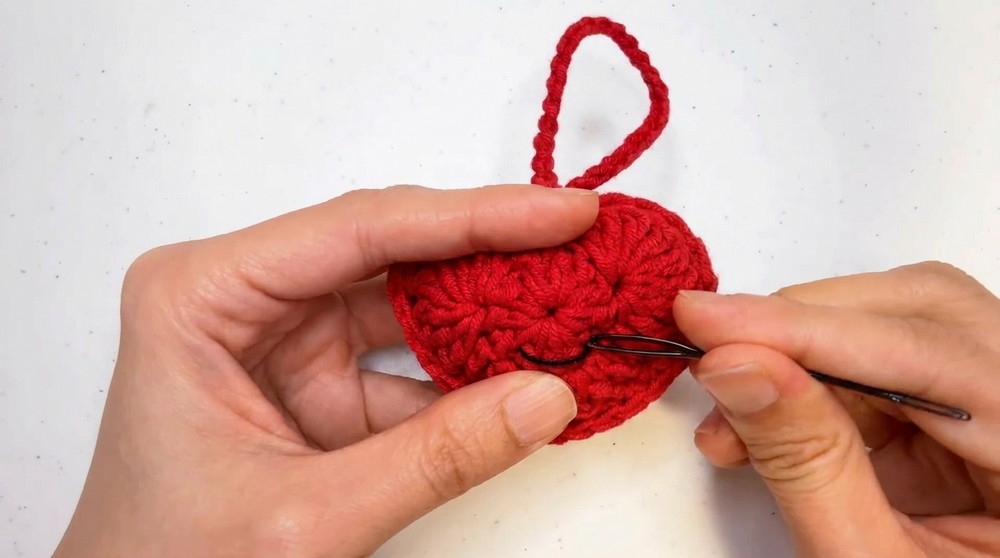
- Attach eyes using glue or sew them on securely.
Final Accent Ideas: Add tiny accessories like bows, beads, or glitter for extra flair.
What You’ll Learn
This pattern teaches foundational techniques like slip knots, chaining, double crochet, treble crochet, and single crochet. You’ll also practice shaping a 3D design and joining pieces without sewing. Beyond bag charms, the same heart pattern can be used to make garlands, ornaments, keychains, or even appliques for larger projects like blankets or pillows.
Difficulties You May Face and How to Solve Them
Crochet projects often come with small challenges, but don’t worry, they are easy to overcome with some patience and simple techniques. One difficulty beginners might face with this pattern is working multiple treble crochets into the same stitch during Round 2. This can make the stitches feel tight and cramped, but there’s a quick fix for this. Simply slide the completed stitches slightly to the side to free up space for the next one. This adjustment allows the hook to move smoothly and keeps the yarn from tangling.
Another potential challenge can be losing track of your stitches, especially when shaping the heart. To solve this, try placing stitch markers at key points, such as the beginning of rows or rounds. Stitch markers act like little reminders and help you count each stitch easily, saving time and preventing mistakes.
Joining the two hearts together might feel tricky at first, especially aligning the stitches on both halves correctly. If this happens, focus on working one stitch at a time, ensuring that the front and back stitches are matching before completing each single crochet. Taking your time and moving methodically ensures clean and polished results.
Lastly, details such as adding safety eyes or embroidering smiles might feel challenging for beginners. Practicing decorative stitches or placing embellishments on scrap yarn pieces can boost your confidence. Remember, the beauty of handmade projects lies in their individuality, and little imperfections often add charm and personality to your creations.