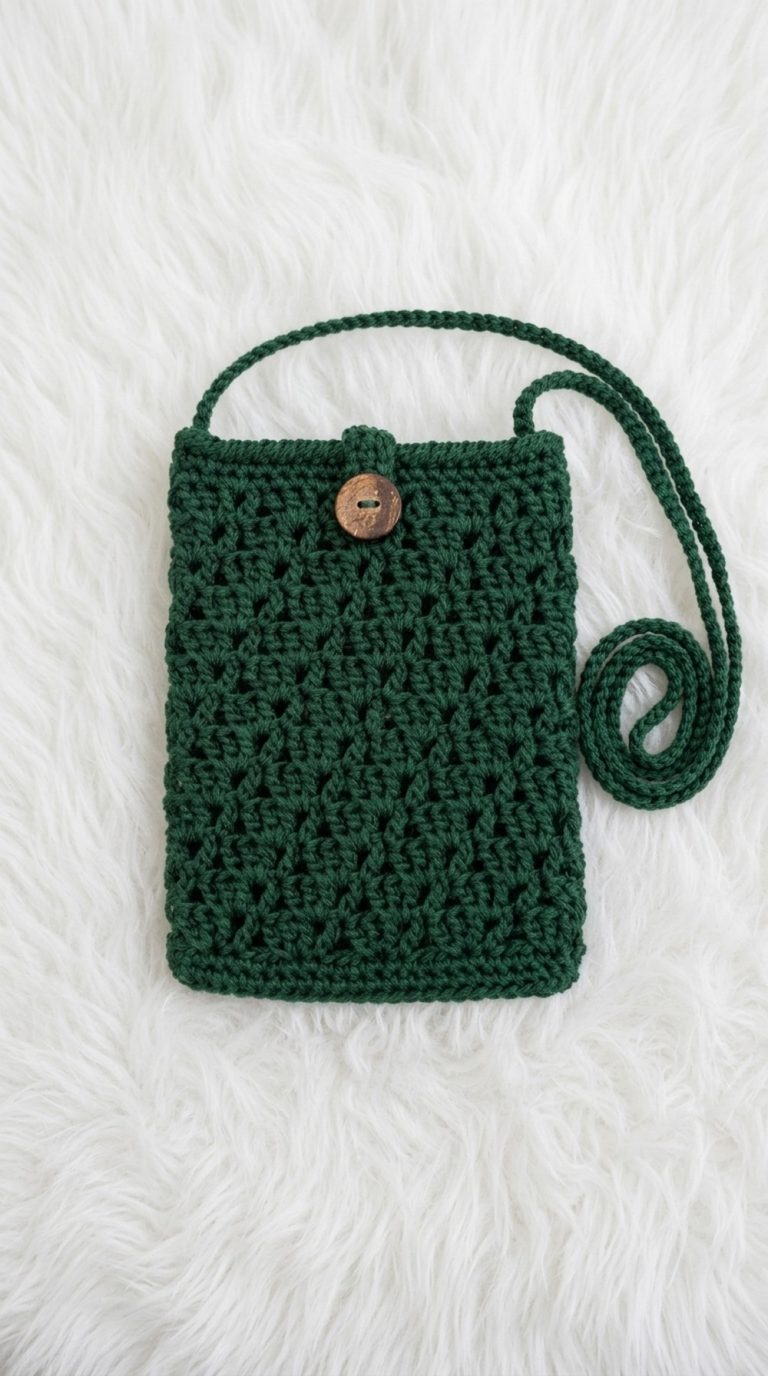
Free Crochet Granny Square Tote Bag Pattern

Crochet a beautiful granny square tote bag with this easy pattern, perfect for adding a handmade touch to your accessories collection.
Who wouldn’t love creating a stylish, handmade tote bag that’s both trendy and useful? With this fun granny square pattern, you can crochet a bag that’s bursting with charm and creativity. Granny squares are a classic crochet design known for their versatility and whimsical appeal. In this pattern, you’ll use beginner-friendly stitches like chains, double crochets, and single crochets—techniques that are simple yet incredibly effective. The finished tote is sturdy enough for daily use, whether you’re heading to the market, the library, or a casual outing, and its customizable pattern allows you to experiment with colors for a truly personal touch.
Turn Yarn Into Art with This Gorgeous Free Crochet Granny Square Tote Bag Pattern
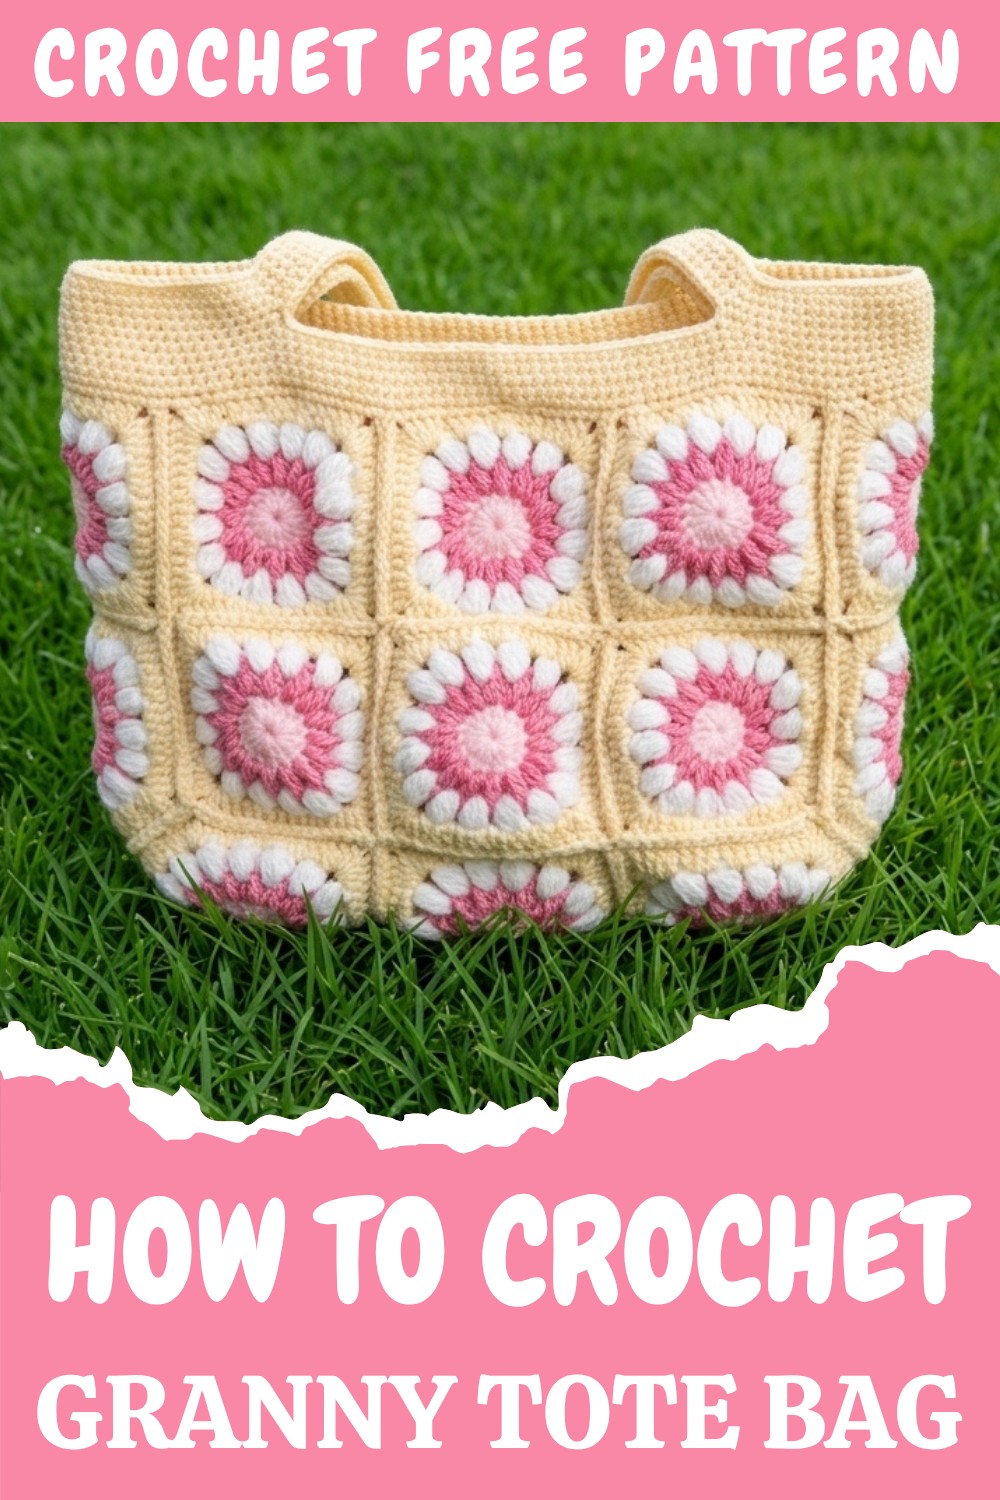
This project is a perfect blend of beauty and practicality. Not only will you learn how to crochet neat and vibrant granny squares, but you’ll also master the art of joining them together to form the structure of the tote bag. The tutorial guides you through crocheting durable handles, essential for creating a functional accessory. The joy of this pattern is that it’s not limited to making just tote bags. Once you’ve got the hang of granny squares, you can use the technique to crochet cozy blankets, cushion covers, scarves, table runners, or even decorative wall hangings.
Along the way, you’ll pick up valuable crochet skills that will boost your confidence and inspire future projects. This pattern is ideal for beginners looking to start with a manageable project, but it’s equally exciting for experienced crocheters ready to dive into something creative and colorful.
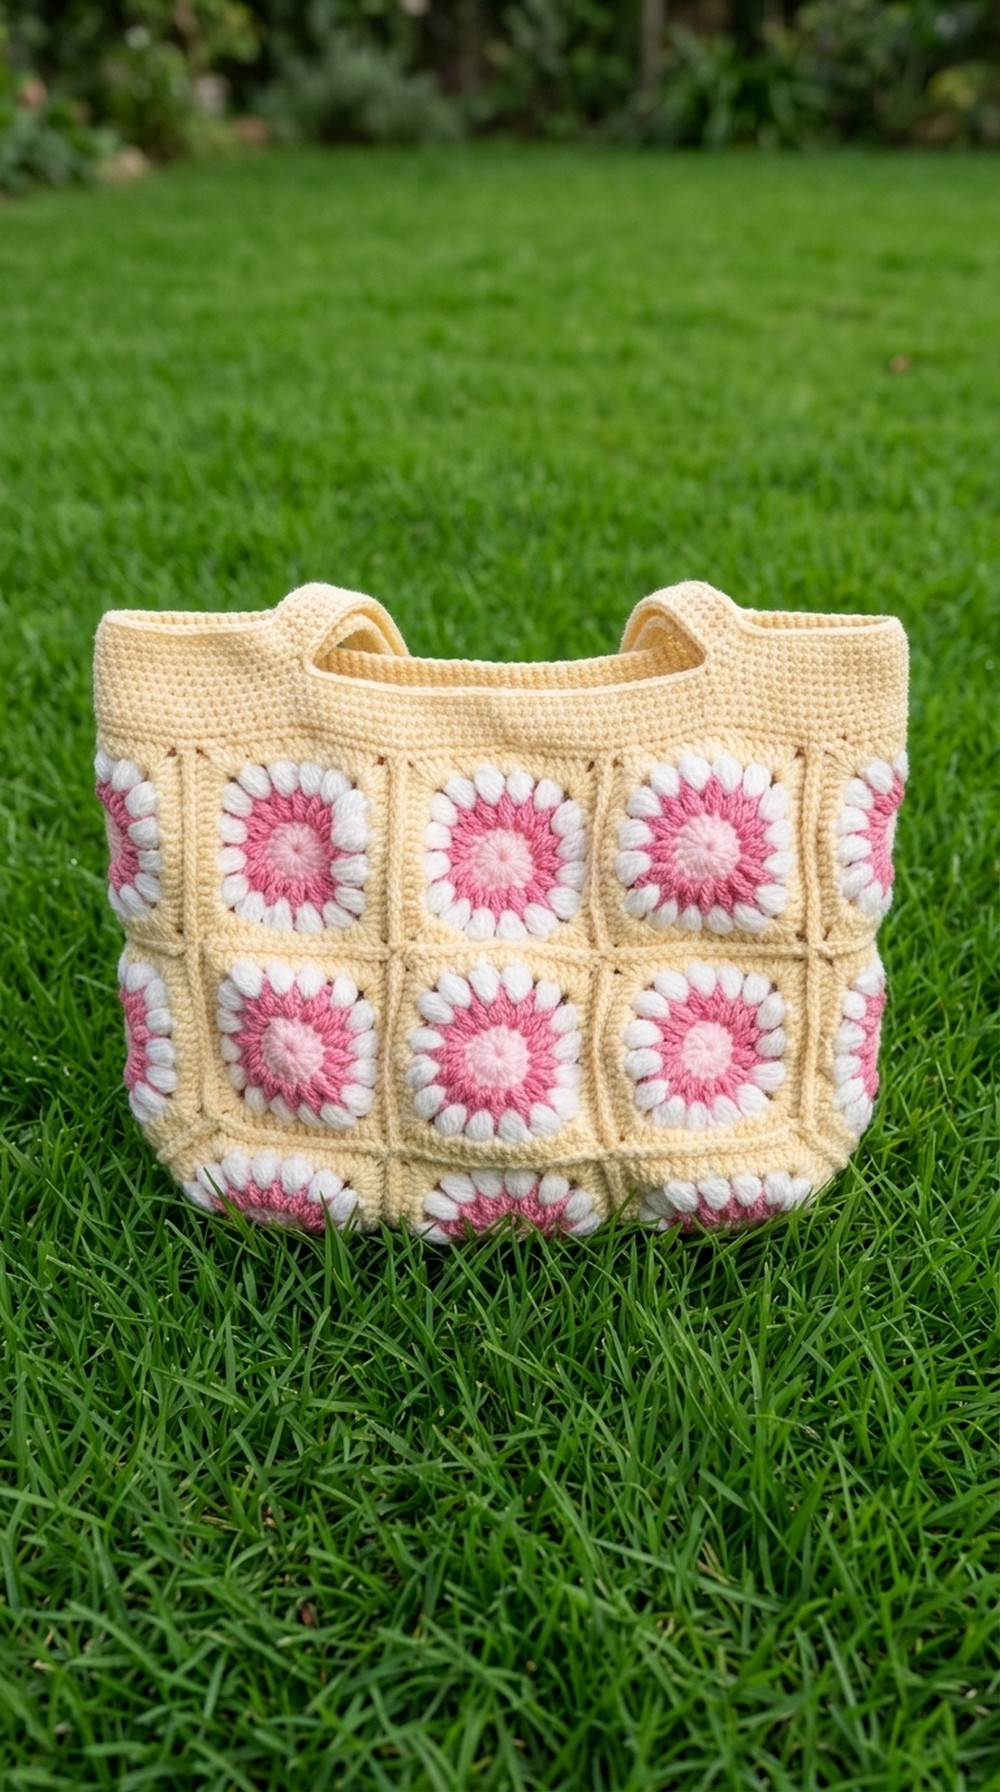
Step-by-Step Crochet Granny Square Tote Bag Pattern
Introduction:
The Crochet Granny Square Tote Bag Pattern is a beautiful and versatile project perfect for beginners and experienced crocheters alike. It features granny squares, a timeless and popular design in the crochet world. Granny squares are simple to make and customizable with various colors, creating endless possibilities for designs like bags, blankets, table runners, cushion covers, and more. This crochet bag is both functional and stylish; ideal for casual outings or carrying your essentials. Using basic stitches such as chains (ch), double crochets (dc), and single crochets (sc), this tutorial helps you create this trendy tote bag while introducing techniques like joining granny squares and creating sturdy handles.
Table of Contents
- Materials and Tools Needed
- Abbreviations
- Special Features of the Pattern
- Step-by-Step Pattern Instructions
- Joining Granny Squares and Final Assembly
- Tutor’s Tips and Suggestions
- Benefits and Uses of the Pattern
- Conclusion and Thoughts
Materials and Tools Needed:
- 3.5mm crochet hook
- Cotton or Acrylic yarn (Olive color used in the tutorial; choose any preferred colors for customization)
- Scissors
- Tapestry needle for weaving ends
- Stitch markers for convenience
Abbreviations:
- ch: Chain stitch
- sc: Single crochet
- dc: Double crochet
- sl st: Slip stitch
- rep: Repeat
Special Features of the Pattern:
- Classic Granny Square Motif: The bag features hand-crafted granny squares that give a vintage-modern look.
- Customizable Colors: You can mix and match colors for a personalized touch.
- Practice Basic Stitches: Great for beginners looking to practice chains, double crochets, single crochets, and joining techniques.
- Functional and Stylish: The tote bag is sturdy yet lightweight, perfect for everyday use or gifting.
Step-by-Step Pattern Instructions:
Step 1 – Creating the Granny Squares:
- Start with a slip knot:
Roll the yarn and pull through to create a basic slip knot. Insert the hook and tighten. - Foundation chains:
Chain 5, then join into a ring with a slip stitch (sl st). - Round 1:
- Begin with ch 3 (counts as the first dc).
- Work 2 dc into the ring, followed by ch 2.
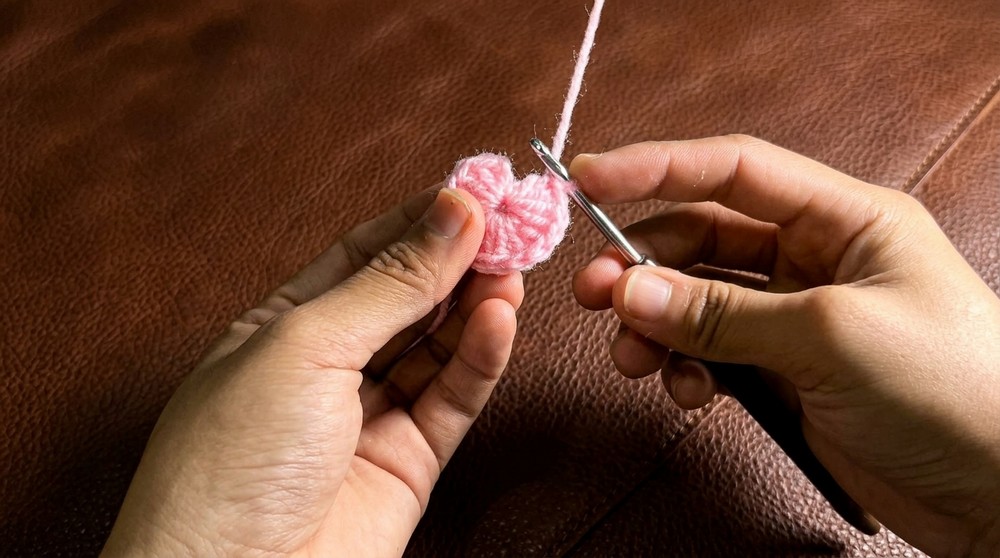
- Continue the sequence (3 dc, ch 2) four times, and join the round with a sl st in the first ch 3.
- Round 2:
- Ch 3, then work 2 dc into the first corner (ch 2 space).
- Ch 2, make 3 dc into the same corner.
- Move to the next corner with ch 1 and repeat (3 dc, ch 2, 3 dc) around the granny square. Join with sl st.
- Round 3:
- Continue expanding the granny square by repeating the pattern of 3 dc, ch 2 in corners and 3 dc, ch 1 in spaces between corners.
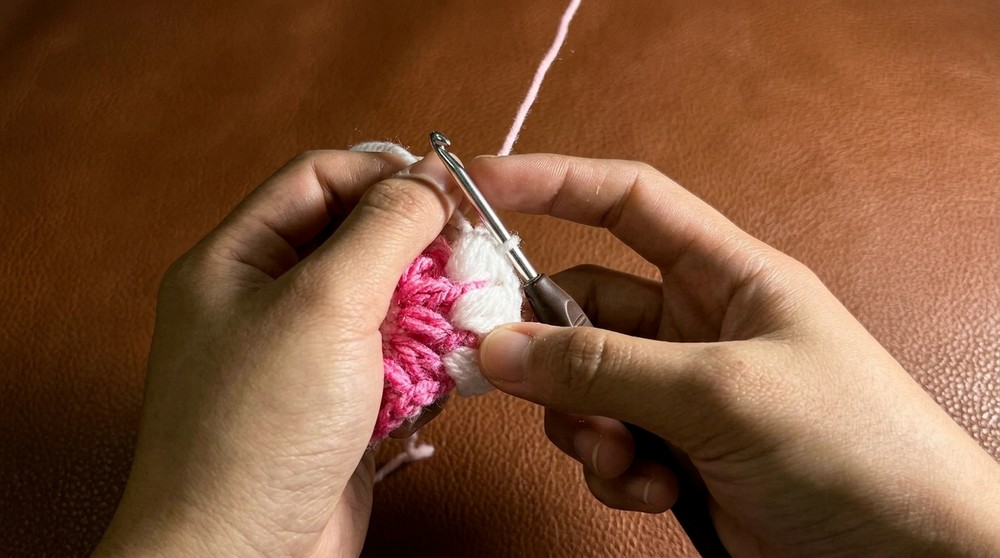
- Work rounds until your desired size is achieved. (In the tutorial, each granny square has 6 rounds.)
- Continue expanding the granny square by repeating the pattern of 3 dc, ch 2 in corners and 3 dc, ch 1 in spaces between corners.
Step 2 – Weaving in Ends:
Once each granny square is complete, weave in loose ends using a tapestry needle. This step ensures your squares look neat and professional.
Step 3 – Joining Granny Squares:
- Arrange squares: Lay the completed squares flat and arrange them in the desired bag shape. (Refer to the video for suggested layouts: 6 squares for each panel, 4 squares for the sides, and 2 squares for the base.)
- Joining method:
- Use the single crochet (sc) technique to join granny squares along their edges.
- Place two squares together (right sides facing out), insert the hook into the edges of both squares, and work sc stitches across to join.
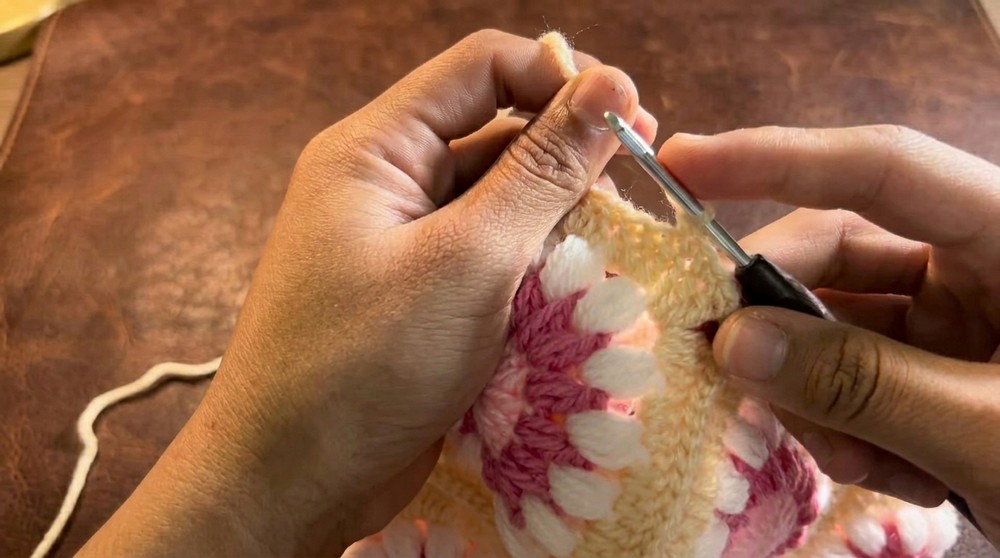
- Repeat this for all seams until your tote bag shape is formed.
Step 4 – Creating Handles:
- Decide the desired handle length:
Work 100 chains for medium-length handles or adjust the number of chains based on your preference. - Attach the handles:
Use the single crochet technique to secure the handles to the sides of your tote bag. Make sure they are evenly placed and sturdy.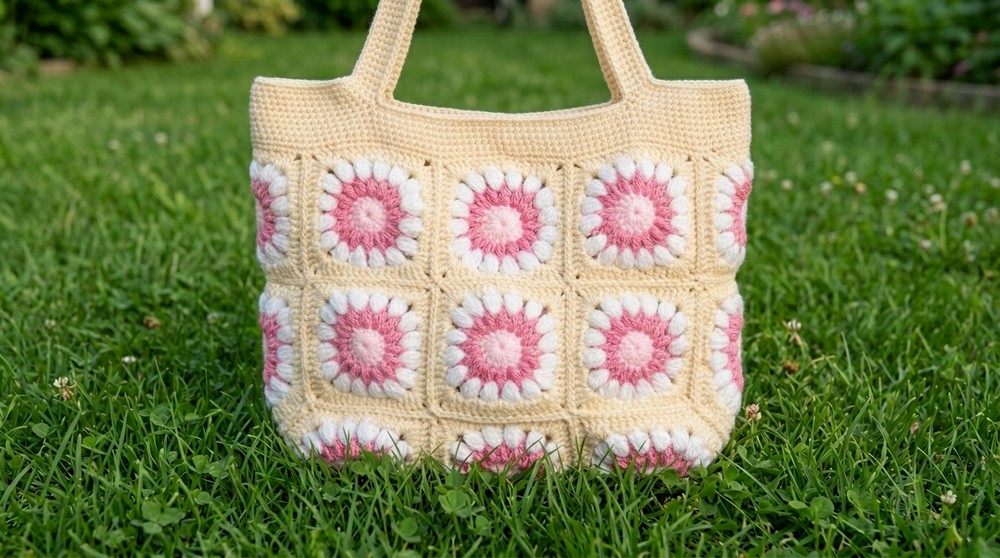
Tutor’s Tips and Suggestions:
- Yarn choice: Use durable cotton yarn for a sturdier bag that can hold heavier items. Acrylic yarn is also a great option for lightweight projects.
- Color combinations: Experiment with bold and contrasting colors to make your tote bag stand out.
- Take your time joining squares: Ensure all squares align correctly for a polished look.
- Make it larger or smaller: Increase or decrease the number of granny squares depending on the size you want for your tote bag.
Benefits and Uses of the Pattern:
This pattern is perfect for making practical and delightful tote bags that suit every occasion. You can use it for shopping, travel, or as a beach bag. The granny square technique can also be repurposed to create various crochet projects, such as pillow covers, tablecloths, and blankets.
Conclusion and Final Remarks:
The Granny Square Tote Bag Pattern is an ideal project for beginners and a fun challenge for experienced crocheters. From making the timeless granny squares to assembling them into a trendy tote, this pattern offers endless possibilities for customization and creativity. By following this tutorial, you’ll learn how to create a functional masterpiece while mastering basic stitches and joining techniques.
What I Learned from This Pattern:
This pattern taught me the importance of precision in joining granny squares and how small details like color combinations can make a big impact. It also inspired me to use granny squares for other creative projects like blankets and decorative home accessories. Crocheting this tote bag was a fulfilling journey that reinforced my patience and love for handmade projects. Truly, the joy of crochet lies in every stitch!