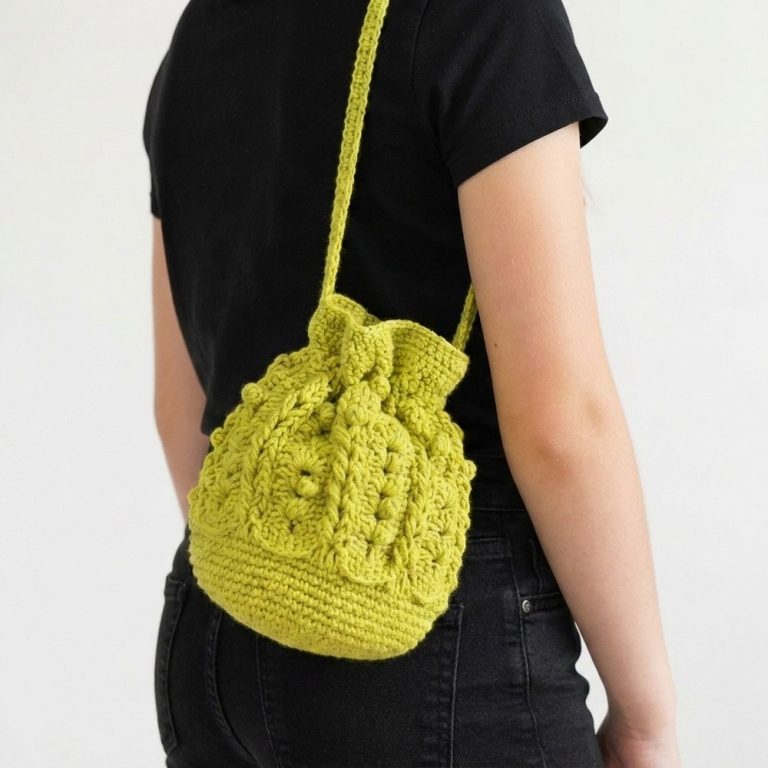
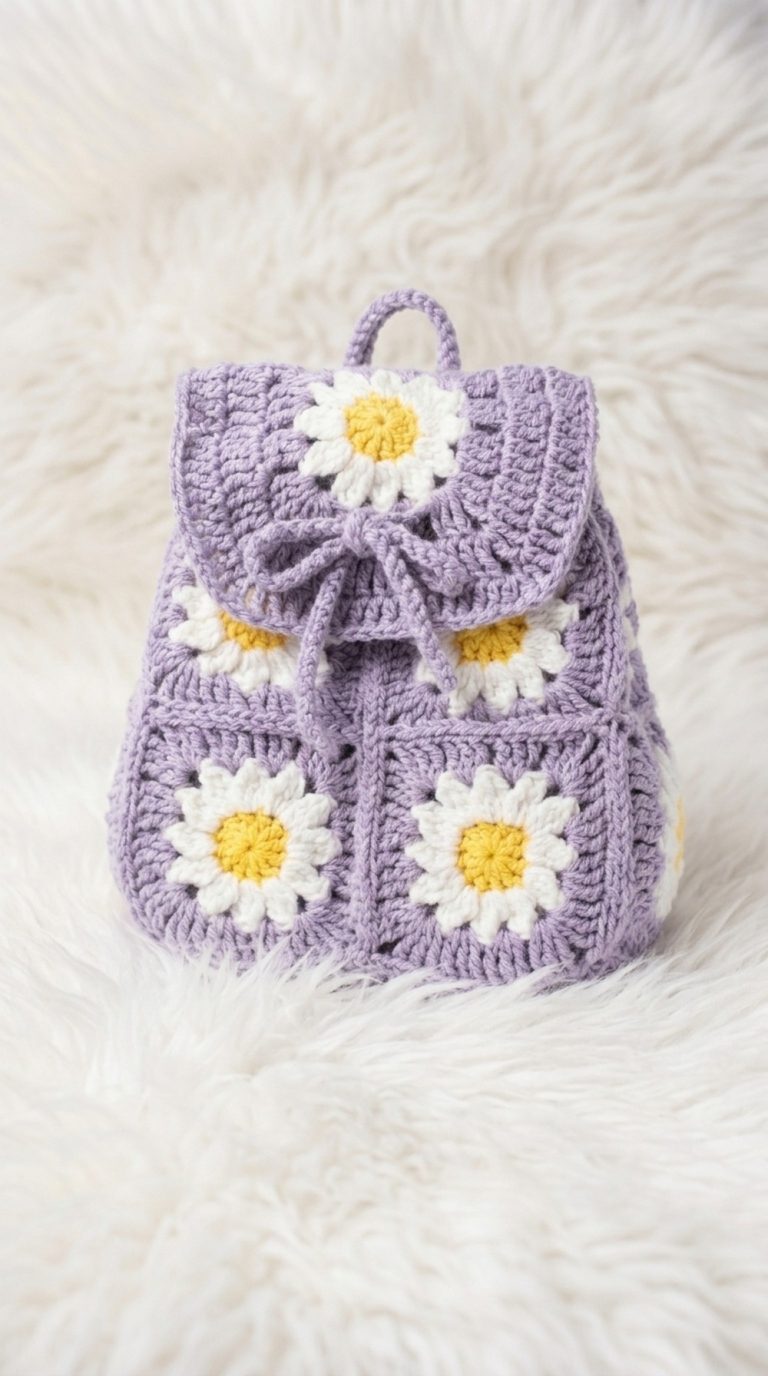
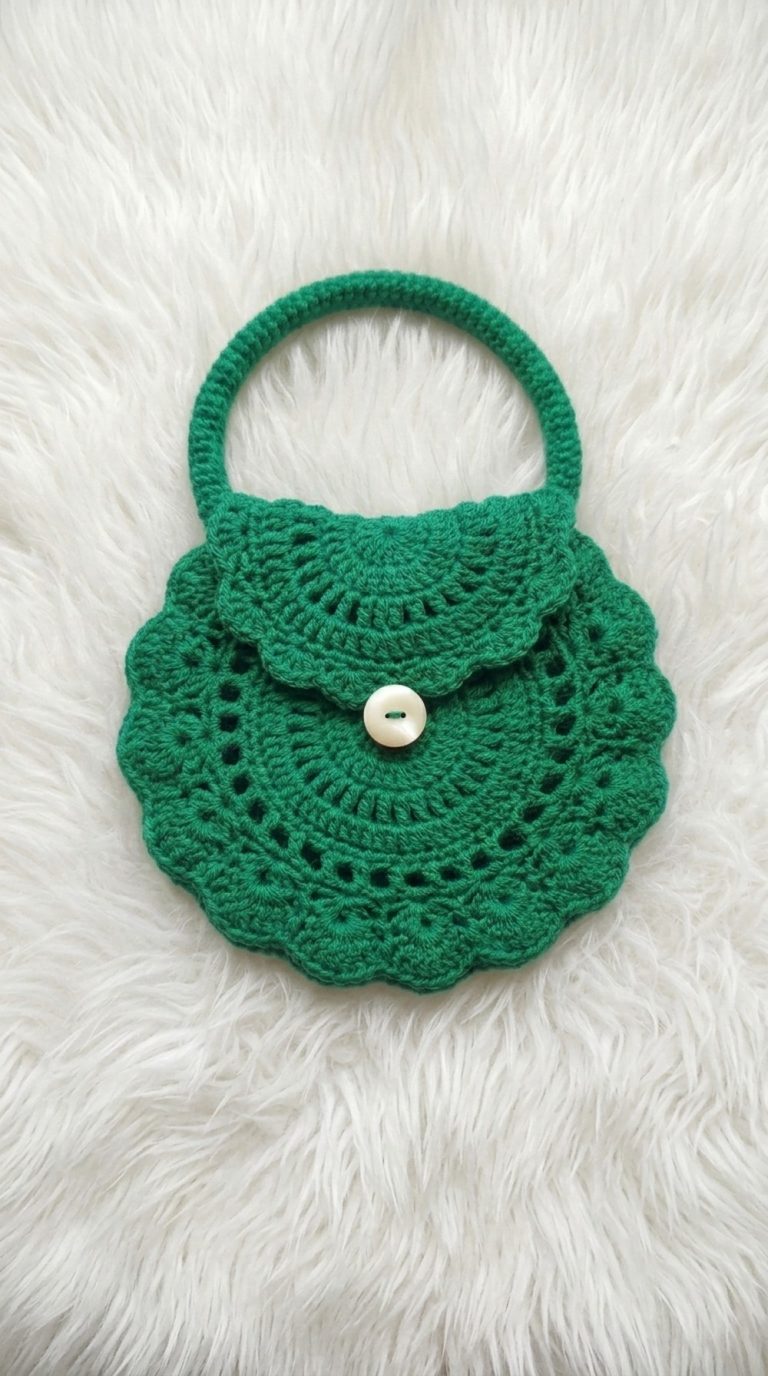
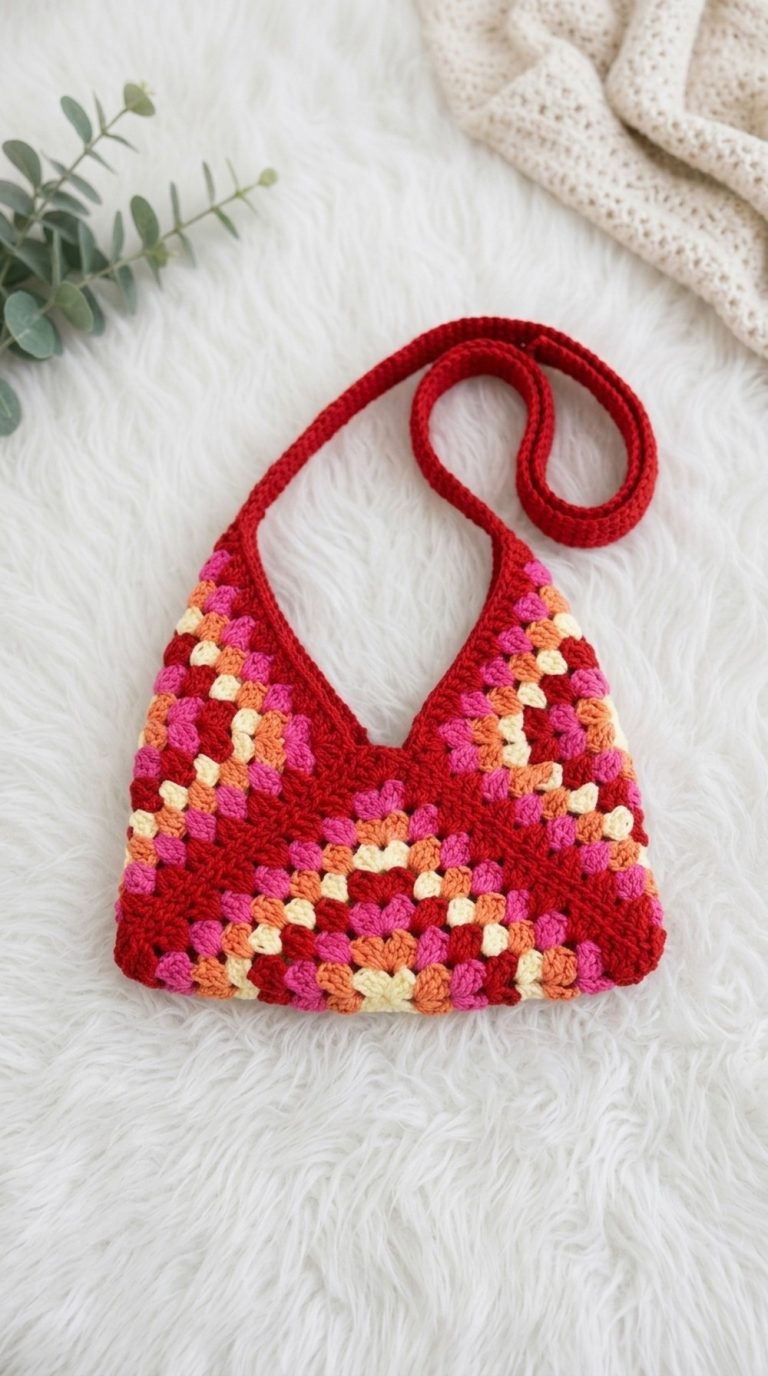
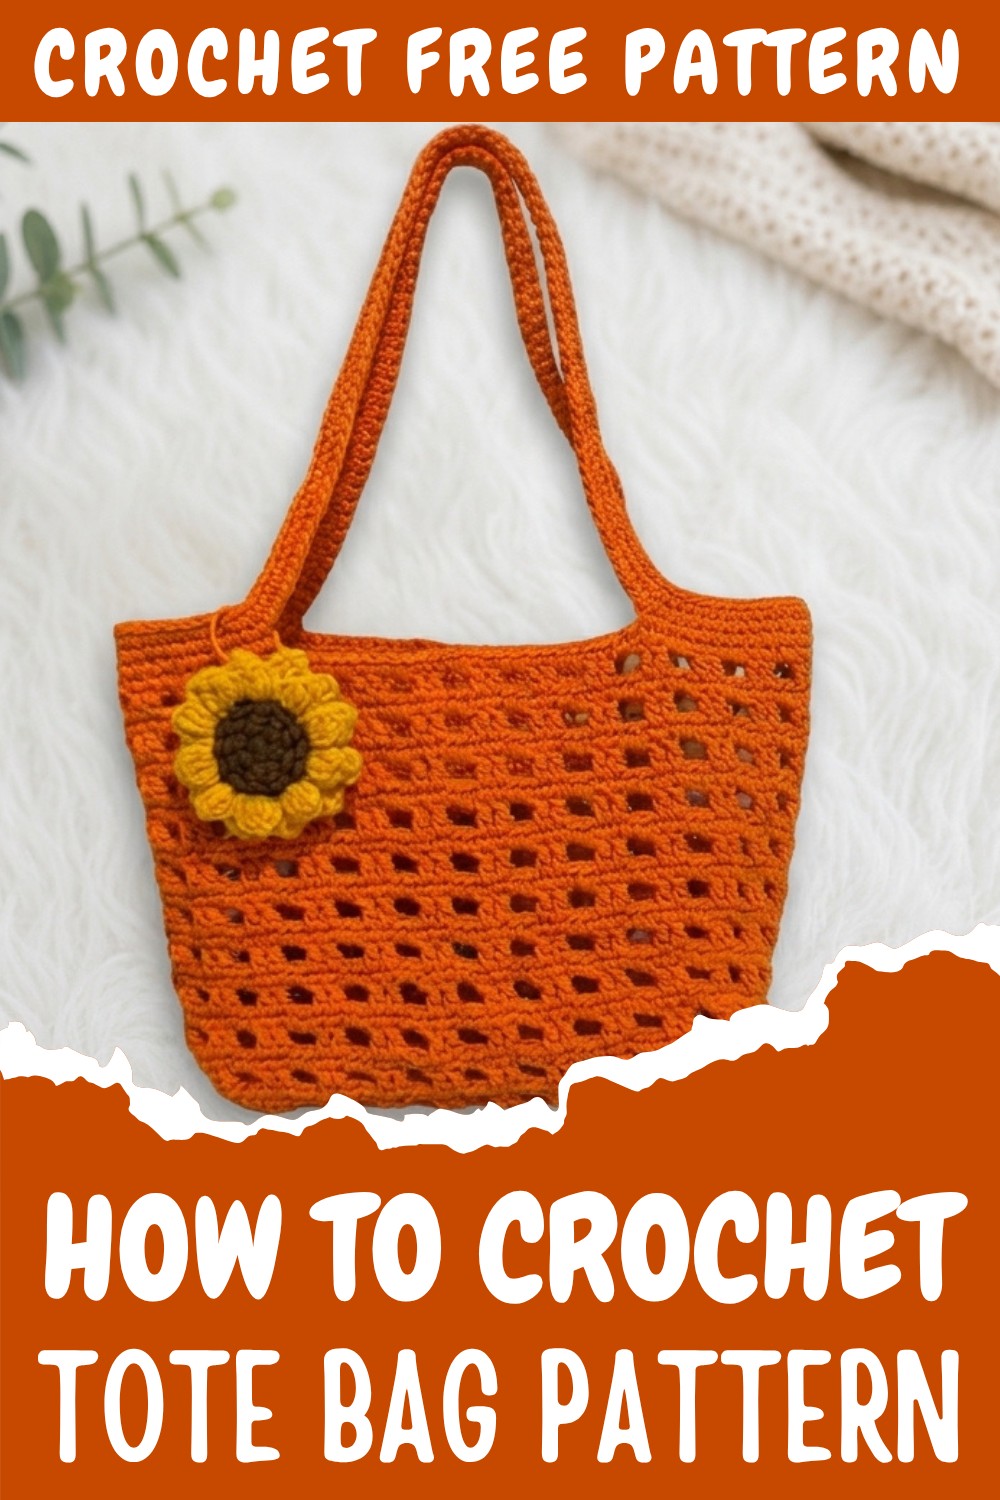
How to Crochet Tote Bag Free With Easy Pattern

Simplify daily outings easily using the Free Crochet Tote Bag Pattern, offering sturdy style and roomy versatility for all your needs.
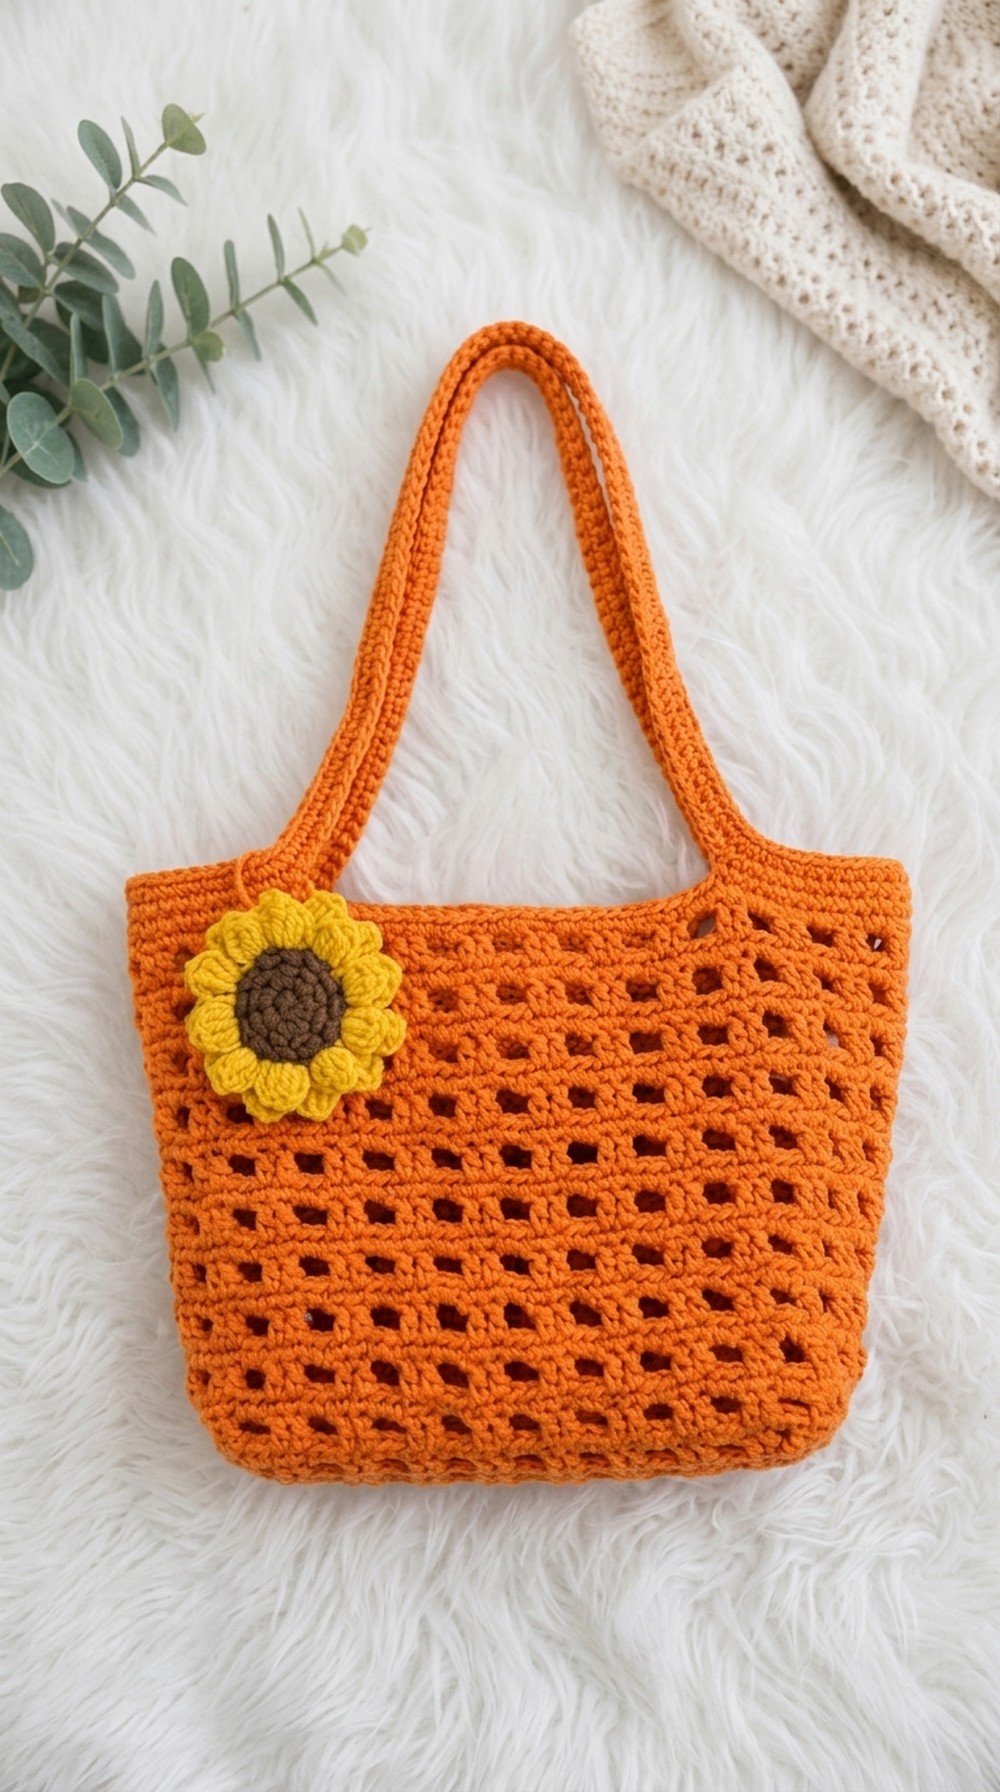
If you’ve ever wanted to create a stylish tote bag that is both functional and stunning, this crochet pattern is a perfect place to start. Carrying a soft yet durable crocheted bag, made with 2.5mm hollow fiber cotton yarn, showcasing a blend of solid textures and airy, lacy designs.
Budget-Friendly Crochet Tote Bag Pattern for stylish outings
The beauty of this pattern comes alive through its neat rows of single crochets (sc) and the creative open design formed by double crochets (dc) and chain spaces (ch). To add more flair to your pattern, you can experiment with vibrant color combinations or stick with neutral tones for an elegant, versatile piece. Whether you’re heading to the farmer’s market, the beach, or simply need a stylish accessory to carry your essentials, this pattern will complement any outfit and make heads turn.
One of my favorite parts of this pattern is how simple and repeatable the rows are, making it beginner-friendly and meditative to crochet. You can easily build the solid base with rows of sc and then transition seamlessly into the airy decorative sections by combining ch and dc stitches. This approach offers the perfect balance between structure and breathability, ideal for a bag that needs to be lightweight yet sturdy.
Through this pattern, you’ll sharpen your skills in creating foundational rows, working with repeated stitch patterns, and transitioning between solid and openwork rows. But that’s not all—by mastering these stitches, you’ll be equipped to create other projects like market totes, table runners, or lacy shawls.
Crochet Pattern: Step-by-Step Guide
Whether you’re looking for a project to fall into as a beginner or want to craft something simple yet elegant, this crochet tutorial is perfect for you. With its neat, repetitive rows and openwork designs, you can use this pattern to create accessories, small home decor, or build a foundation for larger projects like bags or garments. Its simplicity allows for customization, making it versatile for crafters at all skill levels.
This pattern begins with a solid sc foundation, transitions into decorative lattice work using double crochets and chain spaces, and ends with a polished edge. Perfect for lovers of clean lines and elegant textures!
Skill Level & Terminology
- Skill Level: Beginner-friendly with repetitive intermediate-style sections.
- Terminology: Pattern uses US crochet terms.
Materials & Tools
- Yarn: 2.5mm hollow fiber cotton yarn in orange color.
- Hook: 3.5mm crochet hook.
- Additional Tools:
- Tapestry needle (for weaving in ends).
- Scissors.
Gauge
Achieving the correct gauge is not strict for this pattern, but as a general guideline:
- 4 sc x 4 rows = 2 cm.
Abbreviations List
- ch: Chain
- sc: Single Crochet
- dc: Double Crochet
- sl st: Slip Stitch
- st: Stitch
Special Stitch Instructions
- Single Crochet (sc): Insert hook into the stitch, yarn over, pull up a loop, yarn over again, and pull through both loops on hook.
- Double Crochet (dc): Yarn over, insert hook into the stitch, yarn over again, pull up a loop, yarn over, pull through the first two loops, yarn over again, and pull through the remaining two loops.
- Slip Stitch (sl st): Insert the hook into the stitch, yarn over, and pull through both the stitch and the loop on the hook.
Finished Size
The final dimensions vary depending on the number of rows and chains worked, but the base pattern size works for small accessories or decorative pieces.
How to Start & Stitches Used
This project starts with a simple slip knot and a chain foundation. The two main stitches used throughout the pattern are single crochet (sc) for solid areas and double crochet (dc) for decorative openwork sections. These stitches are combined with chain spaces for a light and breathable texture. This project is great for practicing transitions between dense stitches and open designs.
The Pattern Itself
Foundation Rounds: Building the Base
- Make a Slip Knot:
- Begin the project by creating a slip knot on your hook.
- Chain 31 (Foundation Chain):
- Work a foundation chain of 31 chains.
- Row 1 (R1):
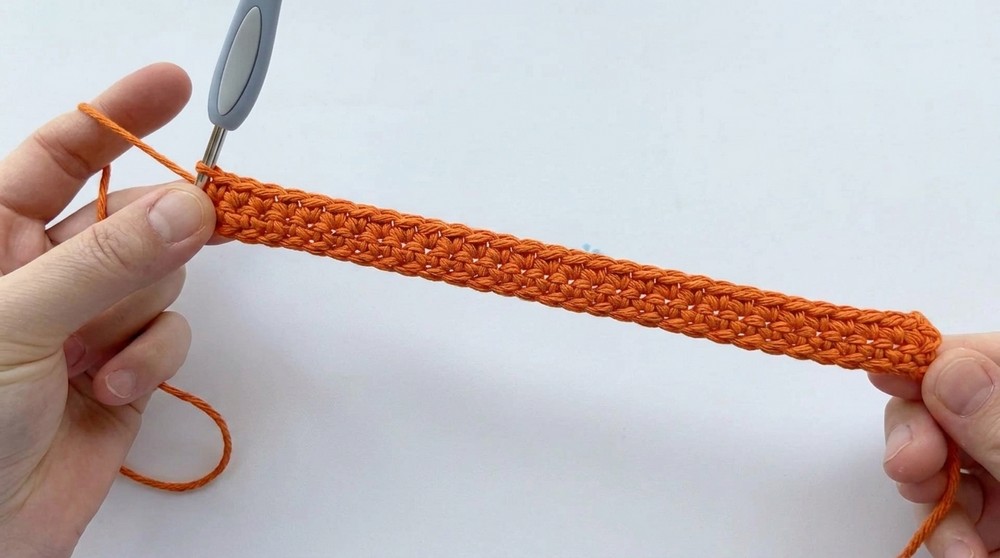
- Start in the second chain from the hook, and work 1 sc in each chain across (total: 30 sc).
- At the end of the row, ch 1, and turn your work.
- Rows 2 to 13 (R2 – R13):
- Work 30 sc in each row. Repeat for a total of 13 rows, remembering to ch 1 and turn at the end of each row.
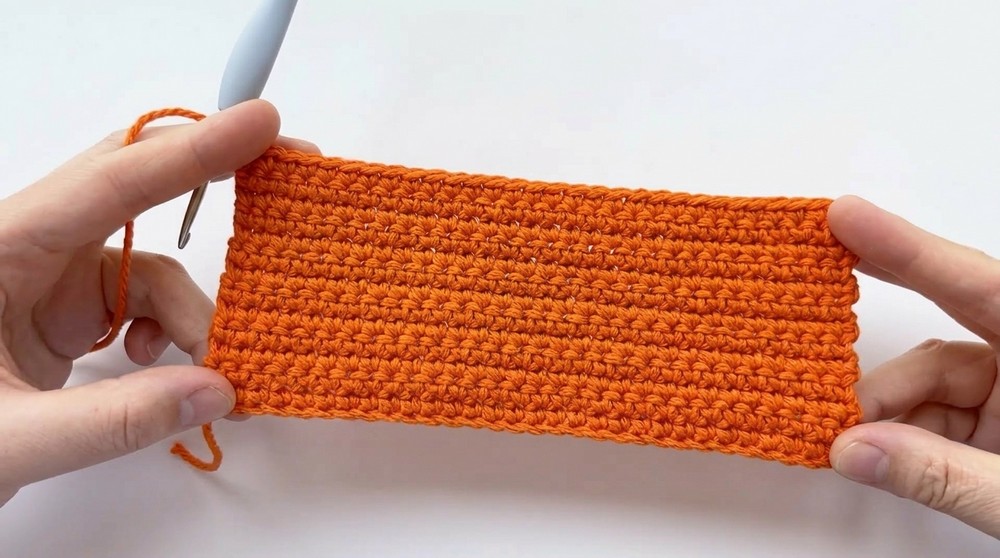
- Work 30 sc in each row. Repeat for a total of 13 rows, remembering to ch 1 and turn at the end of each row.
Tip: These rows create a sturdy base for your project. Ensure your stitches are consistent to maintain a straight edge.
Transition to Decorative Openwork
- Begin Openwork (R14):
- Ch 3, turn your work. The ch 3 counts as the first dc.
- Skip the first stitch, and work 1 dc in the second st.
- Ch 2, skip 2 st, and work 1 dc in each of the next 2 stitches.
- Repeat: Ch 2, skip 2 st, 1 dc in each of the next 2 stitches to the end of the row.
- Row 15:
- Begin this row by ch 3 (counts as first dc).
- Work 1 dc in the same stitch as the turning chain, followed by ch 2.
- Skip 1 st, then work 1 dc in each of the next 2 stitches.
- Repeat: Ch 2, skip 1 st, 1 dc in next 2 stitches, keeping the decorative pattern aligned with the previous row.
- Row 16:
- At the beginning of this row, ch 2, work 1 dc in the same stitch, followed by ch 2.
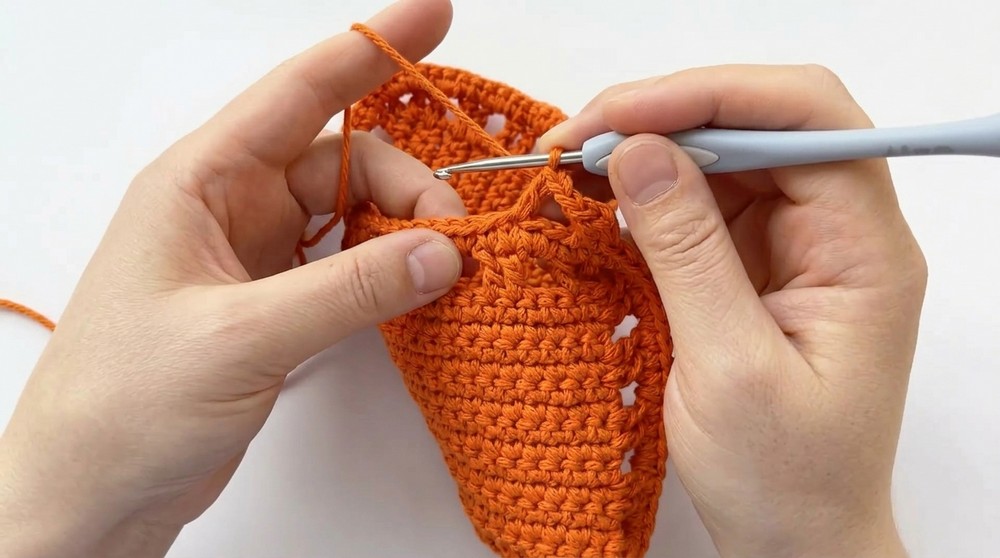
- Continue the pattern by working 1 dc in each of the next 2 stitches, repeating Ch 2, skip 2 st, and 1 dc in next 2 stitches.
- At the beginning of this row, ch 2, work 1 dc in the same stitch, followed by ch 2.
Helpful Note: In these rows, make sure the double crochets in each row remain stacked on top of the double crochets from the previous row. This consistency creates the alignment needed for the decorative spaces. When in doubt, count your chain spaces and dc pairs!
Finishing the Edges
- Single Crochet Edge Rounds:
- After completing the decorative rows, begin by ch 1 and turning your work.
- Work 1 sc in each stitch and 2 sc in each chain space from the previous row. This evens out the edges and fills in the spaces for a cohesive look.
- Round Off with Slip Stitches:
- To finish, work a slip stitch in the first sc, then ch 1 and complete one more round of sc stitches for a clean edge.
- Final Step:
- After closing the round with a sl st, ch 1 and cut the yarn. Weave in all ends securely.
Important: Adding single crochet rounds at the end polishes the design, making it neat and ready for use.
Assembly & Finishing
- Block your finished piece if needed to shape the edges evenly.
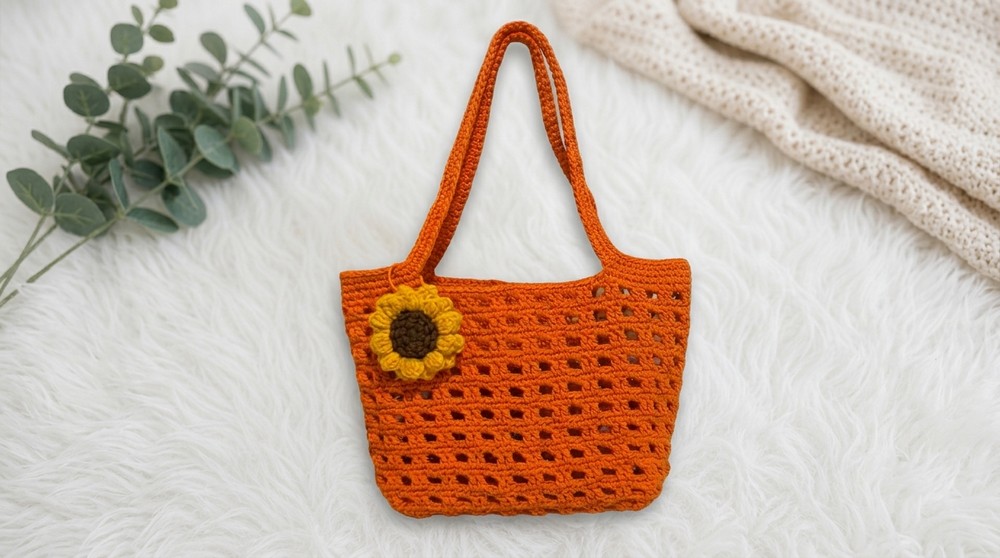
- Depending on your project, you can attach buttons, tassels, or ribbons for added decoration.
What You Will Learn
- Basic foundation building with single crochet rows.
- How to transition into open, airy designs using double crochet and chain spaces.
- Combining solid and lacy textures for endless creative possibilities.
- Adding neat edges with single crochet and slip stitch rounds.
Difficulties and Solutions
Maintaining consistent tension can be tricky when transitioning between single crochets and openwork double crochets. Uneven tension may cause wavy edges or distort the bag’s shape. To fix this, work your stitches slowly and count them after each row. Aligning the decorative openwork can also be a challenge, but this is easily solved by checking stitch placement to stack double crochets evenly.