Free Crochet Flower Place Mat Pattern + Easy Tutorial

Brighten every meal effortlessly by using this free crochet flower place mat pattern that guides you through making stylish and vibrant table décor.
Creating beautiful and useful items for your home can be a joyful and rewarding experience, especially when the finished piece brings color and elegance to your table. Special thanks to the channel Hooks And Stitches for sharing such a wonderful tutorial that makes this project easy and fun for everyone. This placemat offers more than just a simple decoration; it adds warmth and a touch of nature to any dining setting, making every meal feel special.
Easy Free Crochet Flower Place Mat Pattern to Brighten Your Table
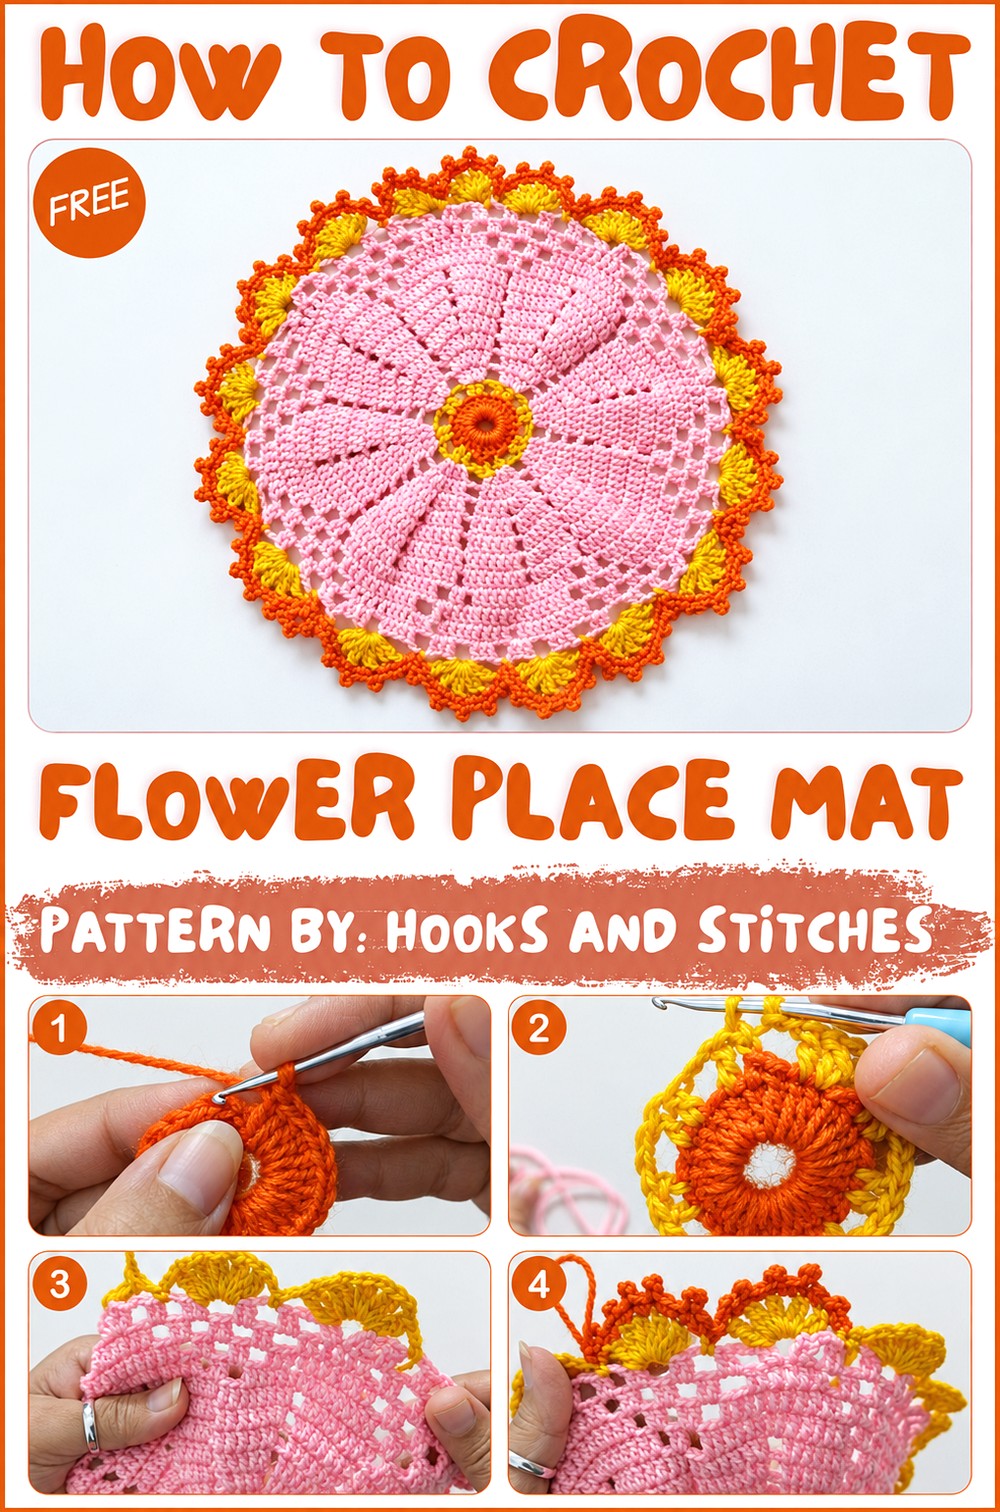
The item is made with a simple and clear working style that suits even beginners. It uses basic crochet stitches that build up to form a lovely flower shape right in the center. The round and symmetrical design creates a bright focal point, making the placemat both attractive and practical. This pattern is best because it uses yarn efficiently while resulting in a firm but soft mat that protects your table and adds brightness to your space.
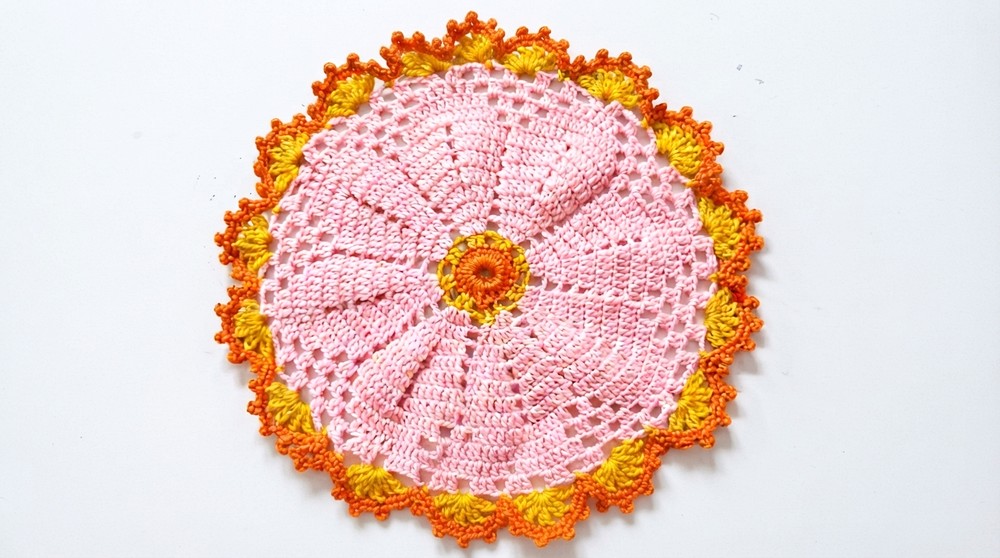
The most eye-catching feature is the detailed flower motif with petal-like sections spreading outwards in a balanced layout. This shape brings a natural flow and beauty to the placemat that will please any eye. It suits all kinds of home décor and can also be a thoughtful gift given its elegant look and useful purpose.
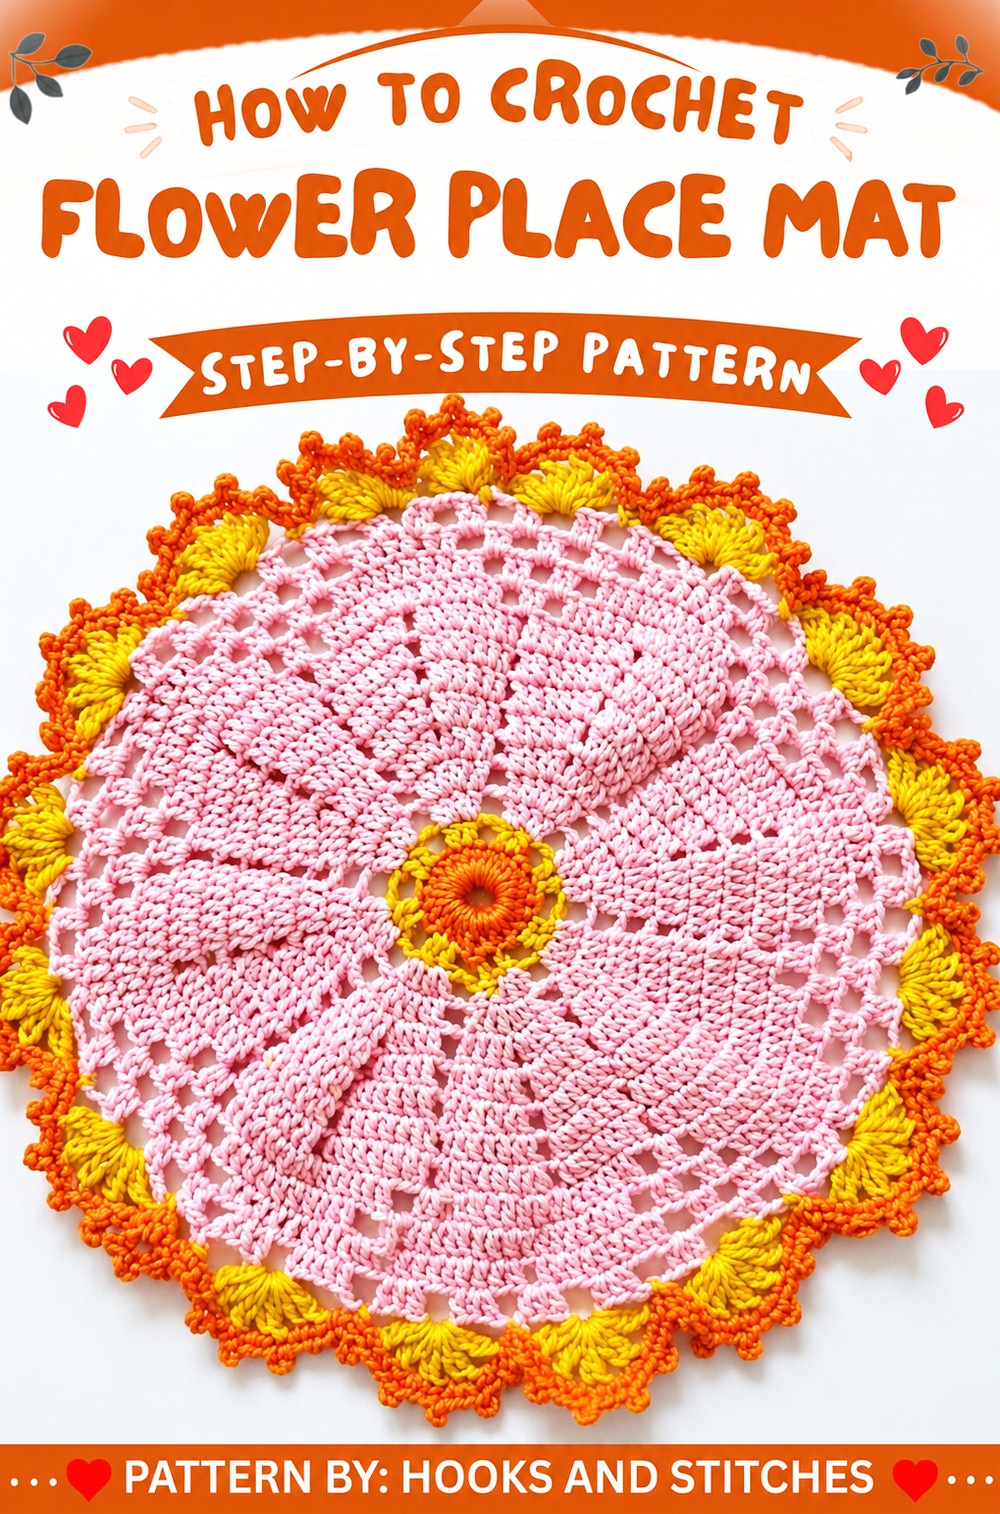
Crochet Pattern: Decorative Flower Mat
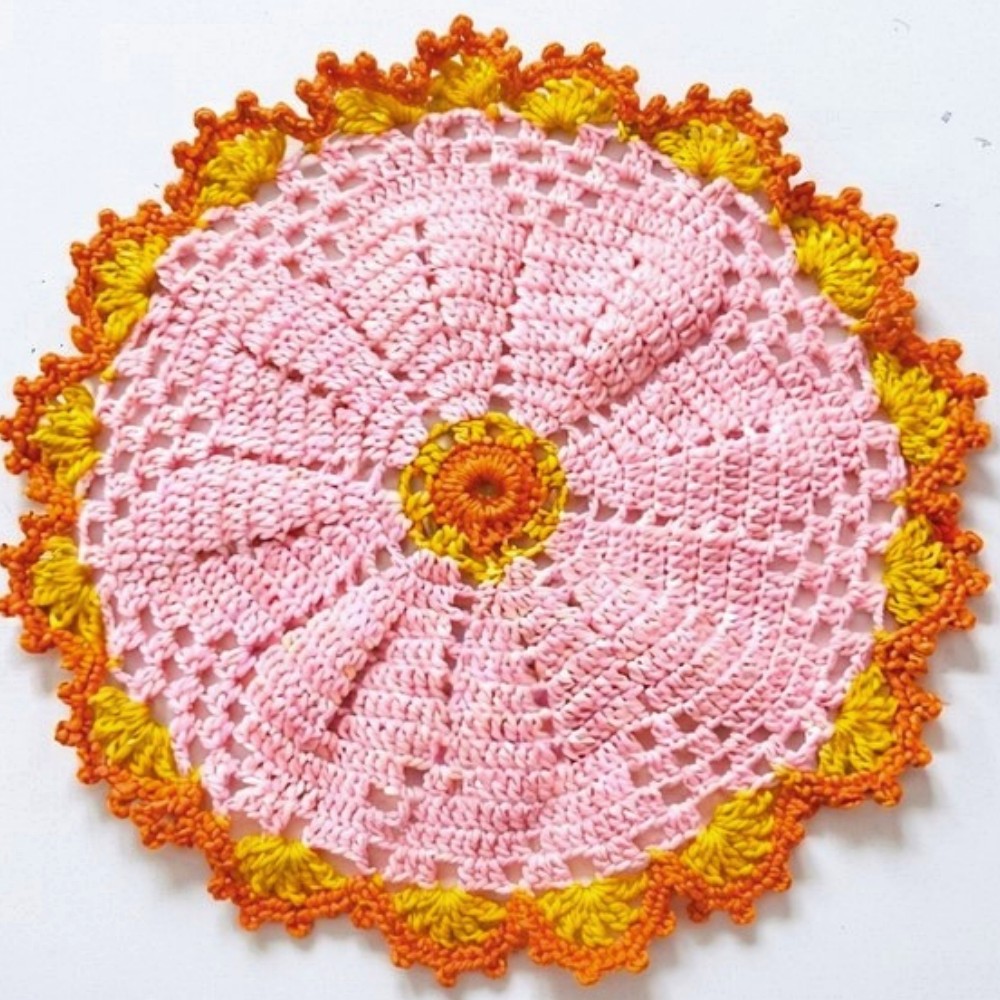
This Decorative Flower Mat is a colorful and textural crochet project. Featuring layered petals and a charming border, this mat can act as a centerpiece or an accent piece for home decor. The pattern uses three colors to create depth and visual interest, with a unique petal structure shaped through increases and decreases.
Skill Level
Intermediate – This pattern includes the use of various stitches, multiple color changes, and careful shaping. Those familiar with working in rounds and increasing/decreasing will find this pattern enjoyable.
Materials
- Yarn: Acrylic two-ply yarn in three colors (Color A, Color B, Color C).
- Crochet Hook: Size 2.5 mm, suitable for working with two-ply yarn.
- Additional Tools:
- Scissors for trimming yarn.
- Yarn needle for weaving in ends.
Stitch Abbreviations
- Ch: Chain
- Sl St: Slip Stitch
- SC: Single Crochet
- DC: Double Crochet
- TR: Treble Crochet
Special Stitches
Picot Stitch
A decorative loop added to the edge of the project.
- Ch 3.
- Insert the hook into the first chain made, yarn over, and pull through all loops on hook.
- A small decorative bump or loop will form.
Useful Tips
- Tension Control: Work with consistent tension to ensure smooth and even petals.
- Color Changing: When switching colors, secure the old yarn and weave in ends for a clean look.
- Stitch Placement: Use stitch markers to keep track of the start and end of rounds to avoid losing count or misaligning petals.
- Blocking: Gently block the finished mat to ensure the petals lie flat and the entire design retains its shape.
Pattern Instructions
This flower mat is worked in the round, beginning with a foundation ring and layers of petals, each shaped through increasing and decreasing stitches. Follow the steps below carefully, ensuring proper stitch counts in each round.
Foundation Ring
- Create a slip knot and place it on your hook.
- Ch 10 to form a base chain.
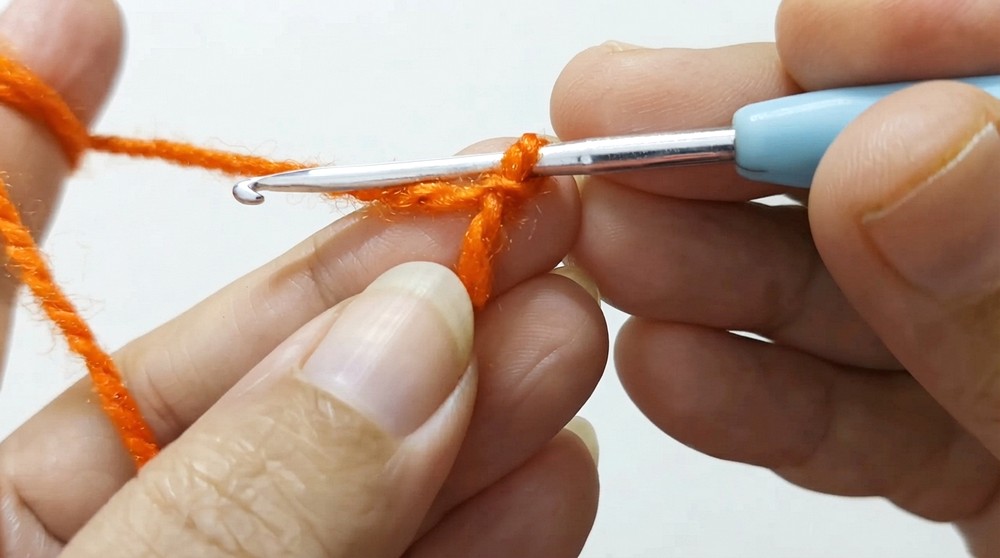
- Join the chain into a loop by working a Sl St into the 4th chain from the hook, creating a foundation ring.
Round 1: Base Layer
- Ch 3 (counts as the first DC).
- Work 23 DC into the foundation ring for a total of 24 DC, including the initial Ch-3.
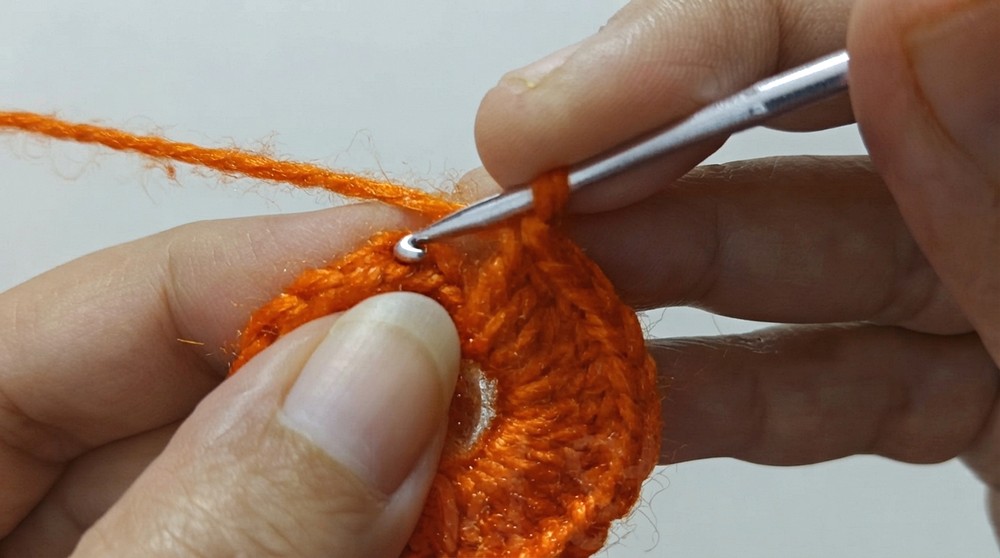
- Join the round with a Sl St into the top of the Ch-3.
Round 2: First Layer of Petals
Switch to Color B:
- Ch 3 (counts as the first DC).
- DC in the next stitch, followed by Ch 2 and skip 1 stitch.
- Repeat the pattern: DC, DC, Ch 2, skip 1 around the ring.
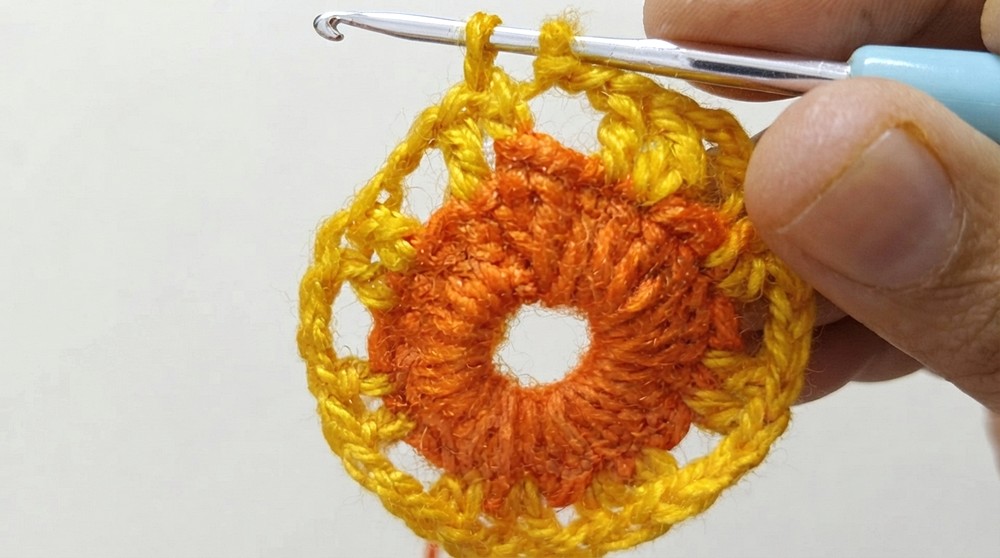
- Join the round with a Sl St into the top of the starting Ch-3.
You should have groups of 2 DC separated by a Ch-2 space around the ring.
Round 3: Building the Petal Base
Switch to Color C:
- Ch 3, work 2 DC in the same stitch.
- Work 1 DC into the next stitch, and 2 DC into the same.
- Ch 2 to separate the clusters.
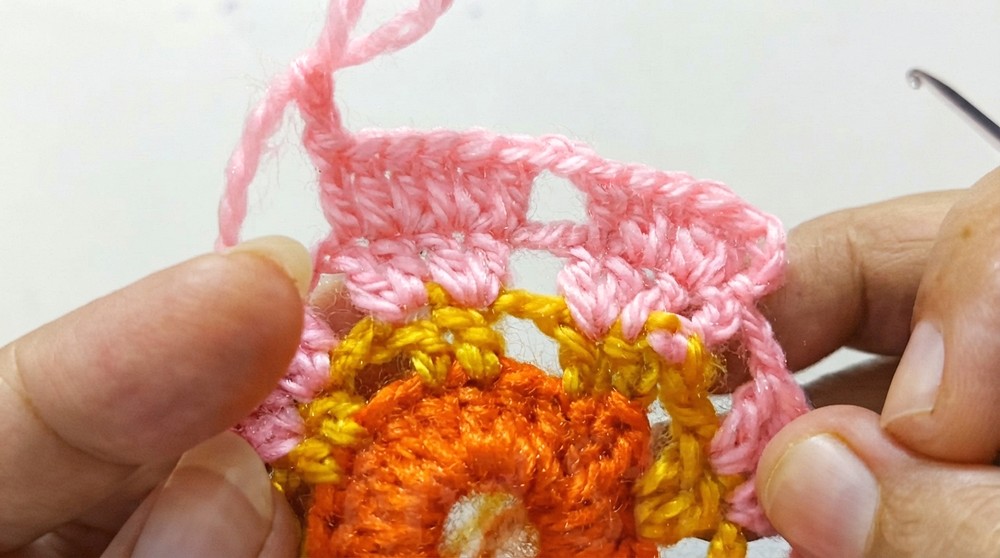
- Continue the pattern of: (2 DC, 1 DC, 2 DC), Ch 2 around the ring.
- Join with a Sl St to the top of the initial Ch-3.
Rounds 4–8: Increasing Petal Size
- Continue adding height by increasing the number of DC stitches in each cluster:
- For Round 4, work clusters of 3 DC, separated by Ch 2 spaces.
- For Round 5, work clusters of 4 DC, and so on.
- Continue this progression until your clusters reach 8 DC per section in Round 8.
- Separate each cluster with Ch 2 spaces to maintain the structure of the petals.
Decreasing Petal Layers
This step begins creating a tapered shape to form the pointed ends of the petals.
Round 9:
- Slip stitch to the 3rd DC of the first cluster to position your hook for the decrease.
- Work SC2tog (Single Crochet Two Together) across the first 2 DC stitches.
- Continue working DC across the remaining stitches of the current cluster, stopping before the last 2 stitches.
- Finish the cluster with another SC2tog.
Repeat this for each petal: SC2tog, DC, SC2tog, with Ch 2 spaces between petals.
Rounds 10–12: Shaping the Petals
As you progress, continue decreasing the number of DC stitches in each cluster as follows:
- In each new round, begin by slip stitching to the next available stitch or space.
- Ch 1 to create height, then decrease by skipping 2 DC stitches at the beginning and end of each cluster.
- Add Ch 2 spaces between each petal as before, maintaining the overall form of the flower.
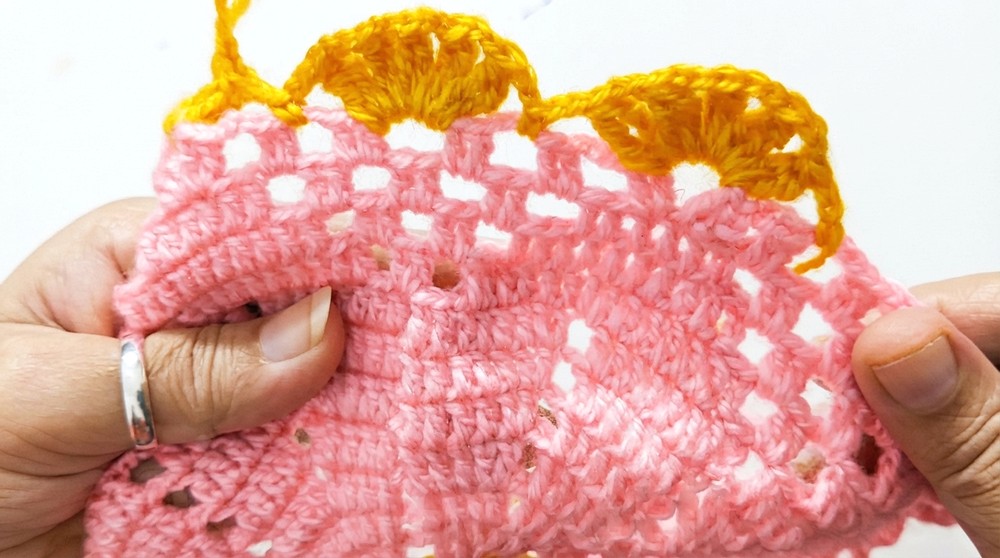
Repeat these rounds until each petal has tapered to 3 DC stitches.
Edging: Adding Petal Details
Switch back to Color B:
- In the pointed tip of each petal, work 3 TR stitches into the 3-chain spaces to emphasize and elongate the petals.
- Continue working SC into the lower edges of each petal, followed by TR stitches into the pointed tips.
Final Decorative Edge
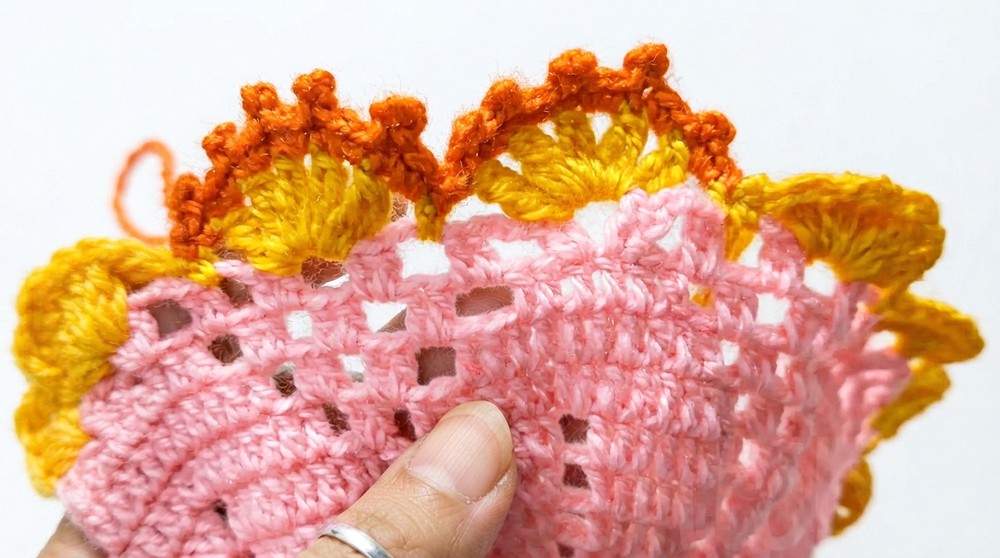
- Work SC stitches across the edges of the petals, evenly spaced.
- At the tip of each petal, create a picot by working SC, Ch 3, and Sl St into the first chain.
- Repeat the SC and picot sequence until the end of the round, ensuring all petals have a neat decorative finish.
Finishing Touches
- Fasten Off: After completing the final round, cut the yarn and weave in all loose ends using a yarn needle. Secure the ends completely to prevent unraveling.
- Blocking: Gently block the finished flower mat to even out the shape, soften the petals, and ensure the mat lies flat.
Conclusion
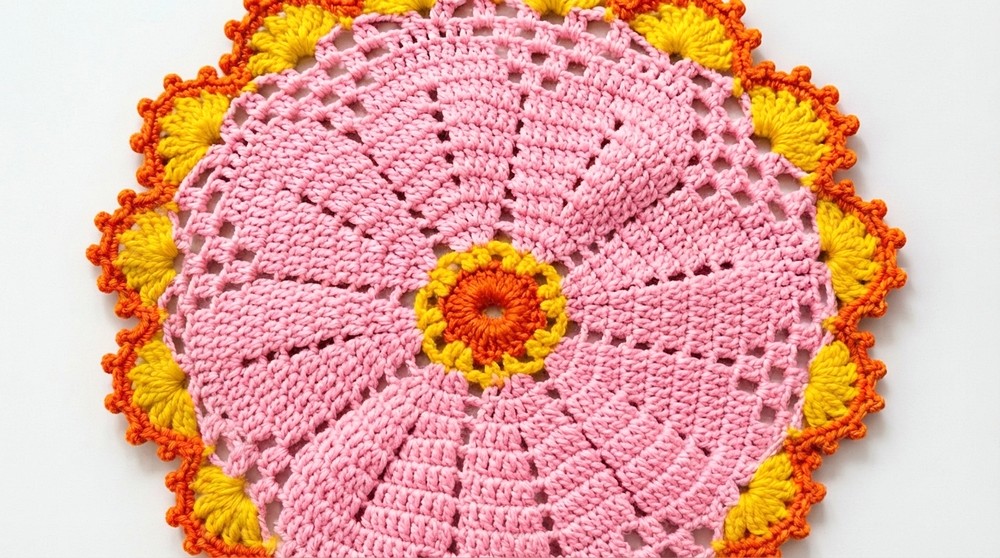
This Decorative Flower Mat combines vibrant colors and textured petals to create a unique piece ideal for adding a touch of elegance to your home. The combination of raised stitches, layered petals, and a decorative edge gives the design sophistication and versatility. Adjust the size, colors, or yarn type to fit your creative vision and make the project your own.