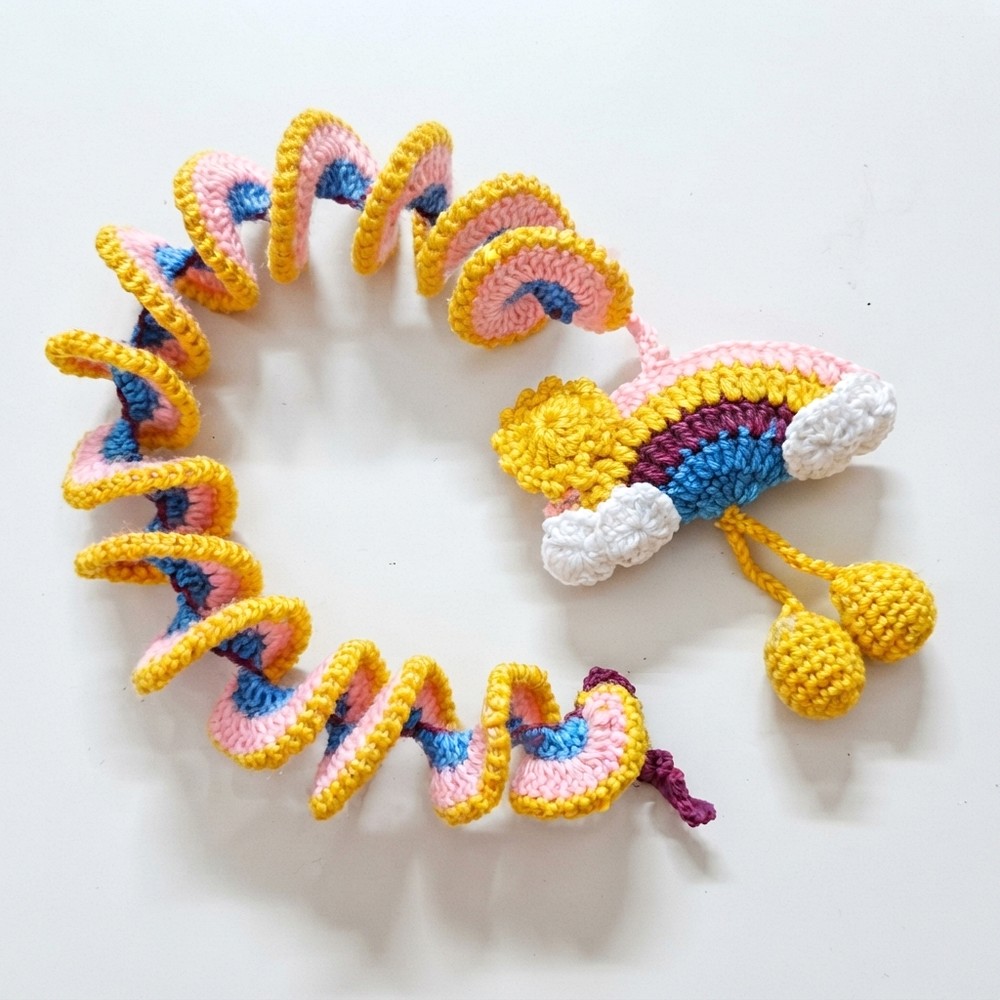
Free Crochet Rainbow Wind Spinner Pattern + Easy Tutorial for Beginners

Add vibrant color and soothing motion to your outdoor space with a free crochet rainbow wind spinner pattern that’s easy to follow and enhances any garden instantly.
Colorful decorations that brighten outdoor spaces bring energy and warmth to any setting. Hanging spinners made with careful loops and stitches capture the wind’s movement, creating a soothing and playful effect that enhances gardens, balconies, and patios. Lightweight yet durable construction allows these pieces to last while gently spinning in the breeze.
Easy and Free Crochet Rainbow Wind Spinner Pattern
About Channel!
Grateful acknowledgment goes to Hooks And Stitches for providing a clear, accessible guide that supports beginners in bringing this vibrant spinner to life. Their helpful instructions make it possible for anyone to add joyful color and movement to their environment quickly and confidently.
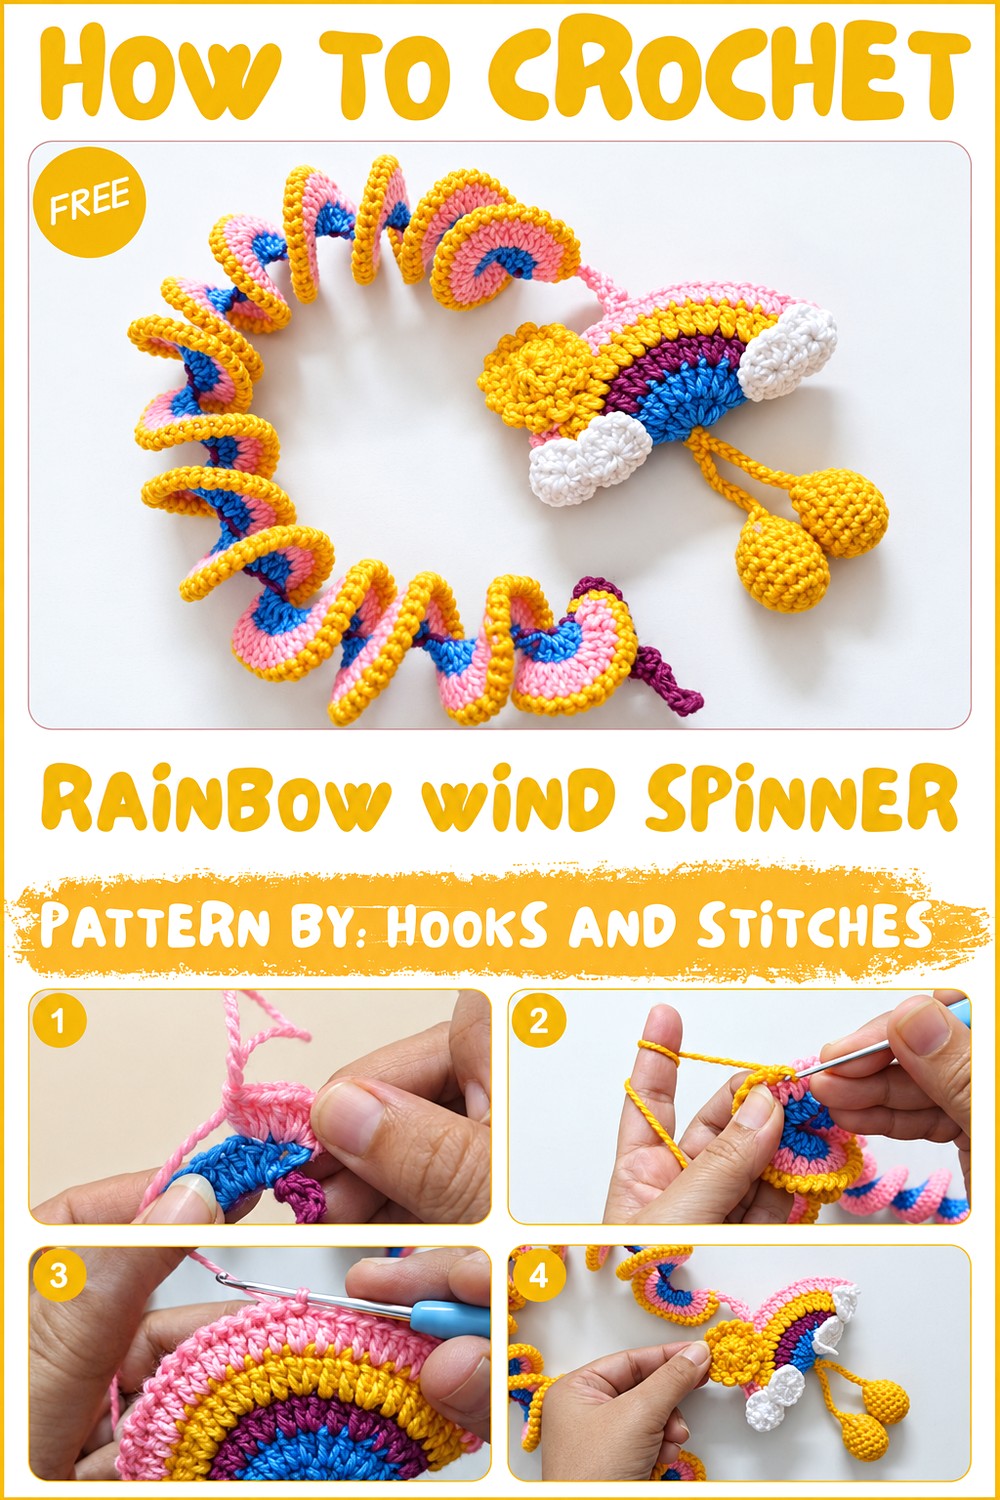
Loops and stitches form a circular shape designed to spin freely. Vivid rainbow colors arranged in an open pattern help catch sunlight and air, making the spinner visually striking and full of life. Movement combined with color attracts attention and adds a cheerful, dynamic touch to surroundings.
Balance between simplicity and beauty makes this design especially appealing. Easy techniques produce an elegant result without requiring advanced skills, so many people can enjoy creating their own spinning decorations. These creations brighten spaces and offer relaxation through engaging, hands-on activity.
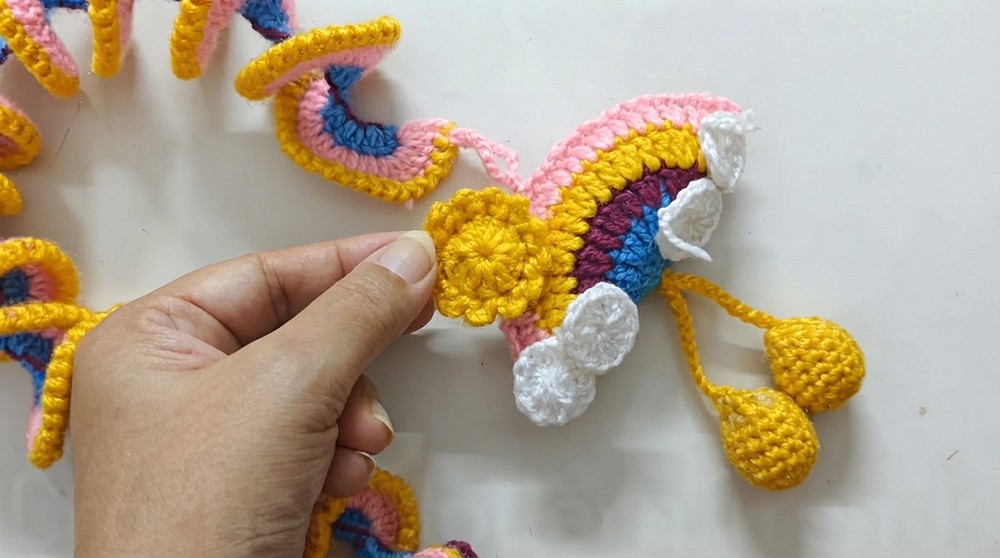
Crochet Pattern: Rainbow Wind Spinner
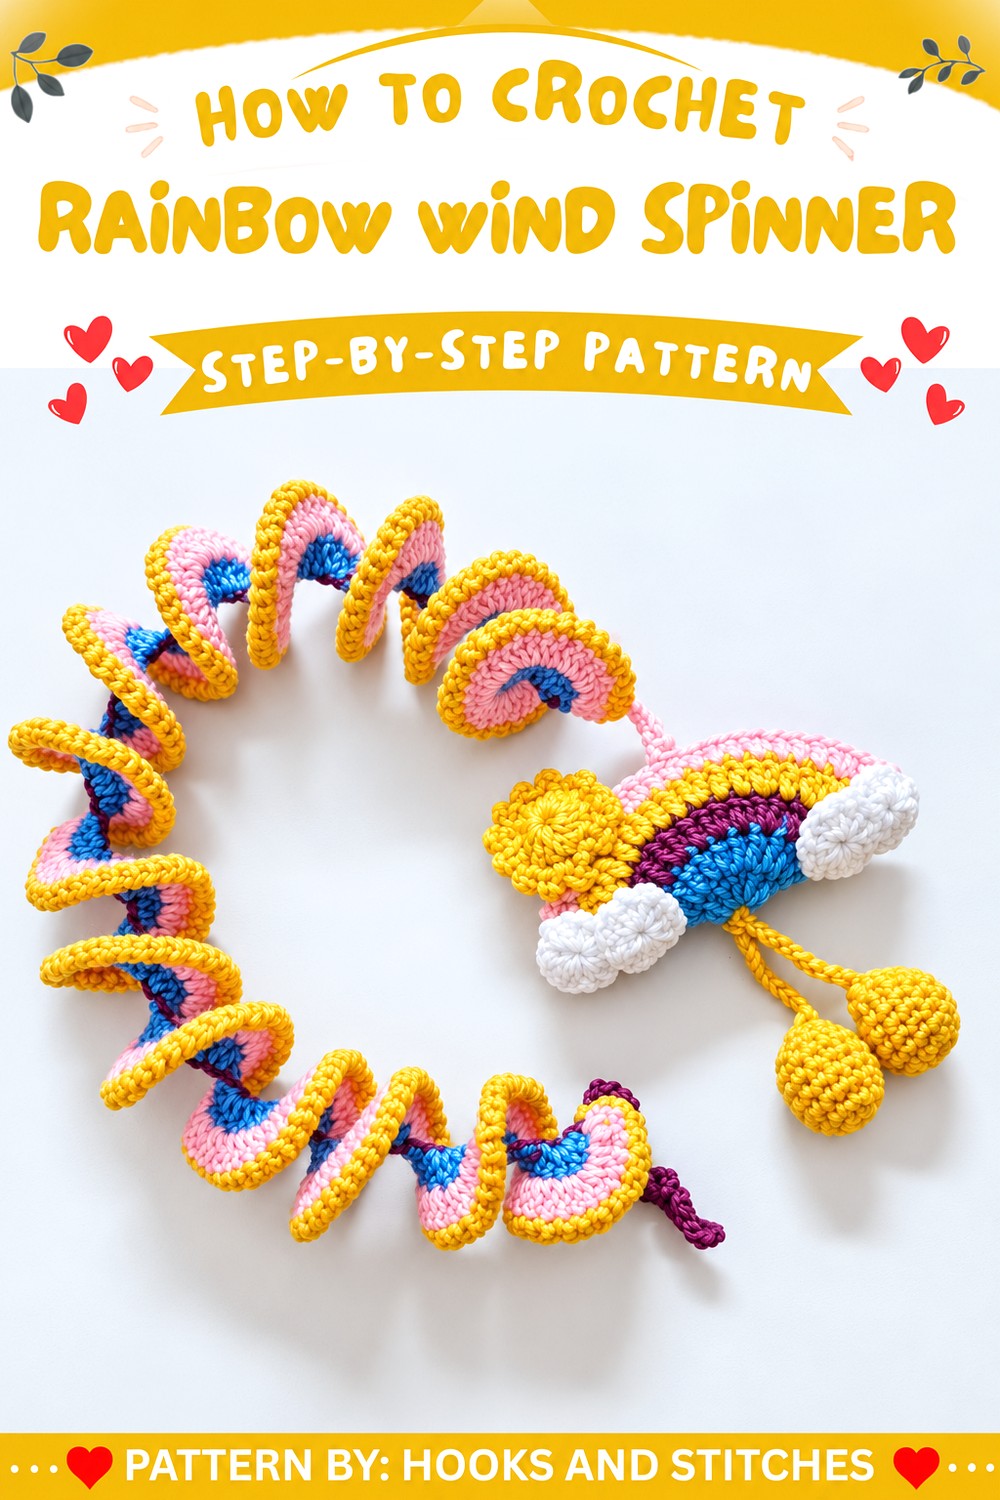
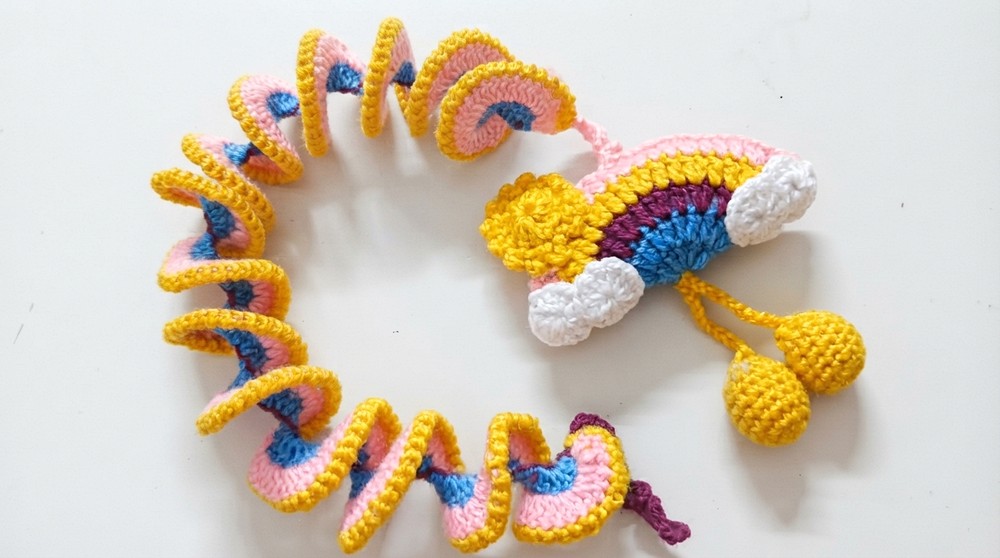
The Rainbow Wind Spinner is a delightful crochet project that brightens up any space with its colorful and playful design. Featuring a spiraling base with a rainbow accent, sun, clouds, and hanging balls, it’s both decorative and fun to make. This project is perfect for beginners looking to expand their skills while mastering basic crochet stitches.
Skill Level
Beginner – Designed to be accessible for beginners, this pattern uses simple stitches such as chains, single crochet, double crochet, and slip stitches. It’s a great starting project for anyone learning color changes and shaping.
Materials
- Yarn: Acrylic four-ply yarn in rainbow colors (e.g., red, orange, yellow, green, blue, violet).
- Hook: 2.5 mm crochet hook.
- Additional Tools:
- Scissors
- Yarn needle (for sewing and weaving ends).
- Filling: Polyester stuffing or fiberfill (for the rainbow, sun, and balls).
Stitch Abbreviations
- Ch: Chain
- Sl St: Slip Stitch
- SC: Single Crochet
- DC: Double Crochet
- Inc: Increase (work two stitches into the same stitch)
Special Stitches
Picot Edge
- Foundation: Work a SC in the desired stitch.
- Picot Formation: Chain 3 and Sl St into the same stitch.
- This provides a decorative, spiked edge, perfect for adding texture to pieces like the sun.
Useful Tips
- Color Changes: To maintain a neat and tidy appearance at every color change, finish the last yarn-over of the preceding stitch with the new color.
- Tension: Keep your tension consistent for smooth spirals and polished results.
- Secure Stuffing: Ensure the rainbow and other stuffed elements are tightly closed to keep the filling in place.
- Reinforce Hanging Loops: When creating the loops for hanging, double-check that they are securely attached to prevent the spinner from coming undone.
Pattern Instructions
This pattern is divided into five sections: Wind Spinner Base, Rainbow, Sun & Clouds, Hanging Balls, and Assembly.
1. Wind Spinner Base
The base forms the spiraling body of the wind spinner.
Foundation Chain
- Start with Color A.
- Chain 80, then chain an additional 50 for the hanging loop.
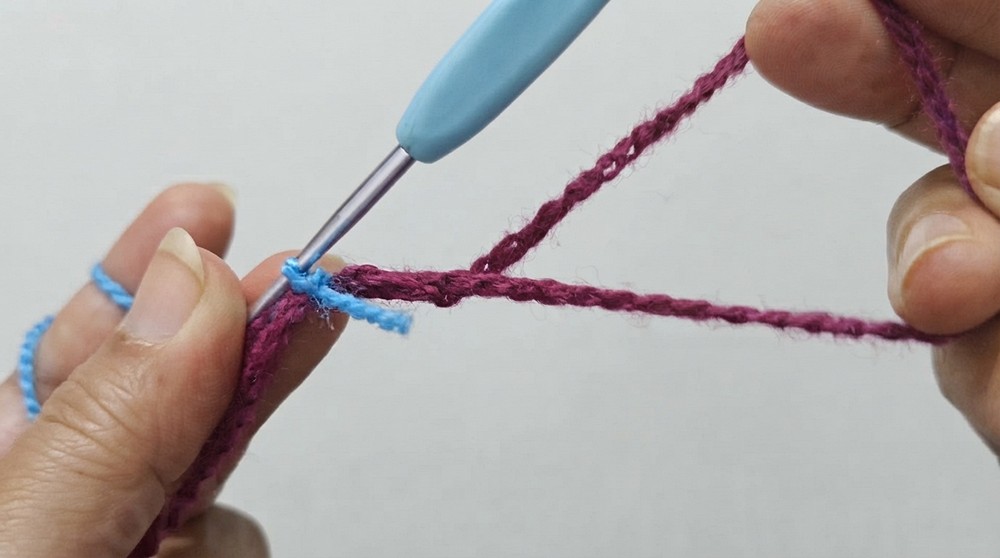
- Join the last chain back to the first chain with a Sl St to form a loop.
Row 1
- Switch to Color B.
- Chain 3 (counts as first DC).
- Work 2 DC into each stitch across the row.
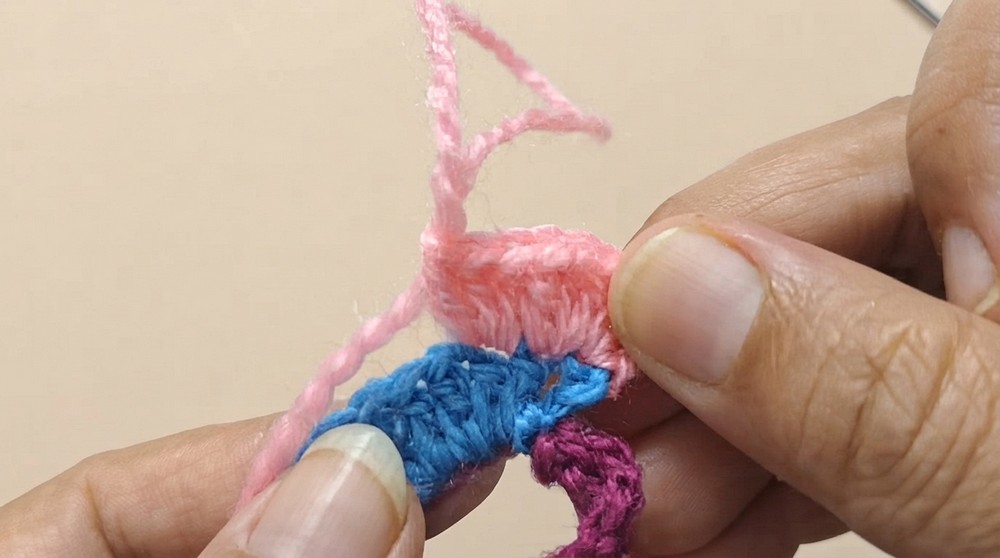
Row 2
- Switch to Color C.
- Chain 3 (counts as first DC).
- Work 3 DC into each stitch across the row.
Edging and Hanging Loop
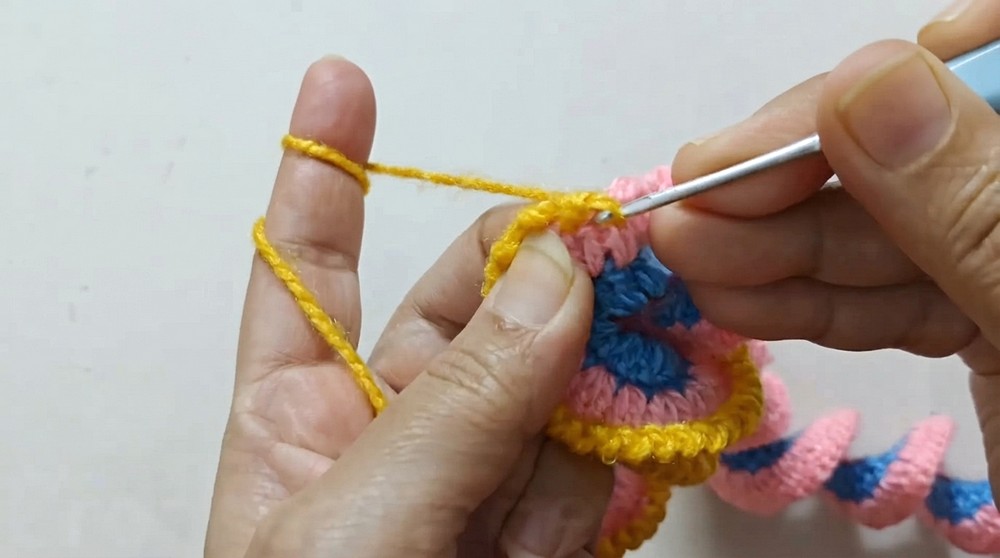
- At the end of the spiral base, work a Ch-1, Sl St pattern to create a decorative edge along the top.
- Use a yarn needle to attach the hanging loop securely to the top of the spinner.
2. The Rainbow
The rainbow adds a colorful decorative element and serves as the main design feature.
Foundation
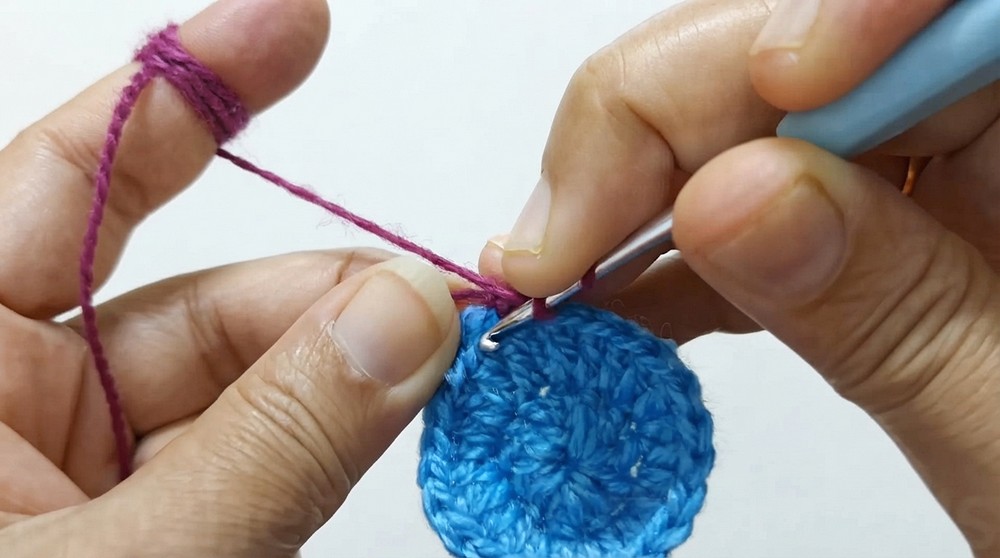
- Using Color A, create a magic ring.
- Work 12 DC into the ring. Pull to close.
Increasing Rounds
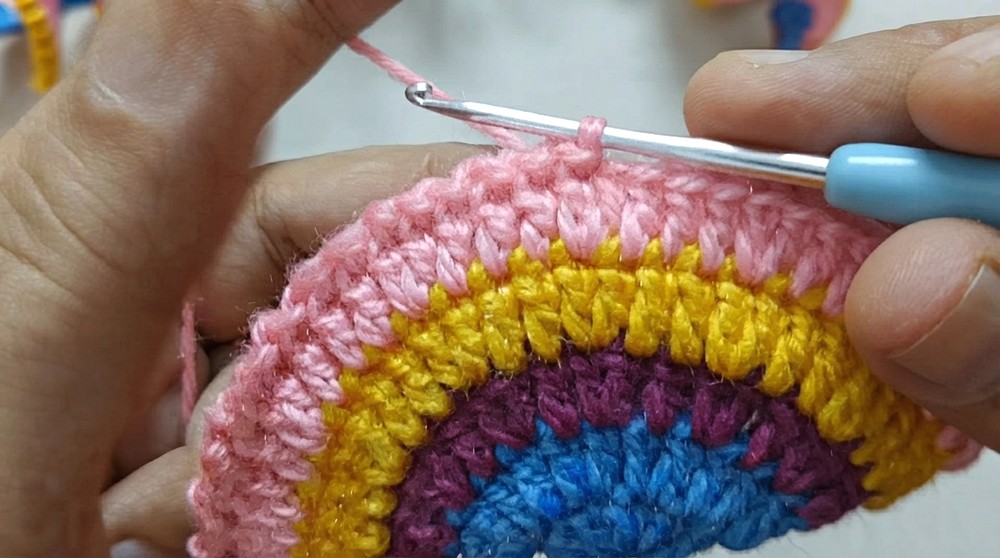
- Continue to expand the circle using the following color sequence: Colors B, C, D.
- Increase as follows:
- Round 1 (Color B): Inc in every stitch – (Total: 24 DC).
- Round 2 (Color C): 1 DC, Inc – (Total: 36 DC).
- Round 3 (Color D): 1 DC, Inc, 1 DC – (Total: 48 DC).
Joining and Filling
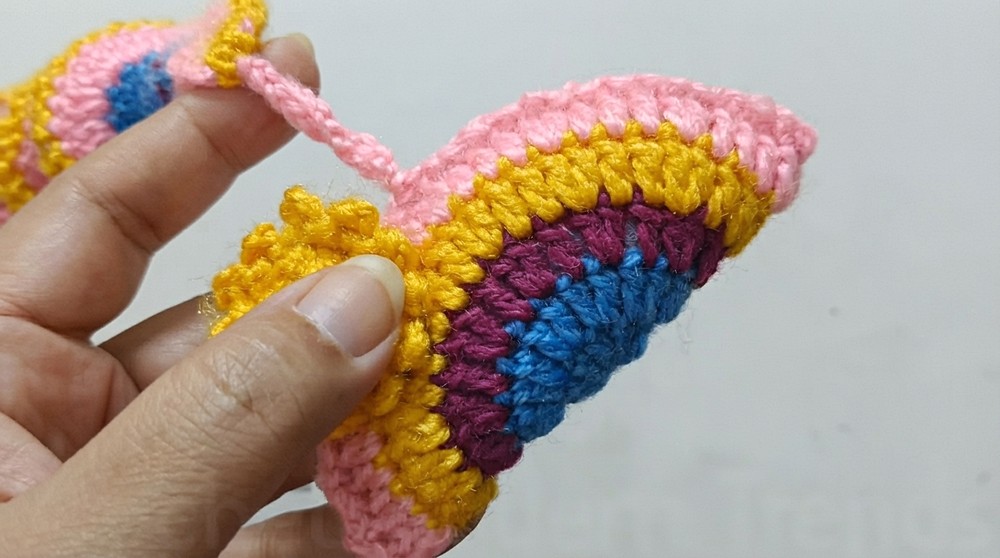
- Fold the circle in half to create a semi-circular rainbow shape.
- Use Sl St to join the edges together.
- Before completing the join, stuff the rainbow with fiberfill for a plump shape.
- Finish joining with Sl St, leaving no gaps.
Hanging Chains
- Create two sets of 10 chains at the top of the rainbow for hanging.
- Secure the chains to the spinner with a needle.
3. Sun & Clouds
These add a cheerful and playful finishing touch to the wind spinner.
Sun
- Create two identical flat circles using Color Yellow (bright yellow recommended). Each circle:
- Magic ring – work 12 DC into the ring. Pull to close.
- Join the two circles together with a picot edge:
- Work chain 3, Sl St into the next stitch around to create a spiky, sun-like appearance.
Clouds
- Using Color White, create multiple small puffy clouds.
- For each cloud:
- Create a Magic Ring and work 12 DC into the ring.
- Pull the ring closed, fasten off, and weave in ends securely.
- Repeat to make 4 total cloud pieces.
4. Hanging Balls
The hanging balls add movement to the wind spinner and make it more whimsical.
Ball Construction
- Magic Ring – Start with 6 SC into the ring.
- Increase Round: Double the stitches (work 2 SC in each stitch) – (Total: 12 SC).
- Work 4 Even Rounds: Work 1 SC in each stitch around for 4 rounds without increases.
- Decrease Round: Work SC Dec around to return to 6 SC.
- Stuff the ball with fiberfill before closing the ring completely.
Second Ball
- Repeat the process to make the second ball.
5. Assembly
Finishing involves sewing all the pieces together to complete your wind spinner.
- Attach Balls: Using a yarn needle, sew the two hanging balls onto the bottom of the rainbow. Space them evenly for a balanced look.
- Attach Sun and Clouds:
- Determine the placement of the sun at the top of the rainbow.
- Sew the four clouds onto the edges of the rainbow to create a fluffy, whimsical effect.
Conclusion
The Rainbow Wind Spinner is a vibrant, cheerful addition to any indoor or outdoor space. Its versatile design makes it both decorative and functional. Experiment with various color palettes to suit your preferences or match seasonal themes.