How to Crochet HALLOWEEN Applique + Free Pattern & Tutorial

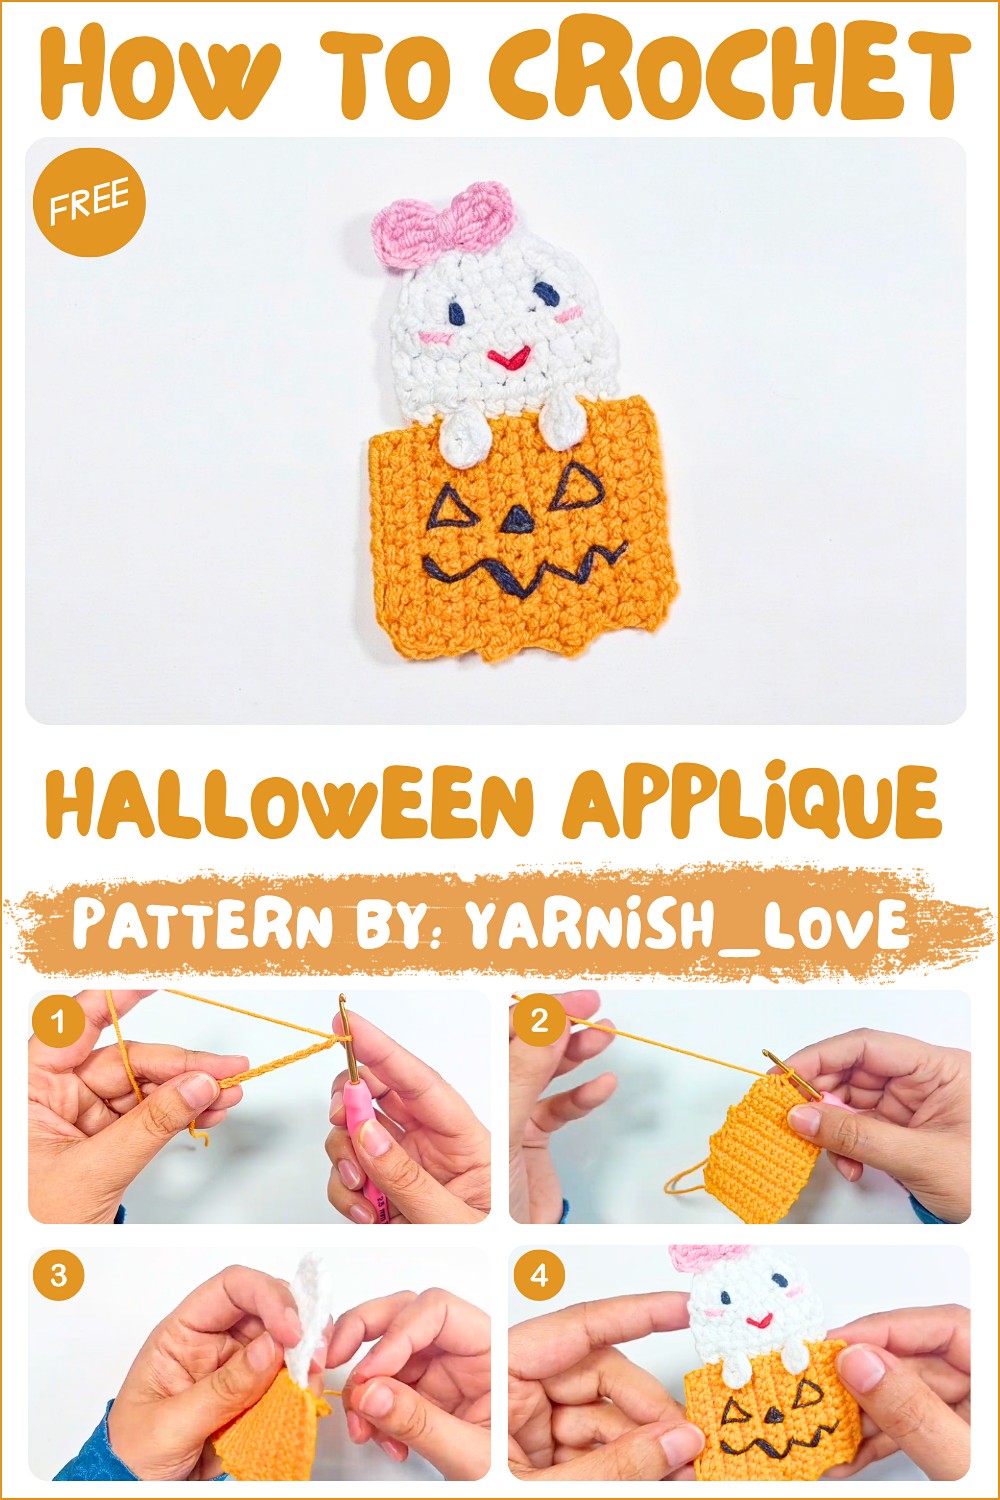
Turn everyday treat bags into Halloween favorites with this Free Crochet Pattern for a HALLOWEEN Applique you can sew onto costume pockets or party bunting.
By the time the candy is sorted, there are usually a few plain treat bags left on the table. A HALLOWEEN Applique gives those bags a detail people can spot right away. This Free Crochet Pattern suits a party setup where one small decoration can appear in several places, from the bag that holds the sweets to the bunting hanging across the room.
Spooky HALLOWEEN Applique for Treat Bags | Free Crochet Pattern
Start with the mood of your decorations. Orange against charcoal looks lively across a crowded table. Purple next to cream feels softer, especially on fabric that already has a print. On a tote or costume, try holding the finished patch against the cloth before sewing. The outline reads more clearly where seams, prints, and folds leave it some space. For a cape with a busy front, the back near one shoulder may give the decoration more room.
About the Creator
Seasonal characters appear alongside everyday animals on Guada crochet. Guadalupe has shared a Grinch amigurumi, a change of pace from her frogs and puppies. Browsing those projects gives readers a sense of the different subjects she works with, from familiar pets to characters people recognize from their favorite holiday stories.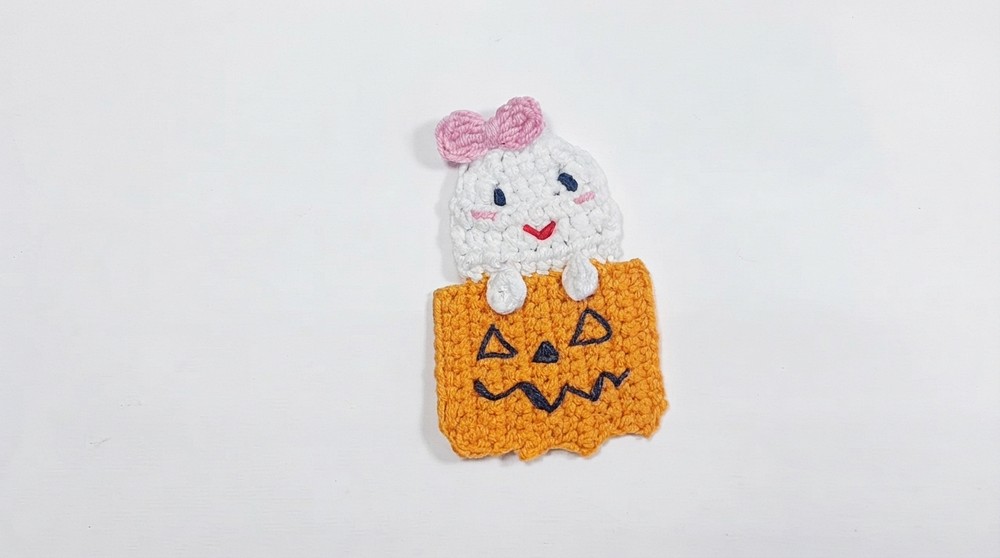
One good use for this idea is to repeat it on a few party pieces that will last beyond the evening. Sew a patch onto a cloth candy sack, then repeat the motif at either end of a hanging banner above the candy table. When the decorations come down, the pieces can fold together and go into a box for next October. It gives a familiar party setup a personal detail you can put out again.
Crochet Halloween Appliqué Pattern
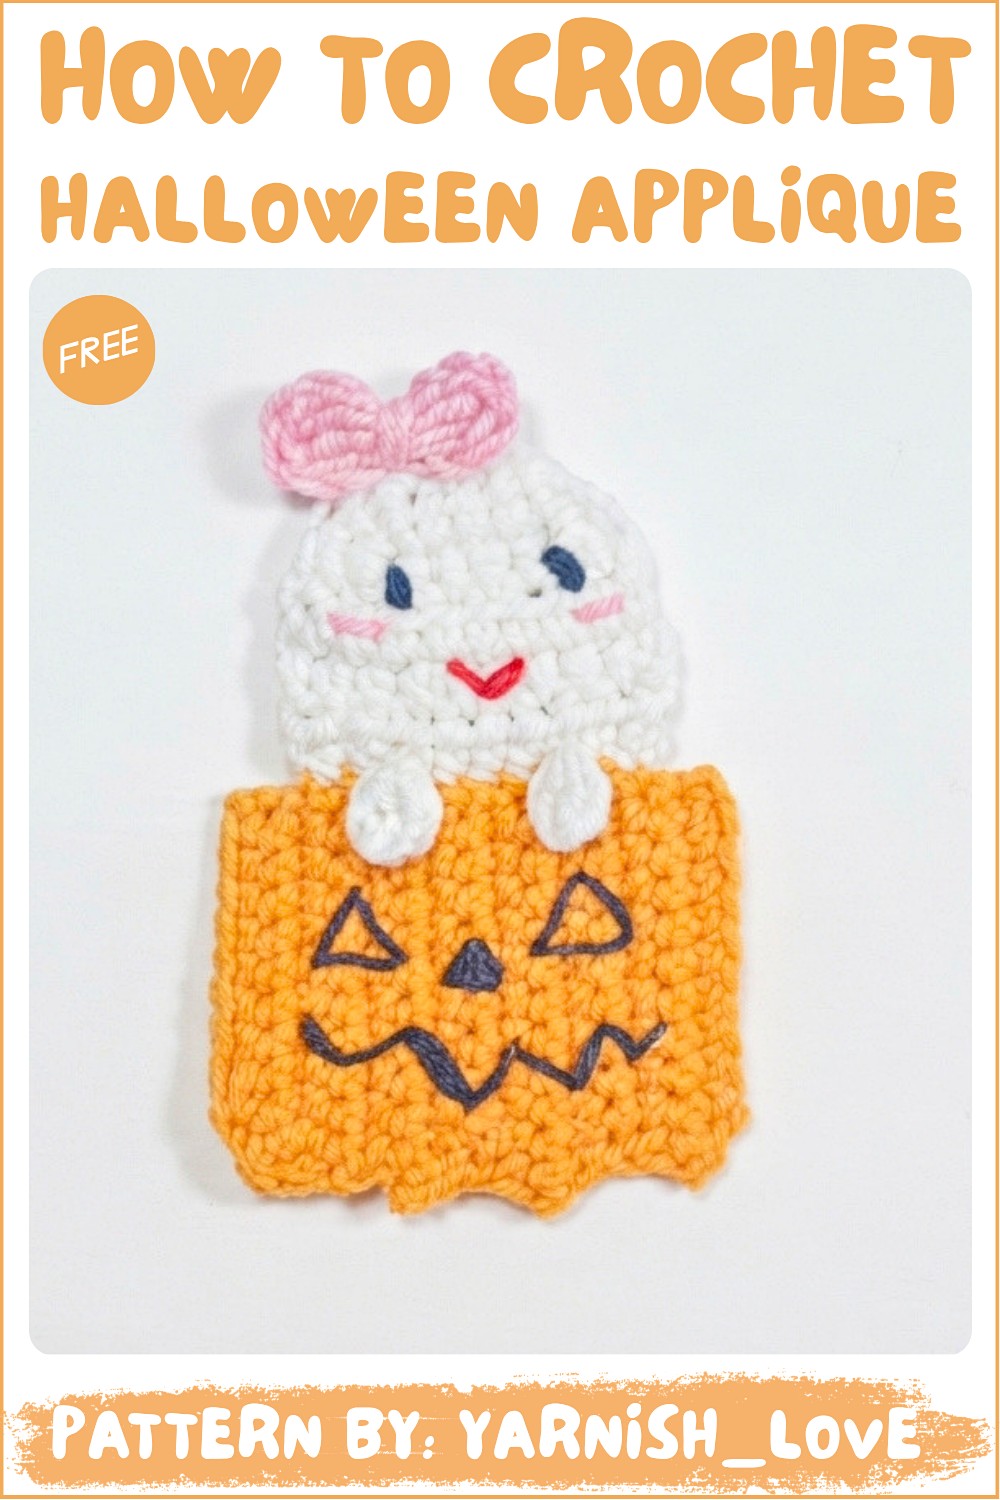
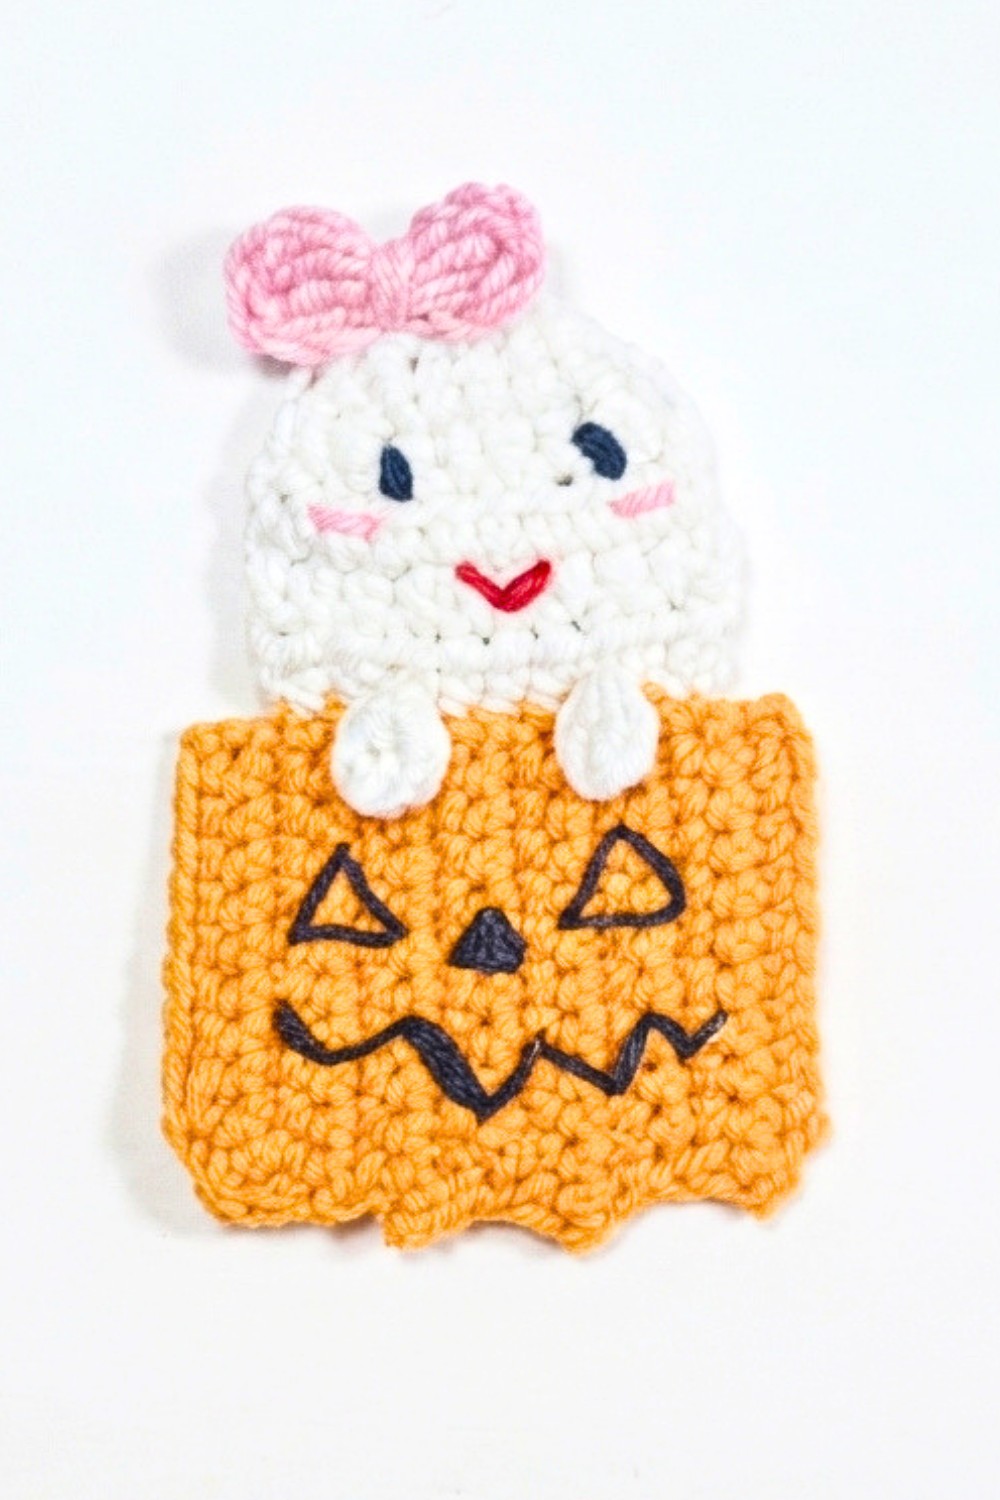
This crochet Halloween appliqué pattern includes a spooky pumpkin and a charming spirit to adorn your holiday crafts. Whether you want to decorate Halloween cards, crafts, or your favorite seasonal projects, these step-by-step instructions will guide you through creating each piece and adding delightful details.
Skill Level
Beginner to Intermediate – This pattern uses foundational stitches, including single crochet (SC), half double crochet (HDC), double crochet (DC), increases, decreases, and shaping techniques. It is suitable for those who are comfortable working in rows and creating shape using simple increases and decreases.
Materials
- Yarn: Medium-weight cotton yarn in the following colors:
- Orange (Pumpkin).
- White (Spirit).
- Green (Pumpkin accents).
- Black (Bow and Spirit details).
- Hook: 2.5 mm crochet hook.
- Accessories:
- Scissors.
- Yarn needle (for sewing pieces together or weaving in ends).
- Stitch marker (optional for tracking rounds).
Stitch Abbreviations
- ch = chain
- sc = single crochet
- hdc = half double crochet
- dc = double crochet
- sl st = slip stitch
- inc = increase (2 stitches in the same stitch)
- dec = decrease (crochet two stitches together)
Useful Tips
- Row Tracking: Keep count of your rows or mark them after completion to know where you are in the project.
- Magic Ring Technique: Be sure to tighten the magic ring securely to avoid gaps in the stitches.
- Yarn Selection: Use vibrant shades of orange for the pumpkin and stark white for the spirit to emphasize the Halloween theme.
- Neat Finishing: Weave in yarn ends tightly and securely for a polished and long-lasting result.
- Blocking: Steam block your finished appliqué pieces to enhance their shape and flatten them for clean attachment to other crafts.
Step-by-Step Pattern Instructions
1. Crochet Pumpkin
- Row 1:
- Ch 11, skip the first chain, and work 1 sc in the remaining 10 back bumps of the chain.
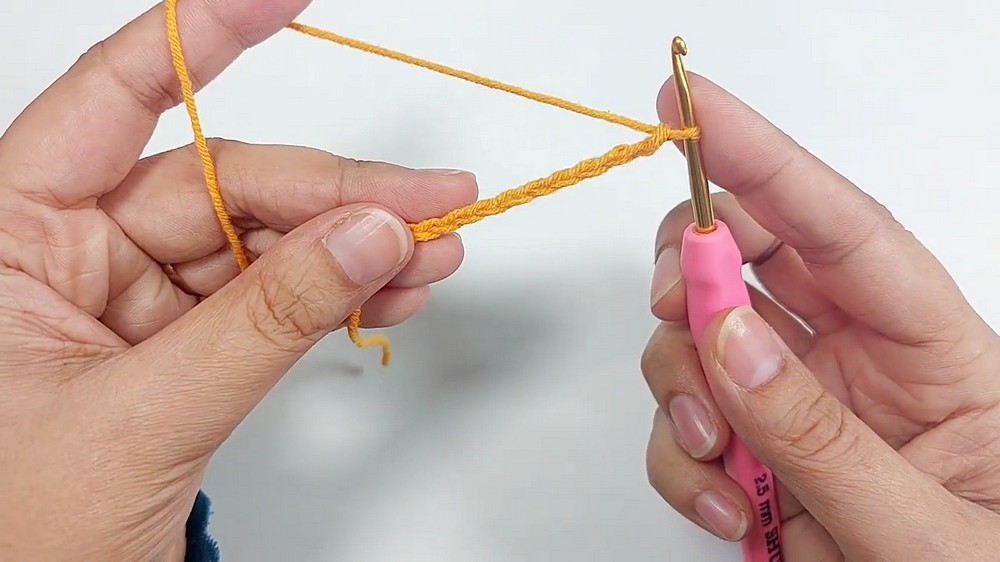
- Ch 11, skip the first chain, and work 1 sc in the remaining 10 back bumps of the chain.
- Row 2:
- Ch 1, turn your work.
- Inc (2 sc in the first stitch), then work 1 sc in each of the next 9 stitches.
- Row 3:
- Ch 1, turn.
- Work 1 sc in each stitch across, then dec (sc two stitches together) in the last two stitches.
- Row 4:
- Ch 1, turn.
- Work 10 sc across.
- Row 5:
- Ch 1, turn.
- Work 1 sc in each stitch, then work 3 sc in the last stitch.
- Row 6:
- Ch 1, turn.
- Work 12 sc across.
- Row 7:
- Ch 1, turn.
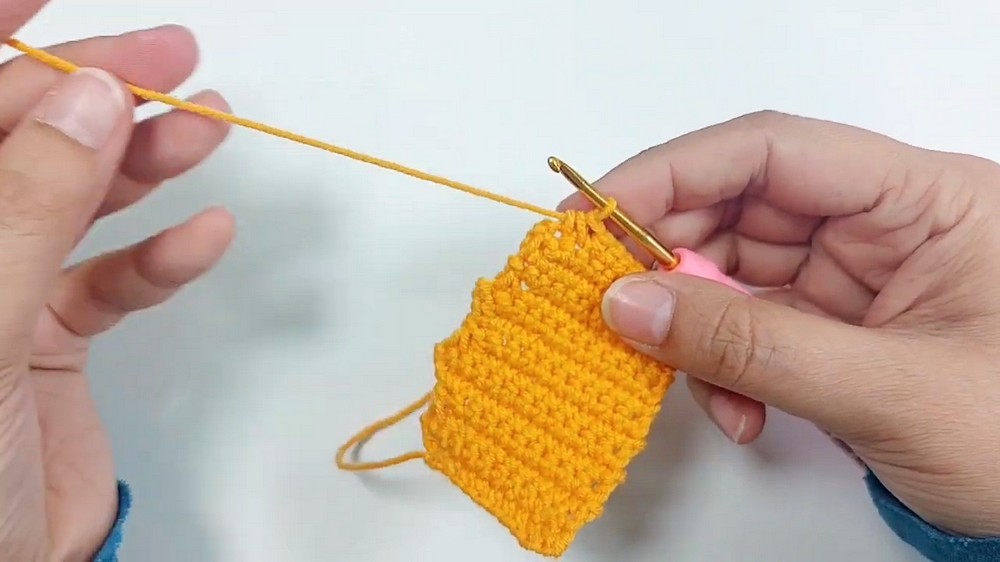
- Work 10 sc, then dec at the end.
- Row 8:
- Ch 1, turn.
- Dec at the start, then work 10 sc across.
- Row 9:
- Ch 1, turn.
- Work 1 sc in each stitch, then 3 sc in the last stitch.
- Row 10:
- Ch 1, turn.
- Dec at the start, then work 1 sc in each remaining stitch.
- Row 11:
- Ch 1, turn.
- Work 1 sc in each stitch, then dec at the end.
- Row 12:
- Ch 1, turn.
- Inc in the first stitch (2 sc in the same stitch), then work 1 sc in the remaining stitches.
- Row 13:
- Ch 1, turn.
- Work 1 sc in each stitch, then inc in the last stitch (2 sc in the same stitch).
- Row 14:
- Ch 1, turn.
- Skip the first stitch, then dec, followed by sc in the remaining stitches.
- Row 15:
- Ch 1, turn.
- Work 1 sc in each stitch, then dec at end. Fasten off.
2. Crochet Spirit
- Row 1:
- Ch 11, skip the first two chains.
- Work 1 hdc in each of the remaining 9 chains.
- Row 2–3:
- Ch 2, turn.
- Work 9 hdc across in each row.
- Row 4:
- Ch 2, turn.
- Dec at the start and end of the row.
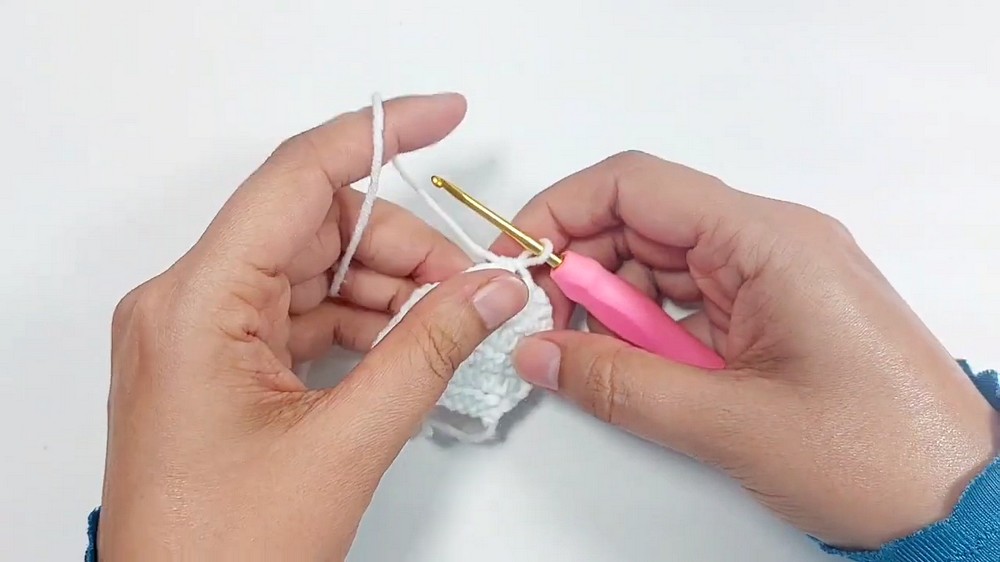
- Work 5 hdc in the middle stitches.
- Row 5:
- Ch 2, turn.
- Dec at the start and end of the row.
- Work 3 hdc in the middle stitches.
- Final Row:
- Ch 1, turn.
- Work a dec across all stitches to create the narrow top of the spirit’s body. Fasten off.
3. Details
Spirit Hands:
- Create a magic ring.
- Ch 2, work 1 dc into the ring.
- Ch 2, and then make a sl st into the magic ring to create the “fingers.”
- Pull the magic ring closed, fasten off. Make two hands and attach to either side of the spirit.
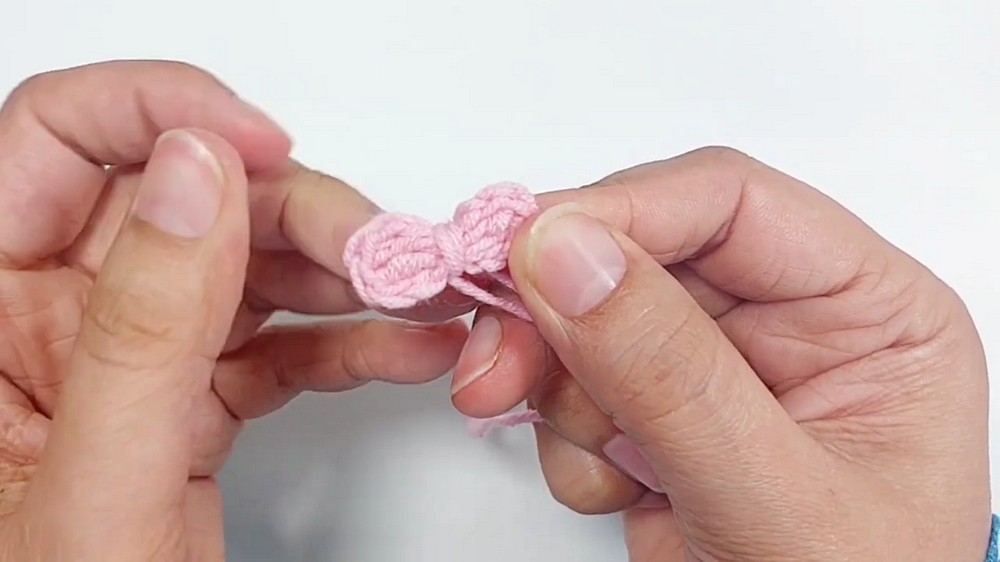
Bow:
- Start with a magic ring.
- Ch 2, work 2 dc into the ring, then ch 2, and sl st into the ring.
- Repeat two more times to create a symmetrical bow.
- Pull the magic ring tightly closed and fasten off. Attach the bow to the spirit as a decorative feature.
Assembly
- Pumpkin: Flatten the pumpkin and ensure the shaping looks even. If desired, use a tapestry needle to sew some ridges into the pumpkin for a realistic look by creating vertical threads.
- Spirit: Attach the hands and bow securely to the spirit body using a yarn needle or hot glue.
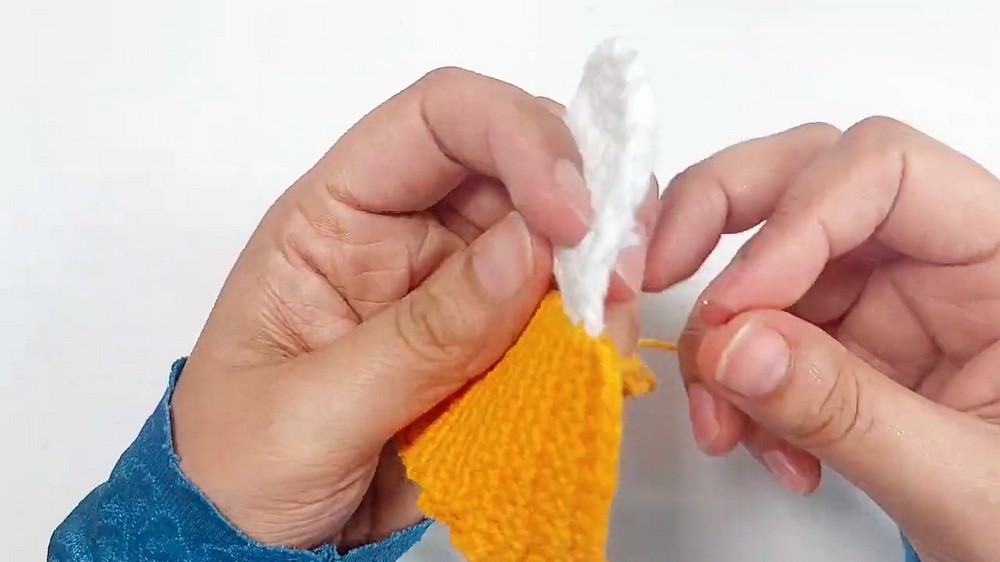
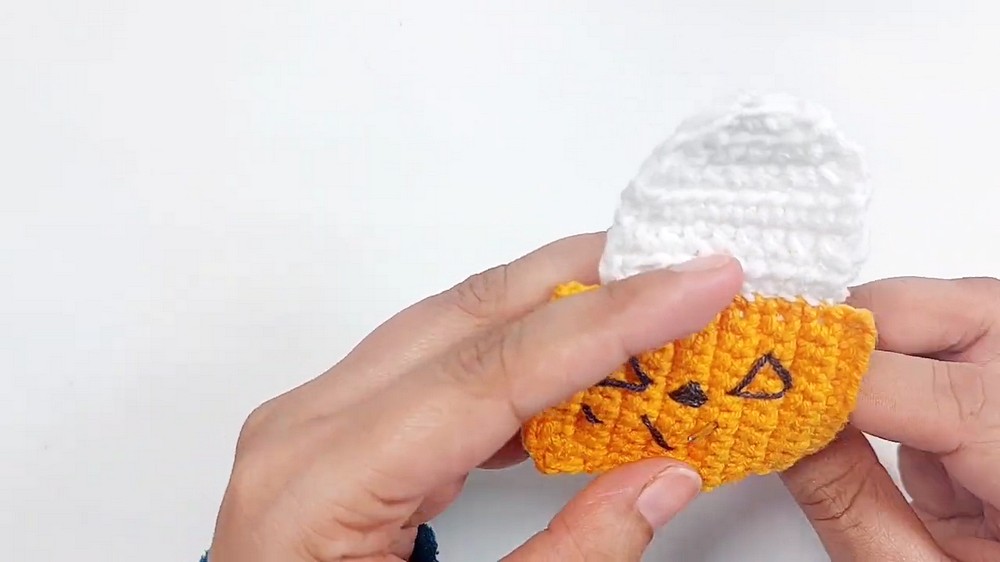
- Details & Placement: Position your pumpkin and spirit on your chosen project. When incorporating onto a granny square or similar project, work into front loops only to preserve the square’s structure.
Customization Options
- Color Variations: Use different shades of orange for the pumpkin or add sparkle yarn to the spirit for a shimmering effect.
- Add Face Details: Embroider a smiling face on the spirit and a Jack-o’-lantern design on the pumpkin using black yarn for a Halloween-inspired touch.
- Pumpkin Stem and Leaves: If desired, crochet or embroider a green stem and a few small leaves to add detail to the top of the pumpkin.
Conclusion
This crochet Halloween appliqué design combines festive motifs into a whimsical decoration ideal for fall-themed projects. The mix of textures—from the curved pumpkin to the flowing ghost—creates a sense of fun and uniqueness. Perfect for decorating granny squares, clothing, tote bags, or festive décor, this pattern can be customized in color and style to suit your own creative vision. Let the magic of crochet bring your spooky Halloween creations to life!