Easy & Free Crochet Pig Amigurumi Pattern With Step By Step Tutorial

Stitch a Pig Amigurumi with a rounded snout and soft body using this Free Crochet Pattern for a farm display or a gift for someone who collects soft toys.
Some gifts suit a person best when they remind them of something they already love. Pig Amigurumi is a soft option for a friend who collects farm animals or a relative who always stops to say hello to the pigs at a fair. The rounded shape, little ears, and familiar snout give the finished figure a friendly look. This Free Crochet Pattern also fits into a larger farm collection, where the pig can sit beside a cow or a chick.
Soft Pig Amigurumi for Gifts | Free Crochet Pattern
About the Designer!
Guadalupe introduces herself as a crocheter who wants to share what she knows on Guada crochet. Her pig project sits among other farm animal designs, including cows and chicks. Readers who like building a collection around one theme can browse those projects for figures to display together or give away.
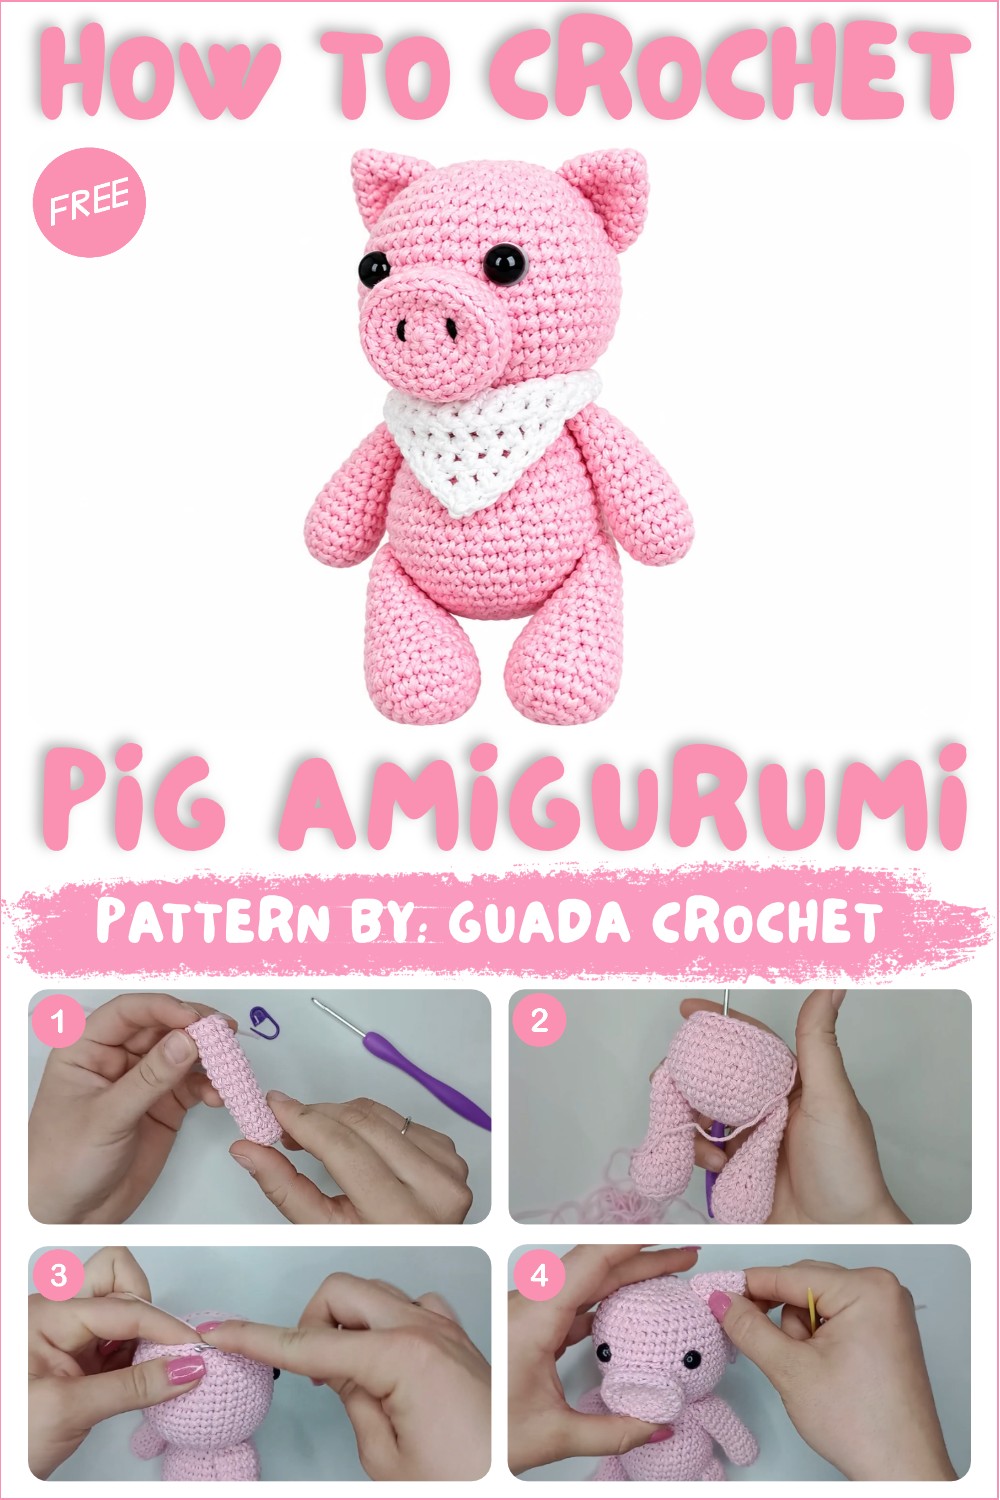
Think about where the finished figure might go. On a bookshelf, the face is easy to appreciate when the pig sits at the front. On a desk, it can keep a pencil pot or a family photo company. For a birthday, tuck it beside a handwritten card so the recipient sees the ears peeking out when they open the box.
Part of the fun of amigurumi is seeing the shape take form. The crocheted body takes on its soft outline once it’s stuffed, and the smaller features are what turn that outline into a recognizable animal. Pale pink is a familiar choice for a pig, while a deeper rose can give the nose a little more definition. Whichever shades you choose, leave the face easy to see so that the snout and ears stand out in a display.
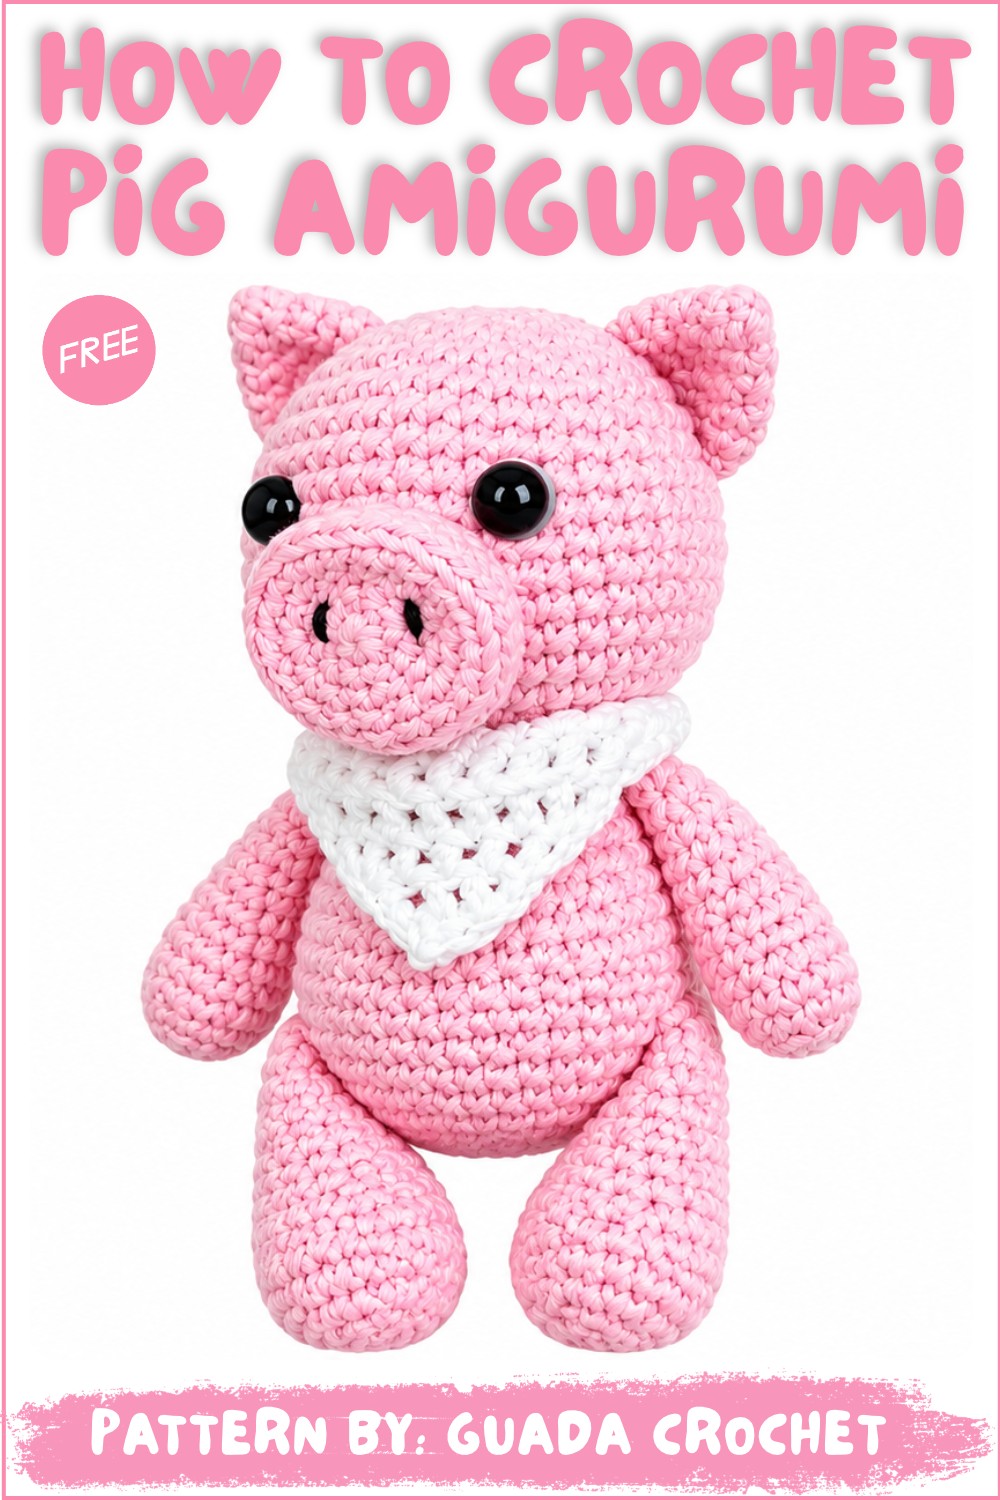
Amigurumi Pig Crochet Pattern
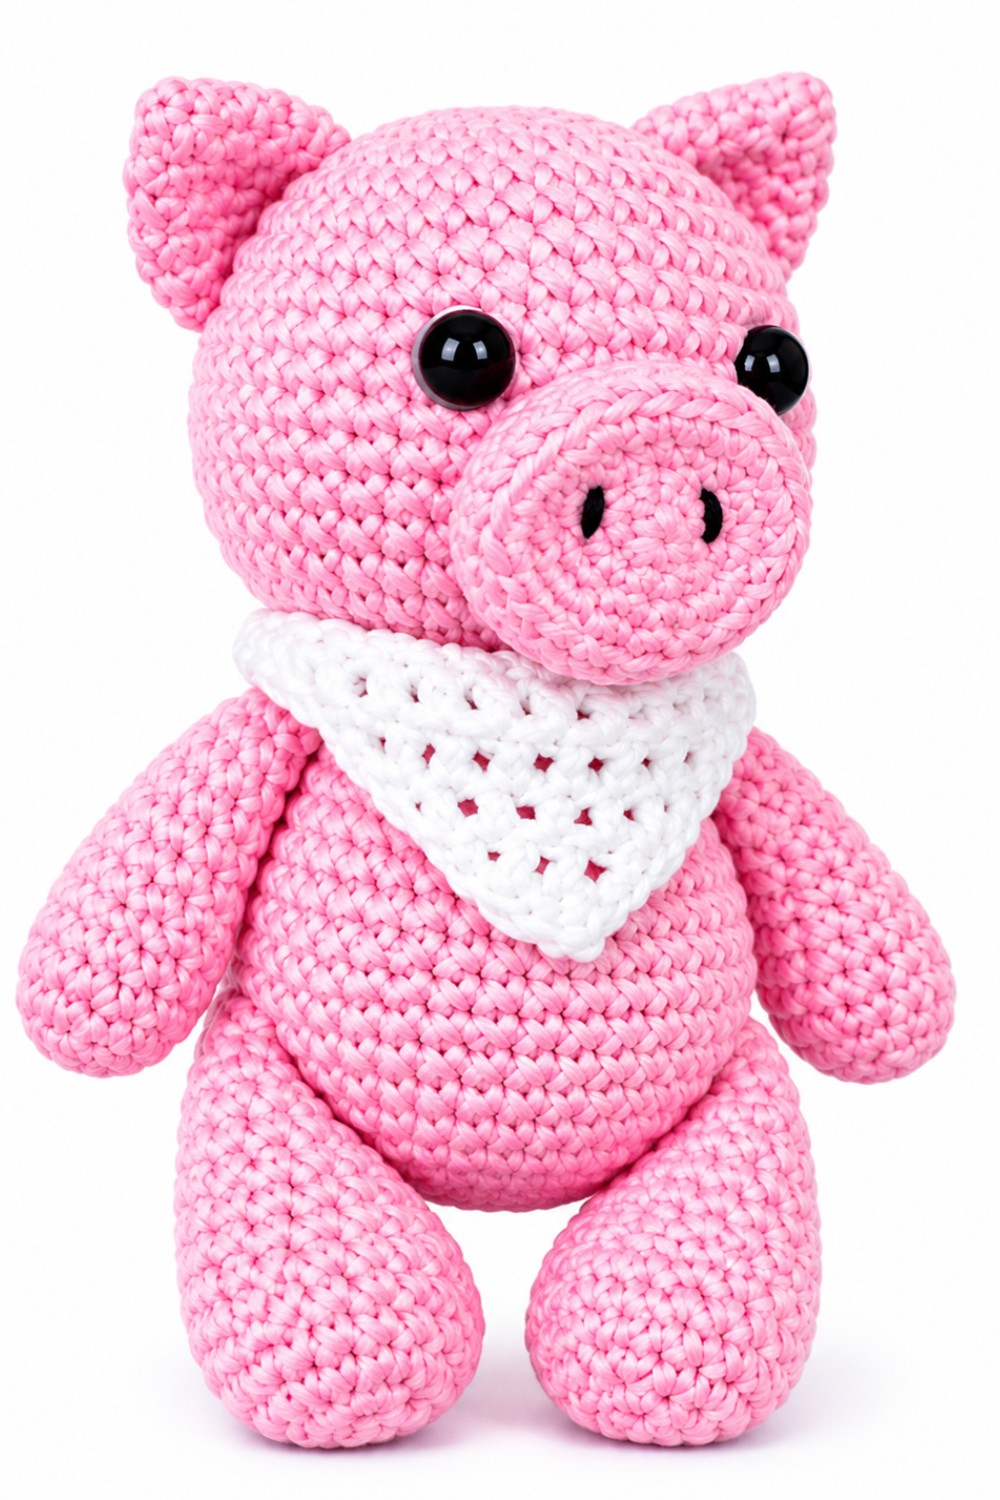
This adorable amigurumi pig is a fun and rewarding project that results in a charming handmade toy. The pattern incorporates basic shaping techniques for the arms, legs, body, and head, as well as small details like the snout, ears, and curly tail, which bring the pig to life. With its cute proportions and customizable features, it’s a project perfect for gifting or decoration.
Skill Level
Intermediate – This pattern uses foundational amigurumi techniques such as the magic ring, single crochet (SC), increases, decreases, and shaping. Experience in working in continuous rounds and following detailed instructions is required.
Materials
- Yarn:
- Cotton yarn, approximately 2 mm thick in your preferred pig color, plus small quantities of white and black yarn/thread for details.
- Hook: 3 mm crochet hook.
- Safety Eyes: 10 mm diameter for the eyes.
- Stuffing: Polyester fiberfill for shaping the amigurumi.
- Accessories:
- Yarn needle (for sewing and embroidery).
- Scissors.
- Stitch marker (to track the beginning of rounds).
Stitch Abbreviations
- ch = chain
- sc = single crochet
- st = stitch
- BLO = back loop only
- sl st = slip stitch
- inc = increase (2 SC in one stitch)
- dec = decrease (single crochet two stitches together)
Useful Tips
- Stitch Marker: Always use a stitch marker to mark the start of each round to keep track of your progress.
- Padding Firmly: Stuff each part firmly but avoid overstuffing to prevent gaps between stitches.
- BLO Stitches: Working in the back loop only creates texture and helps shape specific parts like the legs or snout.
- Assembly Precision: Pin pieces in place before sewing to ensure proper alignment for the arms, legs, and facial details.
- Customization: Use different thread colors for unique facial features like eyebrows and nostrils for a personalized touch.
Step-by-Step Pattern Instructions
Arms (Make 2)
- Round 1: Create a magic ring and work 6 SC into the ring.
- Round 2: Work 1 inc in every stitch (12 stitches total).
- Round 3: BLO, 12 SC in the round.
- Round 4: Work 12 SC in the round.
- Round 5: Work 1 dec, 4 SC, 1 dec, 4 SC (10 stitches total).
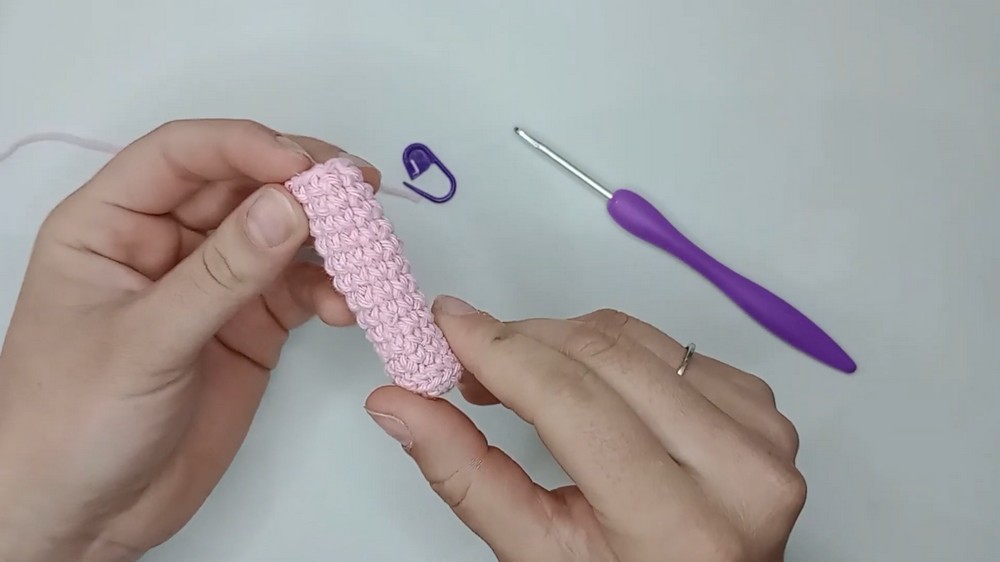
- Rounds 6–14: Work 10 SC in the round. Fasten off with a sl st.
Legs (Make 2)
- Round 1: Create a magic ring and work 6 SC into the ring.
- Round 2: Work 1 inc in every stitch (12 stitches total).
- Round 3: Work 1 SC, 1 inc (18 stitches total).
- Round 4: BLO, 18 SC in the round.
- Rounds 5–6: Work 18 SC in the round.
- Round 7: Work 5 SC, 3 dec, 7 SC (15 stitches total).
- Round 8: Work 4 SC, 3 dec, 5 SC (12 stitches total).
- Rounds 9–14: Work 12 SC in the round.
- Round 15: Work 1 SC, 1 dec, 2 SC, 2 dec, 1 SC, 1 dec (8 stitches total). Fasten off.
Body & Head
Body (Rows 1–19)
- Row 1: Magic ring of 6 SC.
- Increase by 6 SC per round until reaching 36 stitches by Row 6.
- Row 8: Join the legs to the body as you work.
- Work 36 SC evenly until Row 18.
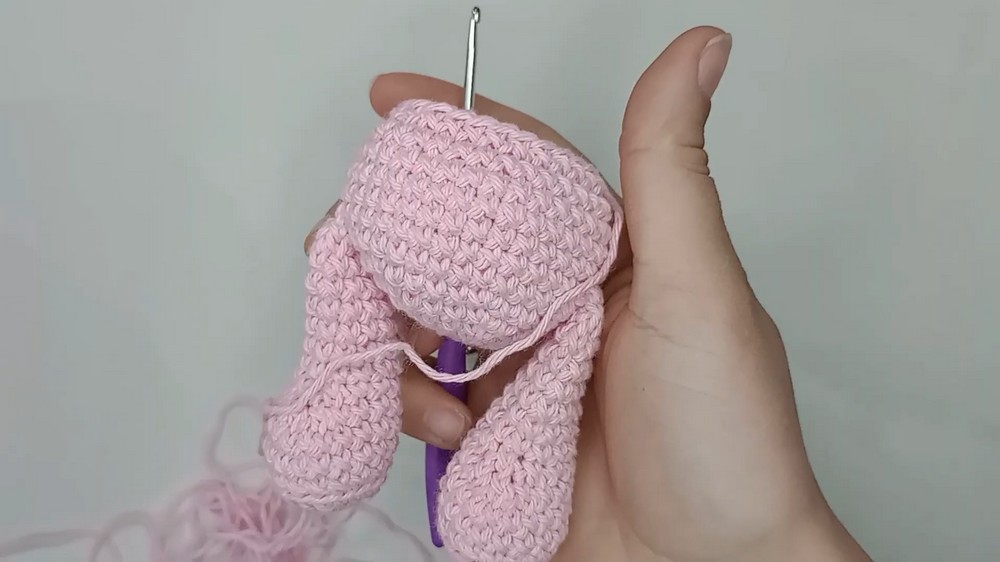
- Row 19: Begin decreasing to reduce the stitch count to 18 SC. Do not fasten off; continue onto the head.
Head (Rows 20–36)
- Row 20: Switch to working front loops only (36 inc = 36 stitches).
- Row 21: Increase evenly to 42 stitches.
- Work 42 SC evenly from Rows 22–32.
- Rows 33–36: Decrease gradually to form the head, ultimately reducing the stitch count to 12 sts by Row 36.
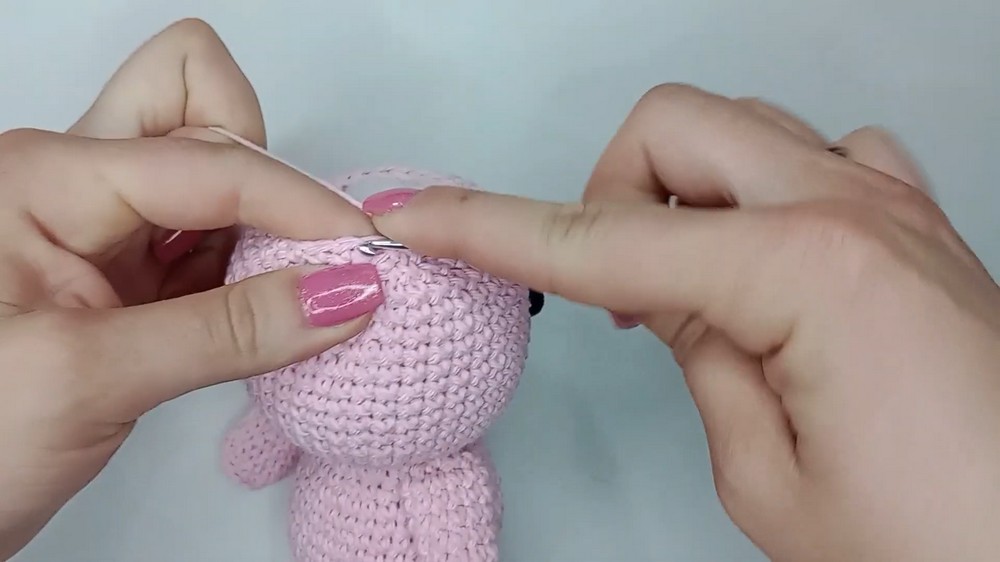
Snout/Nose
- Round 1: Start with a magic ring of 8 SC.
- Round 2: Alternate 1 SC, 1 inc, 3 SC, 1 inc, 3 SC (10 stitches total).
- Continue to Row 5, increasing to 23 stitches.
- Row 6: Switch to BLO to add texture.
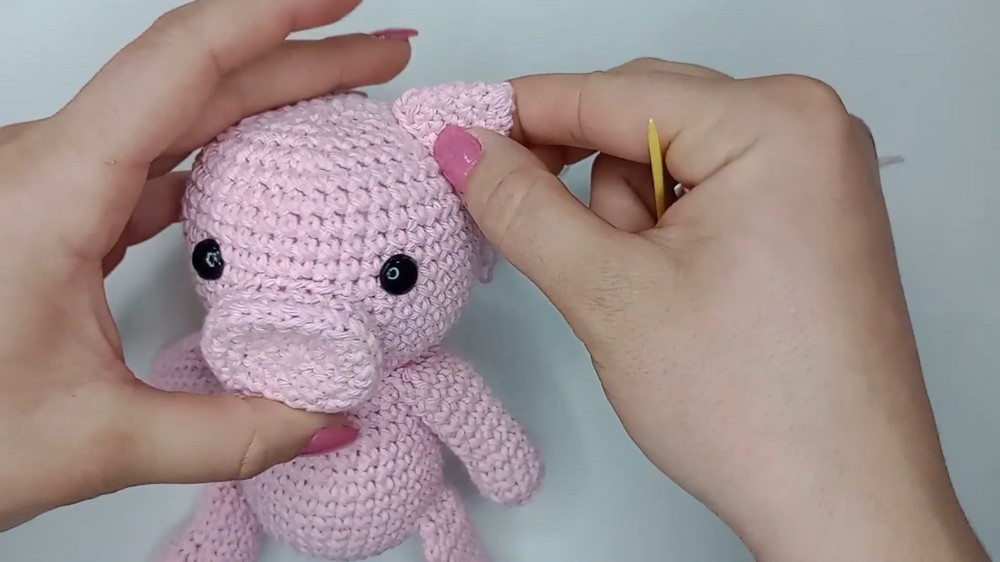
Ears (Make 2)
- Round 1: Magic ring of 6 SC.
- Round 2: Work 6 inc (12 stitches).
- Round 3: Work 1 SC, 1 inc around (18 stitches).
- Round 4: Work 2 SC, 1 inc around (24 stitches).
- Round 5: Work 3 SC, 1 inc around (30 stitches).
- Row 6: Work 30 SC evenly in the round.
Tail
- Chain 5 ch.
- Starting from the second chain from the hook, work 3 SC into each chain stitch to create the curled tail structure.
Assembly & Details
- Step 1: Eyes
- Place safety eyes between Rows 27 and 28 of the head, leaving 8 stitches of space between them.
- Step 2: Stitch Details
- Use white thread to sew small highlights on the eyes.
- Embroider black thread onto the snout to create the nostrils.
- Sew small, curved eyebrows above the safety eyes.
- Step 3: Attach Parts
- Use a tapestry needle to securely sew the arms, ears, snout, and tail onto the body, following the general instructions for alignment.
- Attach all features snugly to ensure durability.
- Step 4: Blushing
- Add soft blush to the cheeks beneath the eyes using makeup or fabric-safe paint, depending on your preference.
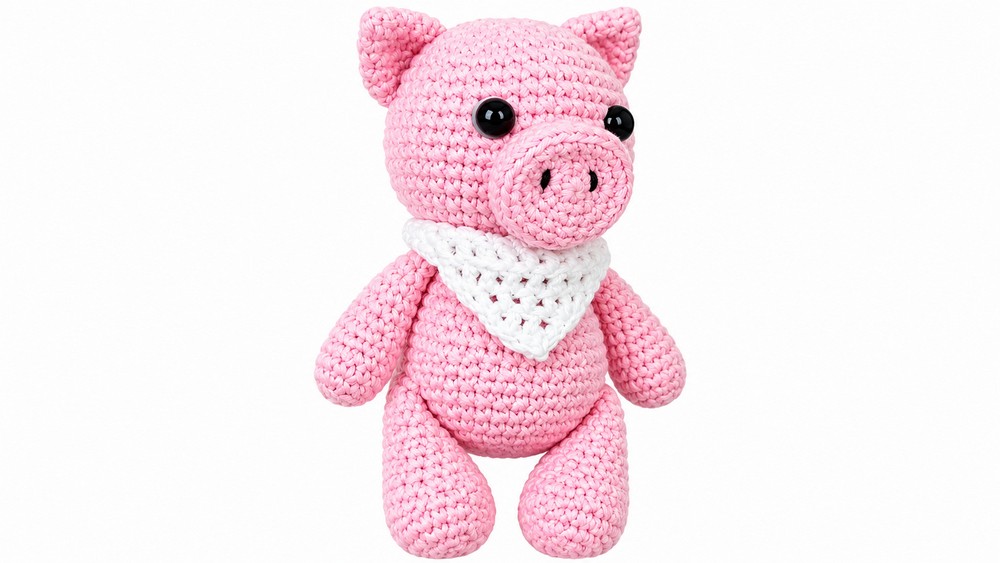
- Add soft blush to the cheeks beneath the eyes using makeup or fabric-safe paint, depending on your preference.
Assembly Order
- Sew the arms to the sides of the body.
- Attach the legs securely to the underside of the body at Row 8.
- Add the snout to the front of the head, aligning it evenly.
- Sew the ears to the top of the head.
- Secure the tail to the back of the body.
Customization Options
- Experiment with different yarn colors to create fun variations of the pig.
- Add accessories like bows, hats, or scarves to make the pig more personalized.
- Use safety nose pieces instead of embroidery if desired.
Conclusion
This amigurumi pig is the perfect blend of cuteness and fun! Its detailed instructions guarantee polished results, while its customizable elements provide endless options for personalization. With its charming design and little details, this project is sure to bring joy to anyone who makes or receives it.