Playful FROG Romper Free Crochet Pattern With Fun Animal Details

Try a playful FROG Romper Free Crochet Pattern for a cheerful outfit idea with a fun animal theme, lovely details, and a finish that stands out at once.
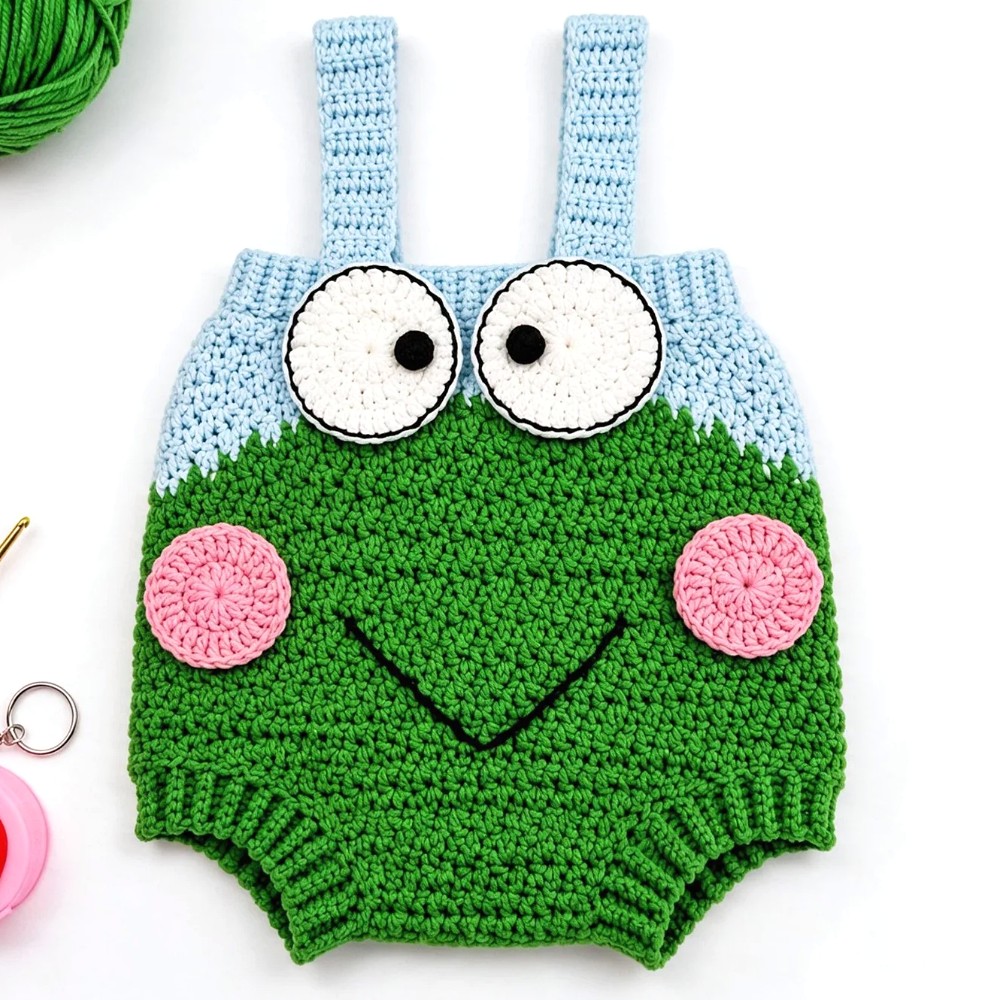
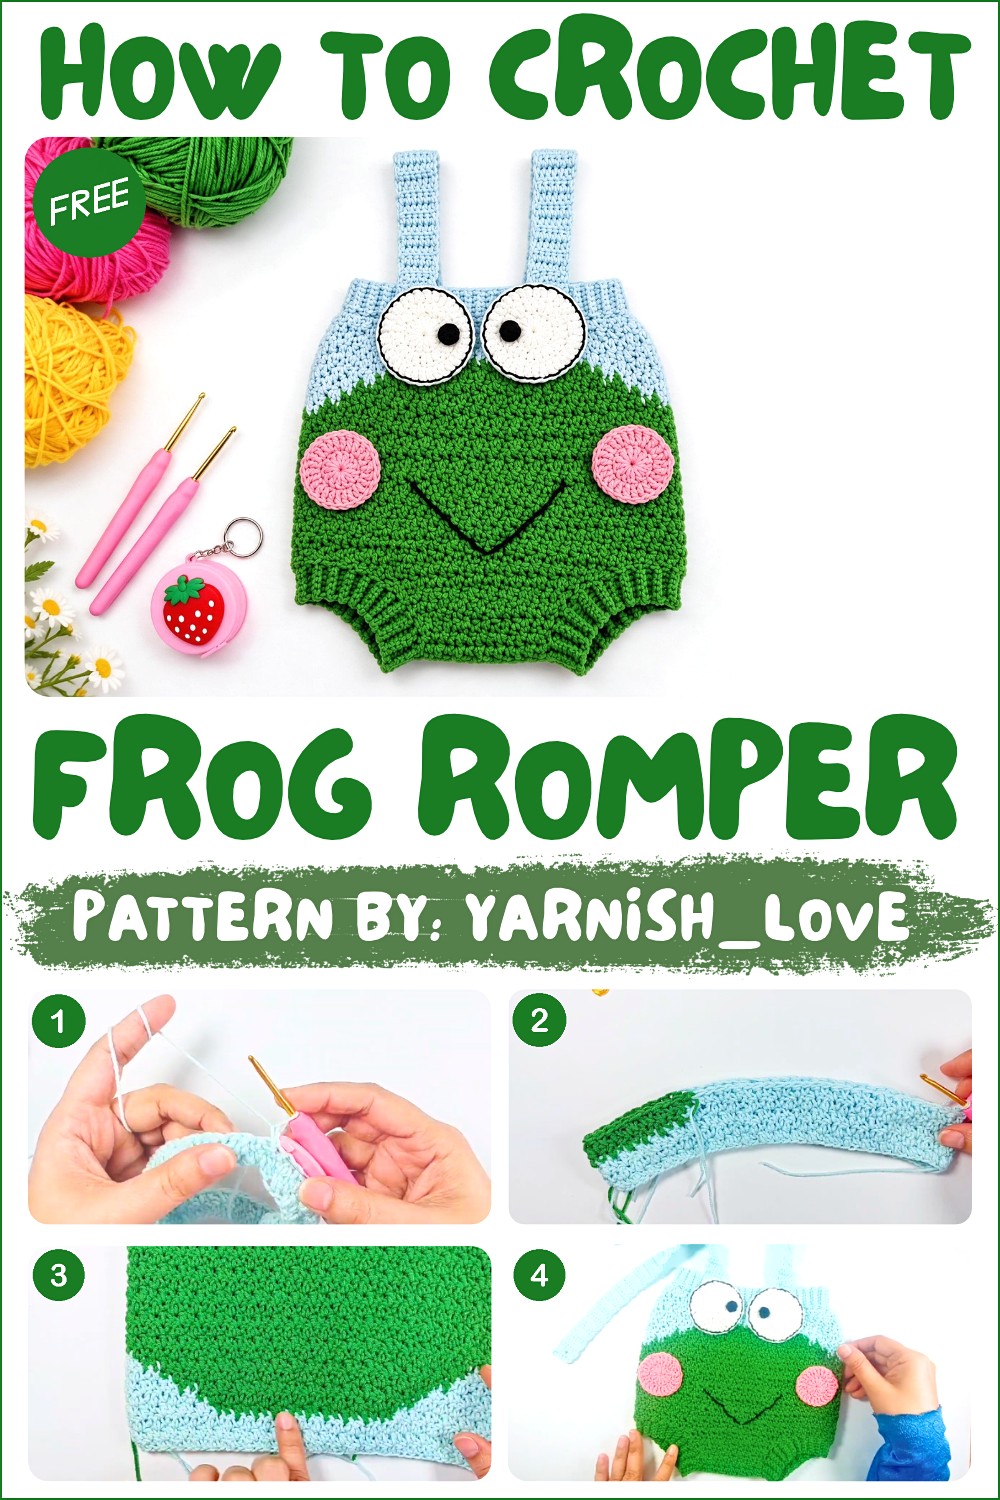
Funny animal outfits have a way of turning an ordinary day into a photo-worthy moment. This FROG Romper Free Crochet Pattern puts a cheerful frog theme at the center of a cute one-piece look, with an outfit style that feels playful rather than plain. The animal inspiration gives the finished romper its character.
Cheerful FROG Romper Free Crochet Pattern for a Lovely Outfit
Green is an obvious choice for this idea, especially when paired with simple contrasting features that suggest a frog’s face. A neat overall shape matters just as much as the decorative parts, since the romper should still look like one complete outfit. Smooth edges, careful joins, and evenly worked stitches help the different sections sit together well. The result is especially appealing for animal-themed dressing, memorable photos, or a thoughtful present when the sizing suits the intended wearer.
Behind the Crochet Ideas
Animal themes are part of the appeal of yarnish_love, where crochet ideas have a lighthearted style. The frog romper fits that cheerful mood and offers something different from ordinary clothing projects. The channel is worth visiting for viewers who appreciate cute details, friendly designs, and many varied crochet topics online.
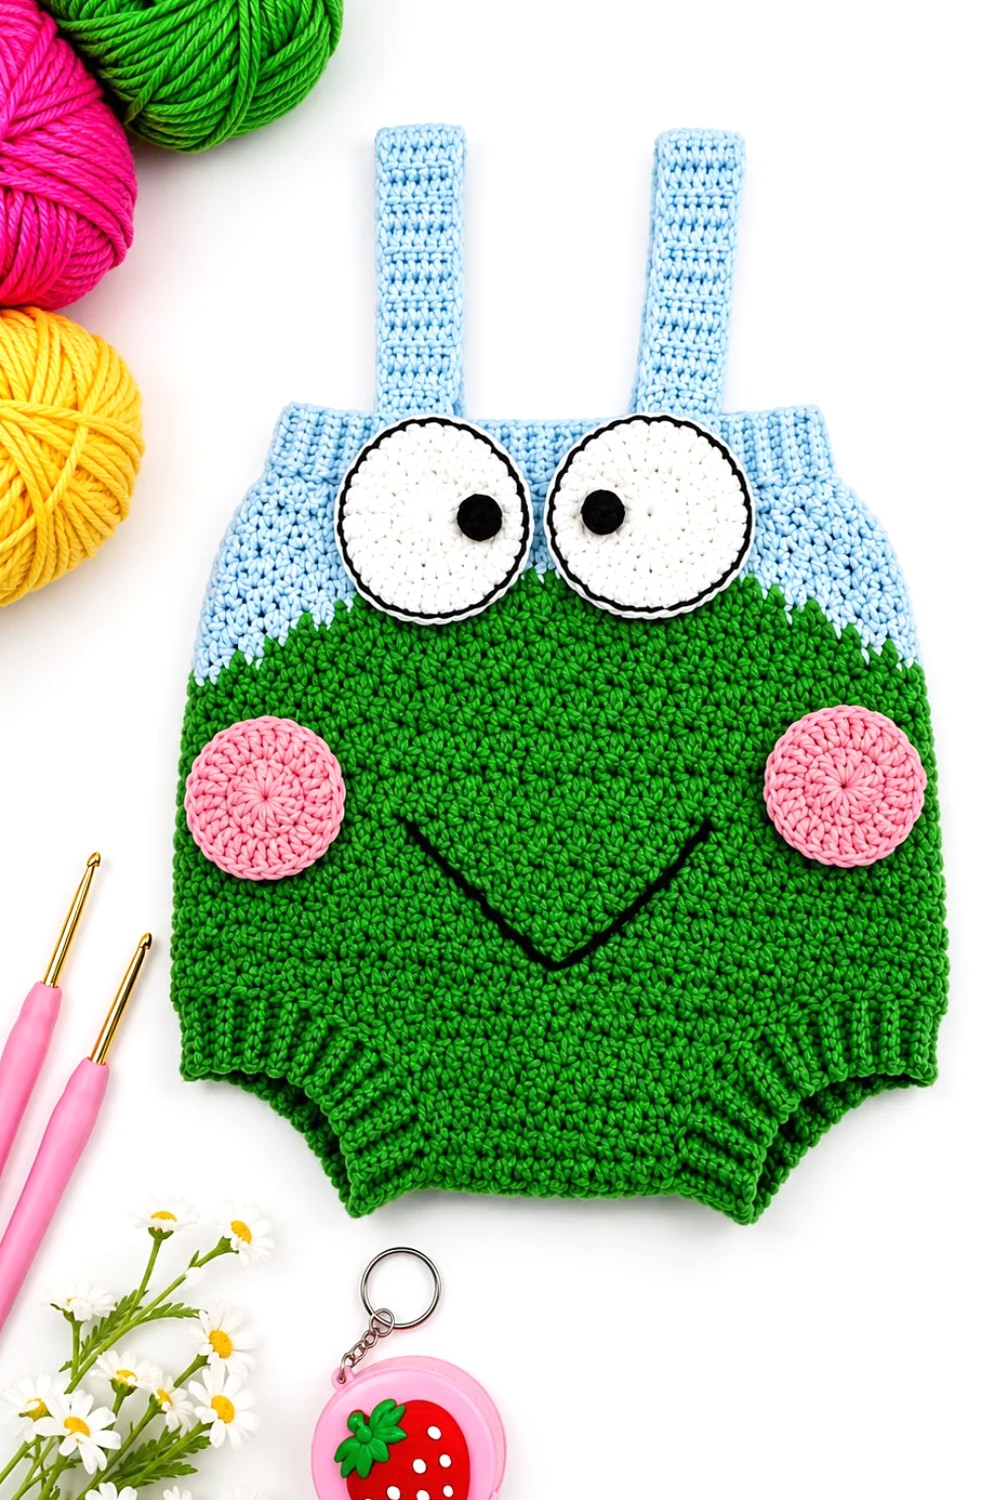
This project has a different feel from a small applique or a stuffed toy. Instead of being an extra detail attached to something else, the romper itself is the main item. That gives you more room to appreciate the frog theme and its fun personality. Keeping the color choices simple also helps the main features stay noticeable.
Anyone drawn to cute character clothing will appreciate the mix of humor and charm here. The finished piece can become a favorite part of a special outfit collection, while still showing the familiar appeal of crochet stitches.
Crochet Frog Romper Pattern
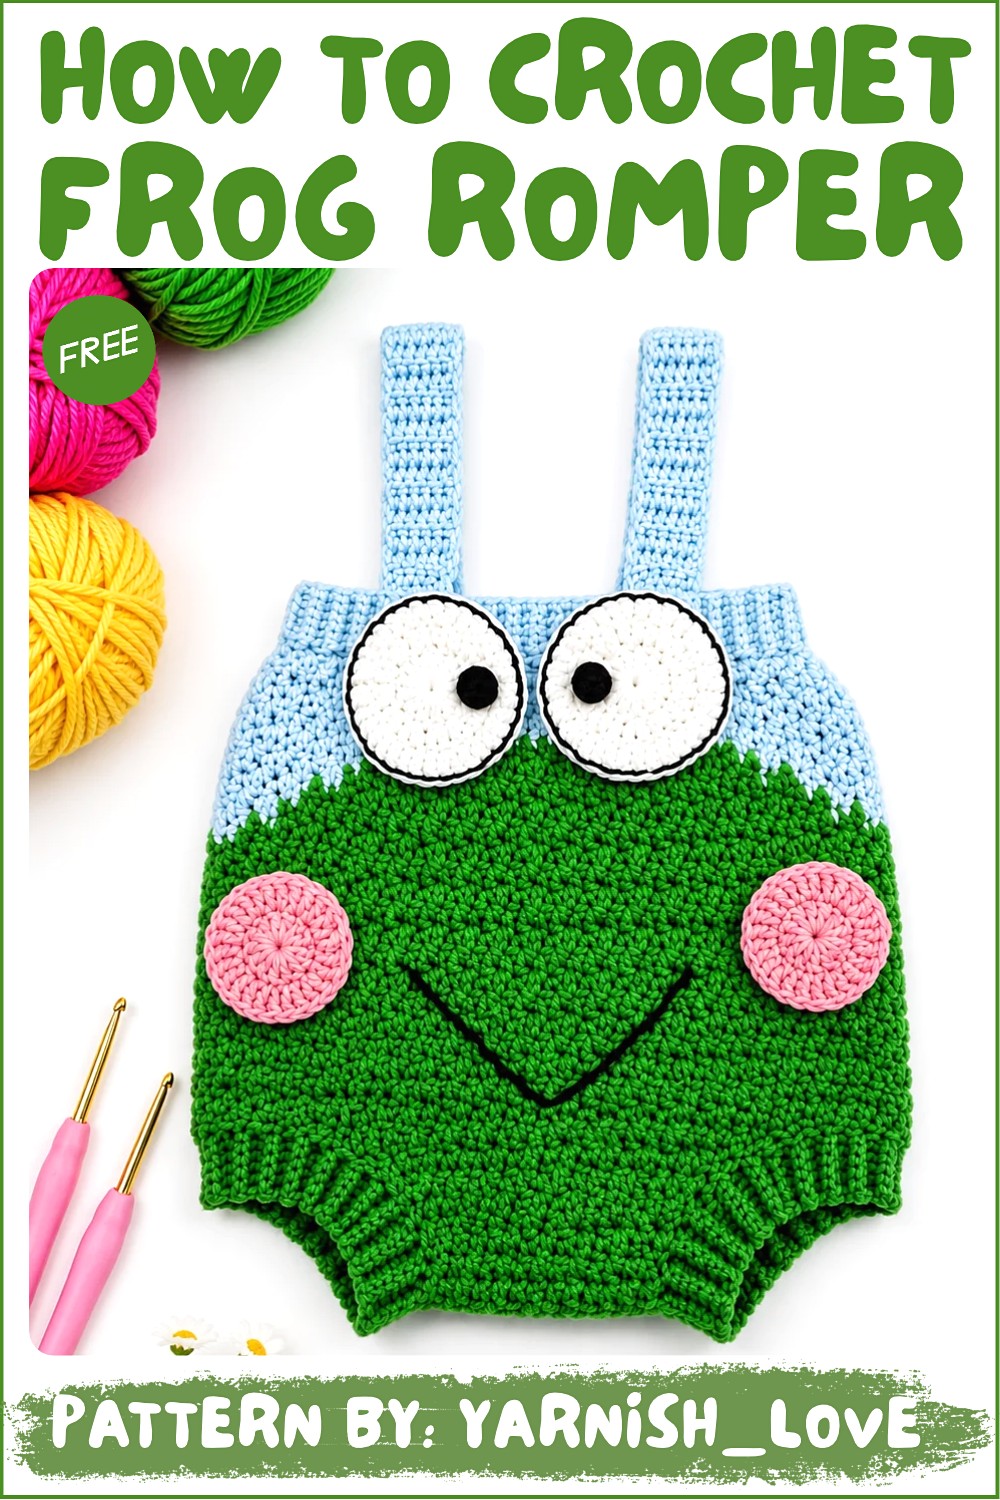
This crochet frog romper is a delightful handmade outfit tailored specifically for a 6-month-old baby. The design combines practical features such as adjustable straps, secure ribbing, and a comfortable crotch area with the playful addition of a frog face motif. This project makes an adorable gift or a memorable addition to baby wardrobes.
Skill Level
Intermediate
This pattern includes techniques such as ribbing in back loops, shaping by increases and decreases, magic rings, and assembly of small details. While the stitches themselves are basic, the construction and colorwork require careful attention to detail, making this project suitable for intermediate crocheters.
Materials
- Yarn:
- Alize Cotton Gold or a similar cotton-blend yarn.
- Background color (e.g., pastel or neutral tone for the romper body).
- Green yarn for the frog motif.
- Alize Cotton Gold or a similar cotton-blend yarn.
- Hooks:
- 3 mm crochet hook for the main body.
- 2.5 mm crochet hook for the ribbing and details.
- Extras:
- Buttons for attaching the straps (preferably 2 buttons matching the color scheme).
- Additional Tools:
- Yarn needle for sewing pieces together and weaving in ends.
- Scissors.
Stitch Abbreviations
(Only abbreviations mentioned in the transcription are included.)
- ch – Chain
- sc – Single Crochet
- dc – Double Crochet
- sl st – Slip Stitch
- hdc – Half Double Crochet
Helpful Tips
- Size Adjustments: For other sizes, modify the foundation chain length based on the baby’s measurements. As a general rule, the chain should be proportional to the hip circumference.
- Colorwork Management: To avoid tangling, keep separate strands or bobbins of green yarn when working the frog design. Secure loose ends neatly for a clean finish.
- Consistent Tension: Maintain even tension throughout the project to ensure a smooth fabric and uniform shaping, especially for ribbing and small details.
- Blocking (Optional): If the romper edges curl or the frog motif appears uneven, lightly block the garment for better shape and finish.
- Assembly Precision: Position details carefully before sewing to ensure symmetry and avoid a misaligned frog face or straps. Stitch securely, especially for details, as this romper will likely undergo frequent washing.
Pattern Instructions
This romper is constructed in sections: hip foundation, frog design, body shaping, ribbing, straps, and frog face details. Follow the steps below for a structured assembly.
1. Hip Foundation
Round 1:
- Ch 85 for a hip circumference of 46 cm (standard for a 6-month-old baby).
- Join into a circle with a sl st to avoid twisting the chain.
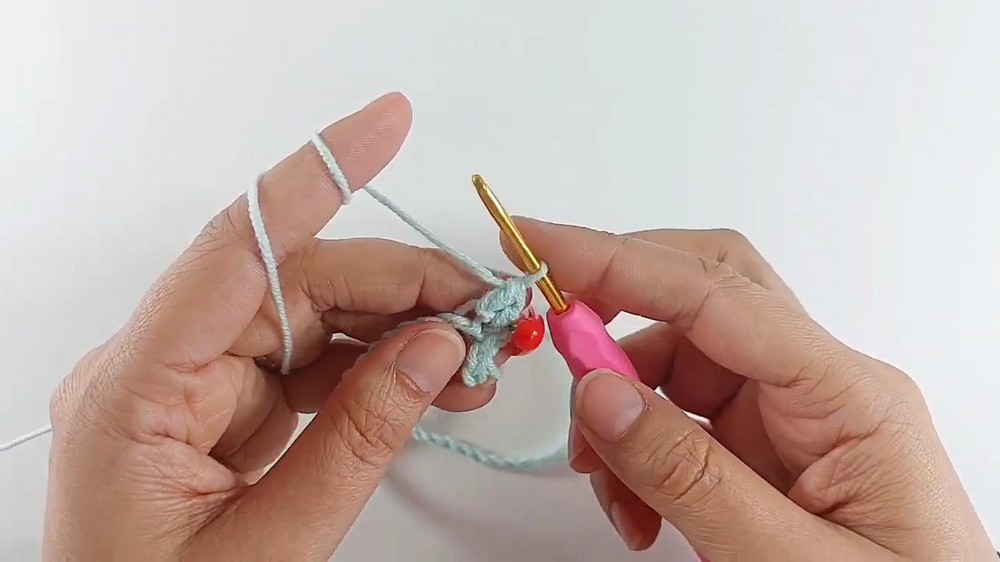
- Alternate between sc and dc stitches for the row.
- Turn the work after completing the row.
2. Hip Rounds
Rounds 2-10:
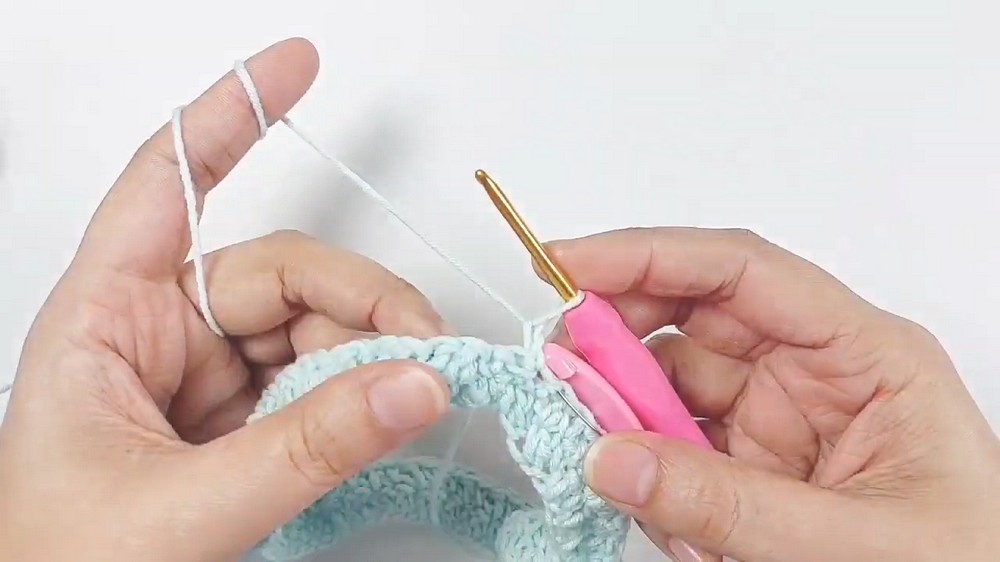
- Continue working in the alternating stitch pattern (sc followed by dc) for the next nine rows.
- Turn your work after each round to maintain the alternating texture.
- Ensure uniform tension to create smooth and even rounds.
3. Frog Design
Round 11:
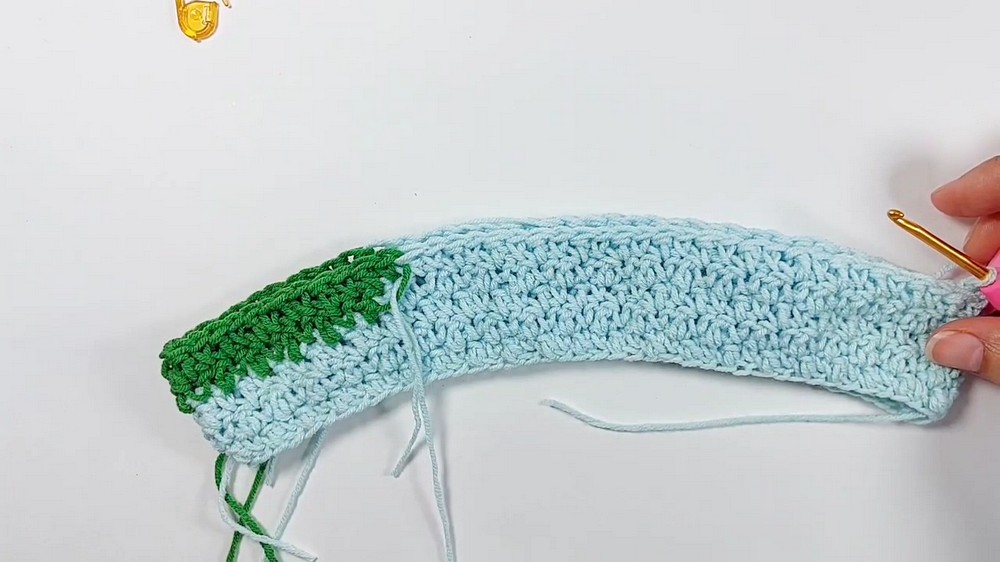
- Introduce the green yarn at the center back. Begin shaping the frog’s face by gradually increasing the number of green stitches in the center of the romper over successive rounds.
Rounds 12-19:
- Continue working with green yarn, expanding outward to complete the circular frog head. Shape increases by adding 1-2 green stitches per round. Maintain background stitches in the original color.
- Stop increasing once the frog motif reaches the desired size, ensuring it is centered on the back side of the romper.
4. Main Body
Rounds 20-31:
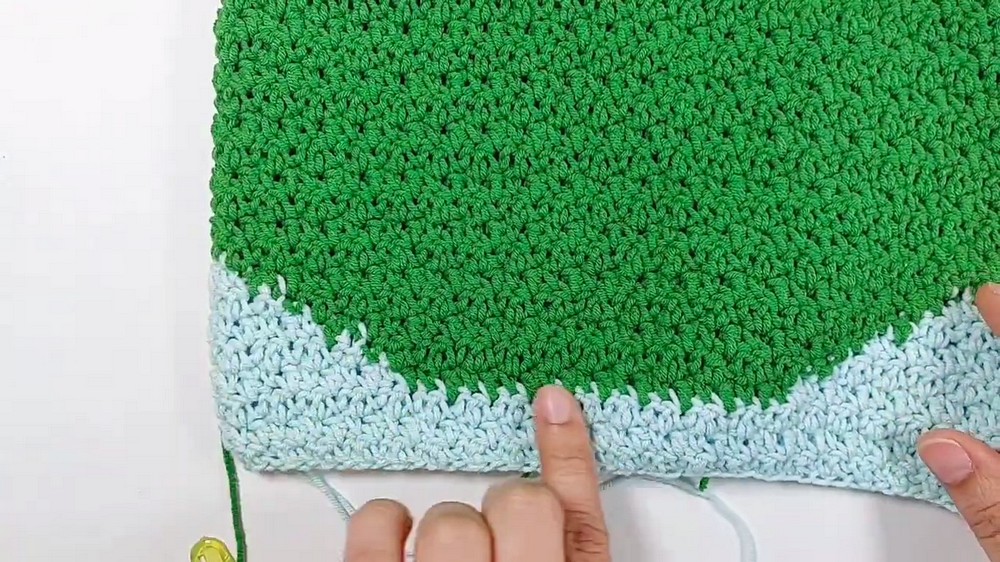
- Continue working the romper body entirely in green yarn for 12 additional rounds.
- Measure periodically and stop when the length reaches approximately 15 cm from the hip.
5. Back Crotch
Step 1:
- Separate 30 stitches at the back side of the romper.
Step 2:
- Begin decreasing stitches:
- Work sc2tog (single crochet two together) for the first and last stitches of each row.
- Continue decreasing until 12 stitches remain.
Step 3:
- Complete a total of 9 rows, leaving the back crotch section shaped and ready for assembly.
6. Front Crotch
Step 1:
- Separate 22 stitches from the front center of the romper.
Step 2:
- Work decreases at the beginning and end of each row until 12 stitches remain.
Step 3:
- Add 4 additional rows without decreases for shaping.
7. Leg Ribbing
Step 1:
- Switch to the 2.5 mm hook.
- Ch 6, work sc in back loops to create the ribbing.
Step 2:
- Attach the ribbing to the edges of the leg openings by working sl st into the romper edge every few stitches, ensuring evenly spaced attachment points.
Step 3:
- Complete the ribbing around both leg openings.
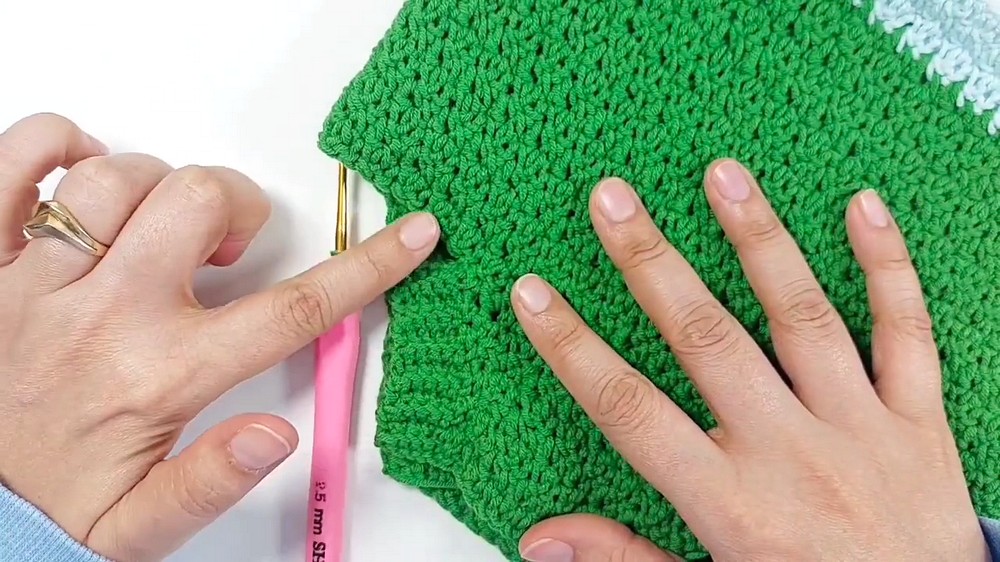
8. Waist Ribbing
Step 1:
- Using the 2.5 mm hook, repeat the leg ribbing technique to form ribbing around the waist opening.
- Ch 6 and continue working sc in back loops, attaching with sl st along the edge every few stitches.
9. Straps
Step 1:
- Ch 8, work hdc back and forth, following straight rows for 36 rows.
Step 2:
- Create a buttonhole on Row 37 by ch 1, skip 1 stitch, then continue the row as normal in hdc.
10. Frog Face Details
Cheeks:
- Start with a magic ring, work 12 dc into the ring, and sl st to close.
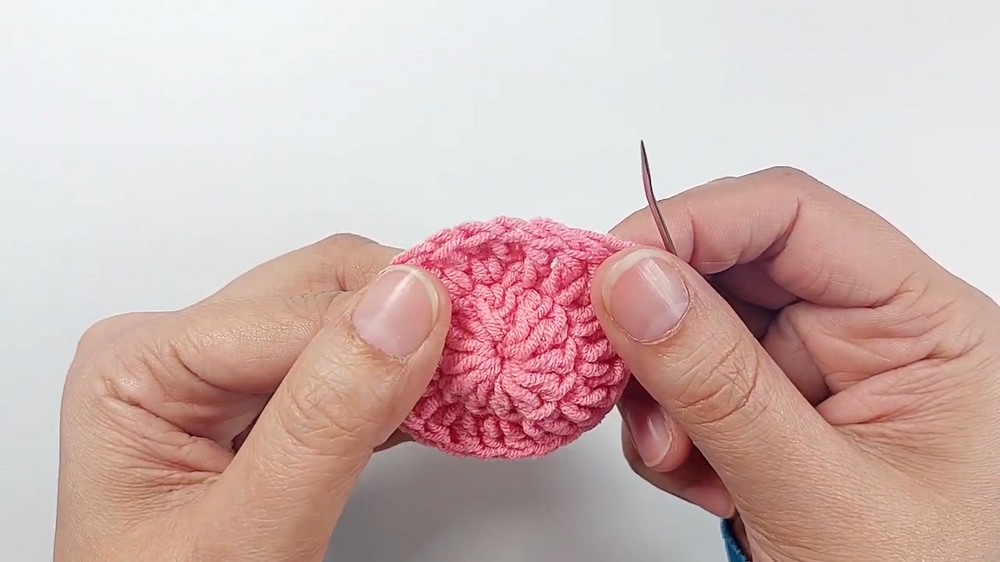
Eyes:
- Begin with a magic ring.
- Work 12 dc into the ring, adding extra rounds as needed to grow the size of the eyes.
Pupils:
- Create 6 sc into a magic ring, pull it tight, and sl st to close.
11. Assembly
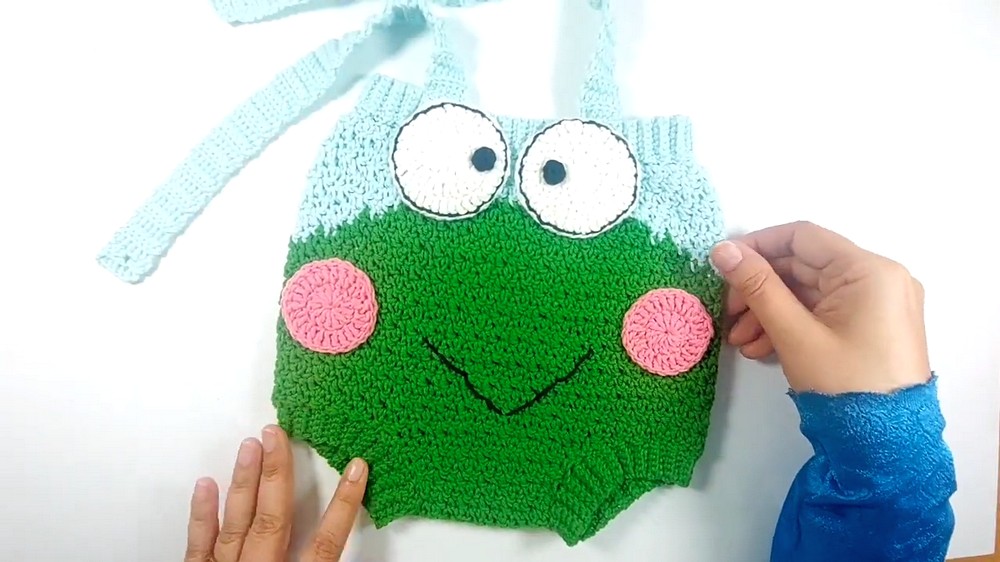
Sew all the frog details (cheeks, eyes, pupils) onto the center front of the romper, ensuring they are symmetrical and securely attached.
Straps:
Attach the straps to the back edge of the waist, sewing the buttons to align with the buttonholes for adjustment.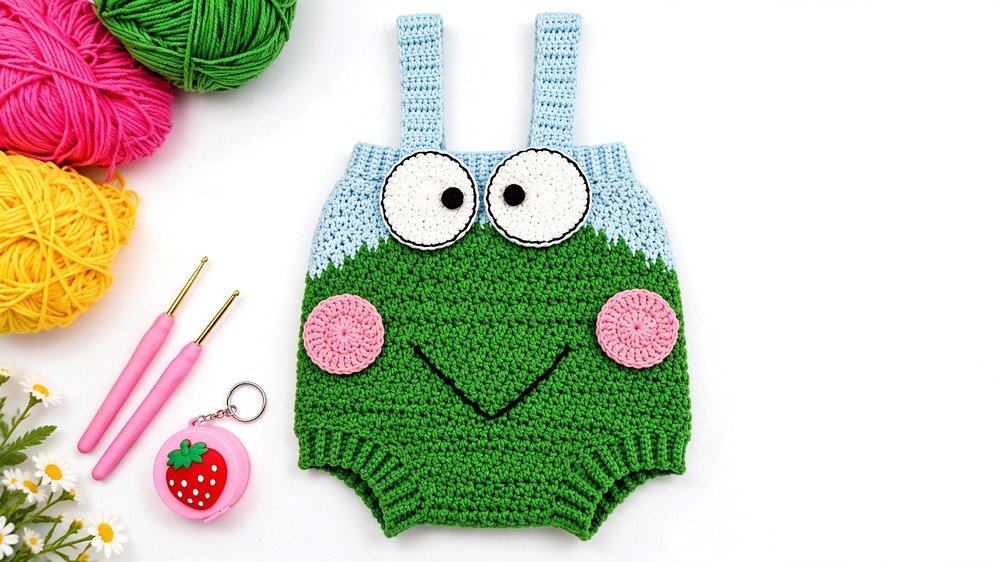
Conclusion
This frog romper combines comfort, practicality, and playful design. Its thoughtful construction ensures a secure fit with flexible ribbing, adjustable straps, and crotch shaping. The engaging frog-face motif, paired with soft materials, makes it a charming and versatile addition to any baby’s wardrobe. This personalized handmade outfit is perfect for gifts or cherished keepsakes.