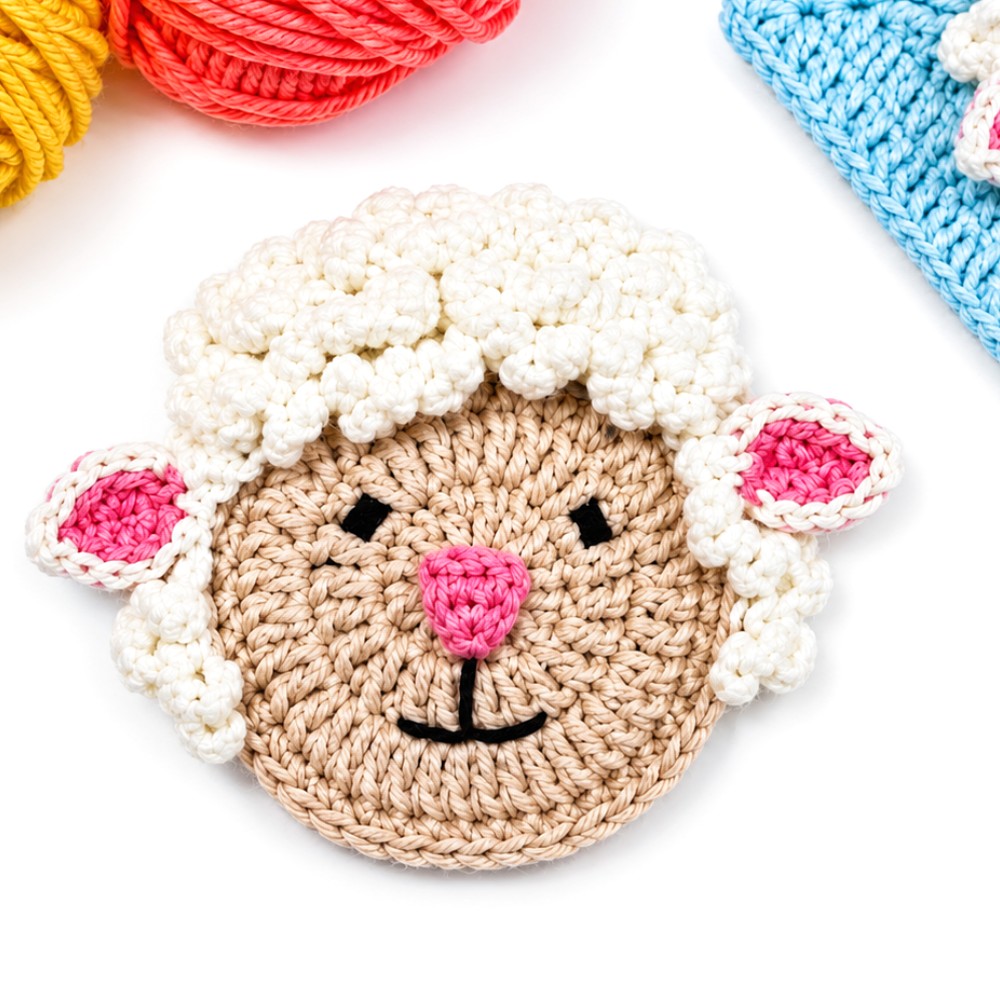
Little Woolly Sheep Applique Free Crochet Pattern for Bags & Blankets

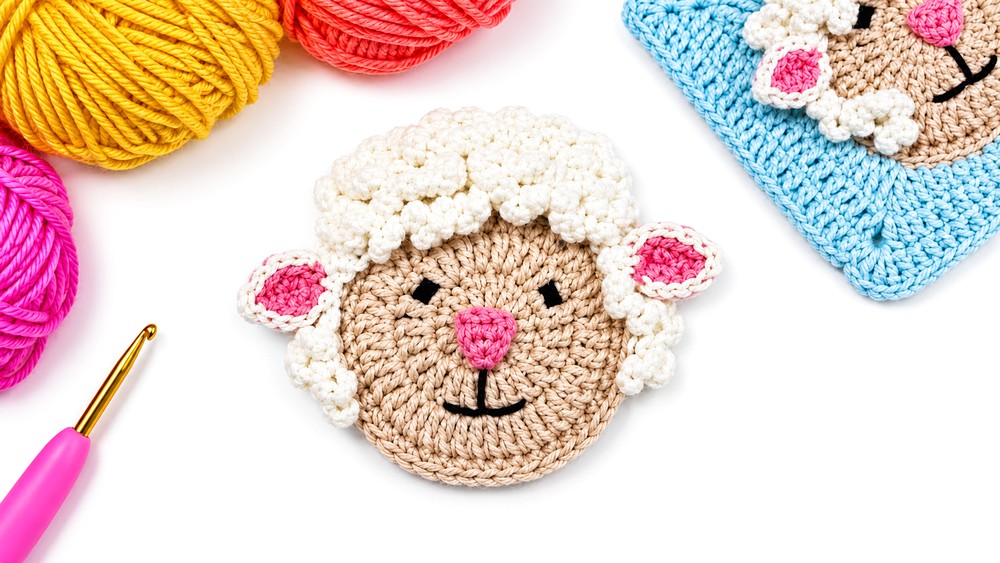
Stitch a sweet Sheep Applique with this Free Crochet Pattern and turn a plain bag, blanket, or nursery item into something playful, soft, and full of charm.
Plain blankets and everyday bags sometimes need one small detail to feel more personal. The Sheep Applique Free Crochet Pattern offers a lovely way to give familiar items a gentle farm animal touch without changing the whole piece. Its woolly appearance, rounded body, and sweet face can turn a simple surface into something friendly and memorable.
Fluffy Sheep Applique Free Crochet Pattern for Cute Decoration
About the Crochet Designer
The YouTube channel yarnish_love shares small crochet ideas with a warm, playful feel. This sheep topic is a nice example of how an animal shape can give everyday pieces more character. Visit the channel for the original project and other simple, creative ways to use colorful yarn at home today.
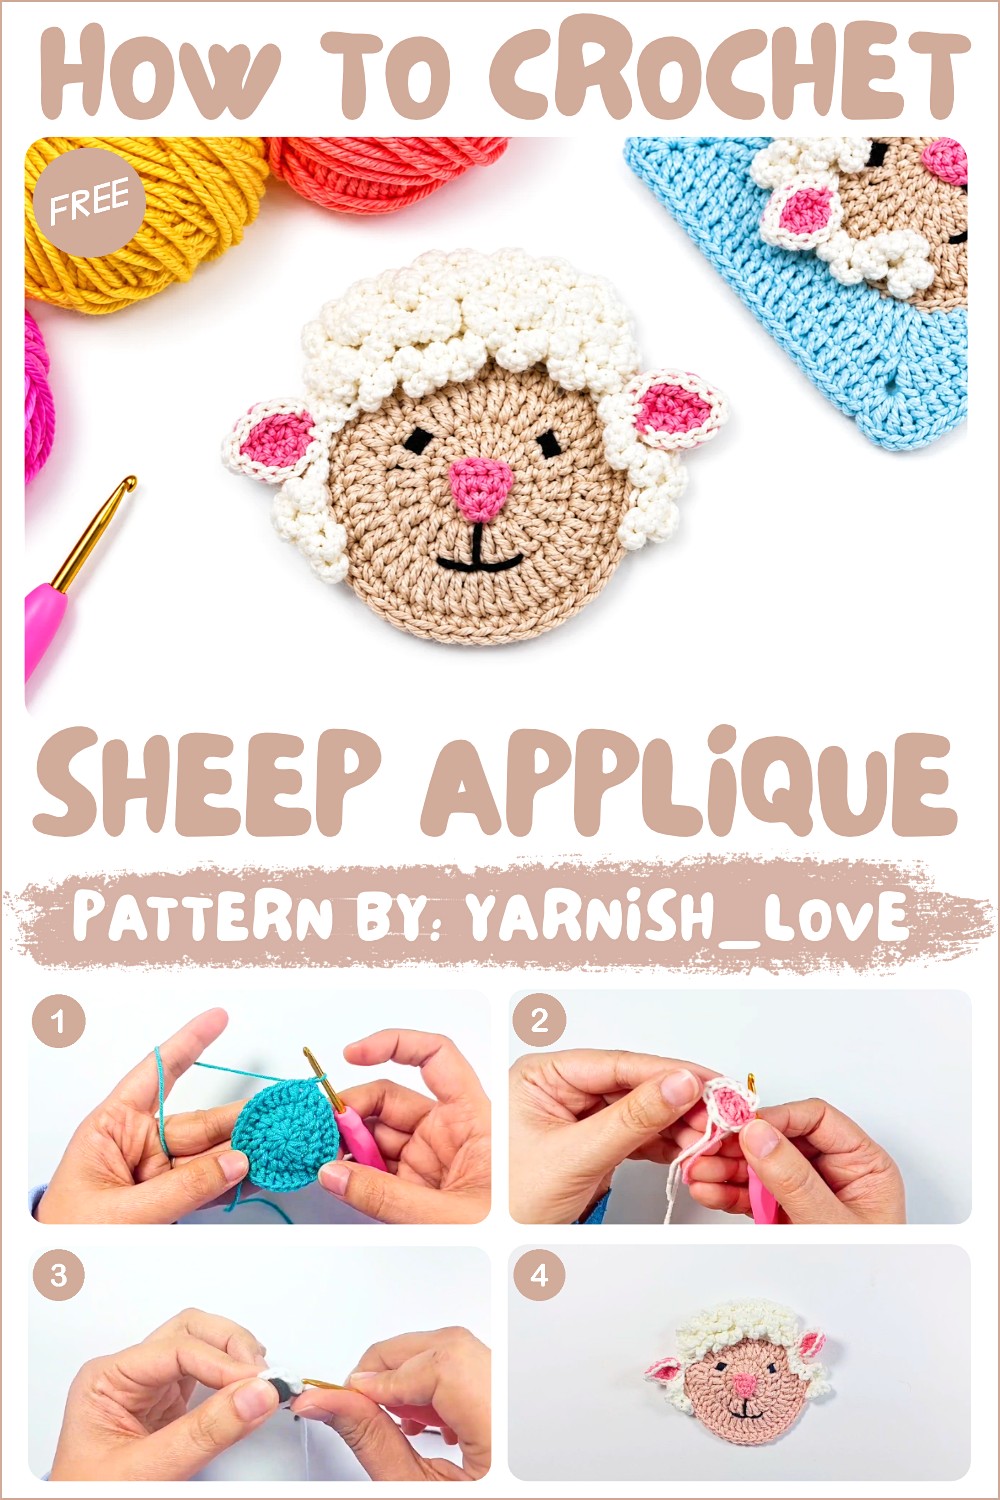
This little sheep works especially well on baby blankets, pillow covers, tote bags, and fabric storage baskets. You can place one near a corner for a quiet detail or arrange several together for a playful countryside theme. Soft white and cream tones suit the familiar sheep look, while a different background color can help its outline stand out. The flat shape also means it can sit neatly against a larger item rather than taking up extra space.
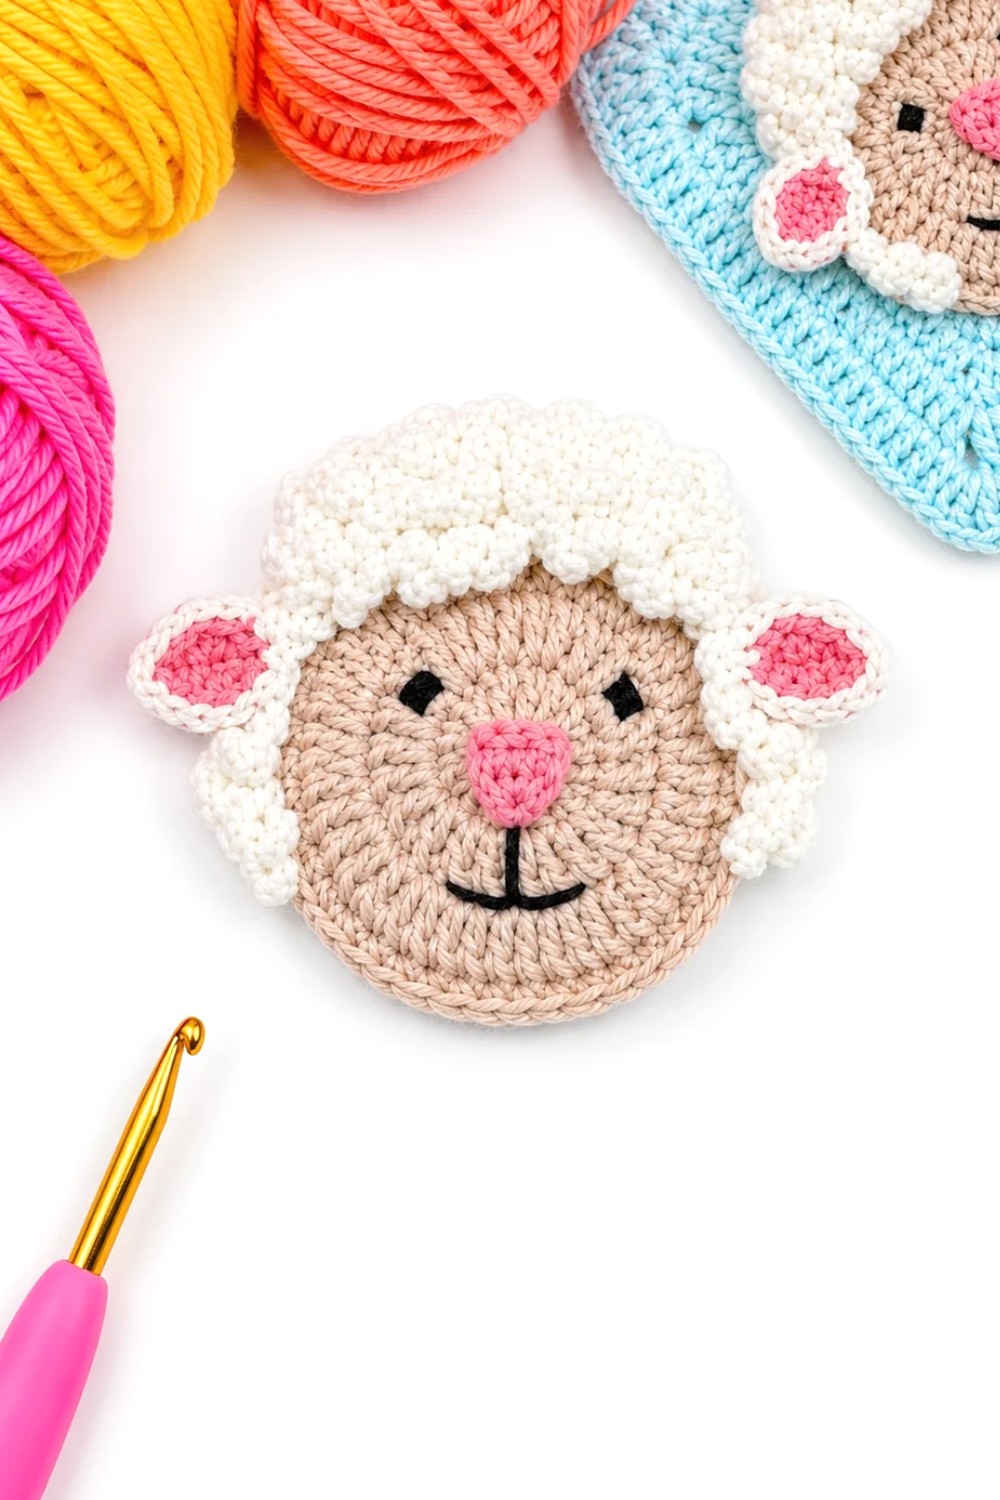
One appealing part of this project is the contrast between the body and the smaller facial details. That difference gives the animal its expression even though the finished piece is compact. As you work, pay attention to the outline so the shape stays clear when attached. Once finished, secure it to your chosen surface with tidy stitches.
It is a cheerful choice for anyone who likes small animal decorations, thoughtful handmade presents, or an easy way to refresh something already at home.
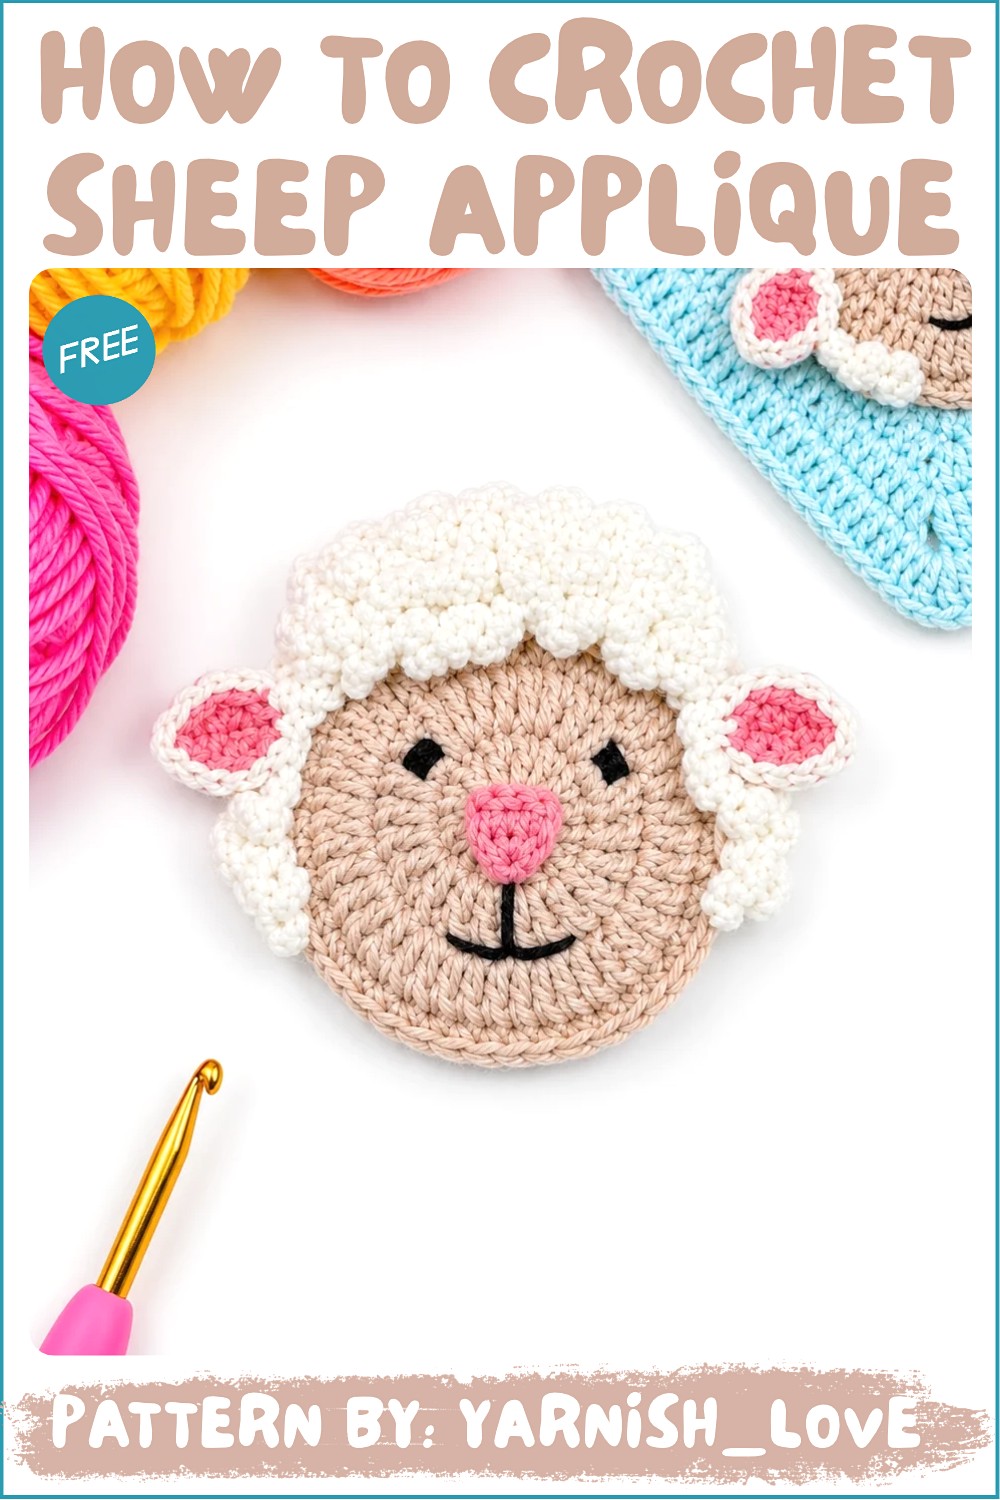
Crochet Sheep Applique Pattern
This adorable sheep applique is a versatile and charming design perfect for adding a whimsical touch to many projects such as baby blankets, pillows, bags, or even as decoration for clothing or nursery items. The applique incorporates techniques such as working in the round, increases, decreases, and shaping, making it an engaging and rewarding project for crocheters.
Skill Level
Intermediate
This pattern is suitable for those who are experienced with working in the round, managing different stitch combinations, and handling shaping techniques such as increases and decreases. While none of the stitches are particularly advanced, some attention to detail is essential to achieve the desired look.
Materials
- Yarn:
- Alize Cotton Gold yarn (or similar cotton-blend yarn).
- Main color for the head (e.g., white or cream).
- Contrasting color for the ears and nose (e.g., grey).
- Alize Cotton Gold yarn (or similar cotton-blend yarn).
- Hook:
- 3 mm crochet hook.
- Additional Tools:
- Yarn needle for sewing.
- Scissors.
Stitch Abbreviations
(Only those present in the transcription are listed.)
- ch – Chain
- sc – Single Crochet
- hdc – Half Double Crochet
- dc – Double Crochet
- sl st – Slip Stitch
Helpful Tips
- Master the Magic Ring: Ensure the magic ring is comfortably tight, especially for smaller components like the nose, to achieve a tidy and polished appearance.
- Front and Back Loops: Pay close attention to each section where working into the front or back loops is specified. These techniques are crucial for creating texture and shaping the applique.
- Placement Precision: When assembling the applique, position the ears, wool, and nose symmetrically for a balanced and professional look.
- Sew with Care: Use only the front loops of the head piece when sewing parts together, so you maintain flexibility to incorporate the applique into other projects, such as granny squares.
- Blocking (Optional): Gently block the finished applique to enhance the overall shape and flatten wavy edges.
Pattern Instructions
The applique is divided into four main sections: head, ears, hair/wool, nose, and assembly. Each section is crocheted separately before joining.
1. The Head
The head serves as the base of the applique and is worked entirely in the round.
- Round 1: Foundation
- Start with a magic ring.
- Ch 3 (does not count as a stitch).
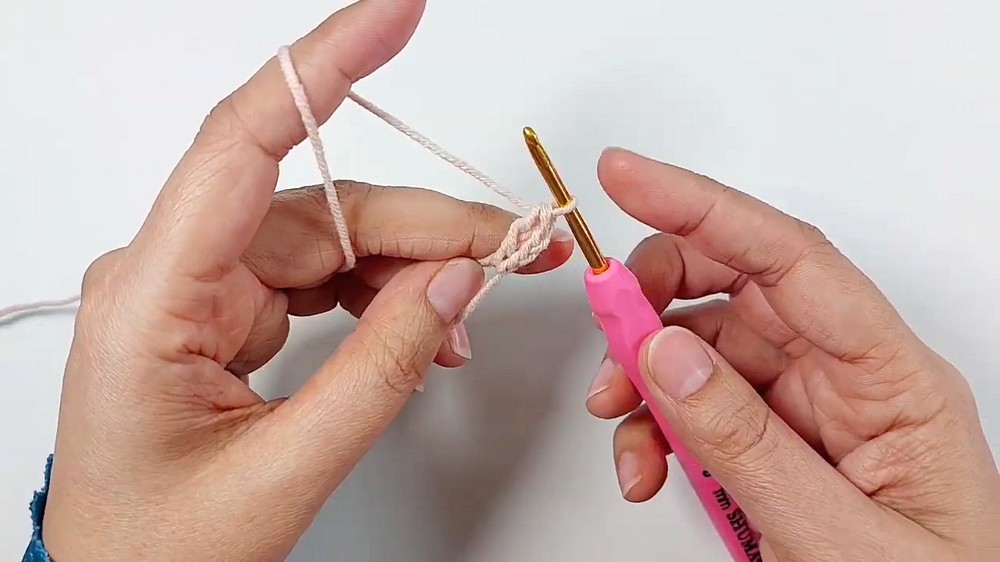
- Work 12 dc into the ring.
- Sl st to join into the first dc.
- Stitch count: 12 dc.
- Round 2: Increase Round
- Ch 1.
- Work 1 sc in the same stitch, then ch 1 (counts as 1 dc).
- Continue by working 2 dc into each stitch around.
- You will have 24 dc at the end of the round.
- Sl st to join.
- Stitch count: 24 dc.
- Round 3: Increase Round
- Ch 1, work 1 sc in the same stitch, ch 1, and 1 dc in the same stitch.
- Work 2 dc into each stitch around.
- You will have 48 dc at the end of the round.
- Sl st to join.
- Stitch count: 48 dc.
- Round 4: Single Crochet Round
- Ch 1, work 1 sc in the same stitch.
- Then work 1 sc in each stitch around.
- You will have 48 sc at the end of the round.
- Fasten off and weave in the ends.
- Stitch count: 48 sc.
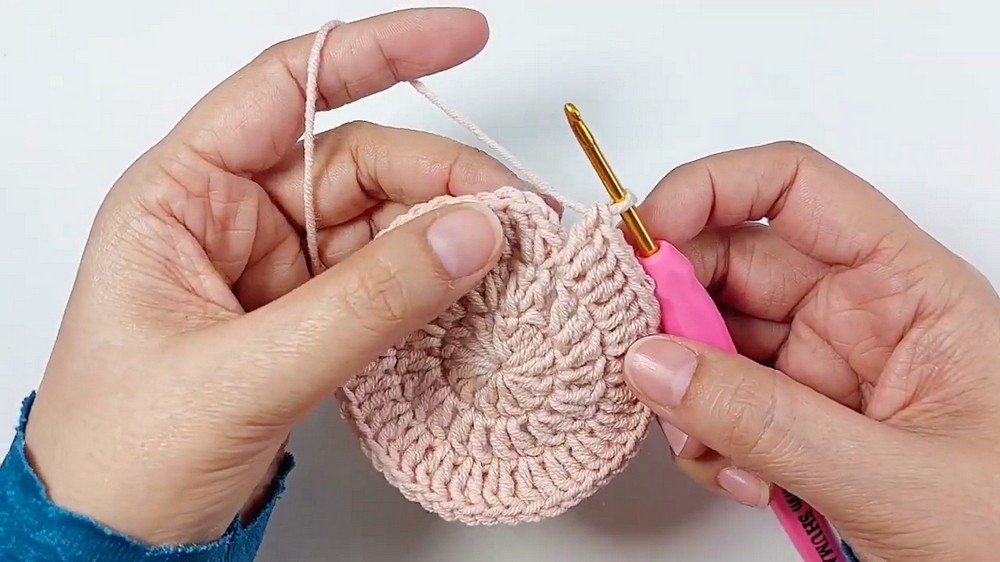
Set the head aside to attach additional pieces later.
2. The Ears
The ears are crocheted flat using rows and slight shaping techniques.
Create 2 ears; the instructions below are for one ear.
Front Side
- Foundation:
- Ch 6, skip the first 2 chains.
- Continue working along the first side of the chain:
- 1 hdc in the next chain,
- 1 hdc in the next chain,
- 1 sc in the next chain,
- Finish with 1 sl st in the last chain.
- Ch 1, turn the ear.
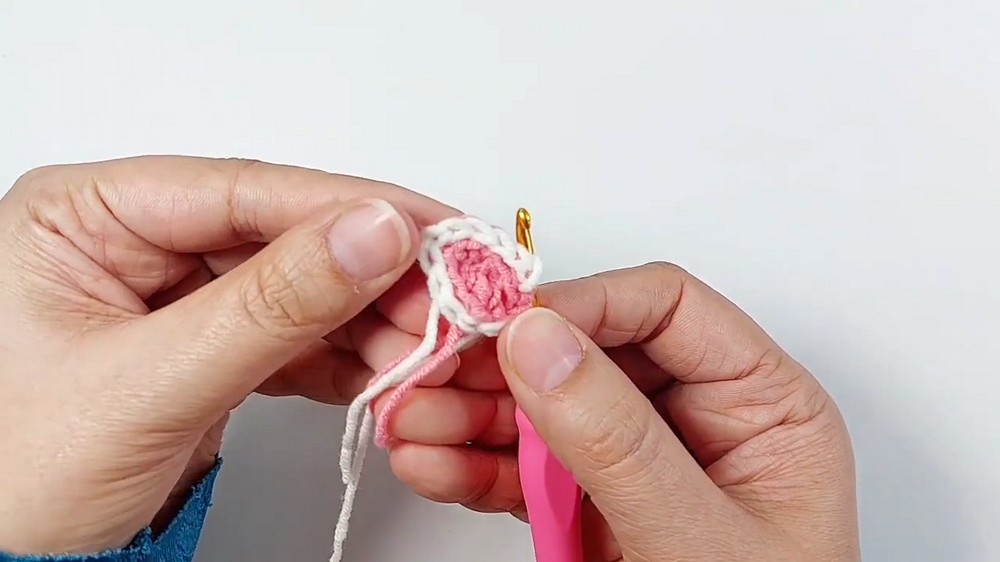
Back Side
- Work along the back side of the chains using the following stitches:
- 1 sl st,
- 1 sc,
- 1 hdc,
- 1 hdc.
- Fasten off.
Slip Stitch Detailing
- Join yarn to the back loops only of the finished ear piece.
- Work sl sts along the back loops, including a ch 1 at the center for shaping.
- Fasten off and leave a tail for sewing the ear onto the head.
Repeat all steps for the second ear.
3. The Hair/Wool
The hair/wool is formed with rows, loop techniques, and decorative “waves” for texture.
- Row 1:
- Ch 15, skip the first chain.
- Work sc across the remaining chains (14 total).
- Ch 1, turn.
- Stitch count: 14 sc.
- Row 2 (Increase):
- Ch 1, work sc in back loops only, increasing at both the beginning and end of the row.
- You will have 16 sc at the end of the row.
- Ch 1, turn.
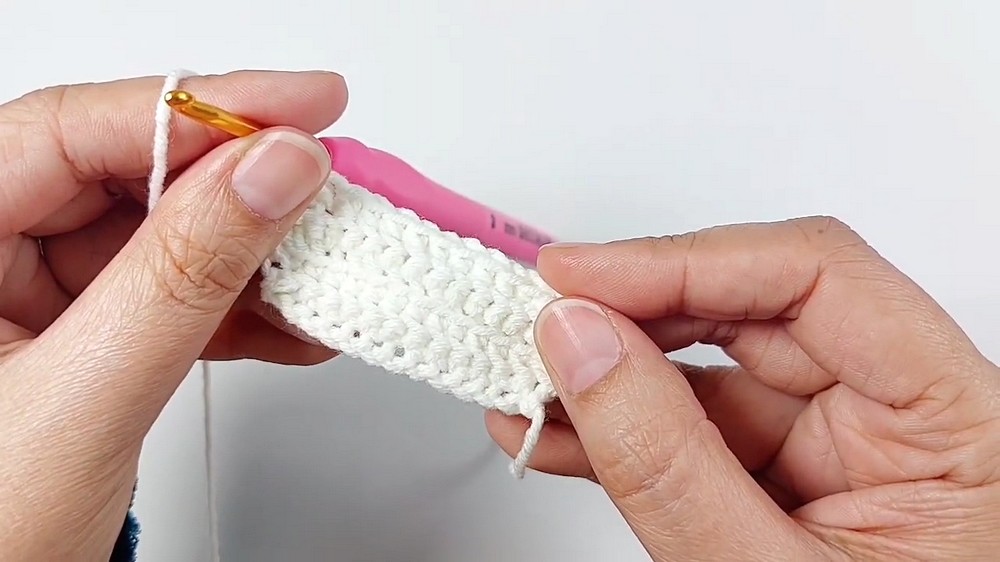
- Row 3 (Front Loop Decrease):
- Work sc in front loops only, decreasing at the start and end of the row.
- Ch 1, turn.
- Row 4 (Back Loop Decrease):
- Work sc in back loops only, decreasing at the start and end of the row.
- Ch 1, turn.
Creating Waves
- Ch 3, then sl st into the front loops across all remaining rows.
- This step adds decorative waves to represent wool.
- Fasten off, leaving a long tail for sewing.
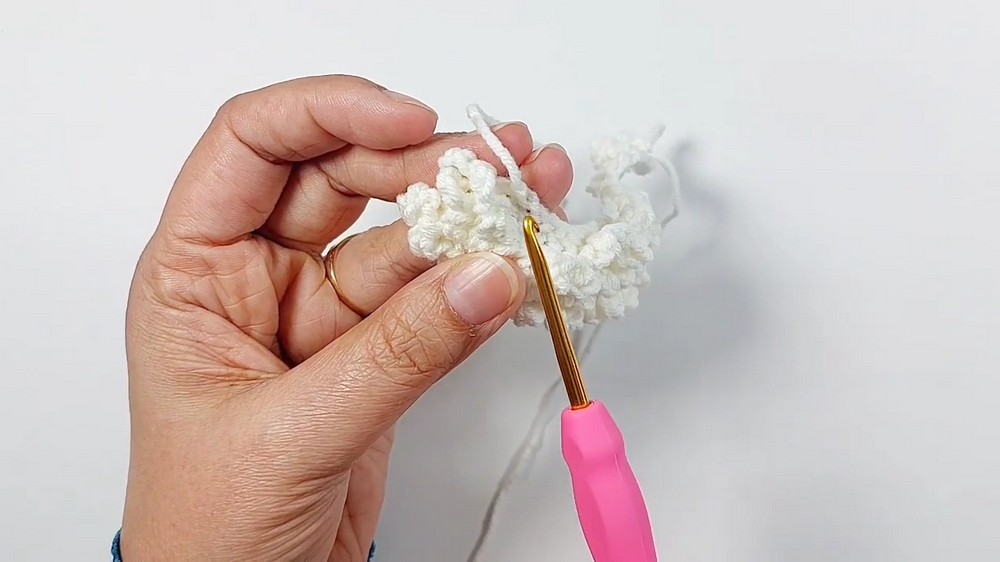
Set the wool piece aside.
4. The Nose
The nose is a simple, small detail that adds charm to the sheep’s face.
- Begin with a magic ring, ch 1, and work 2 sc into the ring.
- Ch 1, close the ring tightly, and turn.
- Work 1 sc in the first stitch and 2 sc in the last stitch.
- Fasten off and leave a long tail for sewing the nose onto the head.
Assembly
To assemble the sheep applique:
- Attach the Wool:
- Place the wool piece along the upper edge of the head.
- Use the yarn tail and a yarn needle to sew the wool securely in place, allowing it to drape slightly.
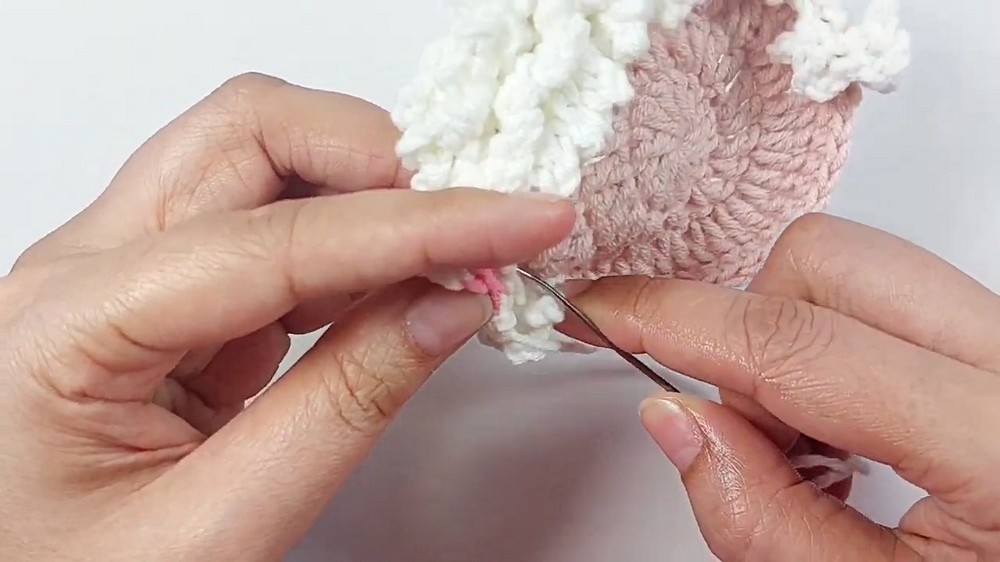
- Add the Ears:
- Position the ears symmetrically on either side of the wool, ensuring balance.
- Sew the ears onto the head using their tails.
- Sew the Nose:
- Place the nose slightly below the wool in the center of the head.
- Sew carefully for precise placement.
Assembly Tip:
When sewing details onto the head, use the front loops of the head piece only. This leaves the back loops intact and allows for potential use of the head piece within larger projects, such as a granny square motif.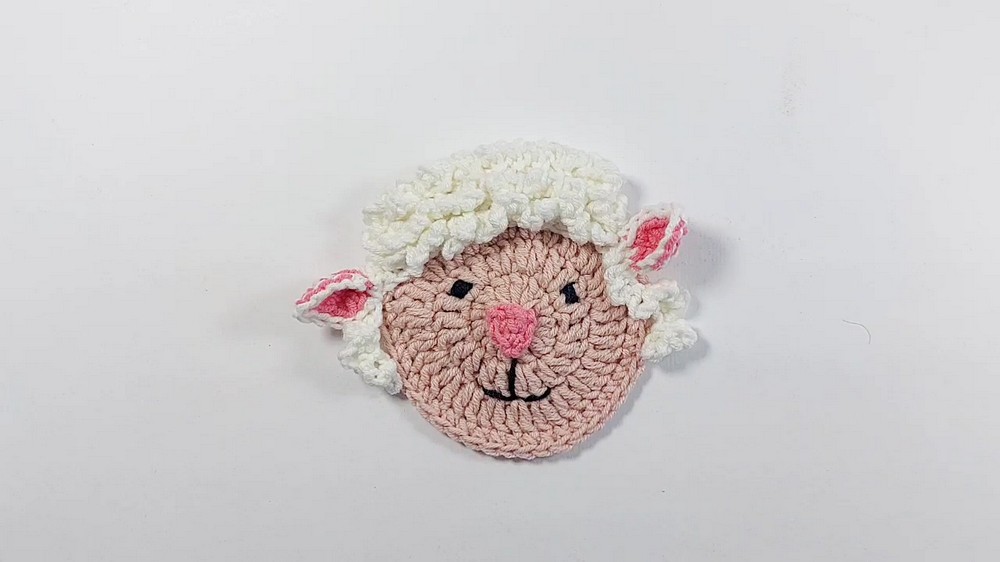
Conclusion
This sheep applique is a perfect way to add charm and whimsy to your crochet projects. The blend of textures, such as the wavy wool and detailed ears, creates a unique and delightful design. Its modular construction provides flexibility for personalizing colors and using the finished work as an applique or as part of a larger crochet creation.