Cute & Free Turtle Crochet Applique With Step By Step Pattern + Tutorial

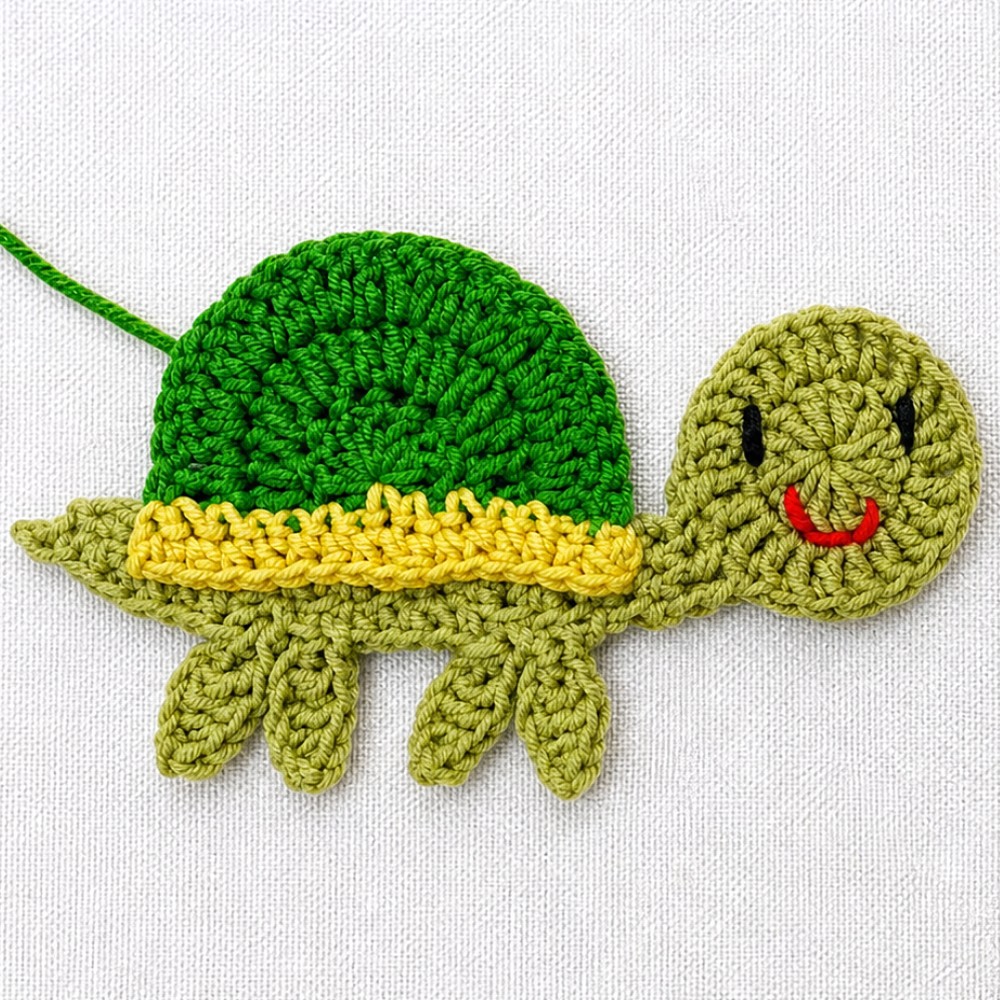
Refresh a plain bag with this Crochet Turtle Applique Free Pattern that’s a cute sea-inspired detail that gives simple accessories a cheerful new look at home.
A plain bag can look more interesting with just one small animal detail. The Turtle Applique Free Crochet Pattern offers a friendly choice for anyone who likes cute, nature-inspired accessories. A turtle shape has a recognizable outline, making it a nice subject for a piece that will sit on top of fabric or another yarn project.
Cheerful Turtle Applique Free Crochet Pattern for Bags
About the Artist Behind the Tutorial
The turtle lesson from yarnish_love gives a small animal project its own time in the spotlight. Those interested in decorative crochet details can find the original video through the link. Following that source also keeps the creator connected to the work instead of separating the design from its original tutorial.
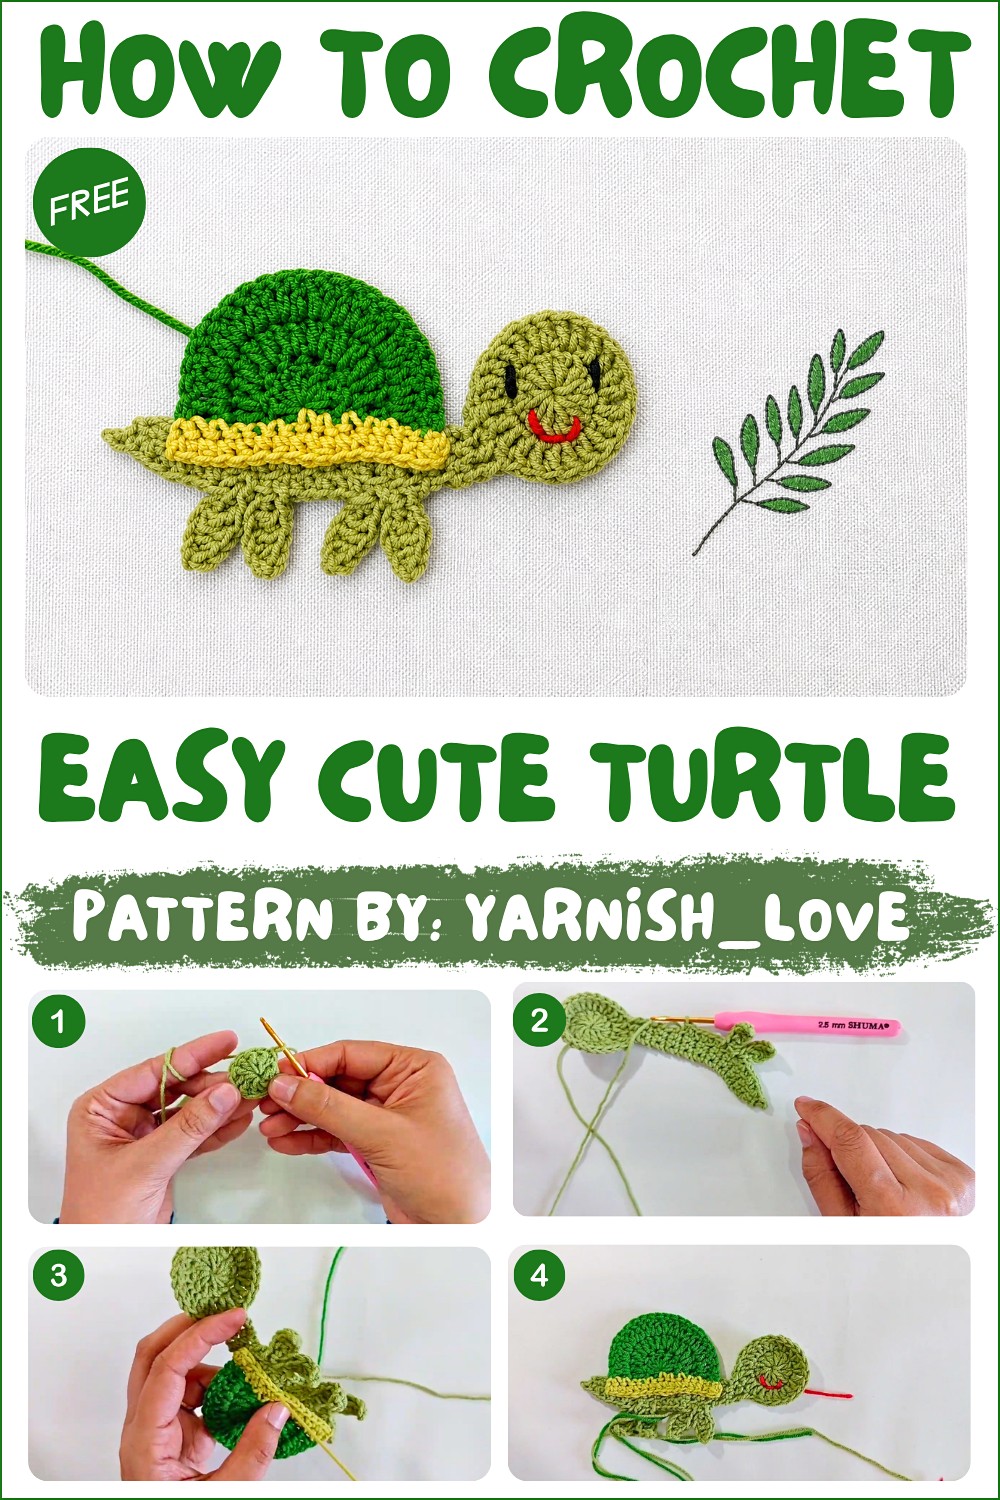
Appliques are handy when you want to change the appearance of something you already own. Sew the turtle onto a tote, use it on a fabric pouch, or place it on a child’s room decoration. For a coordinated idea, several small sea-themed details could share the same background. You can choose different yarn colors to suit the item you are decorating, but keep enough contrast for the turtle shape to stand out. The soft surface adds texture without needing a large design.
Use your finished applique where it can lie flat, then secure it well around the edges so it stays in place during normal use. If the piece is intended for a baby’s item, avoid loose attachments and consider safety carefully. This small project is a nice way to give familiar belongings a fresh identity while keeping the turtle itself as the main attraction.
Cute Turtle Appliqué Crochet Pattern
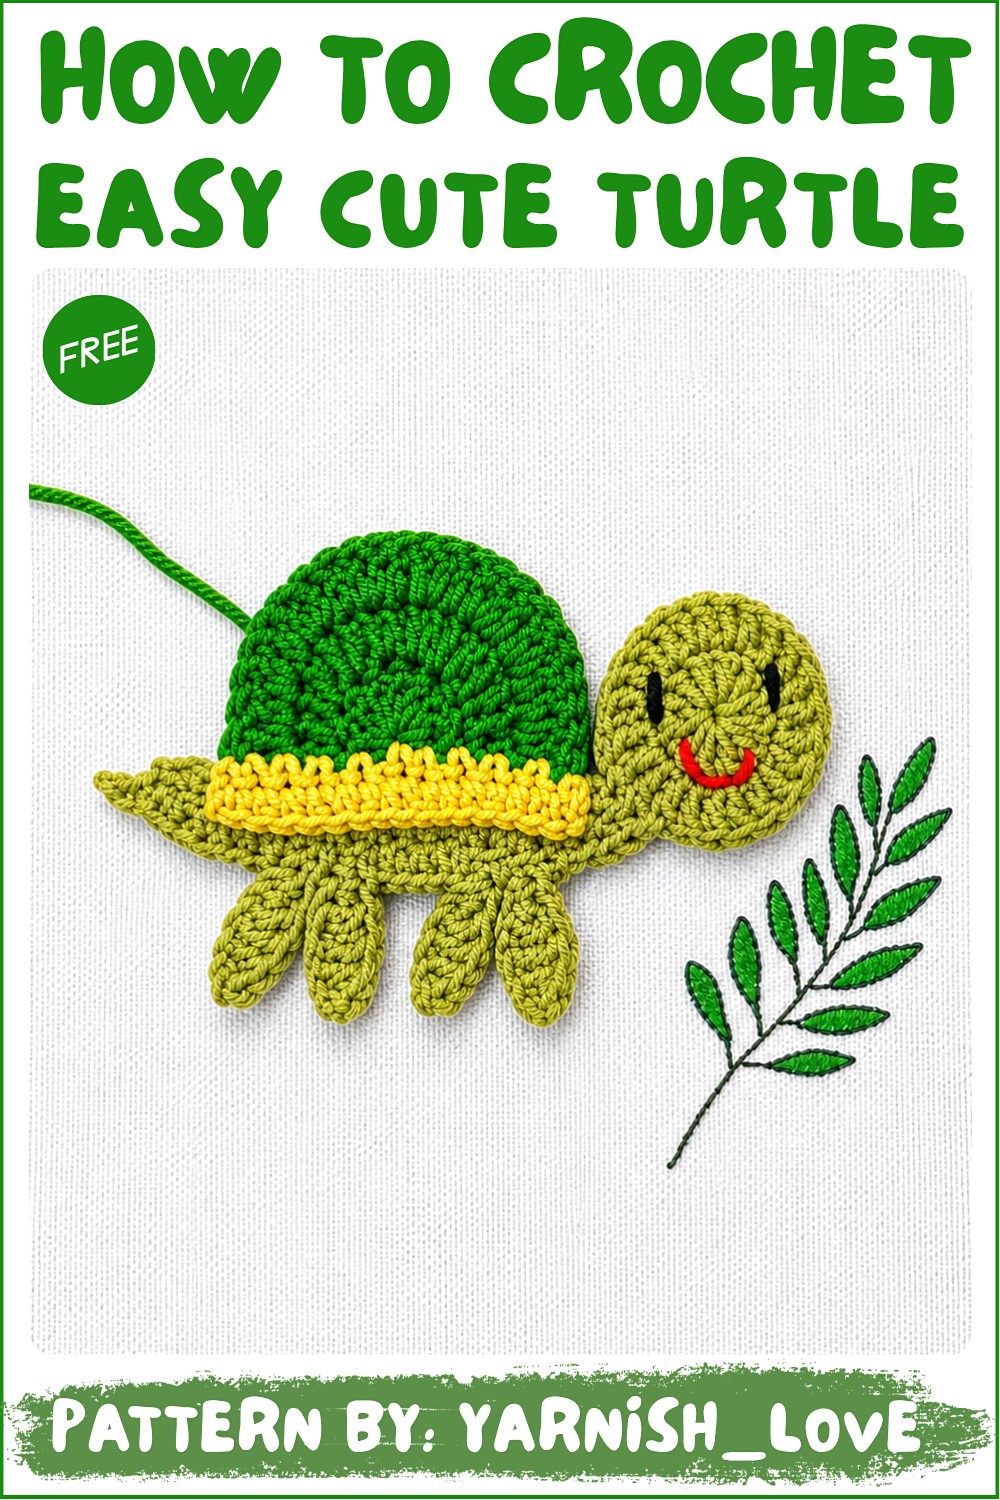
This cute turtle appliqué crochet pattern is both creative and versatile, making a wonderful embellishment for baby blankets, children’s clothing, nursery décor, or gifts. The pattern consists of a detailed turtle-shaped design, incorporating both the body and shell, as well as legs for an authentic appearance. With a mix of basic and intermediate stitches, this project is enjoyable for crocheters who want to explore creative shapes and textures.
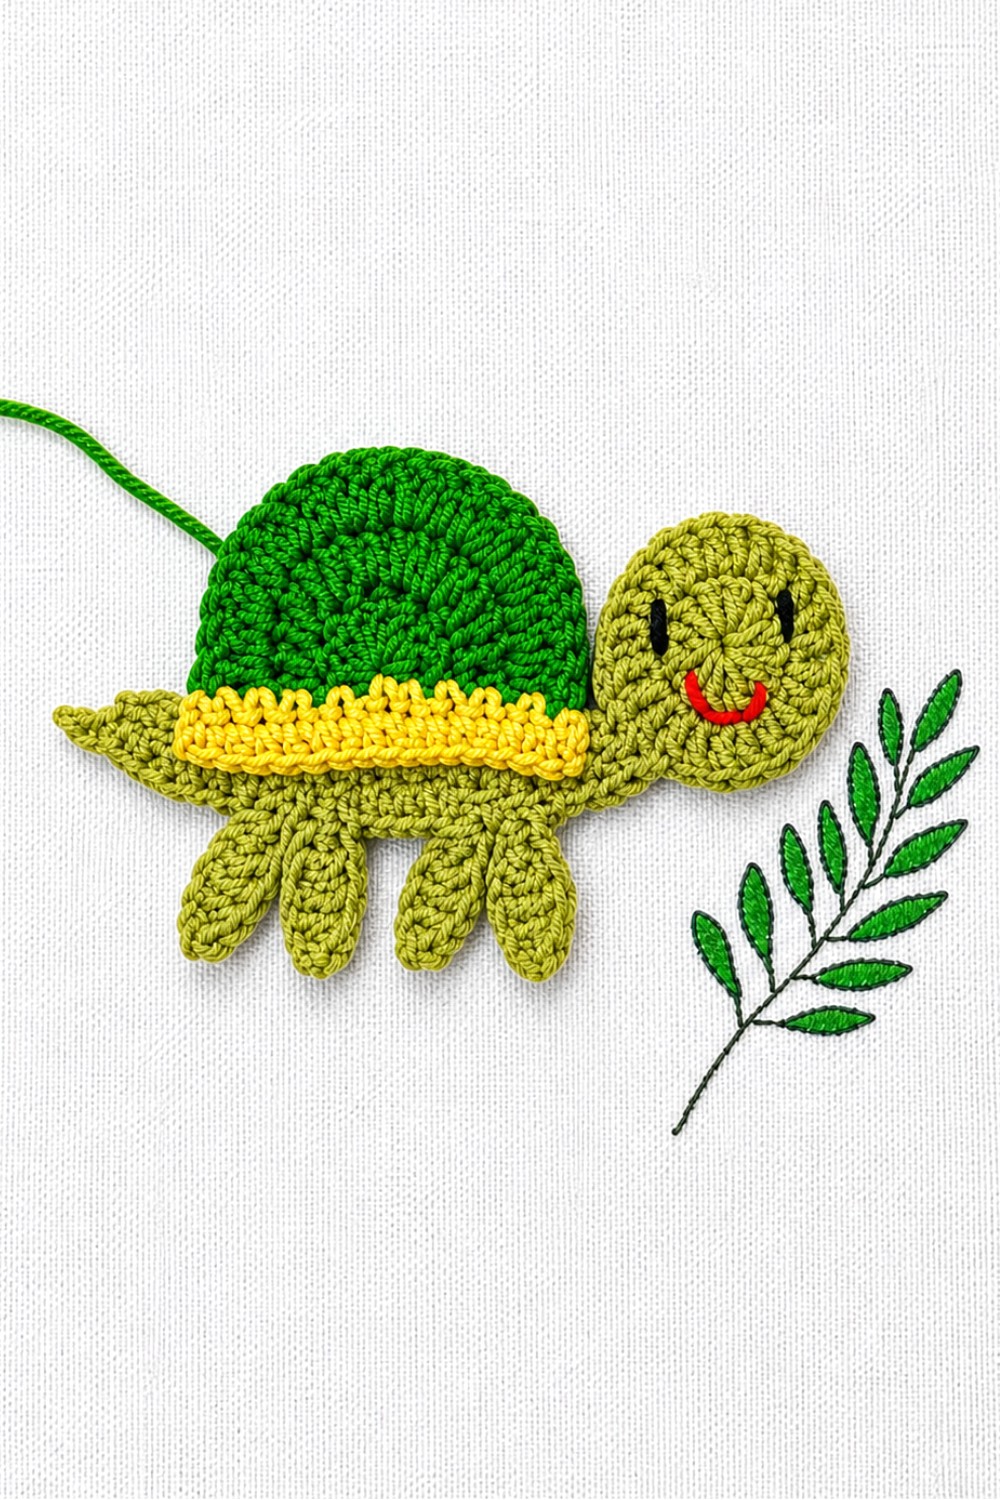
The instructions below provide step-by-step guidance to craft this adorable turtle appliqué, complete with tips to ensure your success.
Skill Level
Intermediate
This pattern involves techniques such as working in a magic ring, creating distinct shapes, forming small components like legs, and assembling pieces into a cohesive design. While accessible for confident beginners, some prior experience with foundational crochet stitches such as double crochet, single crochet, and half-double crochet is highly recommended.
Materials
To crochet your turtle appliqué, you will need the following:
- Yarn:
- Green yarn for the turtle’s body. Choose a soft, medium-weight yarn or cotton for clean stitch definition.
- Yellow yarn for the turtle’s shell center as a contrasting color.
- Crochet Hook: Select a hook size suitable for your yarn weight. Generally, a 3mm to 4mm hook works well for medium-weight yarn.
- Scissors: For trimming yarn ends neatly during assembly.
- Yarn Needle: Essential for sewing the shell center to the body and weaving in ends.
Stitch Abbreviations
- ch – Chain
- sc – Single Crochet
- hdc – Half Double Crochet
- dc – Double Crochet
- sl st – Slip Stitch
- magic ring – Magic Adjustable Ring
Useful Tips
- Practice the Magic Ring: This technique creates a tightly closed center, perfect for circular shapes like the turtle’s body and shell center. Pull the tail snugly after completing the stitches for a flawless finish.
- Use Different Hook Sizes for Components: If desired, switch hook sizes to create subtle variations between the shell center and green body for added texture and visual interest.
- Blocking for Shape: Gently block your turtle pieces after finishing to ensure the appliqué lies flat and showcases the stitches well.
- Weaving Ends: Carefully weave in all loose ends to ensure clean edges and durability, especially for appliqués used on baby items or garments.
- Secure Assembly: When attaching the shell center to the main body, ensure clean stitching with evenly spaced joins for a polished finish.
Pattern Instructions
Follow the instructions step by step to crochet the turtle appliqué, starting with the body and progressing to other components such as the shell and legs.
1. Turtle Body
Start by forming the turtle’s green circular base.
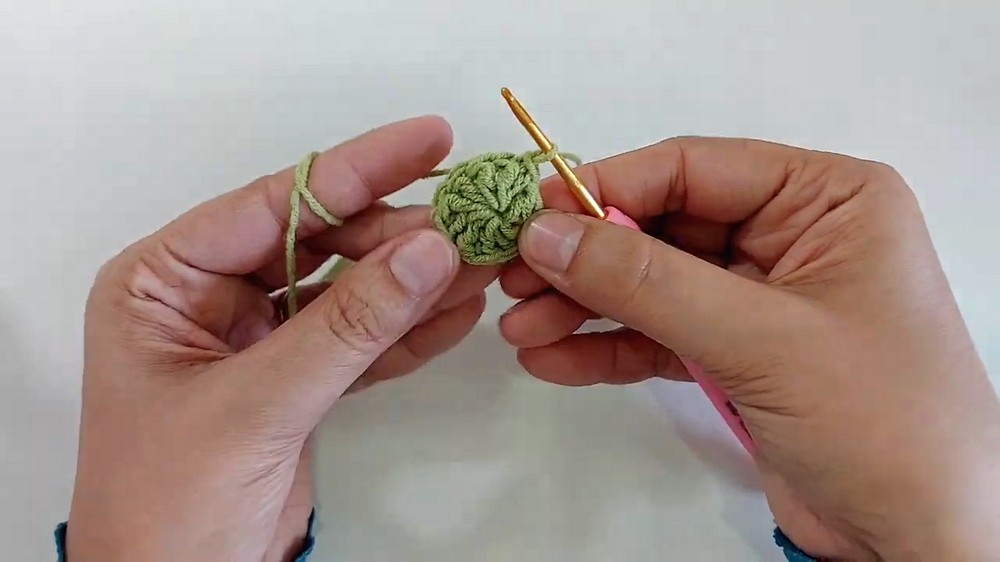
Magic Ring:
- Create a magic ring as the foundation.
- Work 12 dc into the ring.
- Pull the tail tightly to close the ring completely, forming a circular base.
2. Turtle Shell/Top
Round 1:
- Ch 3 to begin, serving as the starting double crochet.
- Work 2 dc in each stitch around (total: 24 stitches). This increases the size of the circle for the shell.
Round 2:
- Sl st in the next stitch to secure. Ch 1, then sc in the same stitch where the slip stitch was made to start the surface texture.
- Work the following sequence, turning after each set of stitches:
- hdc in the next stitch, dc in the following stitch.
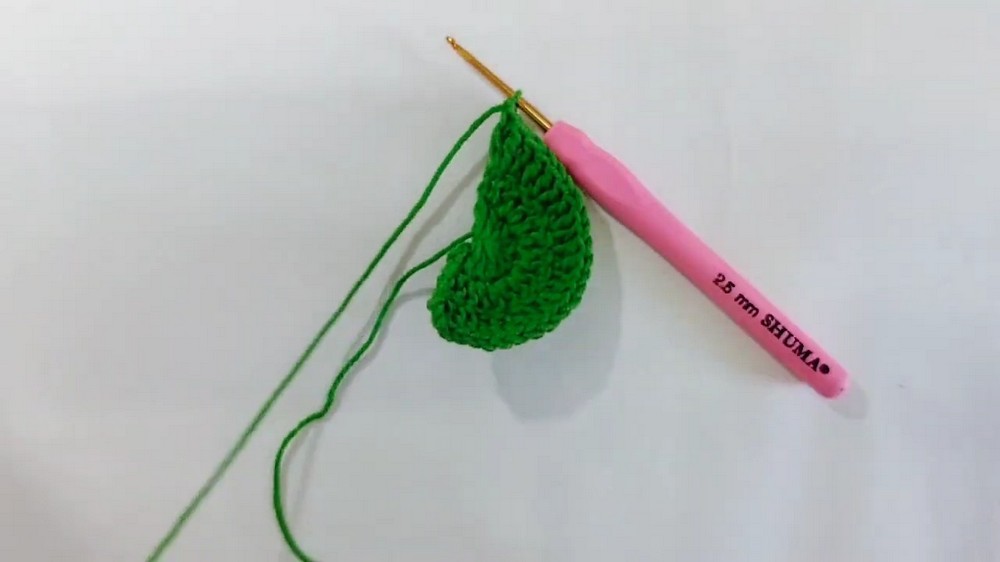
- Ch 1, rotate the work, and sc in 3 stitches. Repeat this sequence until 14 rows are completed.
- hdc in the next stitch, dc in the following stitch.
Shell Edging:
- Skip the first stitch, and sc in the next 2 stitches.
- Ch 1, rotate, and work 2 sc. Rotate again, skip the first stitch, and sc in the last stitch to complete the outer edge of the shell.
3. Creating the Legs
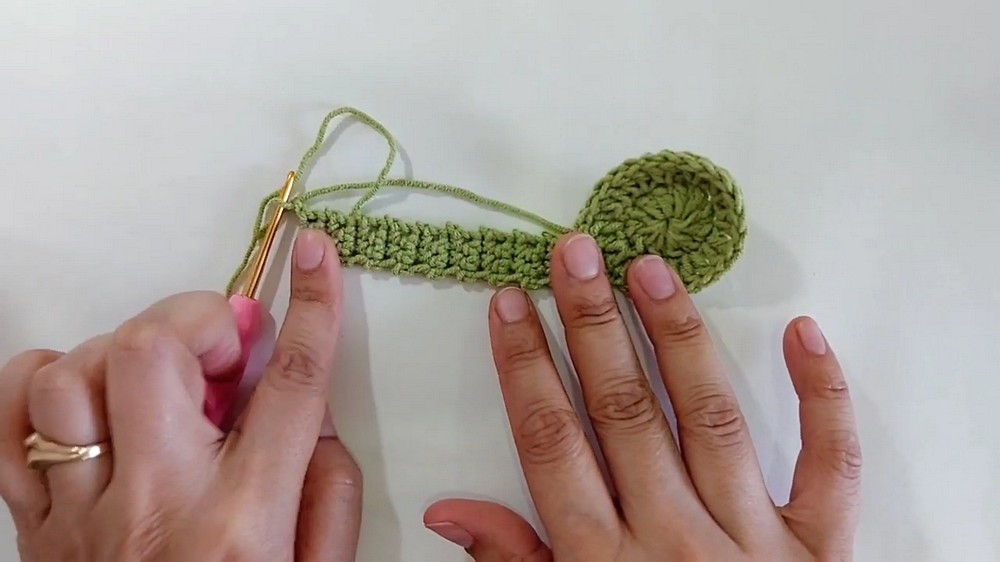
The turtle’s legs are worked separately and attached around the body.
First Set of Legs:
- Ch 6 as the foundation chain.
- Work:
- hdc into the second chain from the hook.
- dc into the next chain.
- sc into each remaining stitch.
- Sl st in the next space on the circular body.
- Repeat the entire sequence to create the second leg on this side.
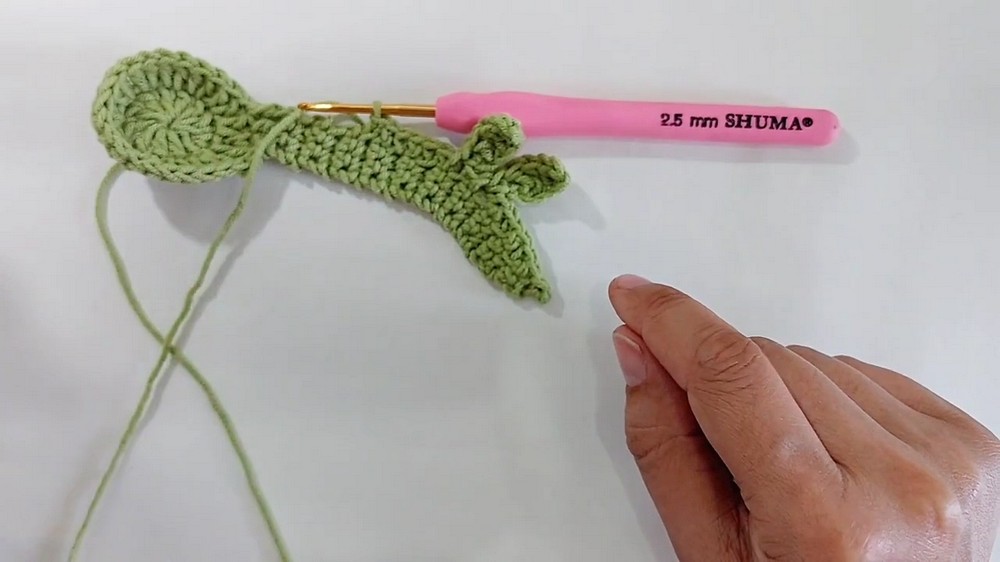
Second Set of Legs:
- Ch 6 again to form the foundation for the opposite pair of legs.
- Repeat the same stitch sequence as the first set:
- hdc in the second chain, dc in the next, sc in the rest of the chain.
- Sl st in the next space on the circular body.
Back Legs/Base:
- Sl st to the next space, and work 5 sc along the side to create the turtle’s base legs. Adjust stitch tension to create the rounded appearance.
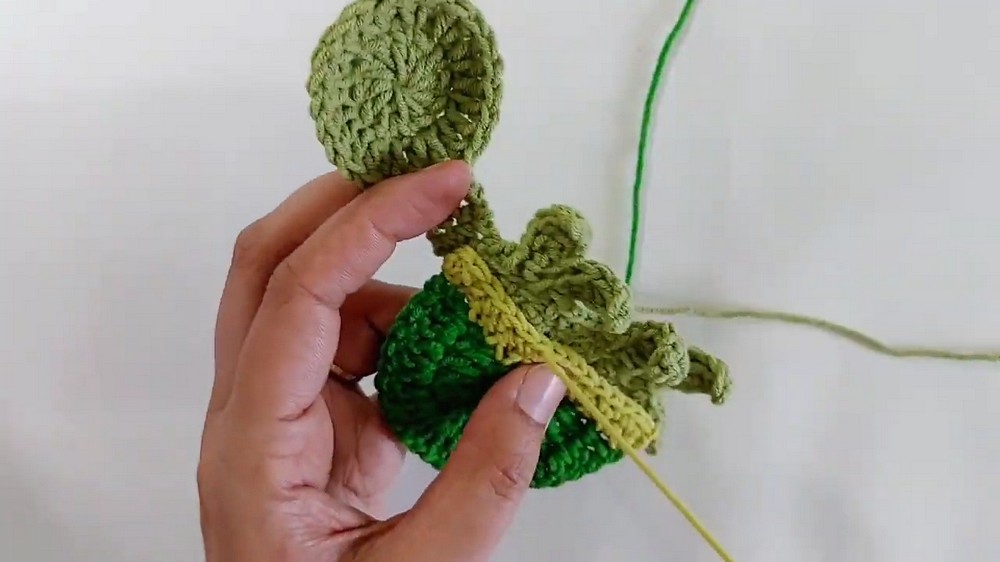
4. Shell Center (Yellow)
The shell center is worked separately in yellow yarn and sewn onto the main body.
Magic Ring:
- Create a magic ring using yellow yarn.
- Work 8 dc into the ring. Tighten the ring to close the center completely.
Round 2:
- Ch 3, then turn. Work 2 dc in each stitch around (total: 16 stitches). This increases the diameter of the circle.
Round 3:
- Ch 3, then turn again. Dc in the same stitch, followed by 2 dc in each stitch around (total: 24 stitches). The final round creates a slightly larger circular shape for the shell center.
Border:
- Ch 3, and work 2 sc in each stitch around to add a soft edge to the shell.
Finishing:
- Ch 1, turn, sc in each stitch around for the finishing border.
5. Assembly
- Position the yellow shell center onto the green body, ensuring that it aligns symmetrically.
- Using a yarn needle and green yarn, sew or stitch the shell center firmly onto the body. Ensure even placement and secure stitching for a durable appliqué.
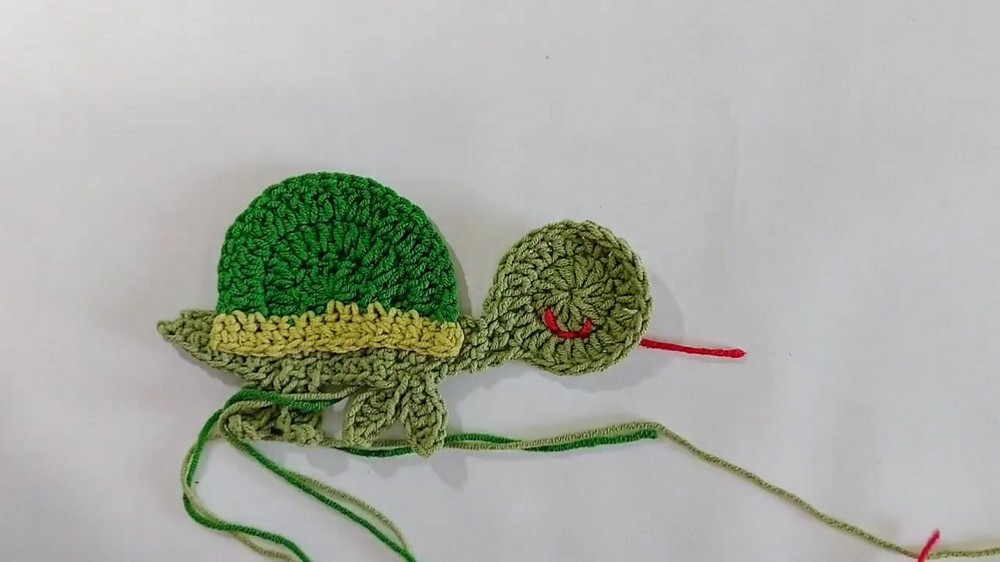
- Adjust any loose stitches or shape after assembly for the perfect finish.
Conclusion
The cute turtle appliqué combines simple and intermediate techniques to create a fun, detailed accessory for various projects. With its circular body, textured shell, and distinct legs, this design provides a whimsical addition to blankets, clothing, or accessories. The careful assembly of green and yellow components results in an appliqué that is visually stunning and enjoyable to make. Whether you crochet one turtle or a cluster, this pattern encourages creativity and versatile applications in your crochet projects.