Festive Crochet Reindeer Hat Free Pattern for Holiday Outfits

Warm up a holiday outfit with this Crochet Reindeer Hat Free Pattern, featuring playful animal details that suit family photos, gifts, and festive fun.
Cold-weather accessories do not have to be plain to feel useful. The Reindeer Hat Free Crochet Pattern gives an everyday head covering a cheerful holiday character, turning something practical into a fun part of an outfit.
Cheerful Reindeer Hat Free Crochet Pattern with Cute Animal Details
From the Channel
Seasonal accessories take on a playful side at yarnish_love. The reindeer hat is shared across two videos, allowing the idea to be viewed in separate parts. Its animal theme offers a change from plain hats, especially for people who enjoy wearing something cheerful during holiday gatherings and taking family photos.
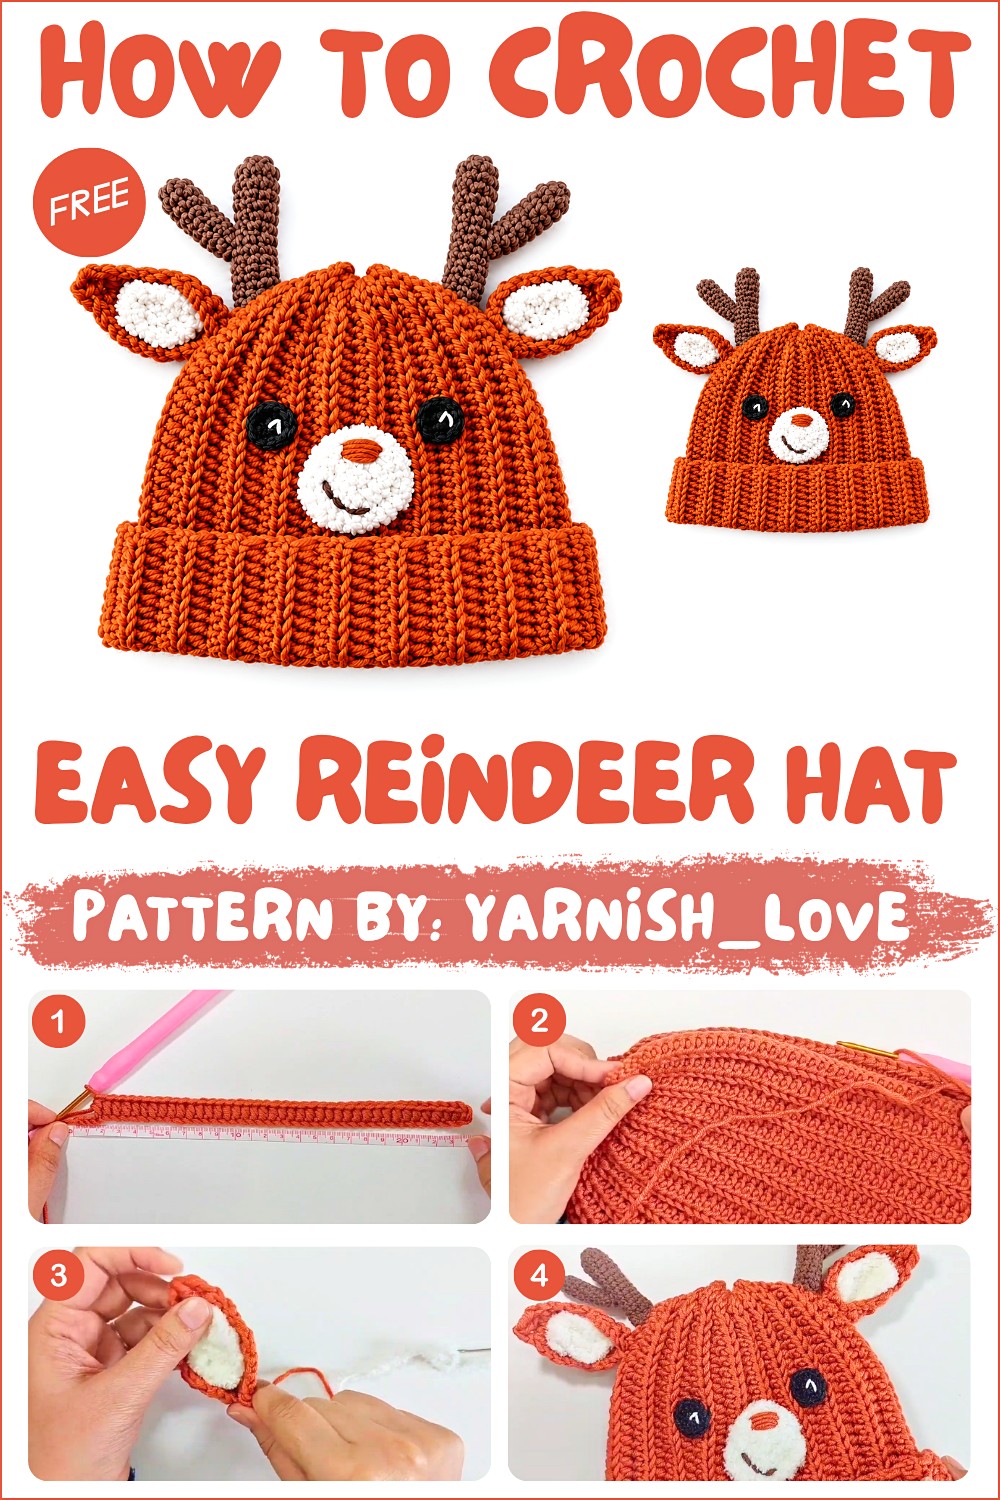
The reindeer theme is what sets this hat apart from a simple beanie. Animal-inspired features give it a playful outline, while the main cap provides a familiar shape that can be worn with coats, sweaters, and other warm clothing. A brown base can support the reindeer look, and small contrasting details can help the features stand out. The finished appearance is friendly rather than overly fancy.
This hat would be a fun choice for a family photo, a holiday gathering, or a cheerful present for someone who likes animal accessories. It could also suit a school celebration or a casual walk when a little seasonal style feels welcome. Paired with a plain jacket, the reindeer details become the main feature without needing lots of other accessories.
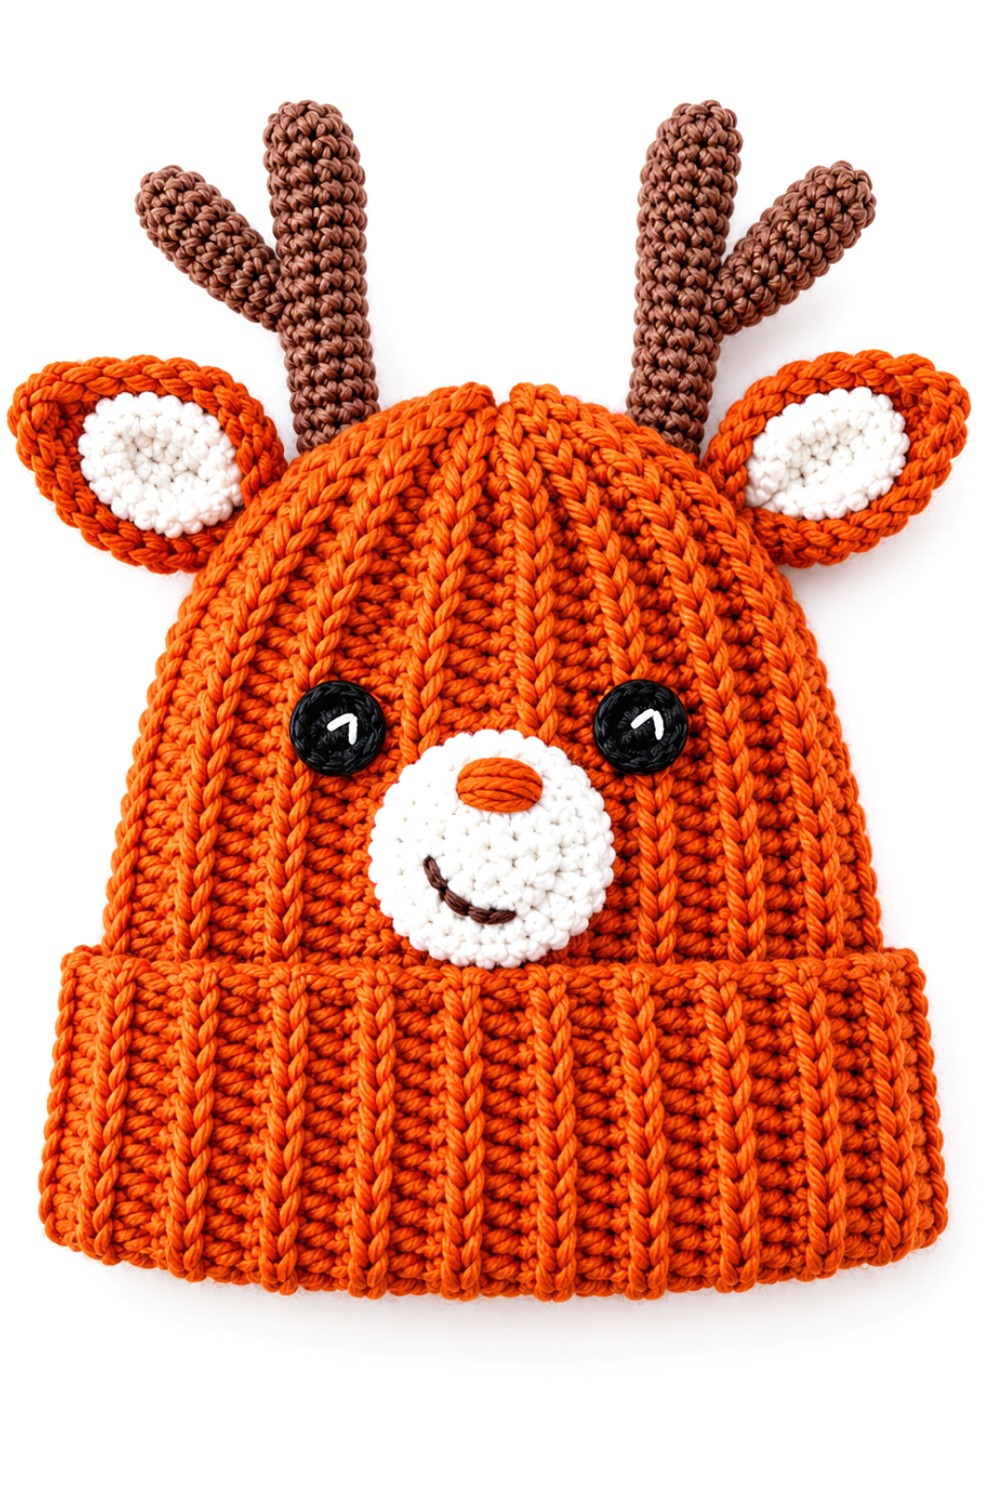
The two-part project gives attention to both the hat and its character details. Keeping the cap even and arranging the decorative pieces carefully can help the result look balanced. Whether worn for a special occasion or kept as a favorite seasonal accessory, the design has a warm, lighthearted feel that stands out from ordinary hats.
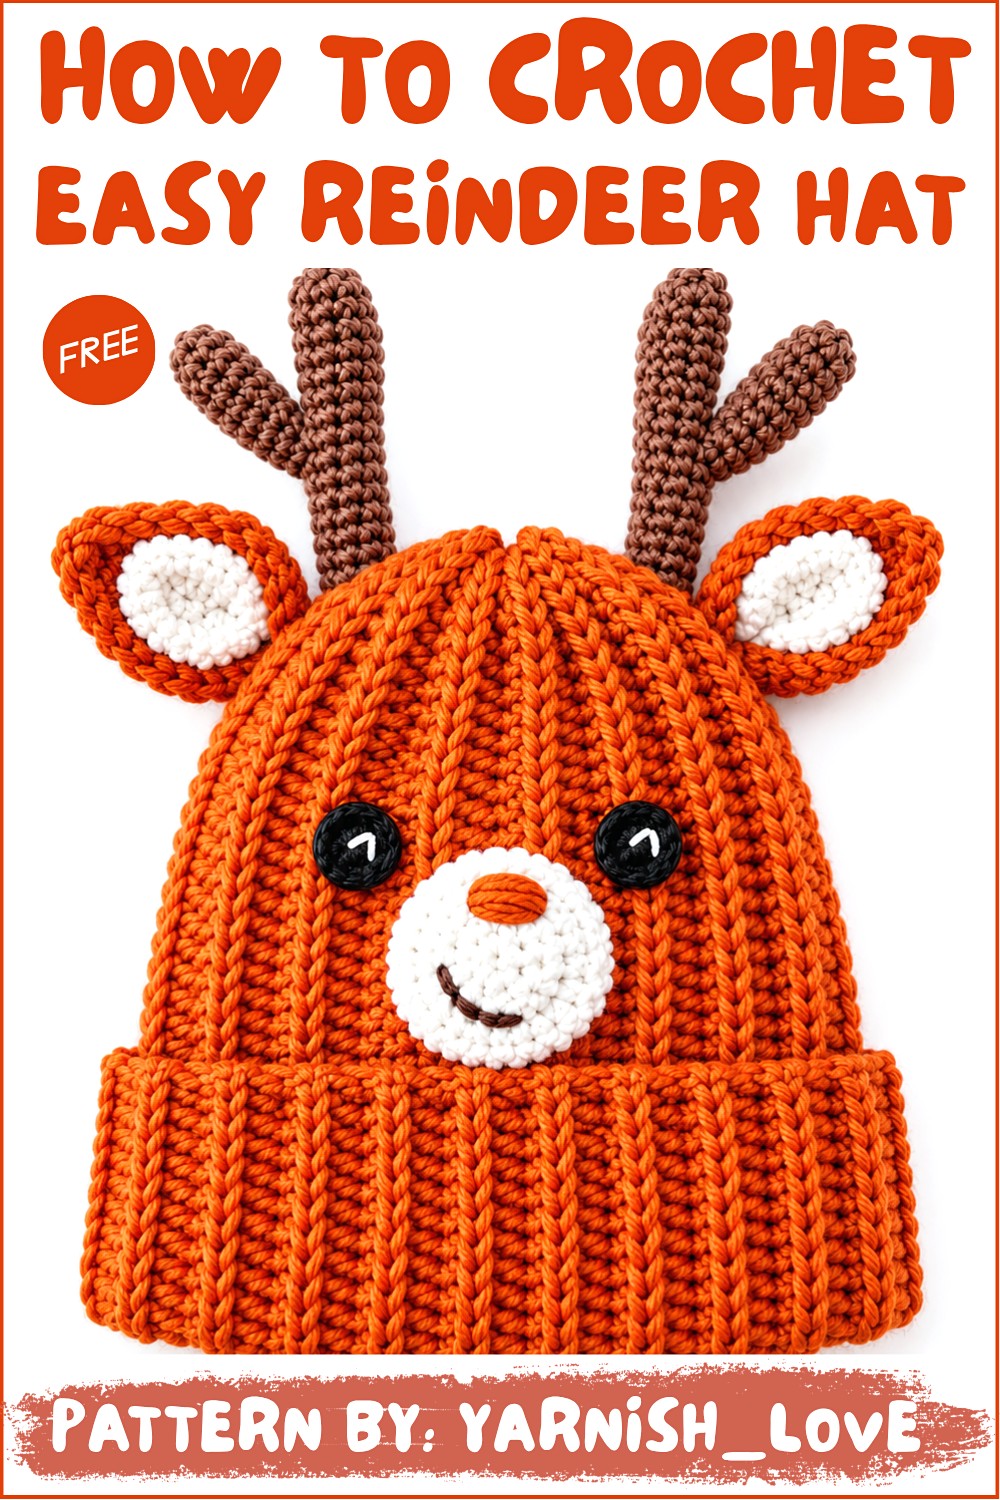
Crochet Reindeer Hat Pattern (12-Month Infant)
This crochet reindeer hat is a delightful and cozy accessory tailored specifically for a 12-month-old baby, fitting a head circumference of approximately 41–42 cm. With artistic details such as ears, horns, and a muzzle, this playful design is sure to be cherished. Made using anti-pilling yarn for main construction and soft accents for features, the hat is both practical and adorable.
Skill Level
Intermediate
This pattern involves techniques such as working with textured yarn, making detailed components like ears and horns, and creating shapes like rectangles and circular rounds. It requires a good understanding of crochet basics and assembly techniques, making it ideal for intermediate crocheters.
Materials
You will need the following materials to complete this project:
- Main Yarn: Copo or similar anti-pilling DK-weight yarn for the hat body.
- Accent Yarns:
- Alize Cotton Gold for finer details such as the eyes and horns.
- Fluffy Winnie Poo yarn (or an alternative textured yarn) for ears and the muzzle.
- Hooks:
- 3.5 mm hook for the main hat.
- 2.5 mm hook for finer details (ears, muzzle, horns).
- Scissors: For trimming yarn ends.
- Tapestry Needle: For sewing the components together and weaving in loose ends.
Stitch Abbreviations
- ch – Chain
- sl st – Slip Stitch
- sc – Single Crochet
- dc – Double Crochet
- hdc – Half Double Crochet
- magic ring – Magic Adjustable Ring
- BLO – Back Loop Only
- both loops – Working into both top loops of a stitch
Useful Tips
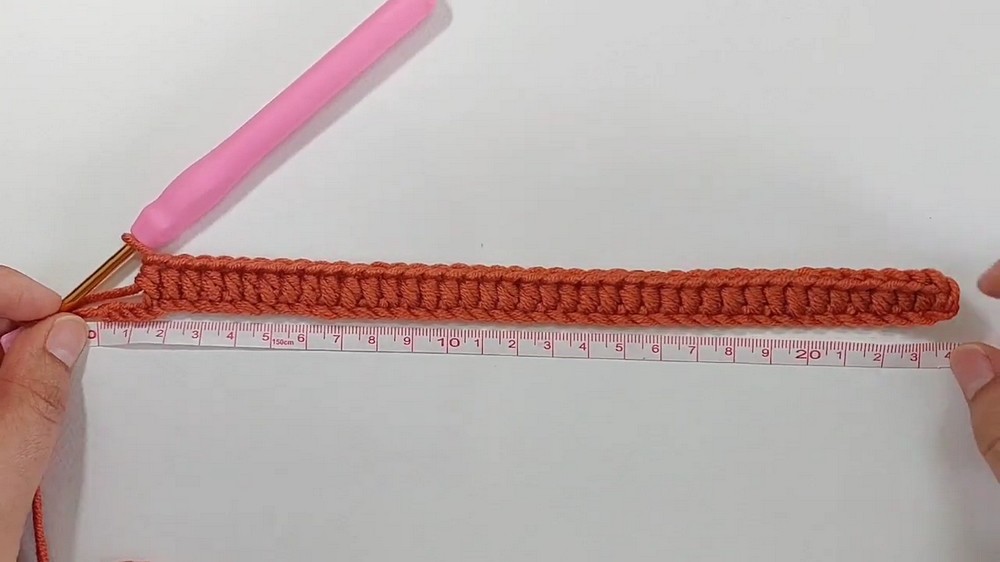
- Gauge Matters: Ensure the foundation chain measures 24 cm before proceeding, as this forms the base size of the hat for a 12-month-old baby.
- Flat Rectangle Formation: Pay attention to consistent tension during rows to avoid distortion in the rectangle, ensuring smooth assembly into a cylindrical shape.
- Neat Edges: Always work the first and last stitches of each row using both loops to maintain clean and tidy edges for joining.
- Textured Yarn: Working with fluffy yarns like Winnie Poo may require extra care. Use touch to identify stitches and keep the tension consistent.
- Assembly: Lay out the components carefully before attaching them to ensure proper alignment of facial features. Using pins can help with placement accuracy.
Pattern Instructions
The hat is constructed using a flat rectangle crocheted in rows before being joined into a round shape. Various detailed components—such as ears, horns, muzzle, and eyes—are crocheted separately and attached later.
1. Hat Base
Foundation Chain
- Start with a slip knot on your hook.
- Chain to a length of 24 cm, ensuring even tension and consistent stitches.
Round 1
- Skip the first two chains.
- Work hdc stitches into each chain across the foundation, leaving the last four chains.
- Into the final four chains, work sl st for the tapered edge of the hat.
- Ch 1 and turn your work.
Round 2
- Work into the BLO for the entire row except the edges.
- At the start of the row, work 4 sl st in the first four stitches (BLO).
- Continue with hdc stitches (BLO) across the remaining row.
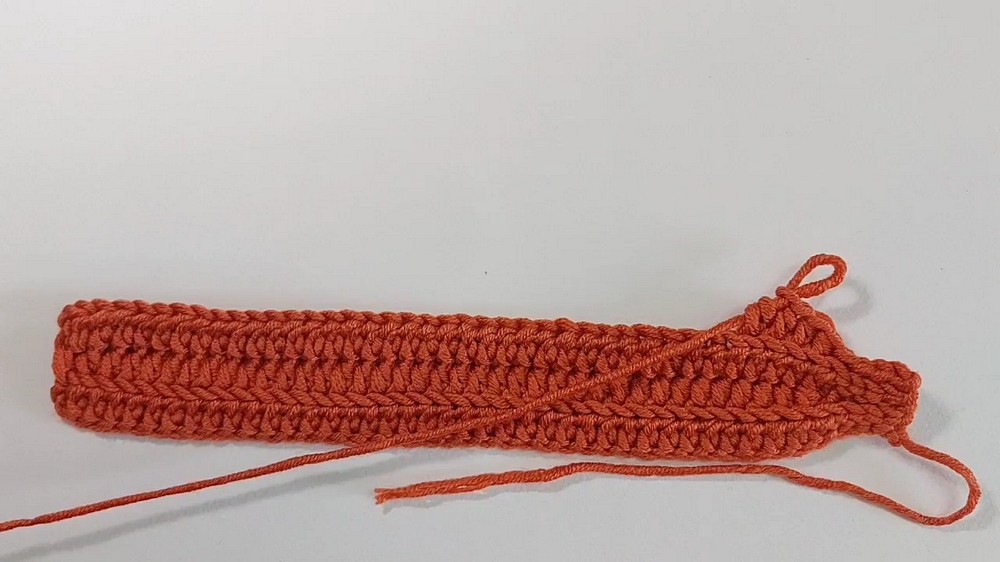
- For the first and last stitches, work into both loops to create a neat edge.
- Ch 2 and turn your work.
Subsequent Rows
- Repeat the pattern for each row:
- Start with hdc stitches in both loops for the edges.
- Work the rest of the row using hdc stitches in the back loops only.
- End each row with 4 sl st (BLO) to maintain the tapered edge.
- Chain to turn as follows:
- Ch 1 after a row with sl st finishes.
- Ch 2 after a row with hdc finishes.
- Continue working rows until the rectangle measures 41 cm in length.
Joining the Hat
- Fold the rectangle so its shorter sides meet, forming a cylindrical shape.
- Using your hook, join the edges together with sl st, working through:
- The front loop of the first side.
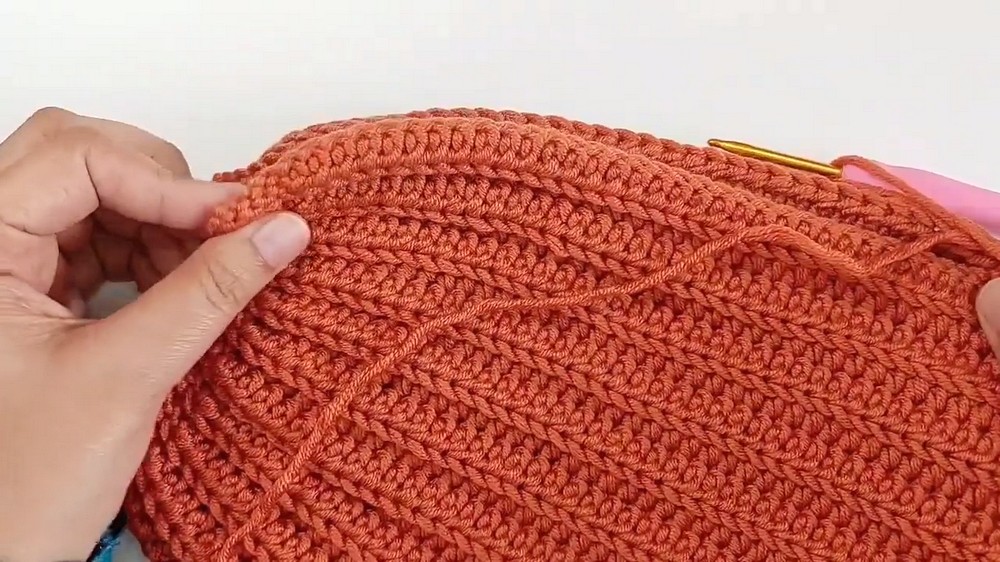
- The front loop of the corresponding stitch on the other side.
- The front loop of the first side.
- Continue slip stitching to join the seam completely.
- Fasten off, leaving a long tail of yarn for sewing.
2. Face Components
Ears (Main Part)
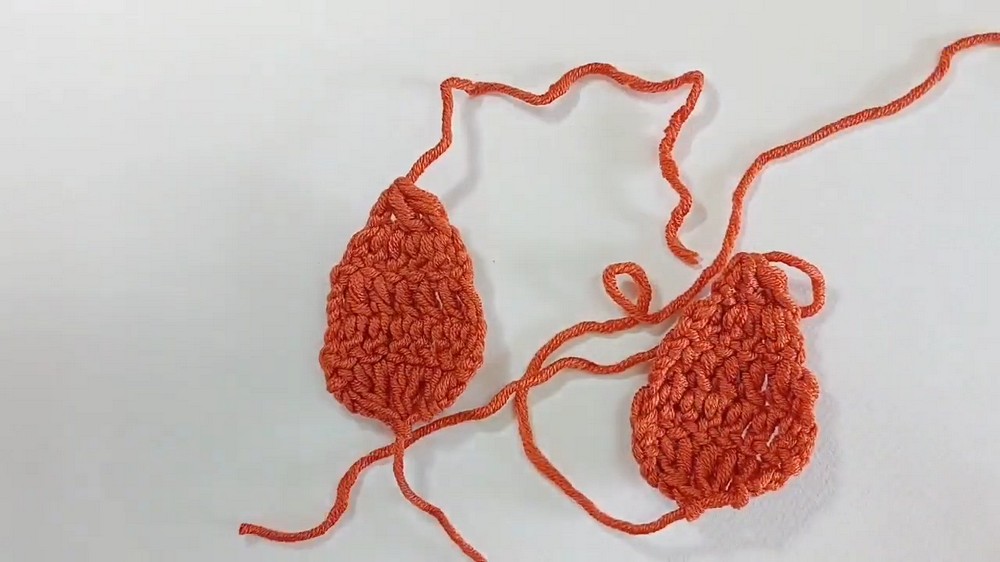
- Begin with a magic ring.
- Ch 3, then work double crochet stitches into the ring.
- Increase stitches gradually with each row (up to row 4).
- Work decreases in subsequent rows to shape the ear.
- Secure and cut yarn, leaving a tail for sewing.
Ears (White Inner Part)
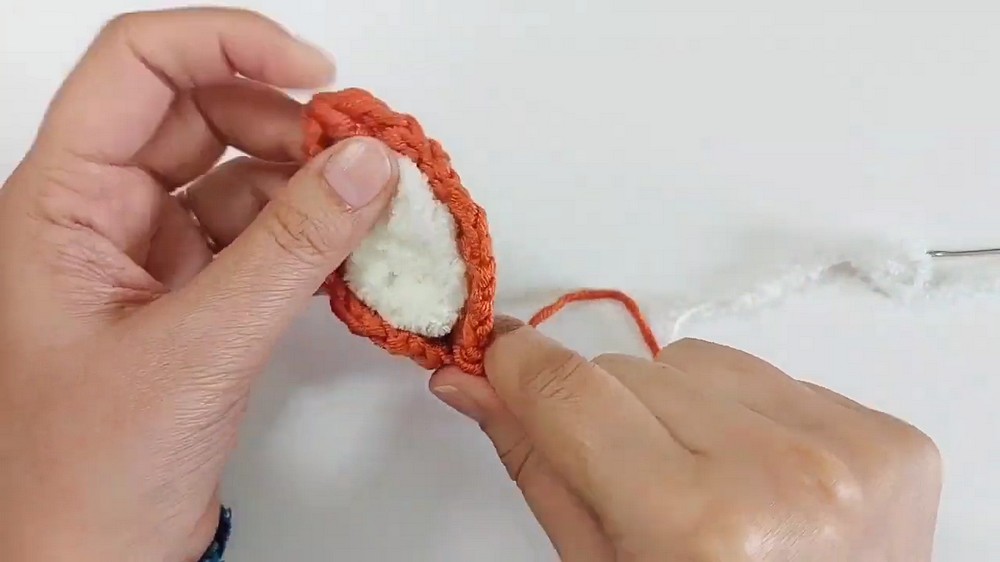
- Start with a magic ring.
- Ch 3, then work 3 dc into the ring.
- Use touch to identify stitches due to the fluffy yarn texture.
- Fasten off and leave a tail for sewing.
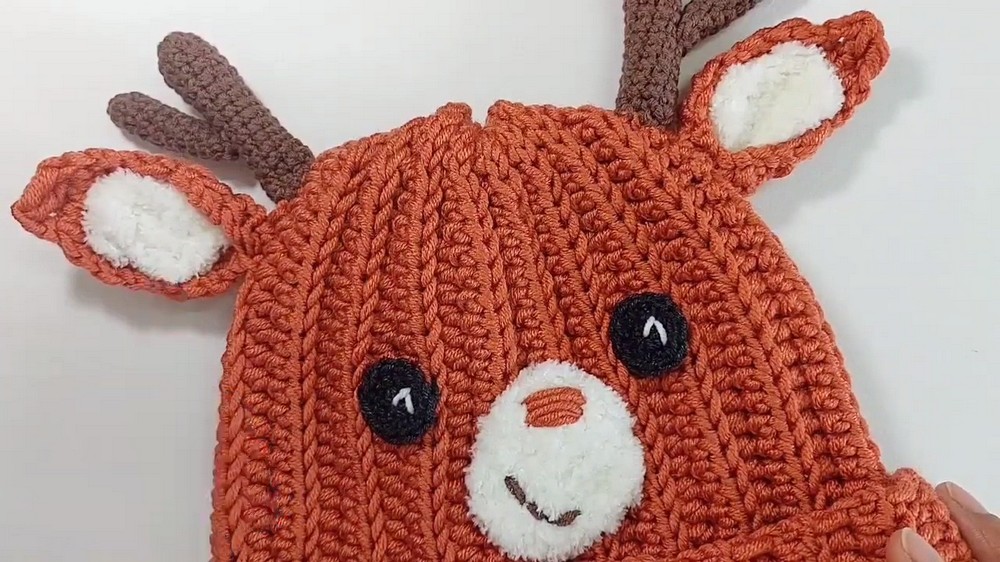
Muzzle
- Create a magic ring.
- Ch 1, then work 6 sc into the ring.
- Increase as follows:
- Round 2: Work 2 sc into each stitch (12 sc total).
- Round 3: Work 1 sc into the next stitch, 2 sc into the next, repeating around until the increase reaches 18 sc.
- Secure the yarn when finished.
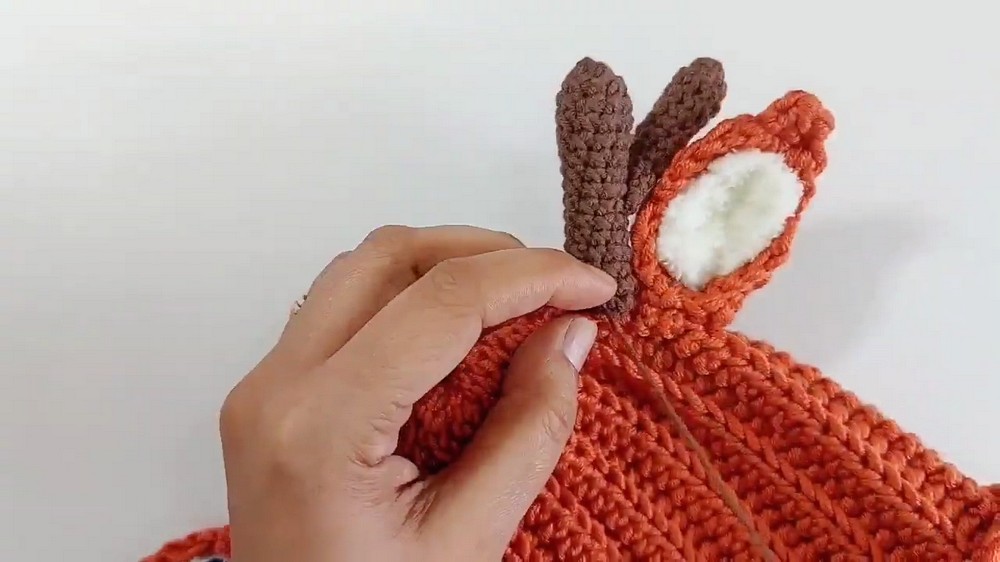
Horns
- Start with a magic ring.
- Work 6 sc into the ring, then increase stitches to 9 sc in Round 2.
- Work 10 additional rounds of 9 sc to form the horn.
- For a second, smaller horn piece, repeat a similar process with fewer rounds.
- Fasten off and leave a tail for sewing.
Eyes
- Begin with a magic ring.
- Ch 1 and work 6 sc into the ring.
- Round 2: Work 2 sc into each stitch (12 stitches total).
- Join with a sl st, fasten off, and leave a tail for sewing.
3. Assembly
- Carefully attach the ears, muzzle, horns, and eyes to the joined hat base using a tapestry needle and the leftover yarn tails.
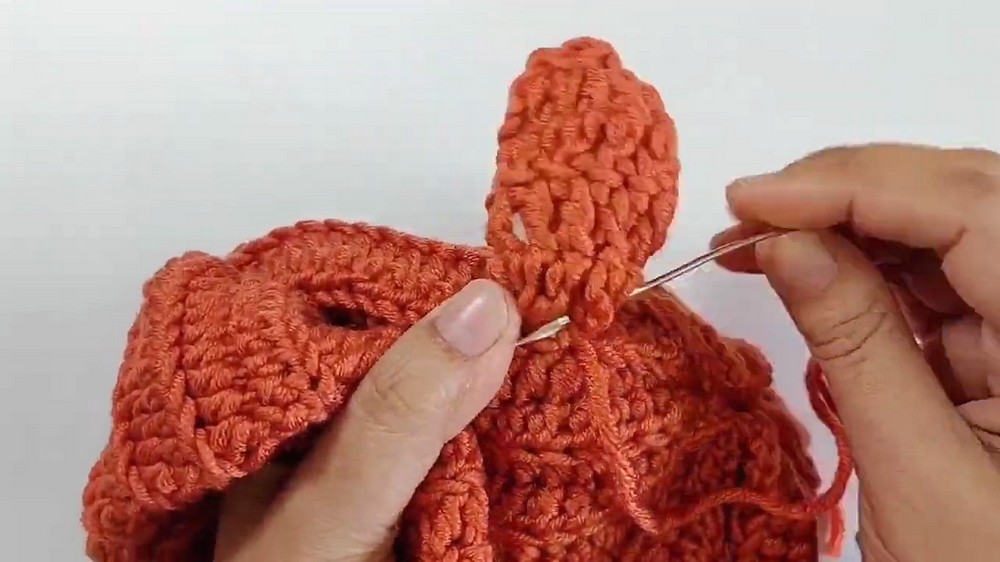
- Position the components symmetrically, ensuring the details align for an adorable reindeer face.
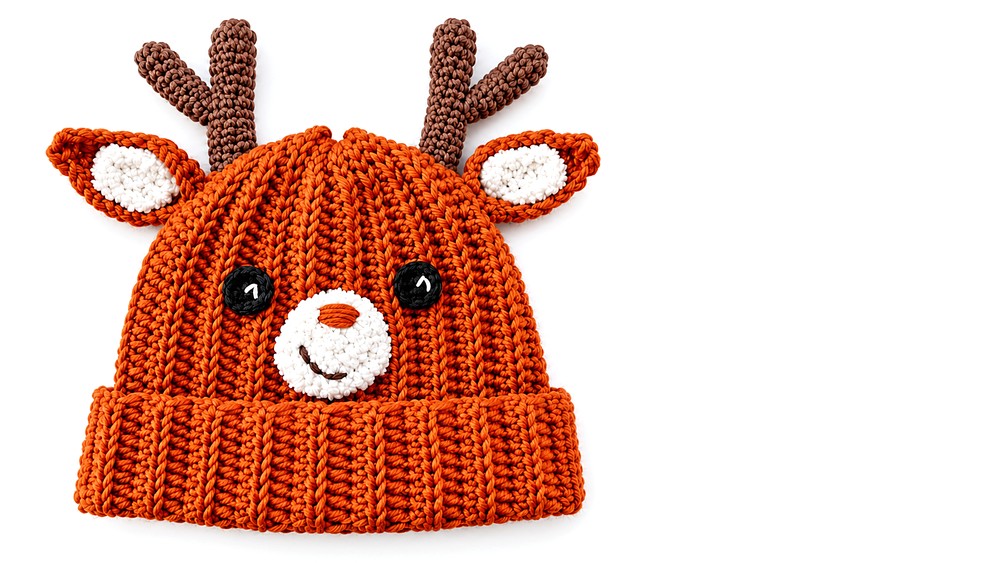 Weave in all loose ends securely to complete the hat.
Conclusion
This crochet reindeer hat is a whimsical design that is perfect for a 12-month-old baby’s winter wardrobe or festive celebrations. The textured details such as the horns, ears, muzzle, and eyes bring the reindeer’s face to life, making it a fun yet practical accessory. The combination of anti-pilling yarn and fluffy accents ensures comfort, durability, and an adorable finish.