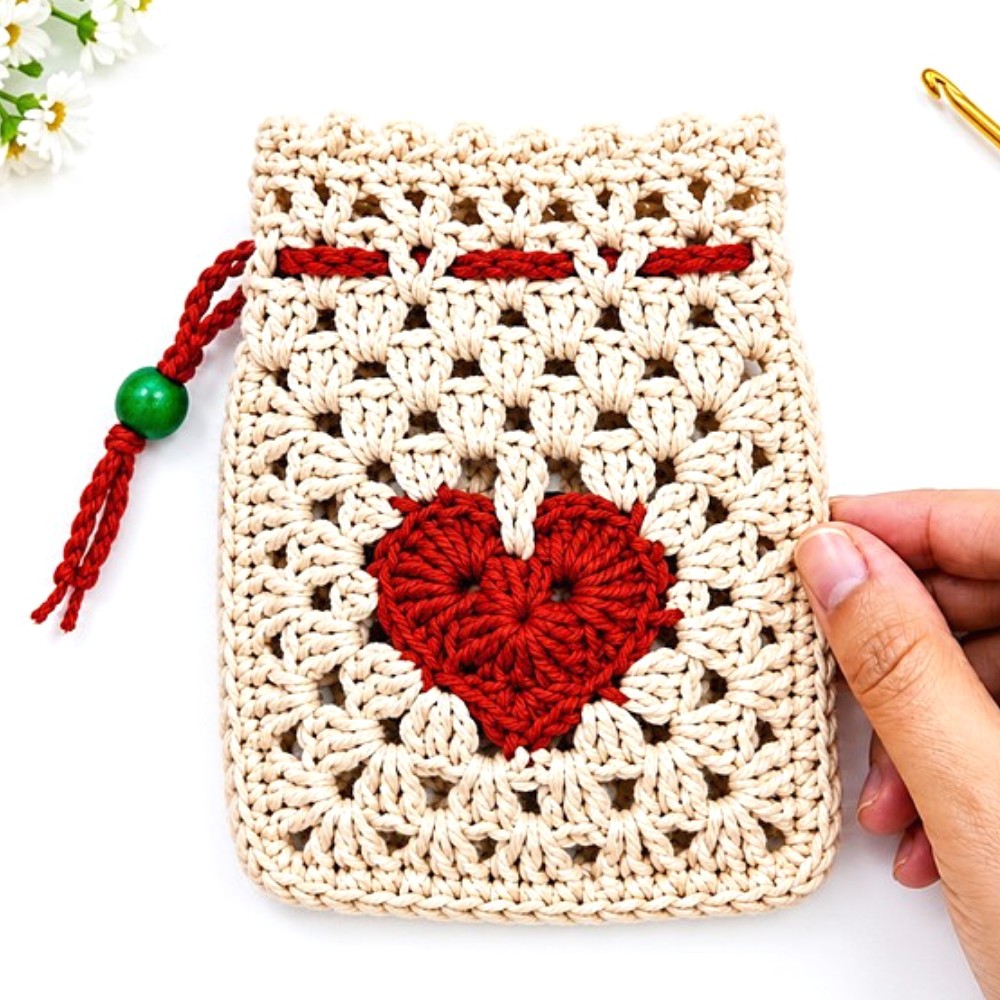
Cute & Free Valentine Heart Pouch Crochet Pattern With FREE Tutorial

Tuck a tiny surprise into the Free Crochet Valentine Heart Pouch Pattern that’s a lovely little holder for notes, keepsakes, and thoughtful gifts from the heart.
Loose little treats need somewhere special to go when a gift is meant to feel personal. The Valentine Heart Pouch Free Crochet Pattern turns a familiar symbol into a small pocket with a useful purpose.
Cozy Valentine Heart Pouch Free Crochet Pattern for Small Surprises
The Person Behind the Idea
There is a gentle, gift-focused feel to this project from yarnish_love. The creator uses a heart shape for something that is decorative and useful at the same time. Anyone who likes giving small personal presents can visit the channel to see the original heart pouch idea in detail for themselves.
Unlike a flat heart applique, this piece has space inside for a small surprise. The heart outline is what gives the pouch its charm, while the pocket shape lets it hold something light. Its stitched surface has a gentle texture that looks welcoming in soft pink, classic red, or another color chosen for the person receiving it.
A folded message is one of the simplest things to slip inside. You might use it for a tiny keepsake, a little paper wish, or a small token during a special celebration. It can sit on a bedside table as part of a gift or be placed inside a larger box so the person opening it notices an extra detail. Even empty, the pouch looks lovely as a small decoration.
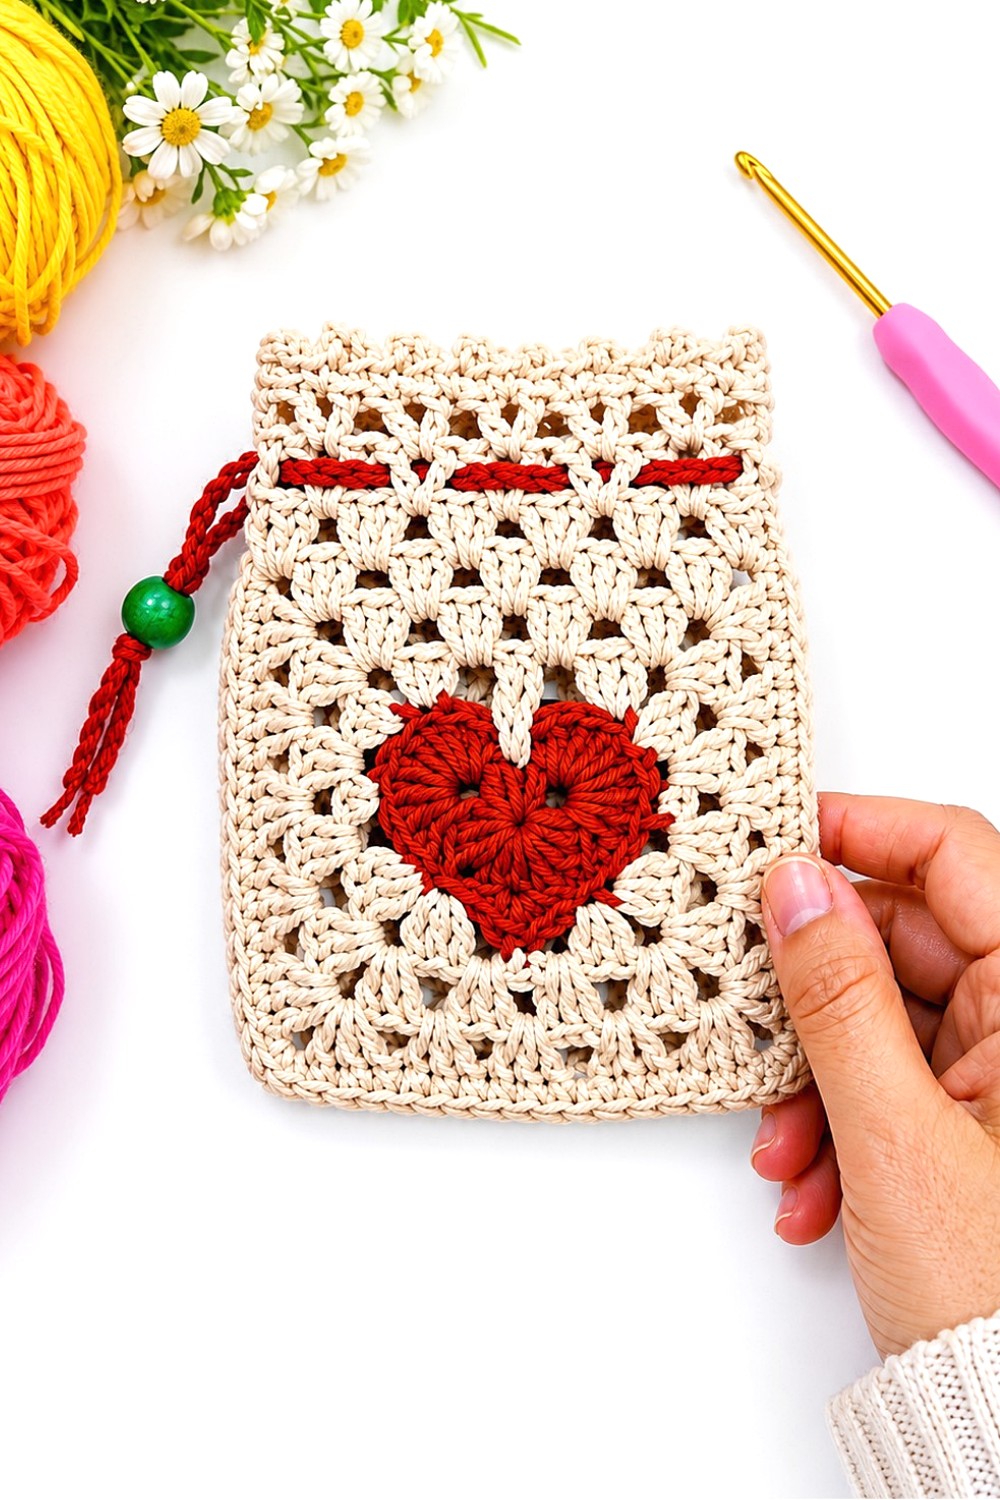
The shape is also a fun change from ordinary rectangular bags. It offers an interesting mix of rounded edges and a pointed base, which helps the heart stand out. Neat joins and an even border can give the finished pouch a tidy look. For anyone who likes gifts that feel personal, this project turns a little space into a sweet surprise.
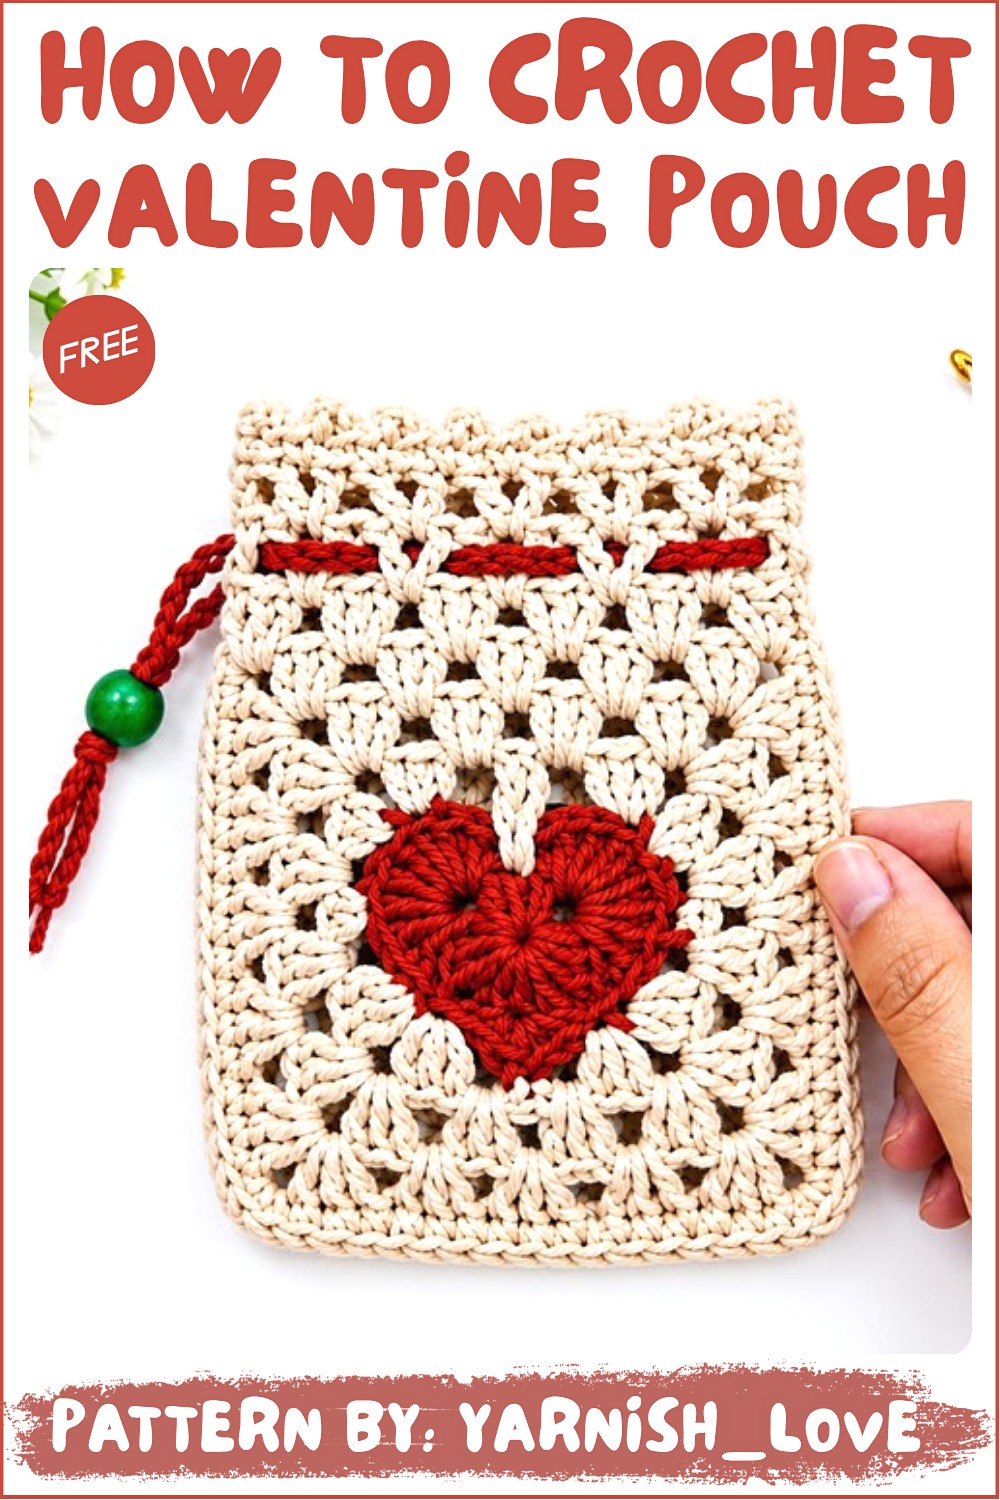
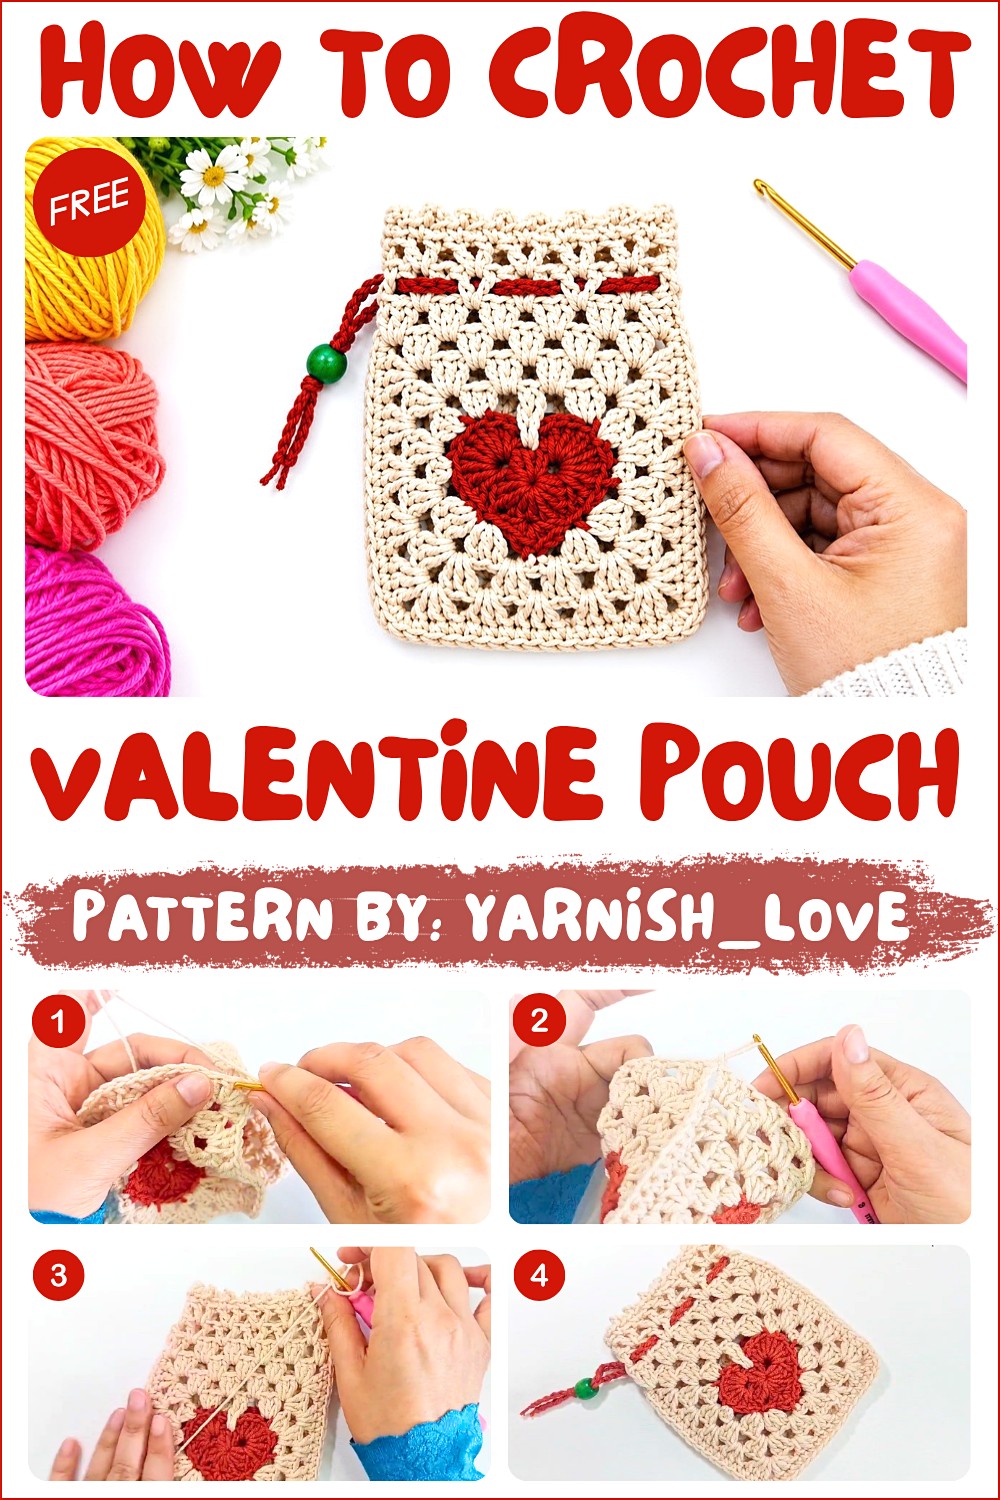
Valentine Pouch Crochet Pattern
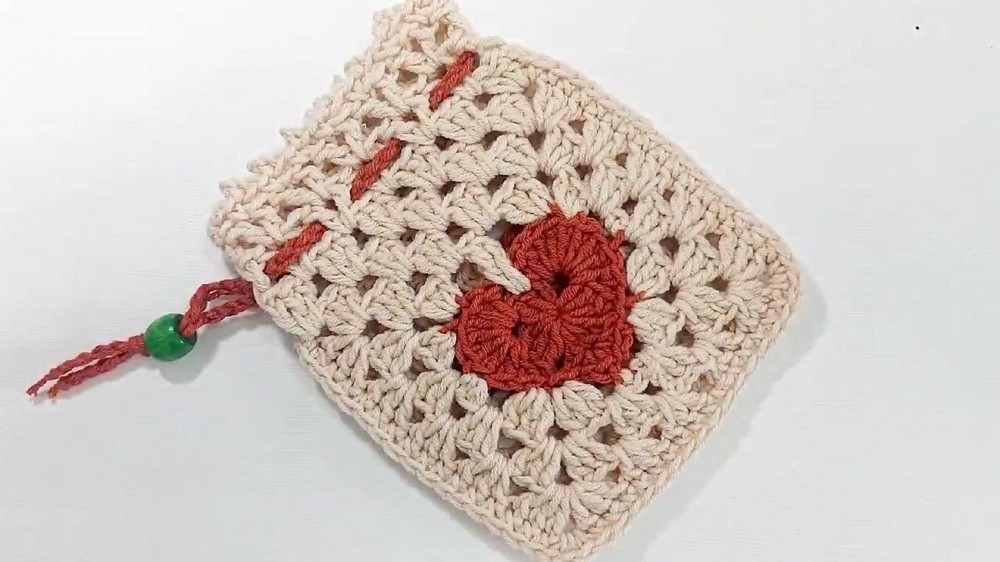
This Valentine Pouch is a delightful and thoughtful accessory ideal for carrying small trinkets, goodies, or love notes. The pouch features a unique assembly of two heart granny squares joined together and adorned with a beautiful decorative edging and a practical strap. This pouch makes a charming handmade gift or accent for Valentine’s Day celebrations or other special occasions.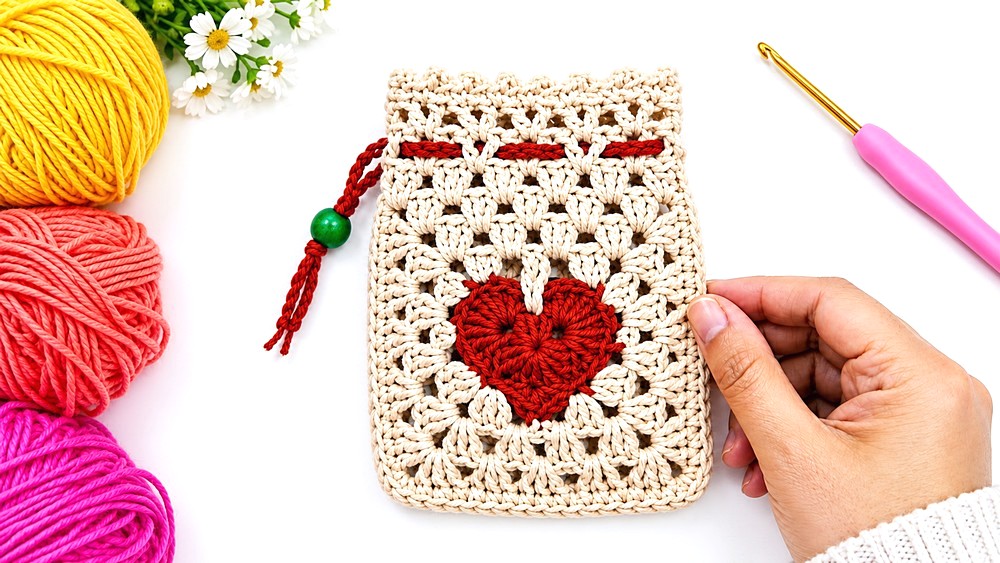
Skill Level
Intermediate
This pattern is suitable for crocheters who are comfortable working with granny squares, joining edges, and creating decorative finishing details like V-stitches and picot-style borders. While the techniques are not overly advanced, some experience with crochet basics and an intermediate skill level is recommended for this project.
Materials
To complete your Valentine Pouch, you will need:
- Yarn:
- Alize Cotton Gold yarn or any DK-weight cotton yarn that provides good stitch definition. Consider colors like red, pink, white, or any combination that works for Valentine’s Day.
- Crochet Hook:
- 3 mm crochet hook to achieve a compact and tidy stitch structure.
- Scissors: For trimming yarn ends during the project.
- Tapestry Needle: For weaving in loose ends and securely attaching components.
Stitch Abbreviations
- ch – Chain
- sc – Single Crochet
- dc – Double Crochet
- sl st – Slip Stitch
- V-stitch – (1 double crochet, chain 1, 1 double crochet worked in the same stitch)
Useful Tips
- Secure Joining Stitches: When joining the granny squares, ensure your single crochet stitches are consistent and tight to minimize gaps. This will enhance the overall durability and appearance of the pouch.
- Maintain Tension on Edging Rounds: Keep a consistent tension for the decorative top part of the pouch, especially for the V-stitches and the picot border, to ensure an even and polished look.
- Adjust the Strap Length: The strap can be made shorter for a handheld pouch or longer for a shoulder/cross-body version. Measure as desired before finalizing the chain length.
- Block Granny Squares: Blocking the granny squares before you begin assembly will help them maintain their shape and ensure smooth edges for joining.
- Color Customization: Use contrasting colors for the granny squares and edging rounds for a visually striking pouch. This can give your pouch a personalized touch.
Pattern Instructions
Below is the step-by-step guide for Creating the Valentine Pouch including instructions for assembling the granny squares, adding decorative edging, and crocheting the handle.
1. Joining the Squares
- Place two finished heart granny squares together with the back sides facing each other.
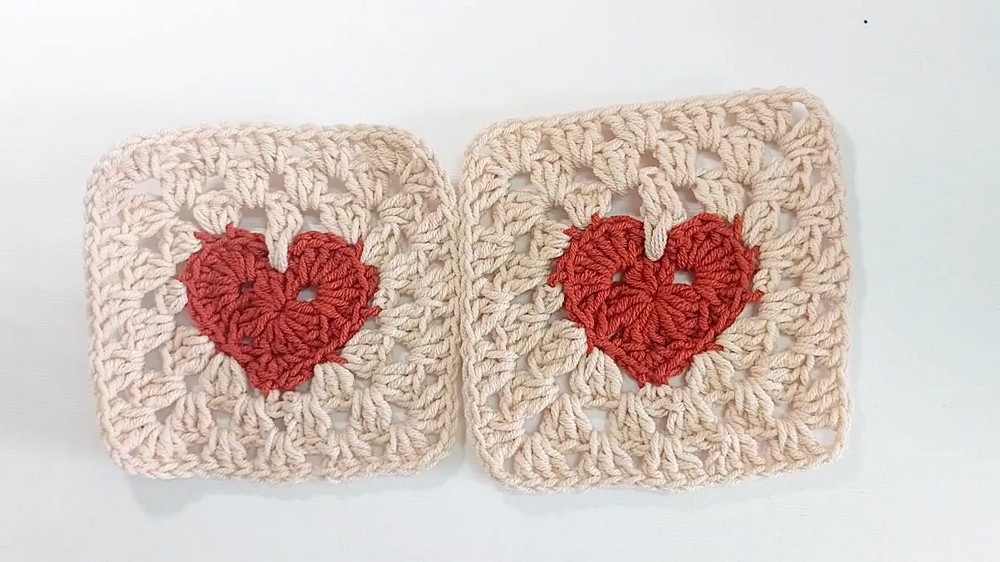
- Start at one corner of the squares and insert your hook through the stitches of both layers.
- Begin working sc stitches along the edges to join the squares together.
- Ensure your stitches go through both squares to create a secure seam.
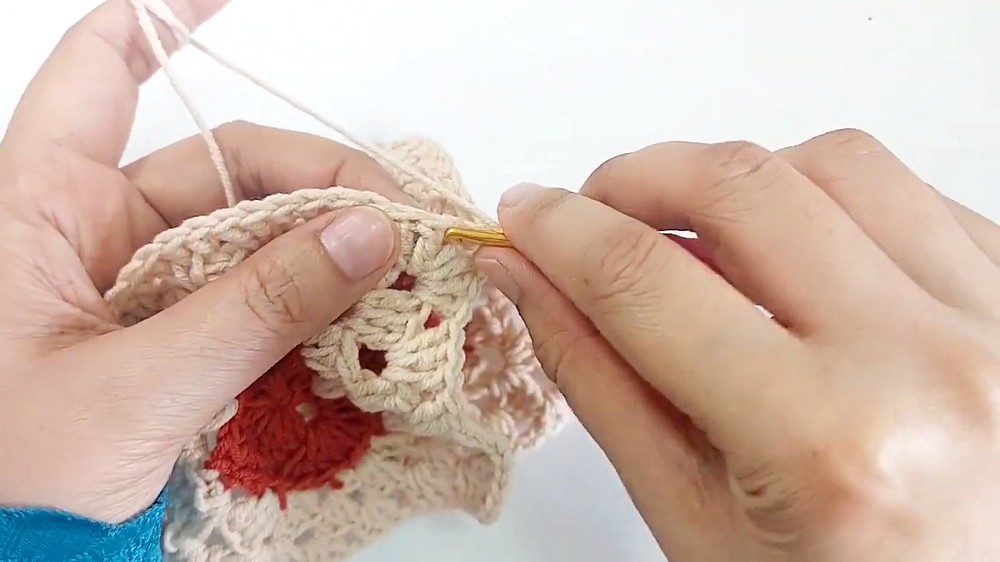
- Ensure your stitches go through both squares to create a secure seam.
- At each corner, work three sc stitches into the corner stitch. This helps the seam to turn smoothly and prevents puckering.
- Continue joining three sides of the squares, leaving one side open for the pouch’s top opening.
- Once three sides are joined, secure your yarn and fasten off.
2. Top Part Round 1
- With the squares joined, attach your yarn to one of the top corners of the pouch.
- Ch 3 (this counts as your first dc).
- In the first corner space, work 2 dc.
- Continue by working 3 dc in each space between clusters from both squares, all around the top opening of the pouch.
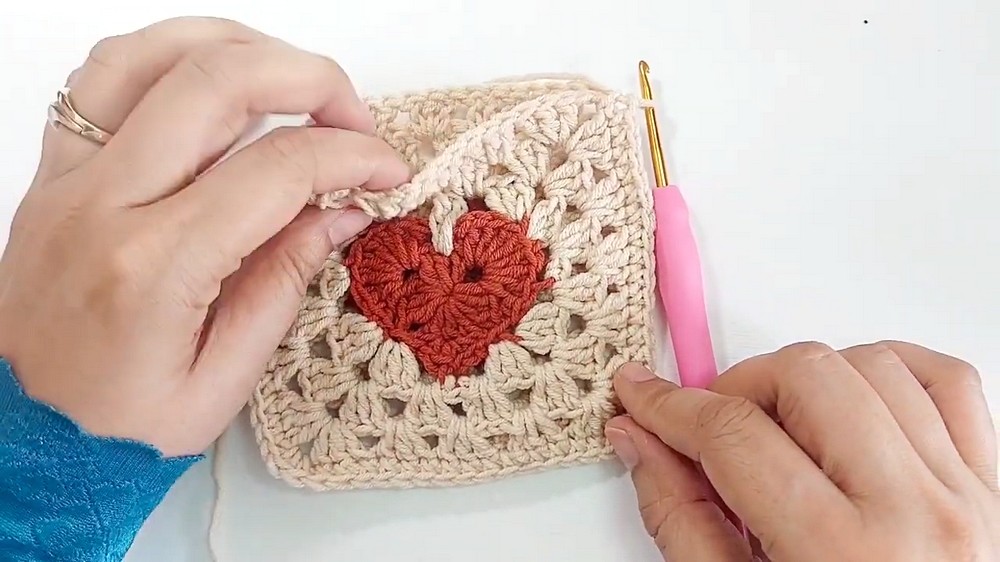
- When reaching the last space, close the round with a sl st into the third chain of the starting ch-3.
3. Top Part Round 2
- Start the round with a ch 4 (this counts as the base of the first V-stitch).
- Work the following V-stitch pattern into each space around:
- 1 dc, ch 1, 1 dc (all worked into the same space).
- Continue creating V-stitches in each space.
- Finish the round with a sl st into the third chain of the starting ch-4.
4. Top Part Round 3
- Begin with a ch 4 (to count as part of the first V-stitch).
- Work the V-stitch pattern (1 dc, ch 1, 1 dc) into the center of each V-stitch from the previous round.
- Repeat this pattern all the way around the top of the pouch.
- Slip stitch into the third chain of your starting ch-4 to finish the round.
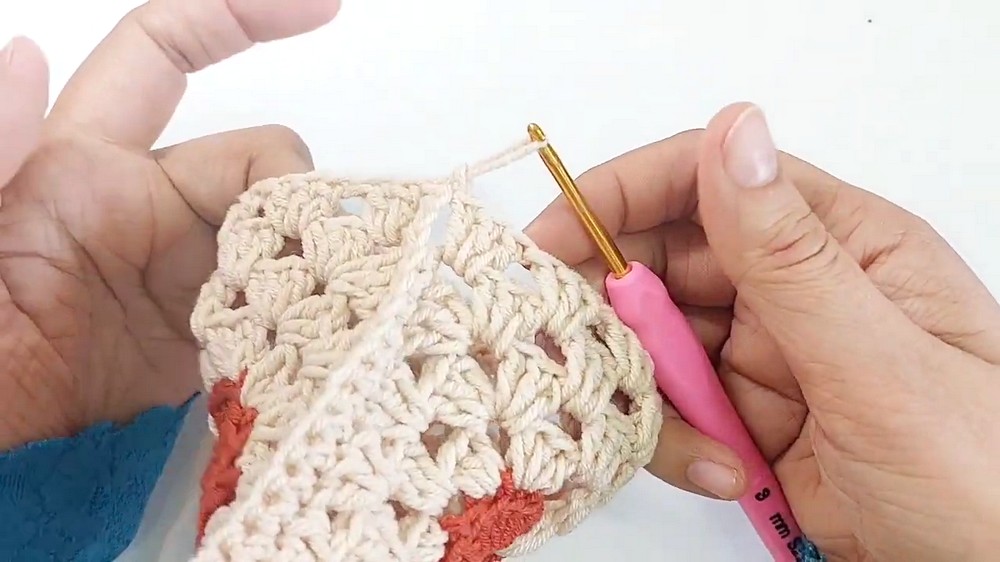
5. Top Part Round 4
- Start with a ch 1, then work 1 sc into the first stitch.
- Create a picot stitch as follows:
- Ch 3, then sl st back into the first chain of the ch-3.
- This creates a small decorative bump.
- Skip the next stitch, then work 1 sc into the next stitch.
- Repeat this sc, picot, skip 1 stitch sequence all the way around the top opening.
- Finish the round by joining with a sl st into the first sc.
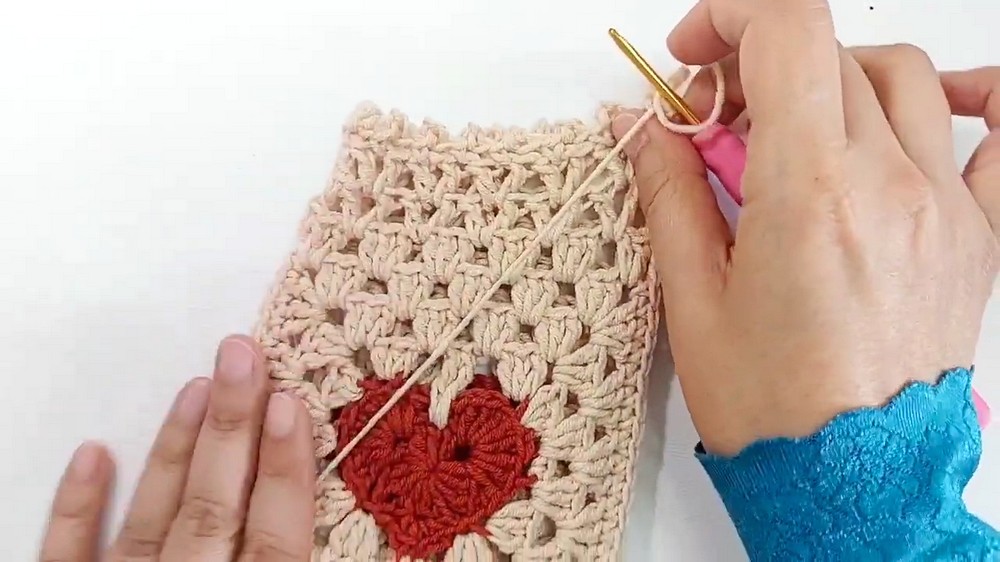
6. Strap
- Attach your yarn securely at one side of the pouch’s top edge.
- Create a long strap by chaining to your desired length.
- For a shoulder strap, you may need a chain of approximately 100-120 stitches. For a shorter handle, reduce the number of chains.
- Once the desired length is achieved, attach the other end of the chain to the opposite side of the pouch’s top edge with a sl st.
- Secure the yarn and fasten off, weaving in the ends with a tapestry needle.
Assembly and Finishing Touches
- Carefully trim any remaining yarn ends and ensure they are securely woven in.
- If desired, lightly block the pouch and strap to help improve their shape and keep the edges tidy.
- Optionally, you can embellish the pouch further by adding tassels, buttons, or beads to the strap or picot border.
Conclusion
This Valentine Pouch crochet pattern provides the perfect opportunity to create a meaningful and functional project for gifting or personal use. Its heart-themed design, combined with the decorative edging and customizable strap, makes it a standout piece full of charm and love. With attention to detail and creative color choices, this pouch is sure to hold more than just its contents—it carries the thought and care of a handmade gift.