Quick Easy Crochet Heart Coaster Pattern for Charming Style
Modernize your hosting setup with the Free Crochet Heart Coaster Pattern as it adds a fun, eye-catching twist to your gatherings.
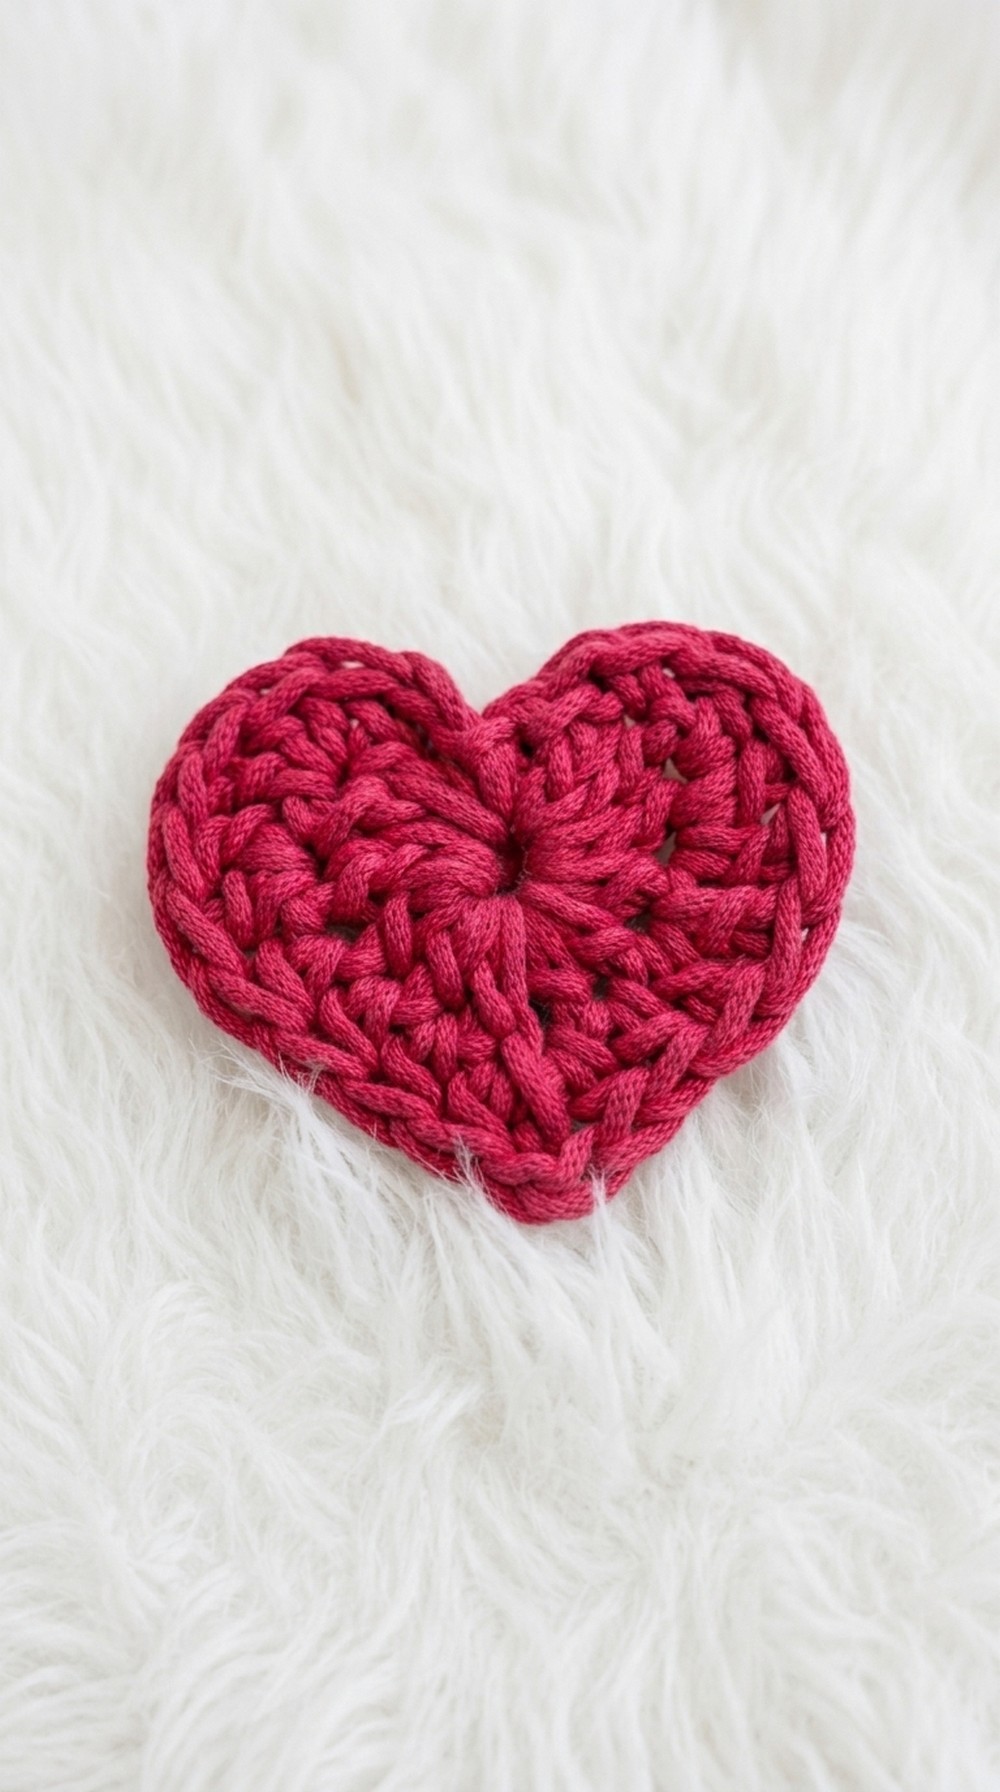
Are you looking for a cute yet simple handmade project for Valentine’s Day or any special occasion? This heart-shaped crochet coaster pattern is the perfect choice. It’s quick to make, incredibly charming, and practical too! Crocheted using basic crochet stitches, such as the magic ring, double crochet (dc), and half double crochet (hdc), this project works up in just two rounds. The magic ring technique, which forms the foundation of the coaster, is not only essential for round-based crochet projects but is also a versatile skill for creating other patterns like amigurumi, doilies, and circular motifs. The project’s beauty lies in its simplicity, making it ideal for beginners. Whether as a thoughtful handmade gift, a decorative table accessory, or an addition to your crochet skill set, this pattern will inspire your creativity.
Learn Beautiful Crochet Heart Coaster Pattern for loved ones

As you follow this pattern, you’ll learn techniques such as creating evenly spaced increases to form curves, making a pointed bottom for the heart, and finishing projects with slip stitches. These are fundamental skills for any crochet beginner. Once you’ve mastered this pattern, you can apply these same techniques to crochet other items like larger heart appliqués for wall hangings, keychains, or even baby blankets adorned with heart shapes. It’s not just a project; it’s an opportunity to build your confidence as a crocheter.
Are you wondering what you can do after learning these skills? Here are some inspiring ideas:
- Heart Garlands: String multiple hearts together for a festive decoration.
- Keychains or Bag Charms: Mini hearts make adorable accessories.
- Amigurumi Embellishments: Create perfect little hearts to accent your crochet dolls or animals.
- Drink Coasters: Use sturdier yarn to make sets of heart coasters.
With this simple and fun pattern, you’ll gain valuable skills while crocheting something beautiful to treasure or gift!
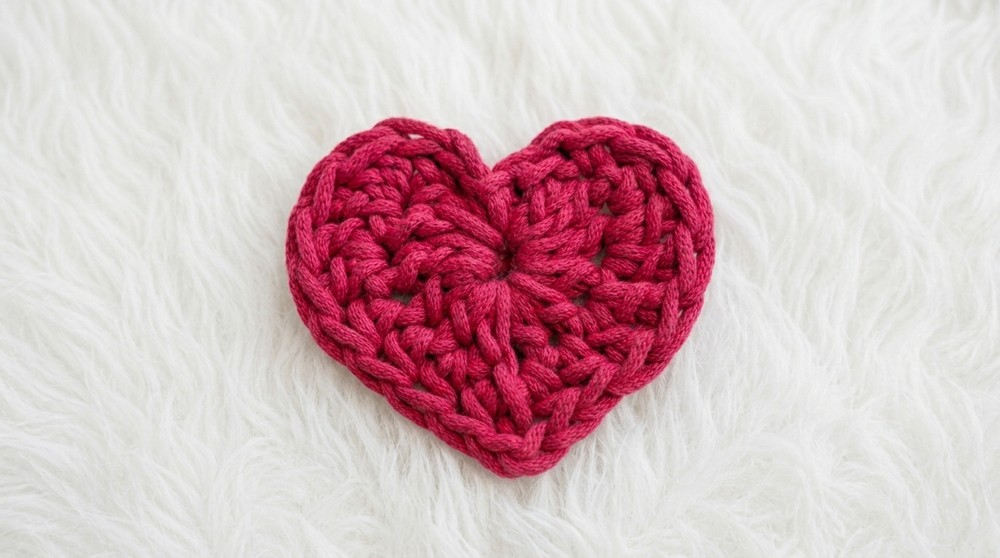
Heart-Shaped Crochet Coaster Pattern
This heart-shaped coaster is the ideal gift for Valentine’s Day or any special occasion. It’s a simple, beginner-friendly project that can be completed in just 10 minutes using basic stitches. The pattern consists of only two rounds, making it quick and easy even for those new to crochet. You’ll learn skills like creating a magic ring, working double crochet, half double crochet, and single crochet stitches, as well as basic increases.
Whether you’re crocheting it as a handmade gift or a decorative accent for your coffee table, this project is both practical and adorable.
Skill Level & Terminology
Skill Level: Beginner
Crochet Terminology: US terms
Materials & Tools
- Yarn: Macrame yarn or medium-weight cotton yarn (choose your favorite colors, such as Cerise for a Valentine’s theme)
- Hook: 7 mm crochet hook
- Additional Tools: Yarn needle (for weaving in ends), scissors
Gauge
No specific gauge required. However, ensure your stitches are even, as this will help create a uniform heart shape.
Abbreviations List
- ch: Chain
- sc: Single Crochet
- dc: Double Crochet
- hdc: Half Double Crochet
- sl st: Slip Stitch
- magic ring: Magic loop technique for starting in the round.
Special Stitch Instructions
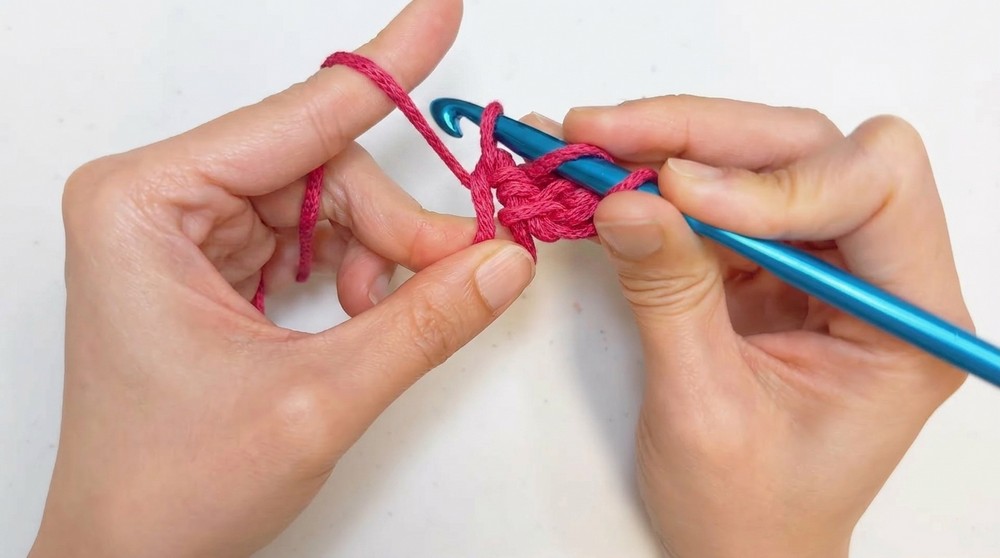
Magic Ring:
- Wrap the yarn around your finger to form an “X.”
- Insert the hook under the first strand and pull the second strand through.
- Crochet a chain stitch to secure the ring.
Finished Size
Approximately 3-4 inches in width and height, depending on your yarn and hook size.
Step-by-Step Pattern
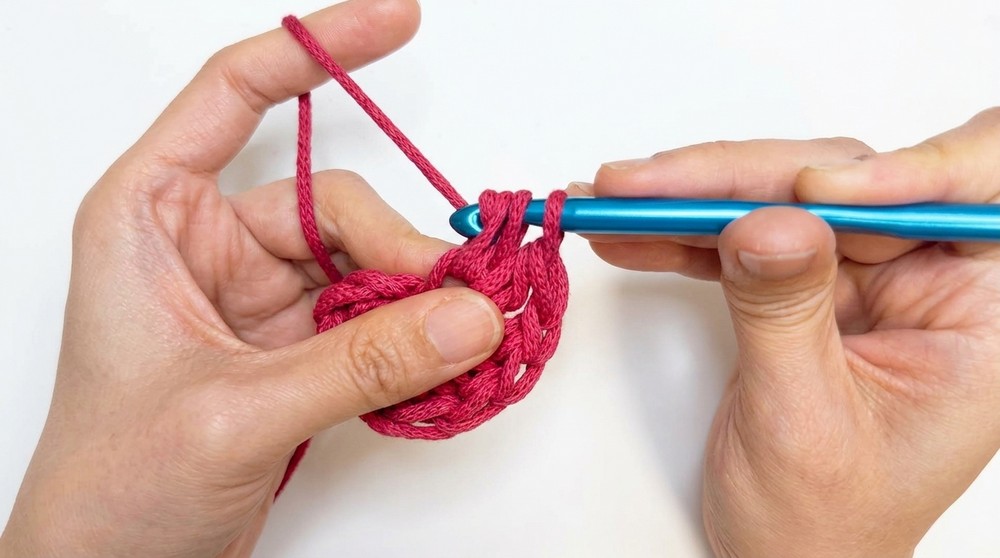
Round 1: Forming the Base Shape
- Magic Ring:
- Wrap yarn around your finger to form an “X.”
- Insert hook, pull the second strand through, and ch 1 to secure.
- Work into the ring:
- 3 dc into the ring.
- 3 hdc into the ring.
- ch 1 (this will form the curve at the top of the heart).
- 3 dc into the ring.
- Repeat into the ring:
- 3 hdc, then 3 dc into the ring.
- ch 1 after completing the stitches.
- 3 hdc, then 3 dc into the ring.
- Close the ring:
- Pull the yarn tail gently to close the center of the magic ring.
- Finish the round:
- sl st into the magic ring to close the round securely.
Beginner Tip: After this step, hold your coaster flat. You should notice a heart shape beginning to form. The stitches from the magic ring are the foundation for the top curves and the sharper triangle points.
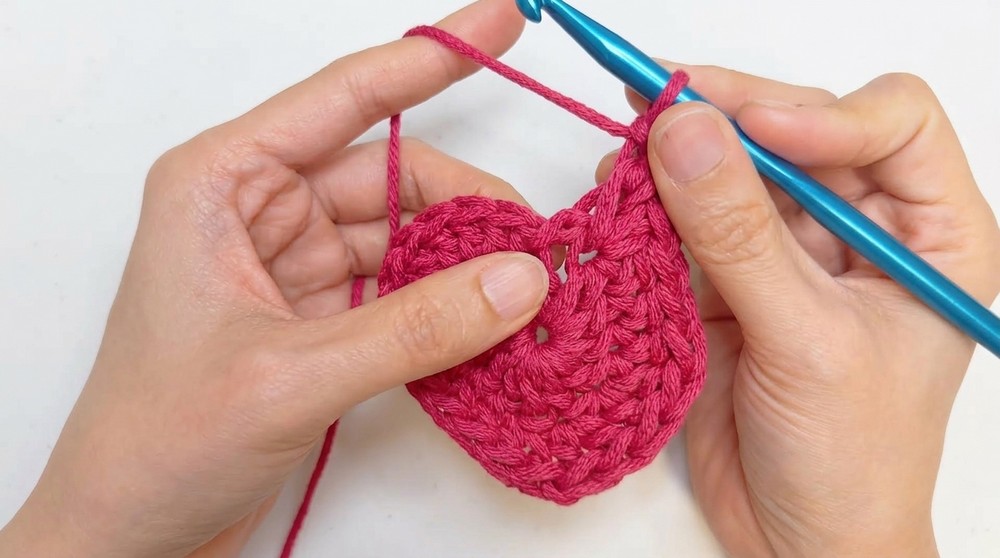
Round 2: Enhancing the Heart Shape
- Start Round 2:
- ch 2 (acts as the first increase stitch).
- Skip the first stitch, dc into the second stitch.
- Increase for the curves:
- 2 dc into the same stitch.
- Continue to the next stitch, 2 dc (this creates the top edges of the heart).
- Smooth the curve:
- In the next 3 stitches, 1 hdc into each stitch.
- Form the bottom point:
- In a single stitch, work: 1 sc, 1 dc, and ch 1 (this creates the sharp bottom point).
- Repeat for the other side:
- Work 2 hdc (one in each stitch), and continue to increase for the second curve.
- 2 dc into the next stitch, followed by another 2 dc into the next stitch.
- Finishing:
- Work 1 dc, 1 sc, and ch 1.
- sl st into the starting stitch to close the round.
- Work 1 dc, 1 sc, and ch 1.
Beginner Tip: After completing Round 2, the heart will look more defined and balanced. If the shape looks imperfect, remember that slight unevenness is normal—practice will help you consistently create cleaner shapes.
Assembly & Finishing
- Fasten off:
- Cut the yarn and pull the tail through the loop to secure the stitches.
- Weave in the ends:
- Using a yarn needle, tuck the yarn tails neatly into the back of the coaster to ensure a clean finish.
- Using a yarn needle, tuck the yarn tails neatly into the back of the coaster to ensure a clean finish.
Helpful Note: If your heart shape feels uneven, lightly steam or block it for a polished look. Blocking helps the stitches hold their shape, giving your coaster a professional finish.
About the Pattern
This pattern begins with a magic ring, which forms the center of the heart. The first round establishes the basic shape, applying foundational stitches such as double crochet and half double crochet. Round 2 focuses on enhancing the curves and creating the distinct sharp point of the heart using increases. Additional techniques such as slip stitches and chaining are used for smooth transitions between stitches.
The beauty of this pattern lies in its simplicity and flexibility, making it a great choice for beginners or those looking for a quick project. You can try this pattern in different yarn weights and hook sizes to create coasters, garlands, or decorative hearts for various occasions.
By following these steps carefully, you can complete your heart-shaped coaster in just a short amount of time. Whether gifting it to a loved one or keeping it for yourself, this charming piece will always carry the warmth of handmade work!
Difficulties & Solutions
While this pattern is designed to be beginner-friendly, you might face a few challenges, especially if you’re new to crochet. One common difficulty is mastering the magic ring technique, which forms the center of the coaster. If the ring doesn’t close tightly, your heart may lose its shape. To fix this, pull the yarn tail firmly and evenly to eliminate gaps. Another challenge could be maintaining consistent tension, especially during increases or while forming the sharp bottom point of the heart. If your stitches feel uneven, consider slowing down and practicing tension control on scrap yarn before continuing. Remember, small imperfections are normal when learning, and each project helps you improve your skills!