Clutch Free Crochet Pattern to Carry With Confidence

Grace meets function in the Free Crochet Clutch Pattern, giving you a stylish accessory that holds essentials while adding charm to your outfit.
An accessory often carries more meaning than just its function, and throughout history small handbags have been symbols of both practicality and elegance. From storing coins in the past to holding essentials like phones, cards, and keys today, they continue to play a vital role in daily life while adding a touch of charm to any outfit. The same thoughtfulness is present in the Free Crochet Clutch Pattern, which offers a delightful way to make a versatile piece that is both stylish and useful.
How to Crochet Clutch Pattern That Looks Store-Bought
This clutch showcases a compact yet roomy structure, making it an ideal companion for casual outings, evening gatherings, or even as an organizer inside larger bags. Its lightweight build ensures comfort, while the texture adds a timeless appeal that makes it stand out. The Free Crochet Clutch Pattern guides you through simple steps, ensuring that even beginners can follow along with confidence.
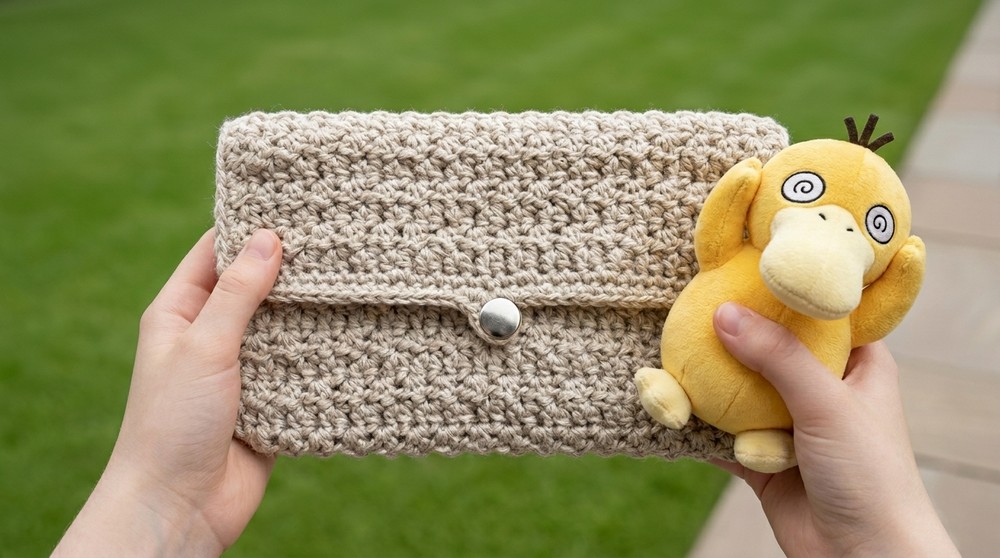
From the foundation to the shaping and neat finishing, the process results in a clutch that feels polished and purposeful. Beyond its beauty, its benefits lie in functionality keeping essentials neatly stored while doubling as a fashionable statement. A perfect balance of elegance and utility, this clutch is a must-have accessory that enhances both style and convenience.
Cinder Clutch Crochet Pattern
The Cinder Clutch is a modern, textured crochet purse designed to fit essentials like your phone and cards. With simple yet striking stitches and doubled yarn for structure, this project works up quickly and is perfect for everyday use or as a handmade gift. The clutch is worked flat in rows, then folded and seamed, and finished with a secure snap or button closure and a convenient loop. You’ll love making and customizing your own!
Materials
- 2 skeins medium weight cotton (or acrylic) yarn (original shown with Lion Brand; approx. 150g)
- Crochet hook: 4.0mm or 5.0mm (according to your preference and desired fabric density)
- Scissors
- Tapestry needle for weaving in ends
- Snap closure or button (snap may require a hammer, if using metal)
- Measuring tape (optional, for checking sizing)
Stitches Abbreviations
| Abbr. | Term |
|---|---|
| ch | chain |
| dc | double crochet |
| hdc | half double crochet |
| sc | single crochet |
| sl st | slip stitch |
| st | stitch |
| sk | skip |
Gauge (and Stitch Pattern)
Gauge: (not critical; for reference)
- With doubled yarn and 5mm hook:
4 repeats (dc, hdc, sk 1) = approx. 2″/5 cm
3 rows = approx. 1″/2.5 cm
Stitch pattern:
Row repeat is (dc, hdc) in the same st, skip 1; repeat across.
Pattern Notes
- Work with two strands of yarn held together throughout for a dense and durable fabric.
- The piece is a rectangle, folded and seamed to create the clutch body.
- Edges are seamed with single crochet for structure.
- The closure loop is custom sized to your button or snap.
- Snap can be sew-on or installed with a hammer as shown.
- Maintain consistent tension for best results.
Skill Level
Adventurous Beginner to Intermediate
You’ll use basic stitches (sc, dc, hdc), simple seaming, and button/snap attachment.
Measurements / Sizing
- Finished size (sample): approx. 8″ wide x 11″ long before folding (20 x 28 cm)
- Final clutch: approx. 8″ wide x 6″ tall (20 x 15 cm) when closed
- Button loop: Sized to your button; usually ch 7 or adjust to fit
Special Stitches
- Double Crochet (dc): Yarn over, insert hook, yarn over, pull up a loop, yarn over, pull through 2 loops, yarn over, pull through remaining 2 loops.
- Half Double Crochet (hdc): Yarn over, insert hook, yarn over, pull up a loop, yarn over, pull through all 3 loops.
- Single Crochet (sc): Insert hook, yarn over, pull up a loop, yarn over, pull through both loops.
- Slip Stitch (sl st): Insert hook, yarn over, pull through stitch and loop on hook.
The Crochet Pattern! (Step-by-Step Instructions)
Foundation & Set Up
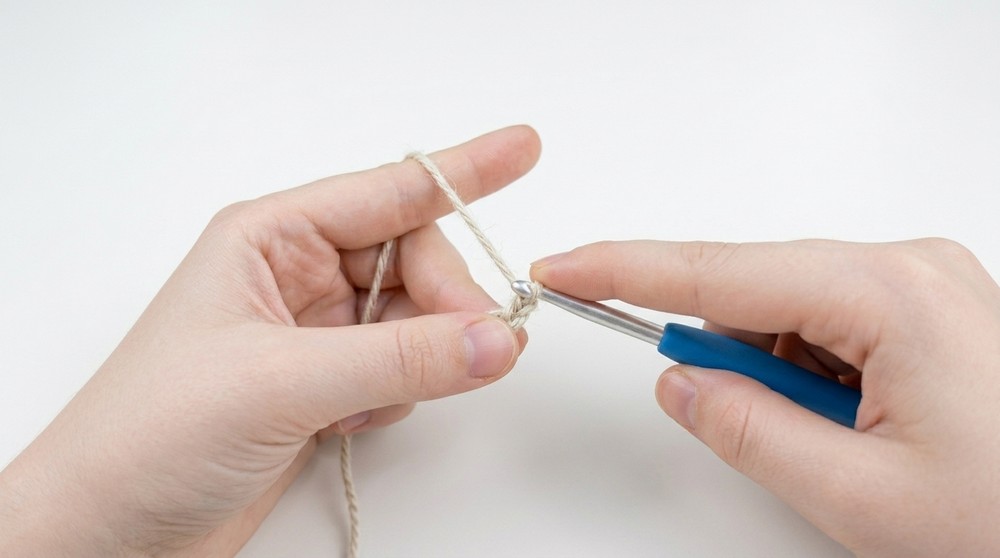
- Hold two strands of yarn together. Make a slipknot and place onto hook.
- Foundation Chain: Ch 36 for a clutch that fits a phone; adjust chain count for custom width, always ending with an even number.
- Row 1:
- (dc, hdc) in 2nd ch from hook. (Skip next ch, (dc, hdc) in next ch) repeat until 2 ch remain.
- Skip next ch, hdc in last ch.
- Turn.
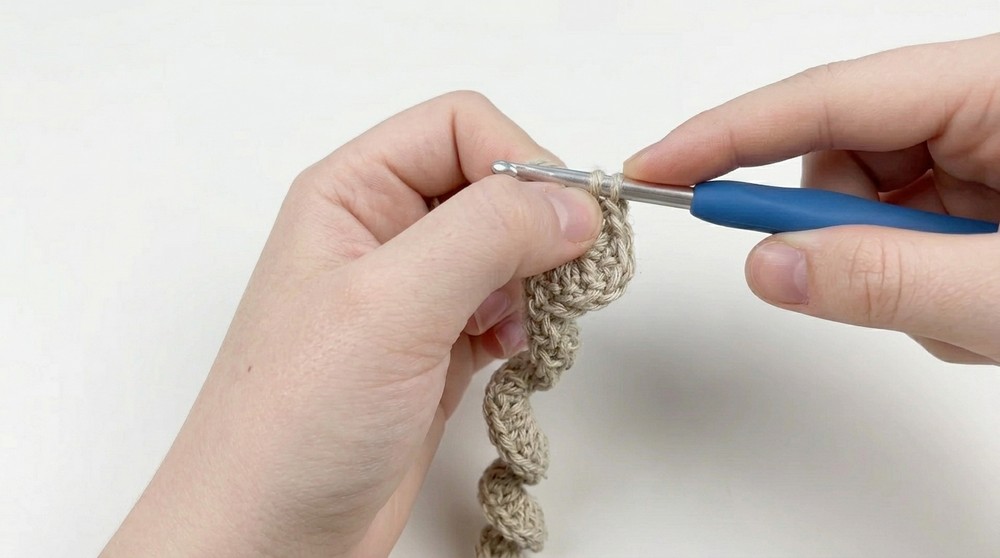
- Row 2: Ch 1, (dc, hdc) in first st, (skip next st, (dc, hdc) in next st) across row, ending with a hdc in last st.
- Turn.
- Repeat Row 2 pattern until your rectangle measures approx. 11″ (28 cm) long, or as long as desired.
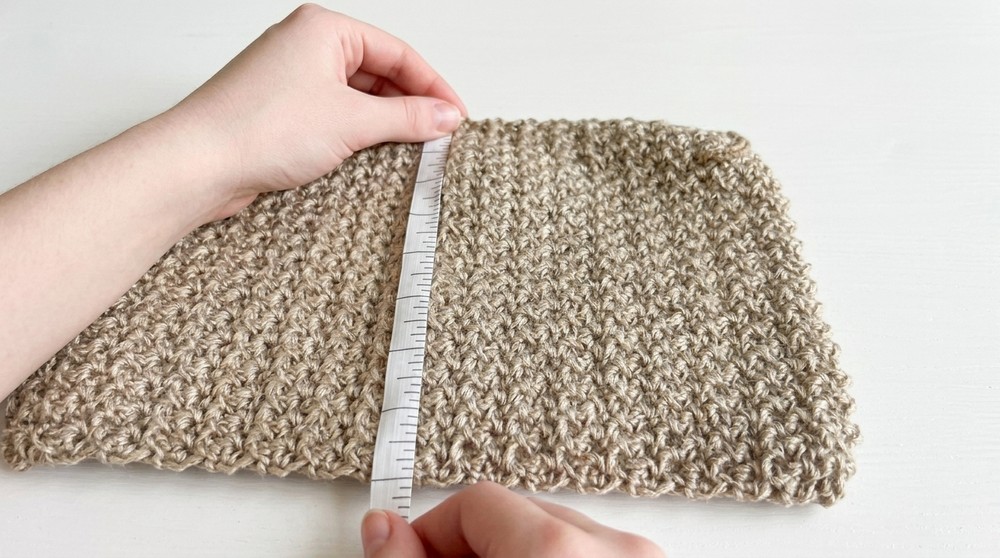
Tip: Always finish your rows with an hdc in the last visible stitch (the top of the turning ch).
Edging and Seaming
- Fold the rectangle into a clutch shape. Place the ‘outside’ (right side) facing down. The top portion folds down to form the closure flap—fold and adjust as preferred.
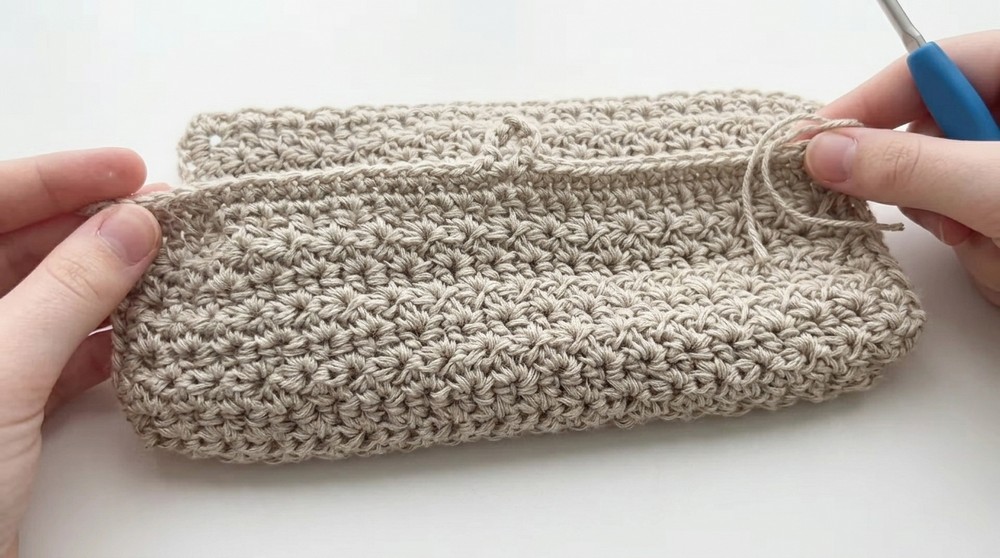
- Side Seams:
- Join yarn with slipknot at lower corner.
- Single crochet evenly up the first side, through both front and back layers, to join.
- In each corner, work 3 sc for a neat turn.
- Continue single crocheting across the top edge (flap), then down the other side, seaming front and back again.
- Fasten off, weave in all ends securely.
- If preferred, repeat the sc edging one more time for a denser structure.
Closure & Loop
- Attach Snap/Button:
- Position snap (or button) on the center flap as desired. Use a hammer if required (for metal snaps), or sew through as indicated.
- For a button, sew it firmly on your chosen spot, ensuring it lines up with where your closure loop will fall.
- Make Button Loop:
- Join yarn at the edge opposite the button/snap.
- sc to where loop will sit, ch 7 (more/less depending on button size), skip 1–2 sts, sc in next st.
- Continue sc to end or as needed, fasten off.
- Test the closure for fit, adjust as necessary.
Assembly & Finished Size
- Fold work into clutch shape, right sides out.
- Seam both sides with sc for even edges.
- Attach snap or button at marked spot on flap.
- Crochet a closure loop, size to fit your button/snap.
- Weave in every yarn tail carefully with tapestry needle.
- Finished clutch measures approx. 8″ x 6″ closed (adjustable by your chain/row count).
- Optionally, embellish with tassels, labels, or fabric lining.
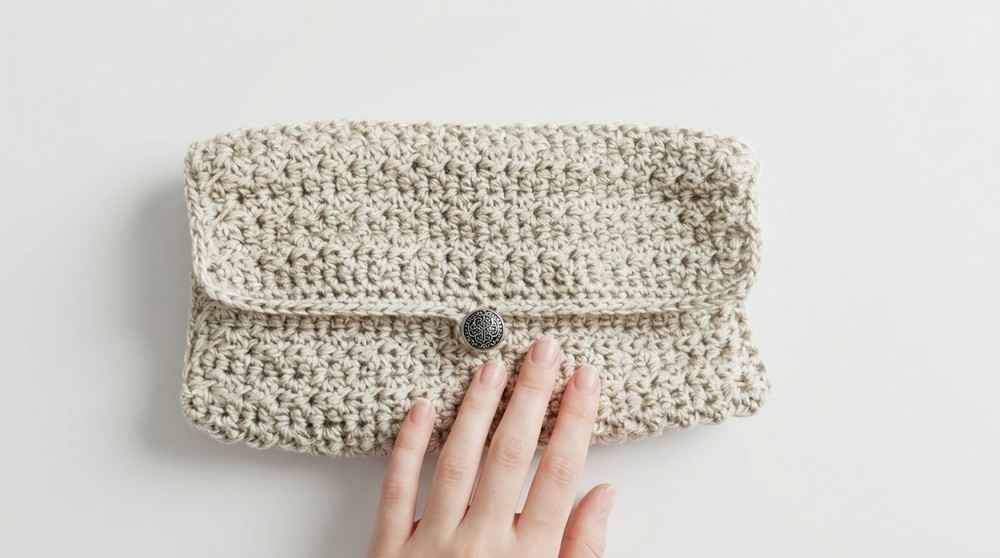
And that’s it!
Your Cinder Clutch is complete—a sturdy, stylish, and practical accessory perfect for daily essentials. Enjoy your handmade creation, and feel free to experiment with size, color, and closures to make the clutch uniquely yours.