How Crochet Hooded Scarf Pattern Keeps You Warm in Style

Wrap warmth and style together with the Free Crochet Hooded Scarf Pattern, perfect for cozy wear, thoughtful gifts, and timeless handmade fashion.
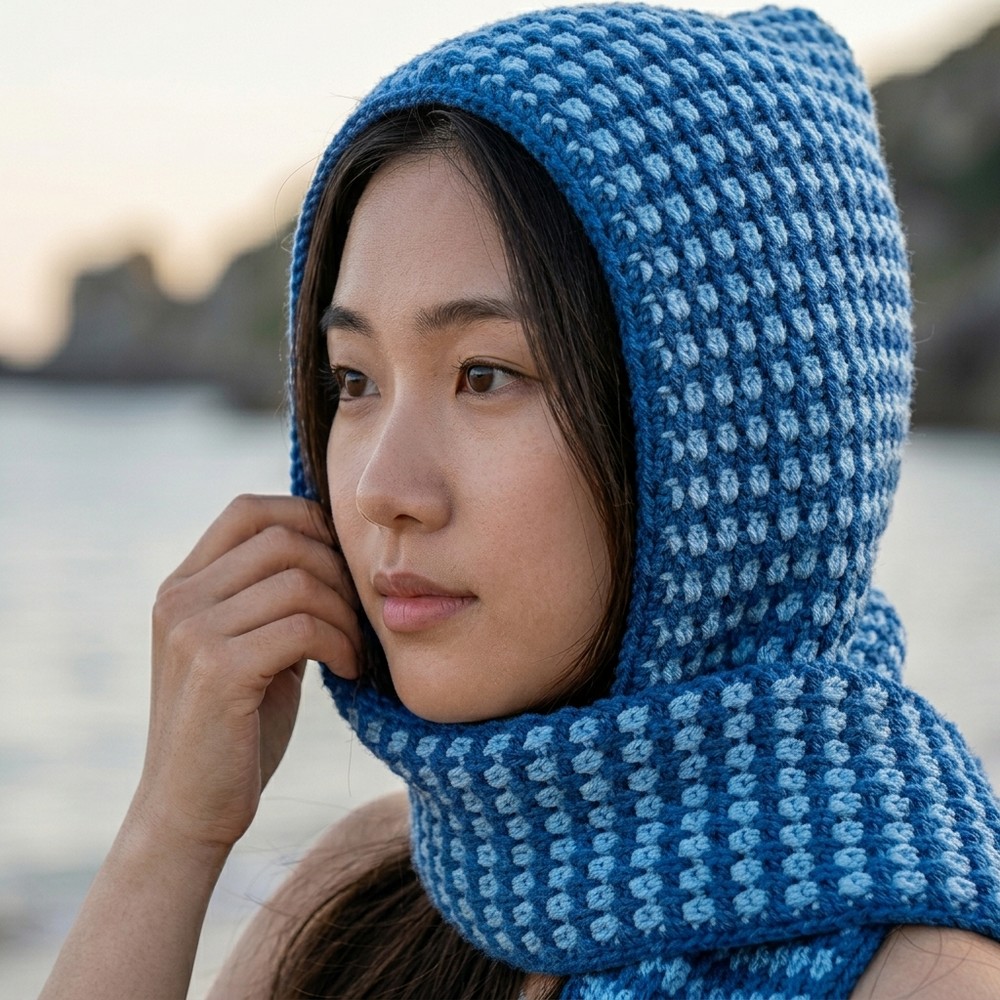
As the crisp air of colder months approaches, there’s nothing quite as comforting as an accessory that combines warmth, functionality, and style. A hooded scarf presents the perfect balance, wrapping you in coziness while seamlessly serving as both a scarf and a hood. Whether you want to keep warm during a brisk evening walk or add a touch of elegance to your winter wardrobe, this guide provides an inspiring way to crochet a piece that’s practical and fashionable. The unique design makes it versatile enough to wear over a jacket or draped comfortably around your neck, offering a timeless charm that complements most outfits.
Cute Vibe Crochet Hooded Scarf Pattern with Lasting Warmth
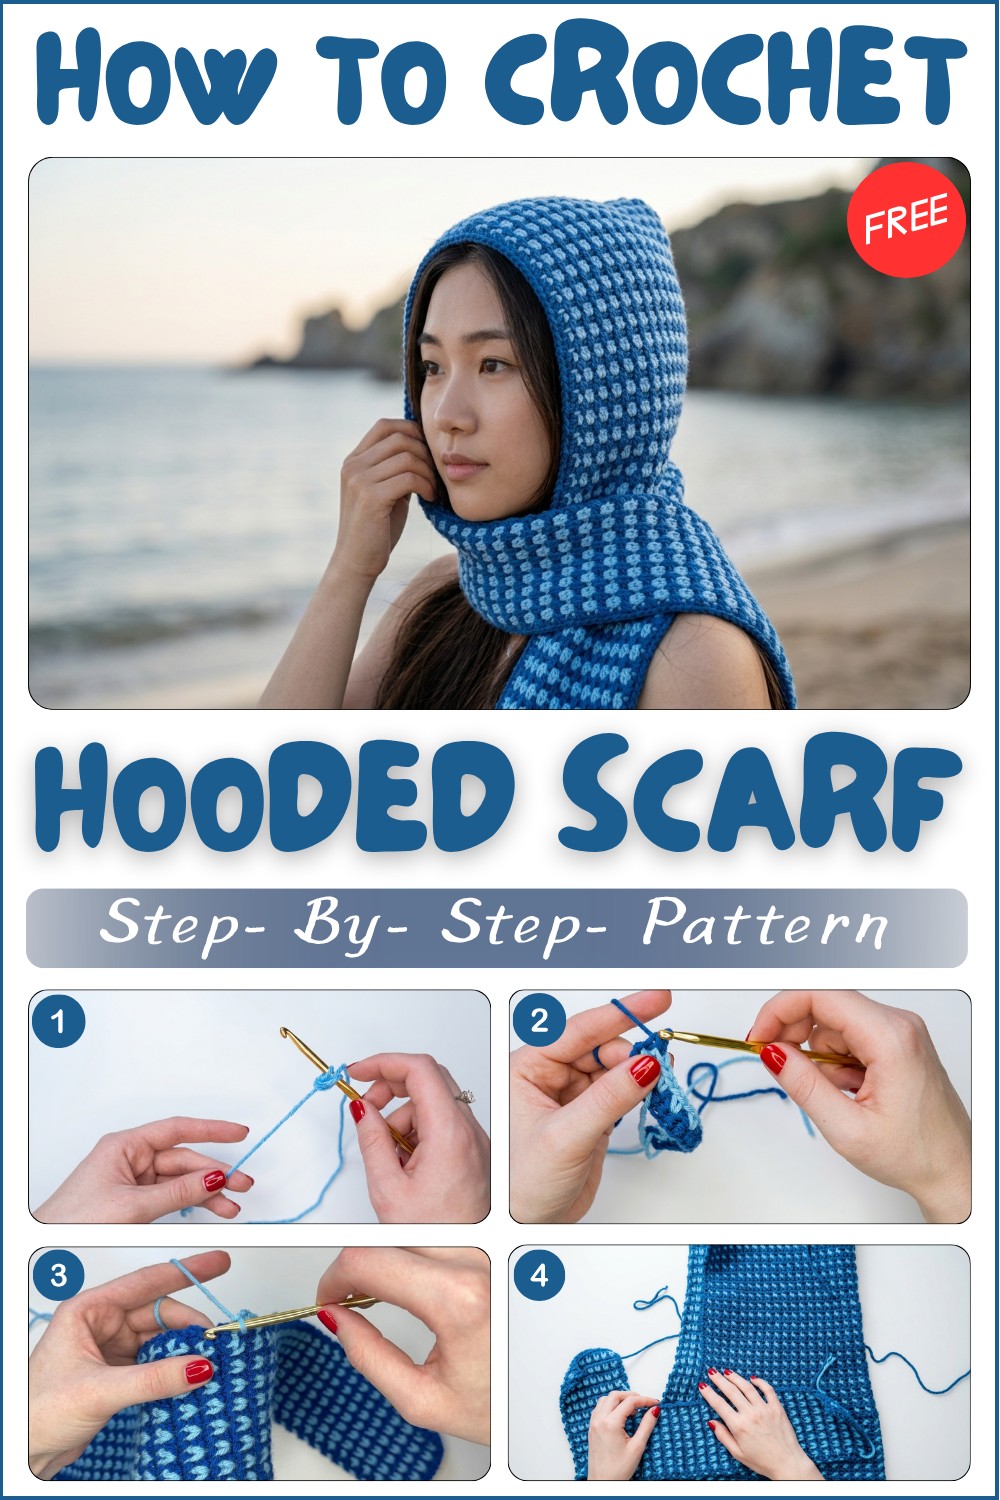
This beginner-friendly project is based on simple stitches, starting with the scarf a long rectangular base worked in alternating rows of single crochet stitches and chain spaces. The pattern emphasizes ease and customization, allowing you to adjust the scarf’s width and length based on your preferences. The color combination of black and red in the demonstration adds a bold and classic aesthetic, but viewers are encouraged to experiment with their favorite color palettes. 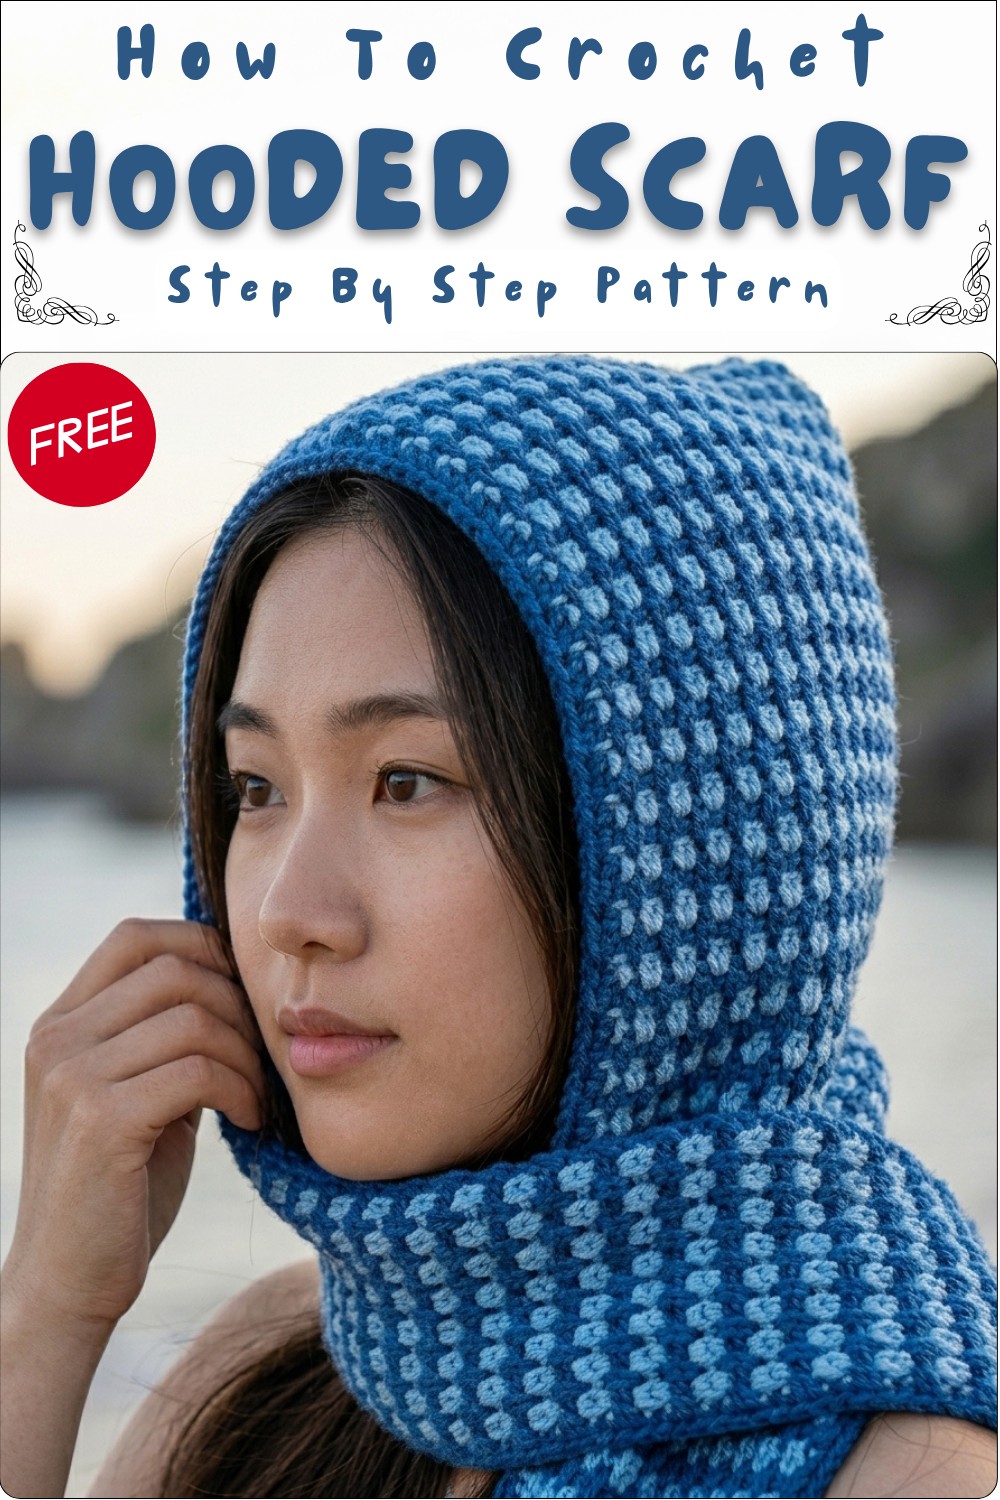
Hooded Scarf Crochet Pattern
Want a cozy, beginner-friendly project that works up fast and looks great on anyone? This hooded scarf uses only the single crochet stitch and simple color changes—no shaping or sewing complicated pieces. The scarf is worked as one long rectangle, and the hood is crocheted directly onto the edge before seaming the top. This project is perfect for learning basic colorwork and mastering consistency in your stitches.
Skill Level & Terminology
- Skill Level: Beginner
- Terminology: US crochet terms
If you’re new to crochet or want to practice your basics with some fun color changes, this pattern is for you! Only basic stitches are used, and instructions for both yarn color changes and carrying unused yarn are clearly described.
Materials & Tools
- Yarn: Two colors of worsted weight yarn (Color A: Skyblue, Color B: Blue)
- Hook: Size H (5.0 mm) or size needed to match gauge
- Notions:
- Yarn needle for weaving ends
- Stitch markers or safety pins for holding place
- Scissors
Choose a soft, medium-weight yarn for comfort and warmth.
Gauge
- Gauge: 14 single crochet = 4″ (10cm); 18 rows = 4″ (10cm)
- To check your gauge:
- With chosen yarn and hook, ch 16.
- Row 1: Work single crochet in 2nd ch from hook and each across (15 sc), ch 1, turn.
- Repeat Row 1 for 20 more rows.
- Measure middle of swatch. Adjust hook size if necessary.
Importance: Matching the gauge will ensure your hooded scarf fits as described.
Abbreviations List
- ch = chain
- sc = single crochet
- sk = skip
- st = stitch
- rep = repeat
Special Stitch Instructions
Color Change in Single Crochet:
- To change color at the end of a single crochet: insert hook into st, yarn over, pull through (2 loops on hook), drop old color, yarn over with new color, pull through both loops to complete.
Carrying Yarn:
- When not in use, place the unused yarn strand along the top of the row, and work new stitches over it to carry it neatly.
No other special stitches are required for this straightforward project.
Finished Size
- Scarf length: Approx. 50 inches (127 cm)
- Scarf width: Approx. 5 inches (13 cm)
- Hood: Occupies about 19 inches (48 cm) of scarf edge, and is approx. 12.5 inches (32 cm) tall (from bottom to crown after seamed)
(Sizes are easily adjustable—simply make your rectangle or hood longer or shorter as desired.)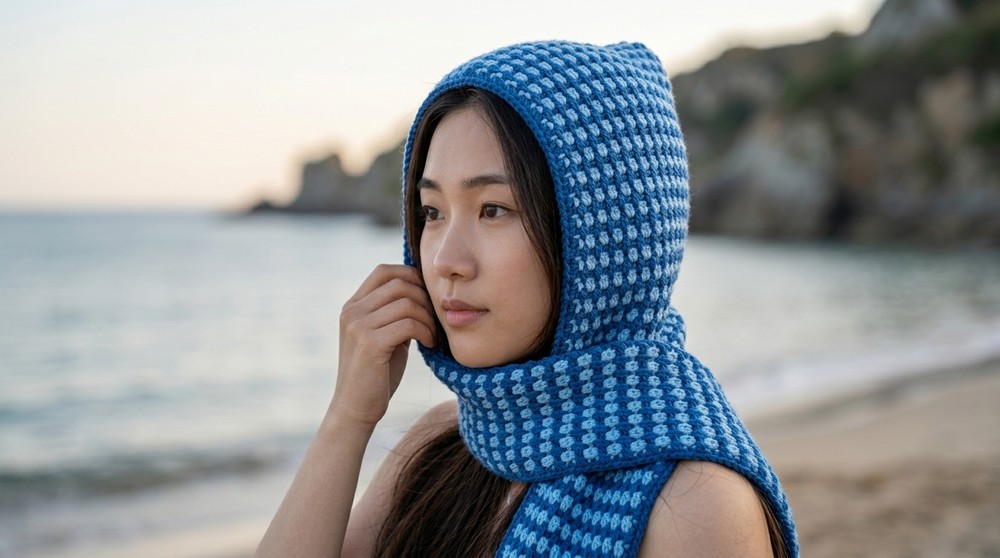
The Pattern Itself
Start of Scarf
Foundation
- Ch 18 (or any even number for your preferred width)
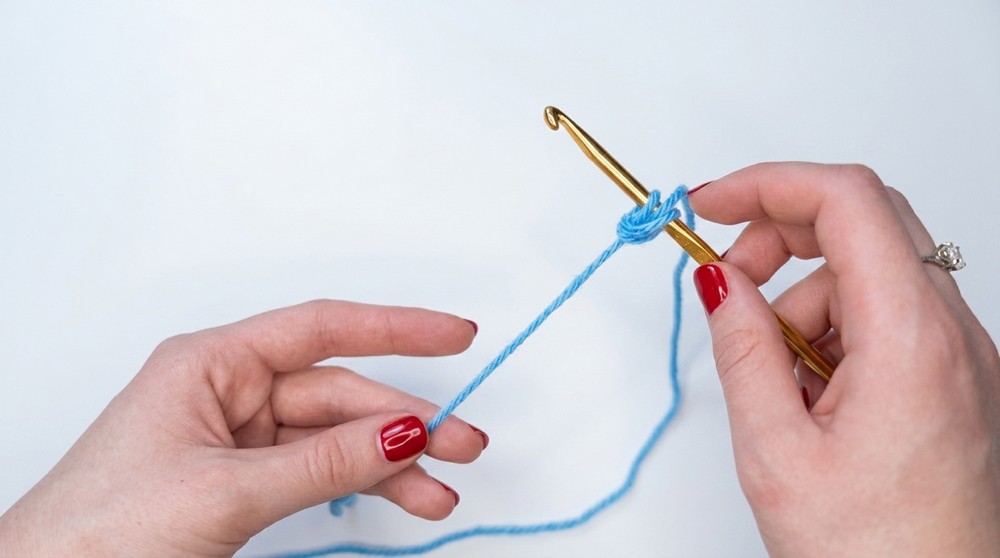
- Row 1: Sk first ch, sc in 2nd ch from hook and each ch across. (17 sc)
- Ch 1, turn.
This begins your long scarf rectangle. If you need a wider scarf, use more chains. You can customize the width easily.
Scarf Rows & Colorwork (Repeat)
Row 2 (Starting the Stripe Pattern):
- With Color A, sc in first st.
- (Changing to Color B:) Start next sc, but on final pull-through, switch to Color B.
- With Color B, sc in next st, ch 1, sk next st, sc in next st, rep from * to * to last 2 sts.
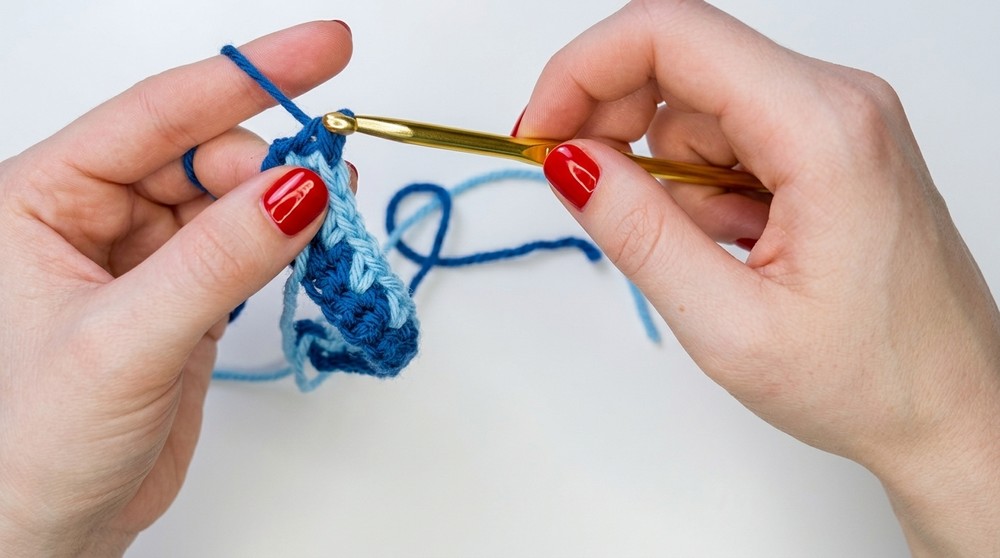
- Before last Color B sc, on final pull-through, switch to Color A, dropping Color B in front of work.
- Sc in last st with Color A, ch 1, turn.
This row sets up your stripe and openwork detail. Remember to carry the unused yarn for neat edges.
Row 3 (Return Row, Closing Gaps):
- With Color A, sc in first st.
- Pull up Color B from behind, crochet over it.
- Sc in next st, then sc into each chain space and each sc across, until last two sts.
- Drop Color B, finish last sc with Color A.
- Ch 1, turn.
Rows 4 and Onwards (Stripe Sequence):
- Repeat Rows 2 and 3, always working the color change as before, keeping Color B stripes consistent.
- Continue until scarf measures 50″ (127 cm), or desired length.
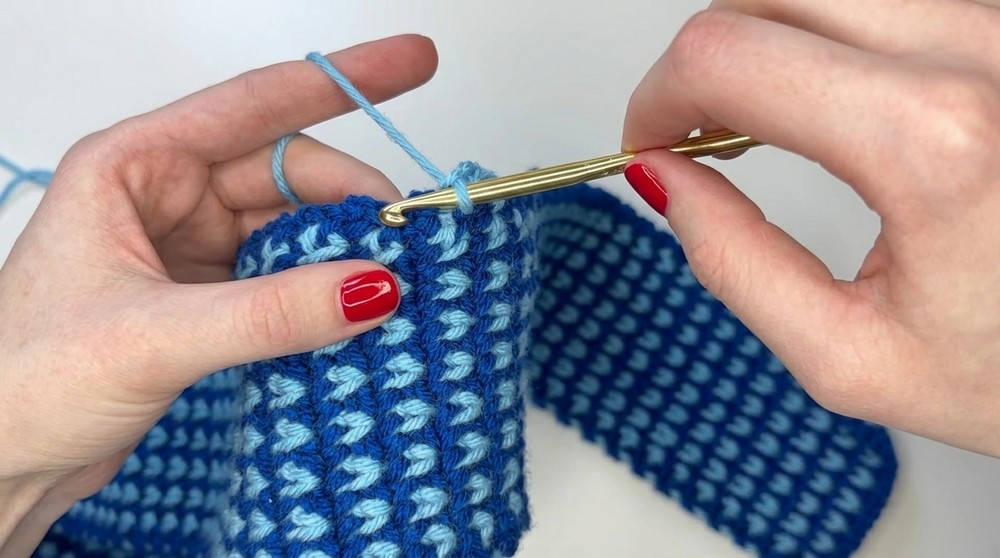
Once you’ve established the stripe pattern, it’s easy to repeat! Just swap colors at the edges, and always carry your unused color beneath the stitches.
Starting the Hood
Marking placement:
- Lay scarf flat, fold in half, use stitch markers to identify the center 19″ (48 cm), or approximately 69 rows.
- Attach yarn at one marker, working along scarf edge towards opposite marker.
Row 1 (Hood Base):
- With Color A, sc in each row end between markers (one sc per row) to opposite marker.
- Ch 1, turn.
This base row sets the edge for the hood. You should have an odd number of sts; adjust if needed.
Hood Rows & Colorwork
Repeat Rows 2 and 3 of scarf for hood pattern:
- Row 2: Begin with Color A, follow the established color-changing and stripe sequence, working sc, ch 1, sk 1, and carrying the yarn as before.
- Use Color B for the mesh sections as established, switching colors with the same change technique.
- At end of row, finish with Color A, ch 1, turn.
- Row 3: With Color A, work sc in all sts and chain spaces, pulling up and crocheting over Color B, as in scarf.
- Rep Rows 2 & 3 until hood reaches 12.5″ (32 cm) tall or 44 rows, ending with a Color B row.
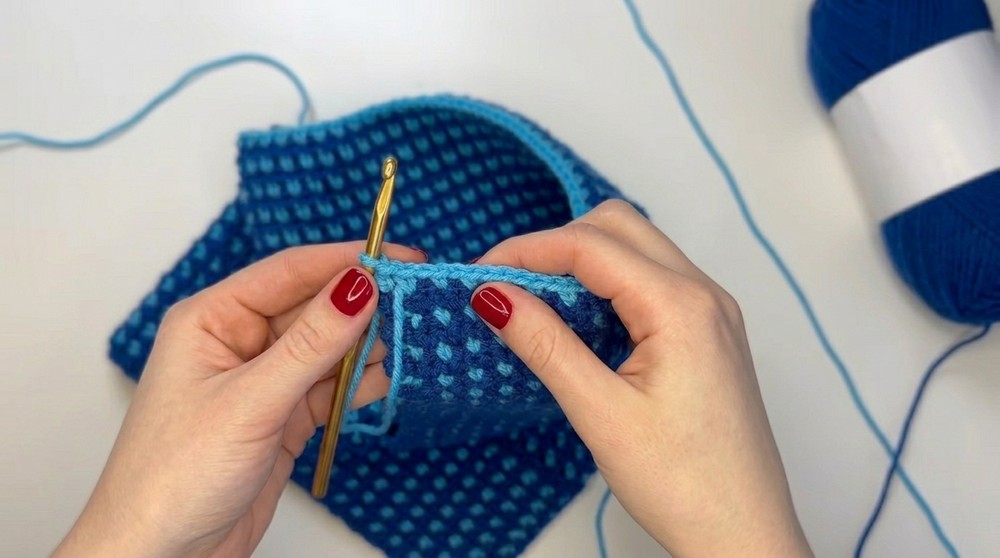
You’re working the hood as a flat rectangle, using the same color striping system as the scarf base.
Closing the Hood
- Fold hood in half vertically, right sides together (red stripes to outer side).
- With Color A, sc through both layers across top edge, matching stitches, to seam hood closed.
- Fasten off, cut yarn.
This creates the classic hood shape on top. Turn hood right side out for a neat finish!
Assembly & Finishing
- Weave in all yarn tails securely using yarn needle.
- Block your hooded scarf gently if desired to neaten stitches and even out edges.
- Try on your scarf and adjust for comfort—your hood rests naturally at the top, and the scarf portion drapes at the front.
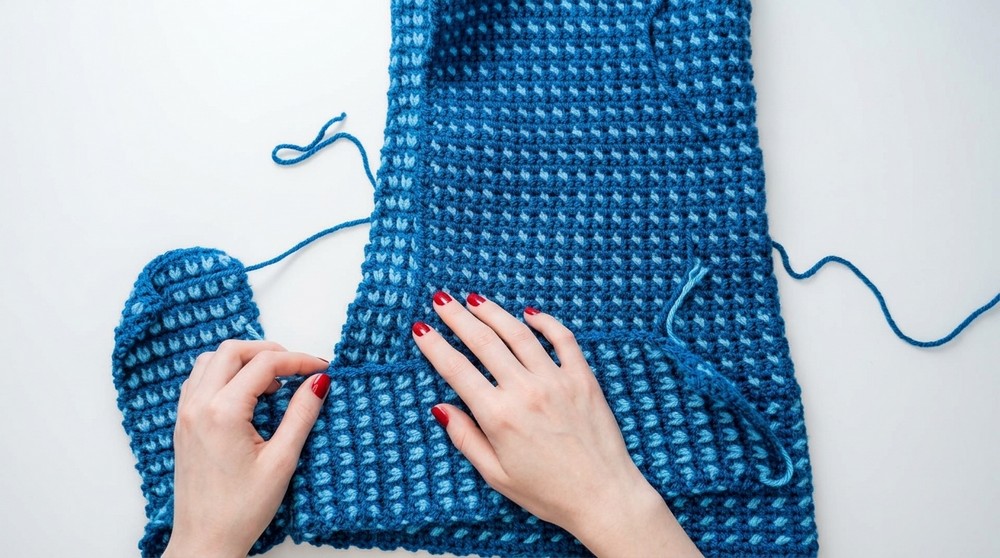
That’s it! The piece is fully functional with no extra sewing or panels required. Wear your hood up or down as you like.
Guidance for Beginners
If written patterns feel confusing, remember:
- You’ll make a long rectangle first for the scarf—alternating single crochet and colorwork rows.
- When scarf is long enough, you attach yarn at the edge, work back and forth in rows (same color switching) to create the hood rectangle.
- Finish by folding the hood and seaming the top.
- All stitches used are single crochet and chain.