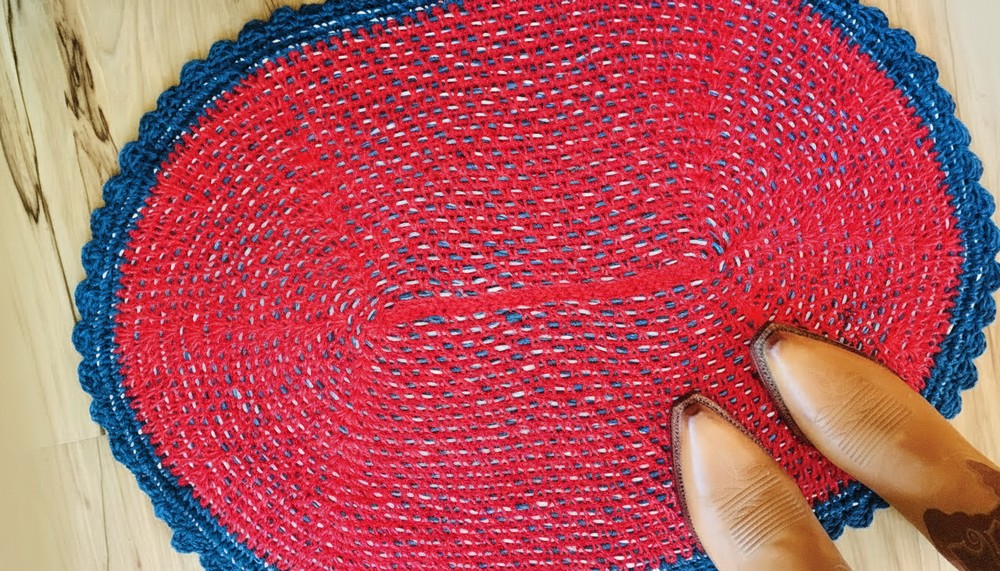
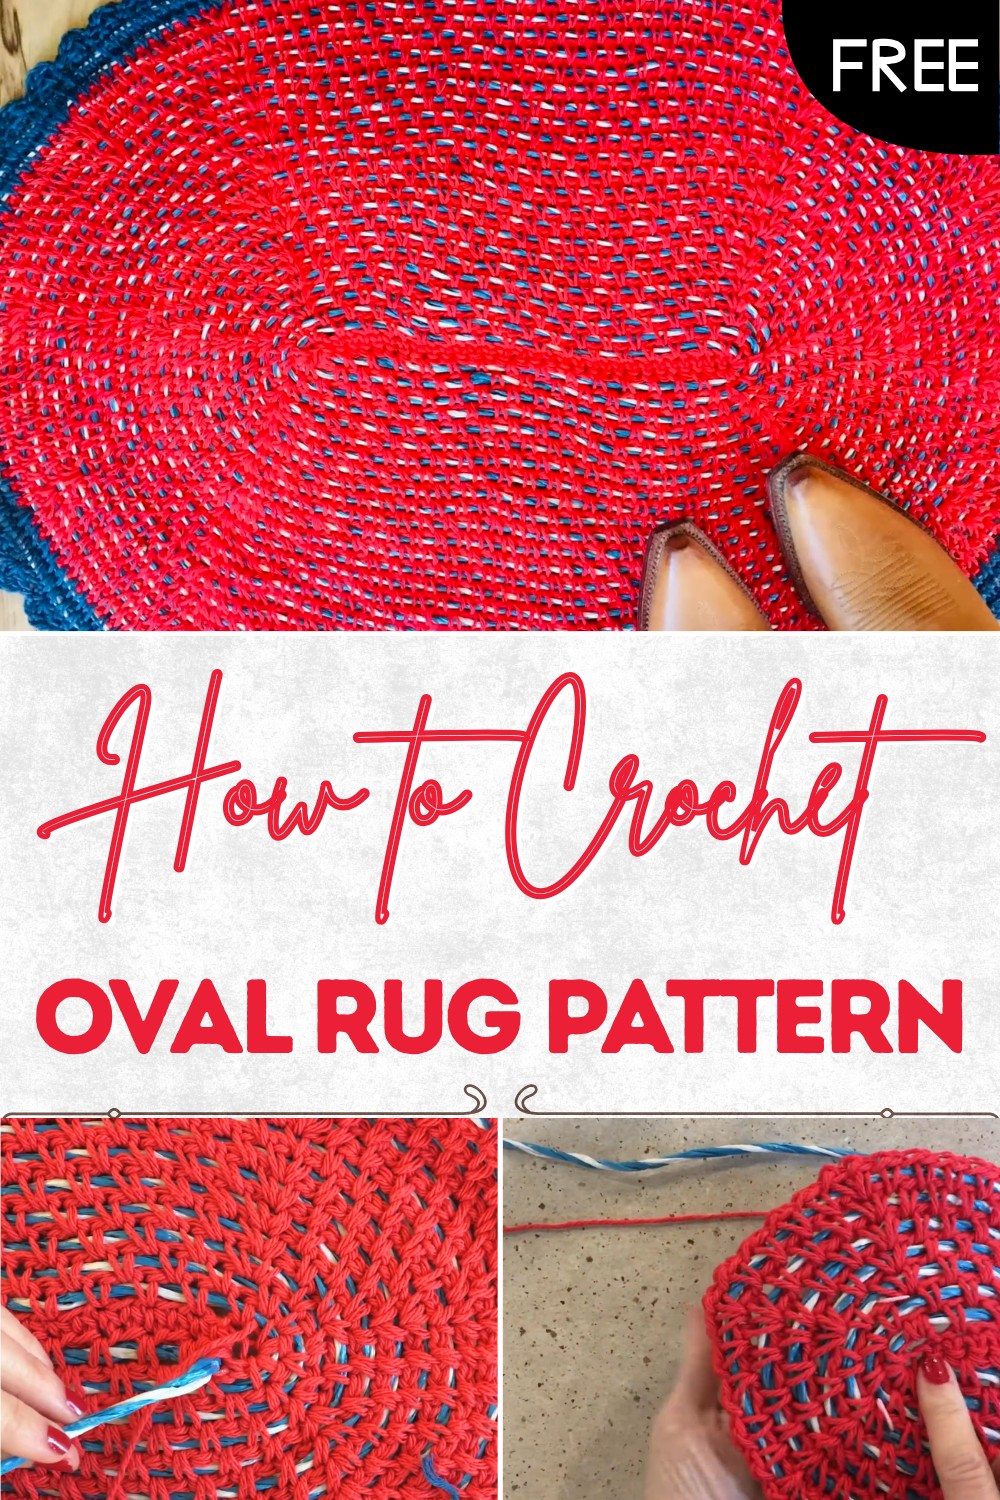
Free Modern Crochet Oval Rug Pattern for Any Room
Boost your space with this free crochet oval rug pattern that is easy to follow and brings color comfort and charm to any room in your home.
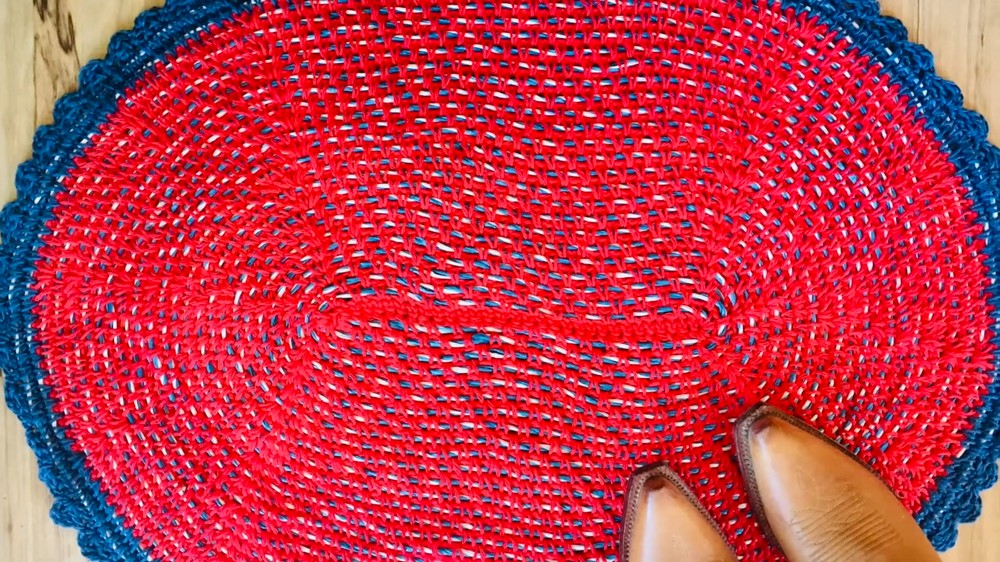
A gentle pop of color on the floor turns any space into a warm and cheerful place, instantly lifting the mood of the whole room. With a crochet oval rug pattern, you bring in both beauty and function by choosing the perfect shade to fit your style. Its rounded shape and charming stitches add a fresh and simple touch, making the area feel calm and inviting. Place this rug beside your bed for a soft start to your day, or use it in the living room as a friendly spot for gathering and relaxation.
Easy Crochet Oval Rug Pattern – Free Step-By-Step Guide
It works well in the kitchen or at the door, helping to keep shoes clean and feet happy. The pattern is easy to follow, making it possible for anyone to make one, no matter their experience. This rug lasts for years while staying gentle underfoot, giving your home a special feel. Giving one as a present brings smiles and warmth, making it a heartfelt choice for someone you care about.
Country-Style Clothesline Crochet Rug Pattern
Materials
- Clothesline: Approximately 2 bundles of colored clothesline (Dollar Tree or equivalent)
- Yarn (Main): 3 balls “Just Cotton” from Dollar Tree (red in the example)
- Yarn (Border/Accent): Optional; 1 ball of Lion Brand (or other) worsted weight yarn for contrast border (blue in the example)
- Crochet Hooks:
- K / 6.5 mm hook (main body and border)
- J / 6.0 mm hook (scalloped edge)
- Scissors
- Yarn Needle
- Stitch markers (optional, for marking increases)
- Oatmeal container or similar (optional, for winding clothesline)
- Masking tape
- Hot Glue (for finishing ends)
Key Abbreviations (US Terms)
| Abbreviation | Meaning |
|---|---|
| ch | chain |
| sc | single crochet |
| dc | double crochet |
| tr | treble crochet |
| sl st | slip stitch |
| sp | space |
| rep | repeat |
| st(s) | stitch(es) |
Special Notes
- Foundation: The rug is worked around a core of clothesline, giving extra structure and heft.
- Increases: Markers help you keep place for increases to keep your rug flat.
- Flexibility: You may need to add (or skip) increases based on how your rug lays as you go.
- Clothesline Handling: For easier crocheting, wind the clothesline into a neat skein first.
Pattern
1. Preparing Your Clothesline
- If clothesline is curly, wrap it around an oatmeal container or similar cylinder, then tape the end to the container. Wind the rest to form a “skein” for smooth handling.
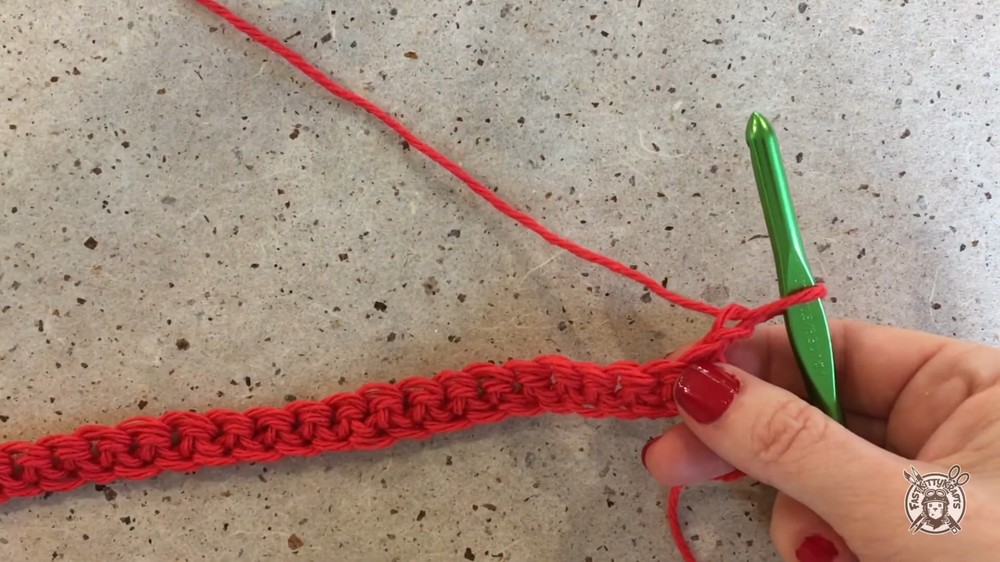
2. Foundation Chain & First Row
- With K (6.5 mm) hook and main yarn:
- Create a slip knot.
- Ch an even number of sts to measure about 12″ (Sample: Ch 32).
- Turn, sc in 2nd ch from hook and in each ch across. (Sample: 31 sc for 32 ch.)
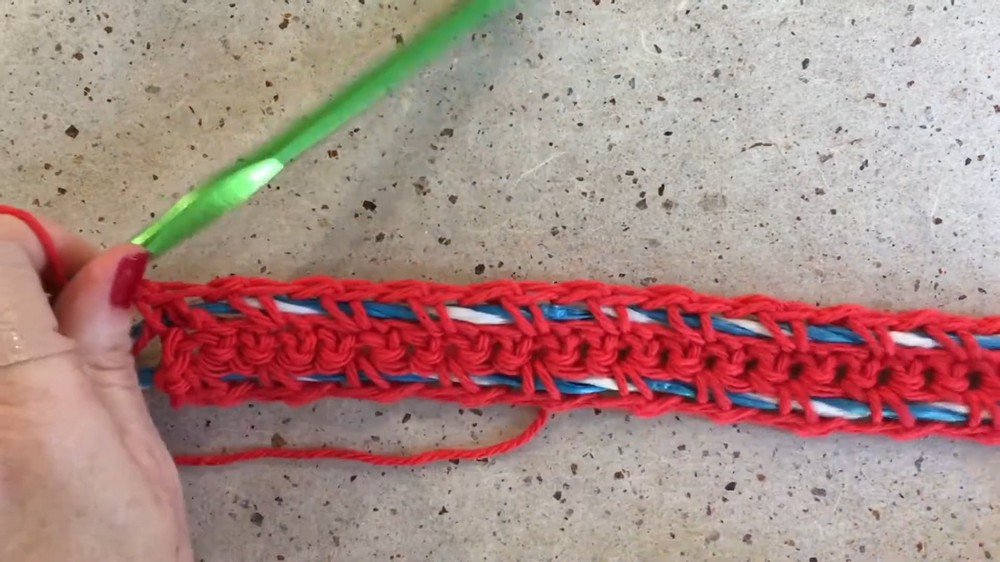
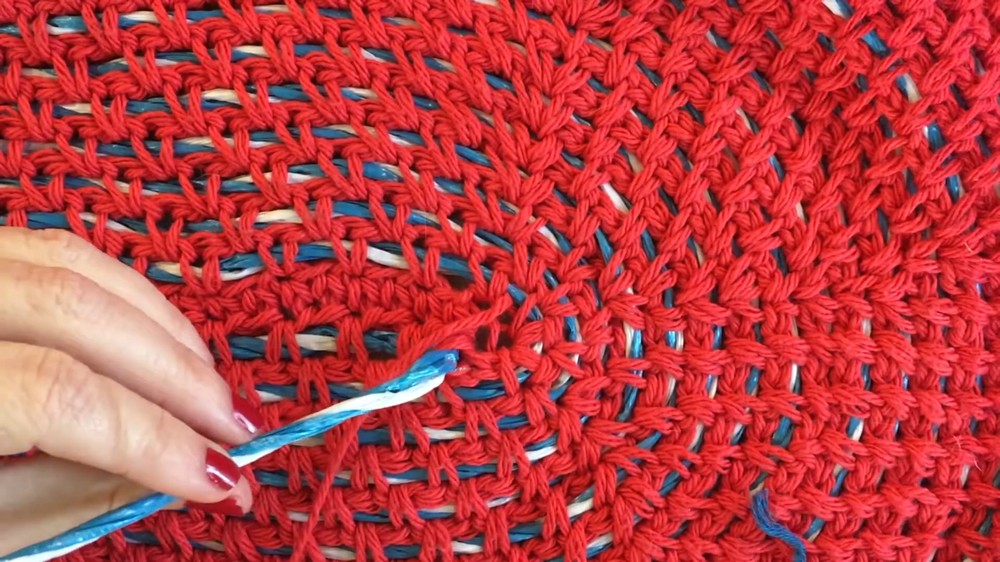
3. Begin Over the Clothesline
All following stitches are worked OVER the clothesline (held behind your work).
- Ch 1, turn.
- Place clothesline under yarn at the edge.
- Sc into first st, encasing the clothesline.
- Ch 1, skip 1 st, sc (around clothesline) in next st.
- Rep: Ch 1, skip next st, sc in next.
- Continue across, ending with a sc in the last st.
- In the last st: Place 2 MORE sc (3 sc total in final st for turning the corner).
- Pause: Tug the work gently along the clothesline to keep stitches evenly distributed and rug flat.
4. Working in the Round
First Turned Side:
- Ch 1, rotate work.
- Sc in first st along the starting chain, ch 1, skip 1, sc in next.
- Rep to end of the row.
- At end: 1 sc in final st, tug to spread stitches, ch 1, turn the next corner.
Second Short Side:
- In the center st of the short side, place 3 sc (to get around the curve).
- Continue the mesh pattern: sc in the ch-1 sp, ch 1, skip next, sc in next ch-1 sp, etc.
- When you reach the 3 sc from the previous corner, sc, ch 1 in each of those 3 sts.
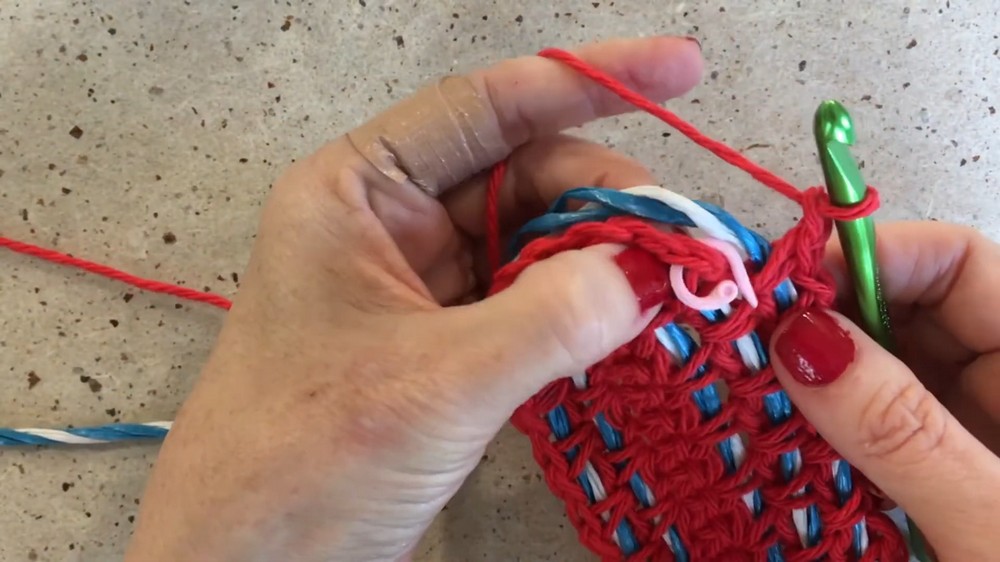
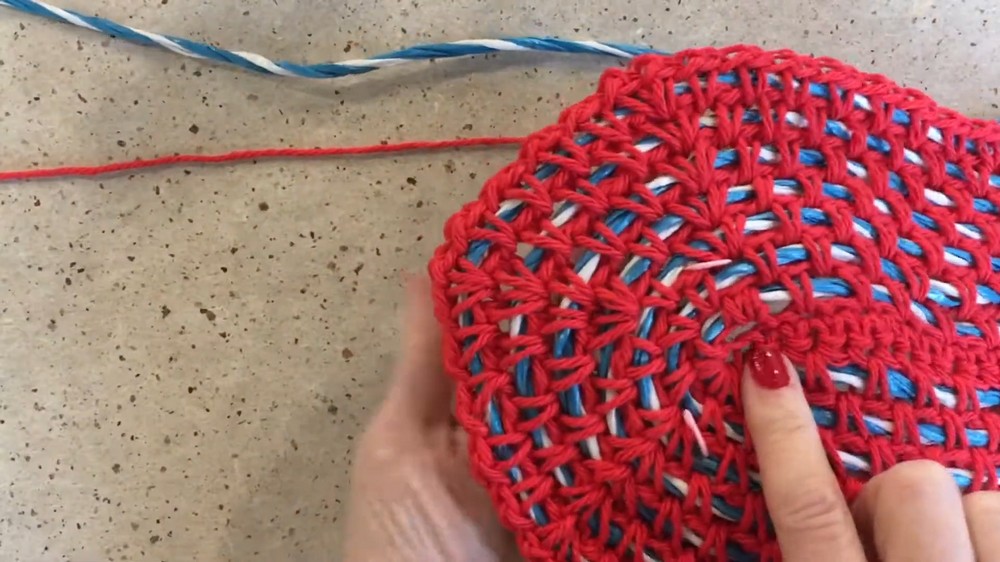
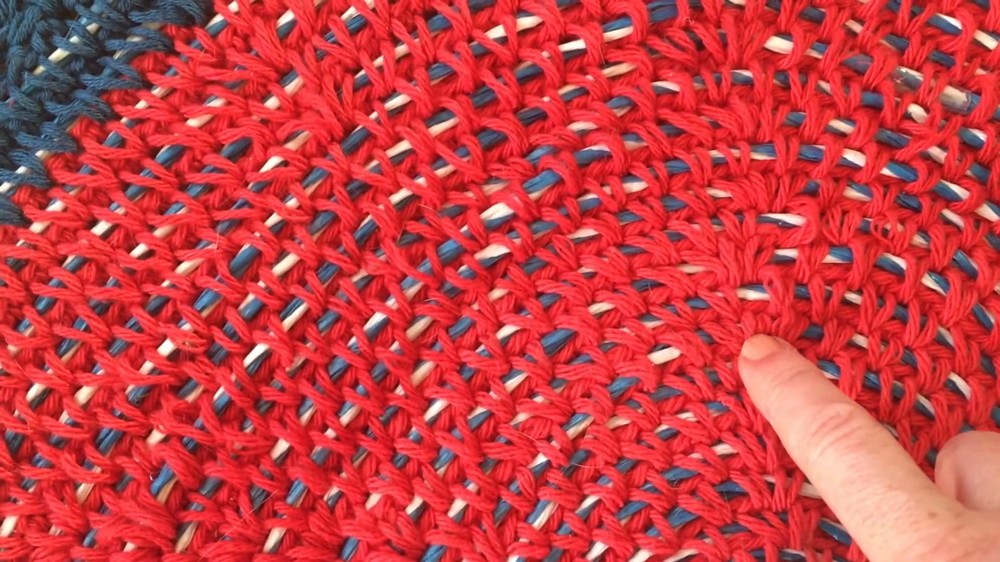
5. Building the Rug: The Mesh Body
- Continue working in the round, always crocheting over the clothesline:
- Mesh stitch pattern: [sc, ch 1, skip 1] repeated.
- At each end: In the corner/center, increase by placing [sc, ch 1, sc] in the middle space to turn smoothly.
- Mark increases: Use stitch markers to mark two central chain spaces at each short end; always increase at the same marked spots.
- After a few rounds, you can add more increases if necessary (the piece should lay flat, not ruffle).
- Continue for as many rounds as you wish. Sample rug: ~21″ x 29″.
6. Border
- Switch to accent yarn (optional) or continue with main color.
- Work 2 rounds in mesh pattern as above, continuing to work over the clothesline if remaining.
7. Scalloped Edge
- Join accent (blue) yarn at any sc. Use K hook.
- Sl st in first sc, switch to J (6.0 mm) hook:
- Ch 3, tr in same st, dc in same st.
- Skip next 2 sc, sl st in next sc.
- Skip all ch-1 spaces as you work scallops.
- Rep around the rug edge.
- Join with sl st to first scallop.
8. Finishing
- Hot glue the ends of the clothesline at the base, wind tail around glue a few times for security, and trim.
- Weave in all yarn ends with yarn needle.
Correction & Tips
- Correction:
- Always check for puckering or ruffling. Add extra increases in corners as needed, or omit increases for a round if it starts to ripple.
- Tips:
- If the mesh feels tight to work, use a larger hook or loosen your tension.
- Periodically spread stitches and adjust the clothesline for evenness.
- Place stitch markers at increase points to maintain consistent shaping.
Conclusion
This quick, affordable rug makes a fabulous country-style accent and leverages easy-to-find materials. Experiment with colors and sizes to personalize your project. The clothesline core makes your rug durable and functional for high-traffic areas.