Easy Free Crochet Bralette Pattern You’ll Love
Ever feel like store-bought tops just don’t show off your personality? That’s why trying a Free Crochet Bralette Pattern is a brilliant idea! Crochet bralettes are not only trendy, but making one yourself lets you choose colors, fit, and style. Don’t worry if you’re new, this project can kickstart your crochet journey and boost your creativity. With just yarn, a hook, and some patience, you can make a cute, comfy top that’s perfect for summer or layering.
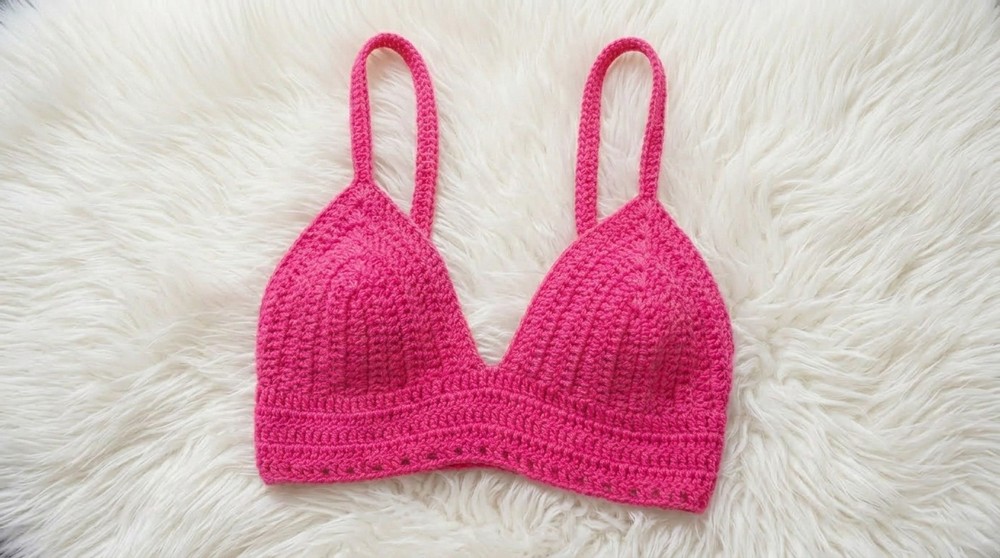
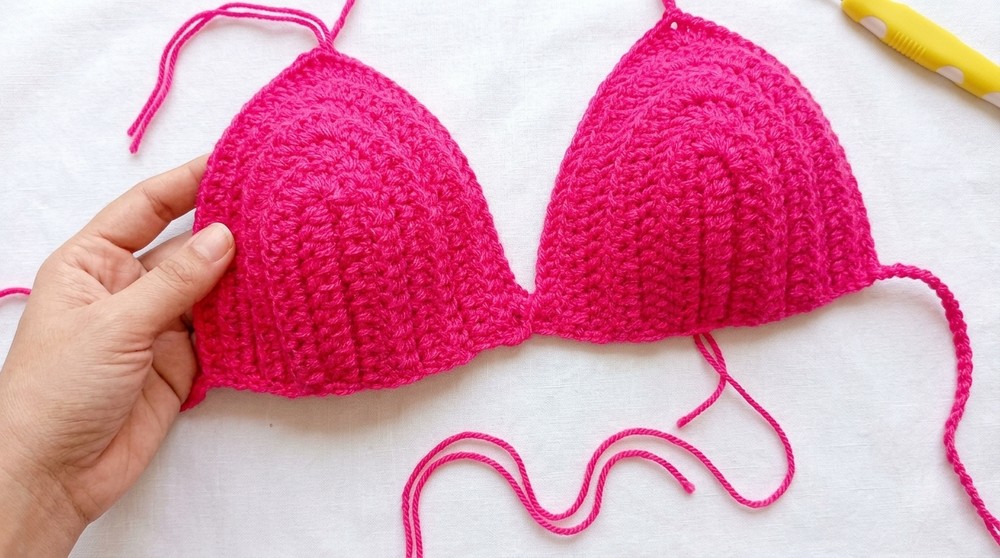
Stylish and Comfortable Crochet Bralette Pattern Design
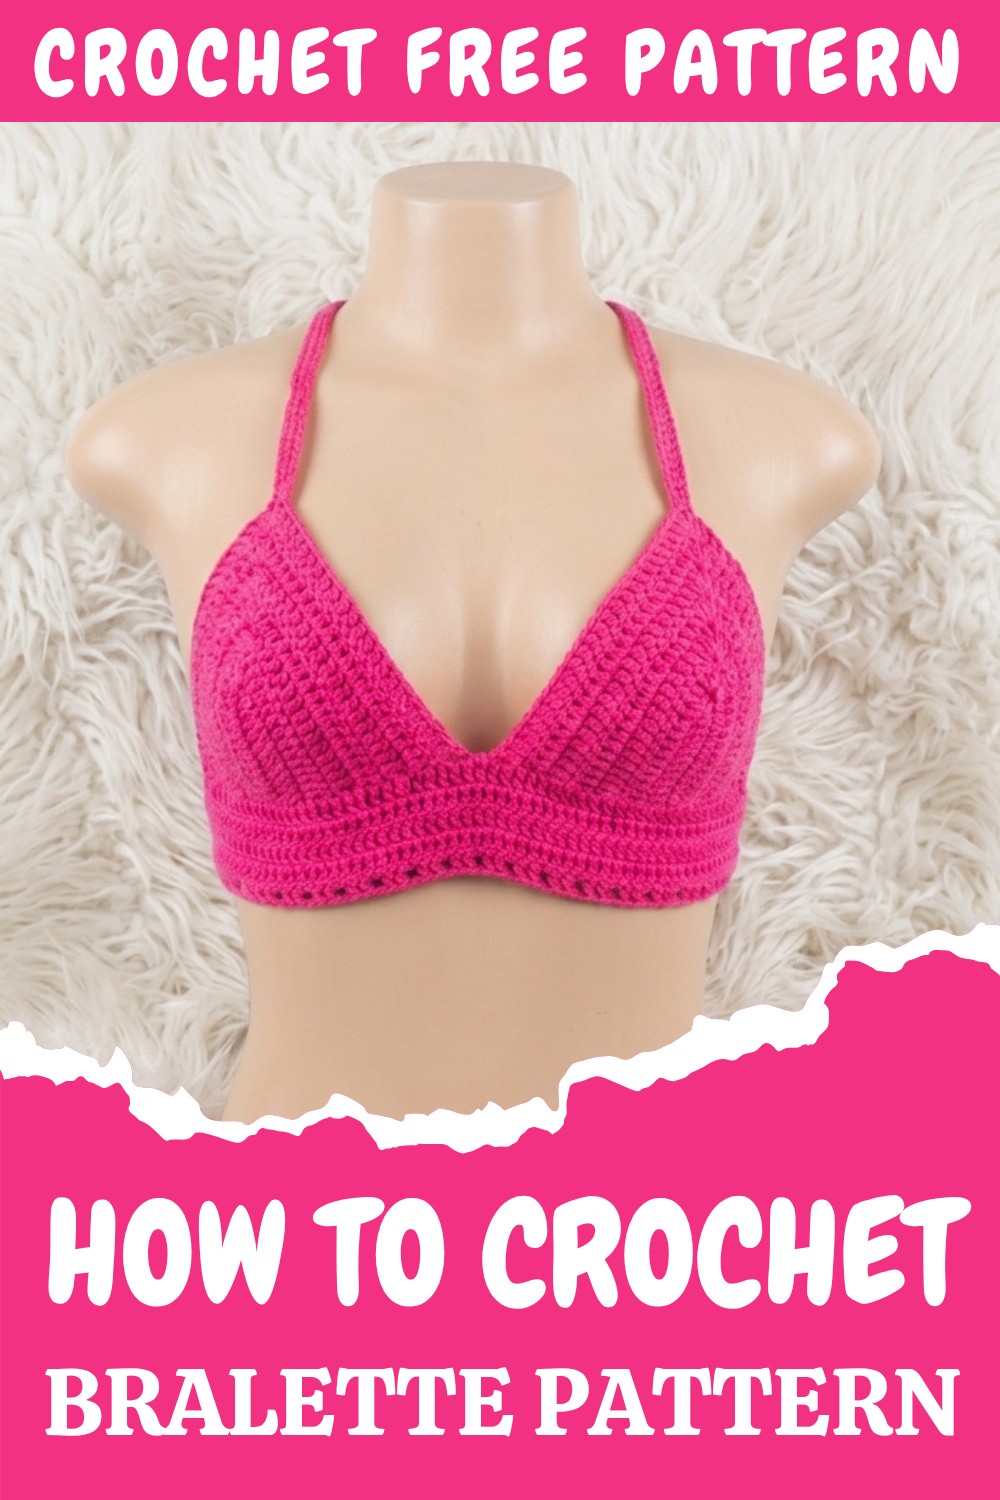
What makes this bralette stand out? First, you can pick any color you love—bright pink, soft pastel, or classic black. The main stitch in the pattern is the double crochet, which is easy to learn and creates a stretchy, textured look. You’ll also use single crochet for the straps and chain stitches for starting rows. With a few tweaks (like making more squares or longer straps), this basic pattern is super flexible: try turning it into a crop top, adding fringe for a boho vibe, or even making a bikini top!
Size Guide:
- Cup size: Customize chain length from nipple to under-bust (ex: 2.5 inches for A cup).
- Band: Total bralette length should equal your waist measurement minus five inches.
- Straps: Make chains about 50 inches, then single crochet across for a comfy fit.
Crocheting your own bralette not only gives you a cool handmade top, but you also learn skills you can use for other patterns—like stylish crop tops or beachwear. You’ll finish with a unique piece ready for sunny days, showing off both your style and talent!
Common Issues and Fixes:
- If your cups bend backward or aren’t flat, place your increases in the center as taught in the video instead of at the edge.
- Uneven stitches? Keep your tension consistent and count stitches each row.
- Straps too loose? Make chains slightly shorter, or use single crochet for strength.
- Any confusion, check the video step-by-step and ask in the comments or reach out to the creator for help.
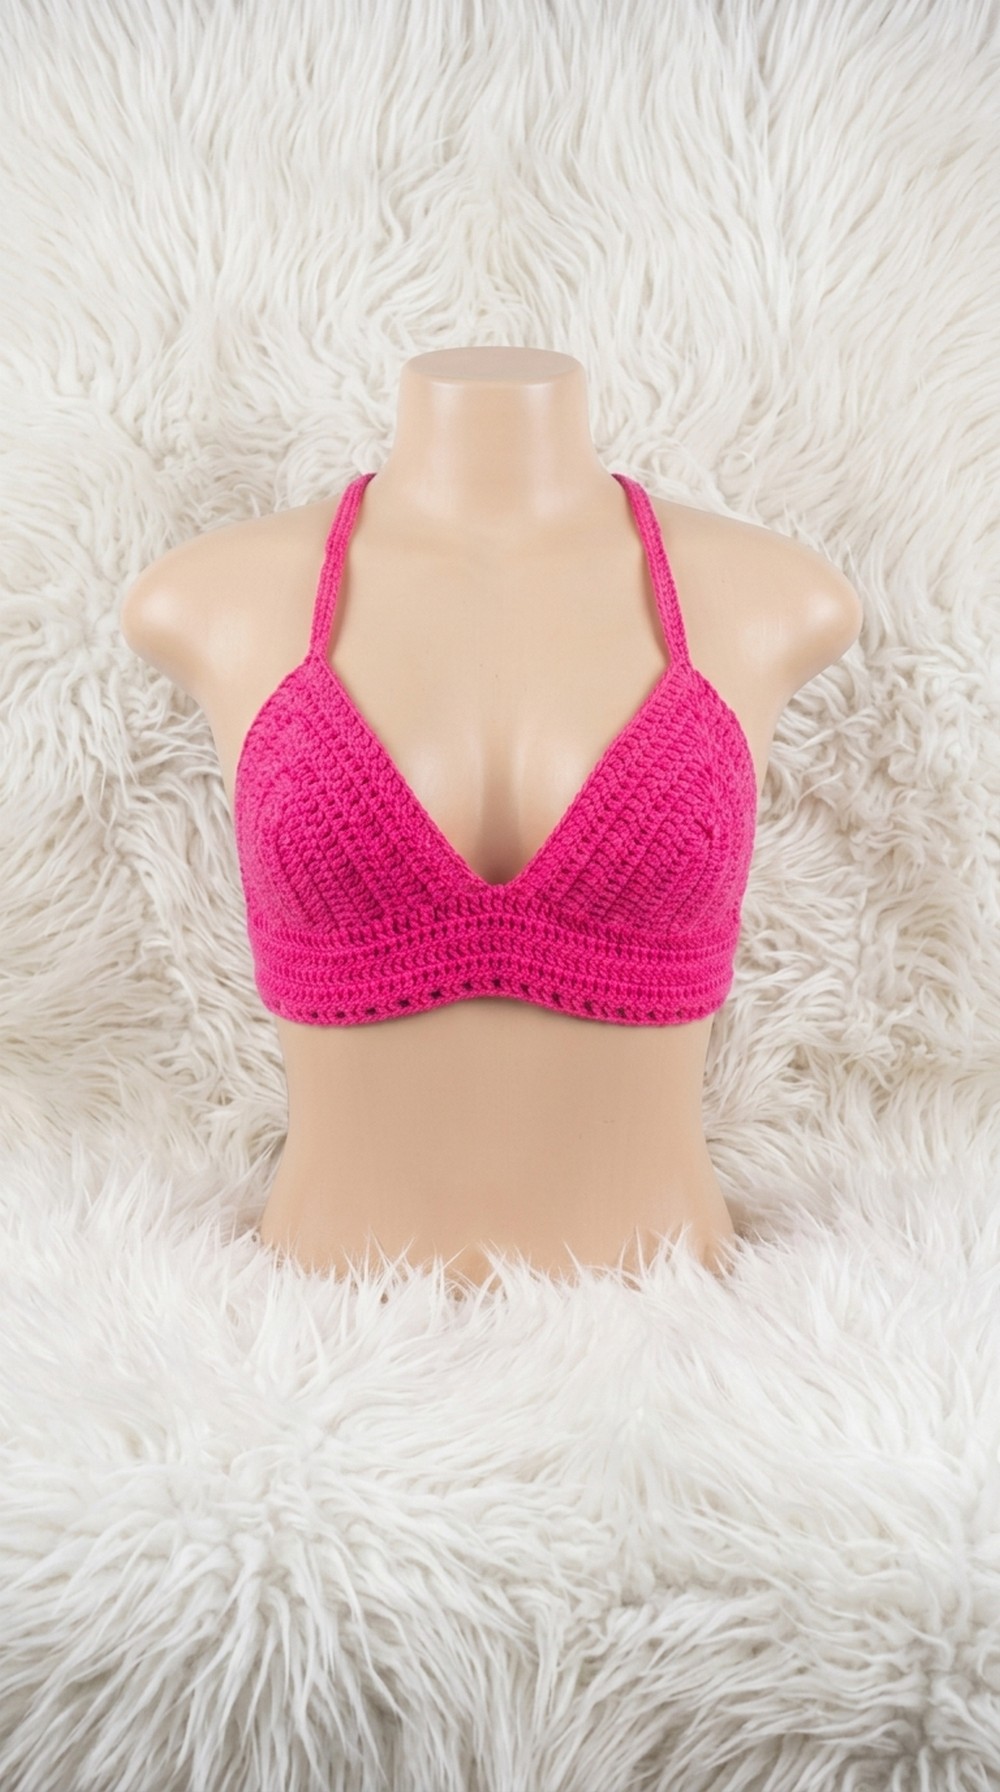
Simple Crochet Bralette Pattern
This beginner-friendly bralette uses basic stitches and is fully customizable for your measurements. It is worked in rows and finished with simple straps—perfect for summer layering.
Skill Level
Beginner – Intermediate
Knowledge of double crochet, single crochet, and simple construction is required.
Important Steps You Can’t Forget:
- Measure your bust and plan your chains to match your size (for example, your chain length should reach from your nipple to below your bust).
- Always skip the first two chains before starting your double crochets for neat edges.
- Make increases on the cup top (five double crochets in the stitch) for proper cup shape and mark the center with a stitch marker.
- Crochet two identical cups and join them together with slip stitches.
- Chain for the band (waist) and straps, and make sure your band length is your waist measurement minus five inches for a snug fit.
- Hide your yarn ends as you work so your bralette looks clean and finished.
- Attach the straps securely so they don’t pull or stretch out.
Materials
- Yarn: Acrylic, medium weight (worsted or DK)
- Hook: 2.5 mm crochet hook
- Yarn needle: for sewing/weaving in ends
- Scissors
- Stitch marker (optional but helpful for increases)
Key Abbreviations (US Terms)
- ch = chain
- dc = double crochet
- sc = single crochet
- sl st = slip stitch
- st(s) = stitch(es)
- rep = repeat
Special Notes
- The cup size is fully adjustable: create a starting chain matching the distance from your nipple to below the bust.
- The increases at the bralette point are made by working multiple dc into one stitch—use a stitch marker to mark the center.
- The band and straps are joined directly to the cups for a seamless finish.
Pattern
Step 1: Foundation Chain & First Row (First Cup)
- Make a slip knot.
- Ch a number of stitches equal to the length between your nipple and below your bust. Example: For cup A, approx. 2.5 inches.
- Add 1 extra chain.
Use your measuring tape for accuracy. More chains = a longer cup (height from nipple to underbust).
Step 2: Row 1
- Skip the first 2 chains from the hook.
- In the 3rd ch from hook, work dc.
- Dc in each chain across the row.
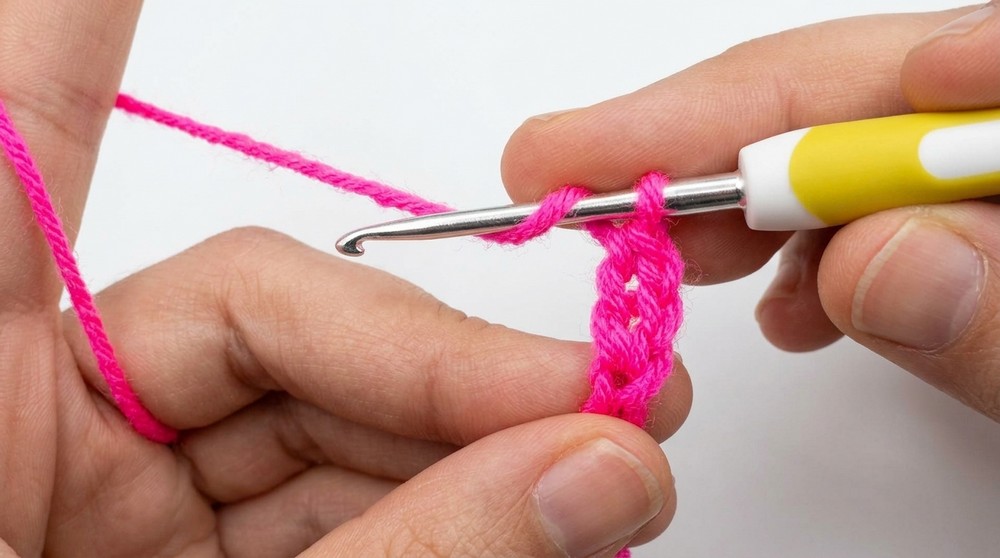
You are now shaping the base of your cup. Double crochet into each chain for a sturdy row.
Step 3: Row 2 (and More Rows)
- Ch 2, turn (counts as first dc).
- Skip the first st, dc in each st across.
- At the last st:
Work 5 dc into the last st (this forms the cup’s point and starts the first increase).- If you are using sc or hdc, work 3 sts instead of 5.
- Place a stitch marker on the 3rd dc of the 5 (center).
This technique makes the bralette point smooth, without bending. Using a stitch marker helps you easily find the center for the next increases!
Step 4: Across Other Side
- Continue down the other side of the foundation row (if applicable), dc in each st to the start.
Always repeat the same number of dc as on the first half, so each cup is symmetrical.
Step 5: Build the Cup
- Repeat steps 3–4, always making 5 dc into the marked center stitch at the top.
- Continue until cup is the desired height (ex: 4.5–5″ for cup A).
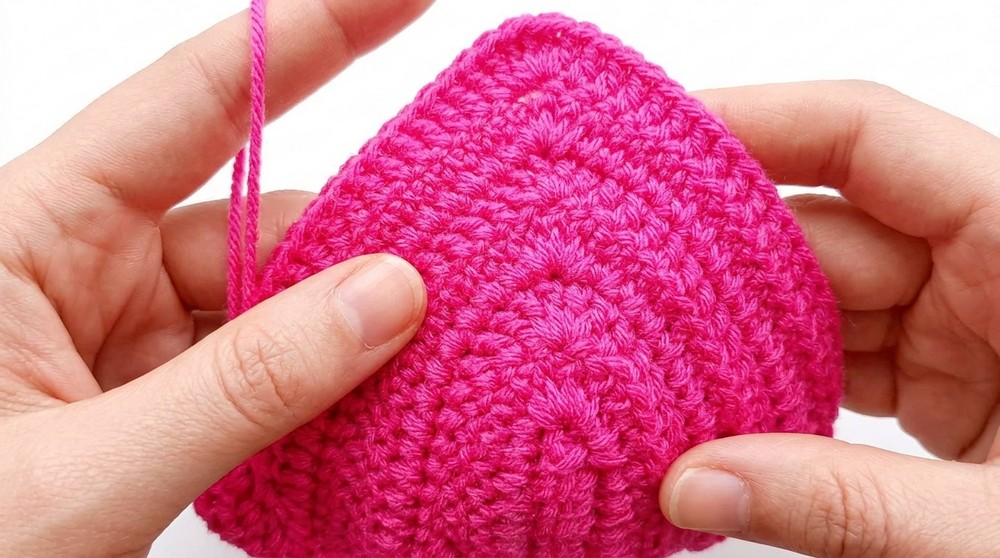
Continue in rows, increasing at the peak by always working 5 dc into the center stitch (marked). As you crochet, your cup will look like a triangle with a rounded point.
Step 6: Second Cup
- Repeat steps 1–5 for the second cup, ensuring both cups match in size.
Make two identical pieces; this will ensure your bralette fits properly.
Step 7: Join Cups
- Hold both cups together, right sides facing out.
- Insert your hook in the first st of both cups.
- Yarn over, pull through both stitches, sl st to join.
- Ch 1 and cut the yarn.
This creates a seamless join between the two bralette cups.
Step 8: Side Bands
- On one cup, attach yarn at the base corner (chain 2 edge).
- Chain the number needed for your width measurement (ex: 27 chains for 5″ band).
- Cut yarn and fasten off.
- Repeat on the other cup for the other side band, matching measurements.
The band plus cup bases together should equal your underbust minus about 5″—this ensures a snug fit.
Step 9: Band Row
- Attach yarn at one end of band.
- Add 2 extra chains.
- Skip the first 2 ch, dc in next and across the band, across the cup bases, and across the other band.
- Continue until end of row.
This forms a strong base for your bralette, running from one tie, across both cups, to the other tie.
Step 10: Additional Rows for Band (Optional)
- Continue in dc for more rows if you wish for a wider band.
- Optionally, for the final row: Ch 2, turn, dc in first st, [ch 1, skip next st, dc in next] across, for a simple lacy effect.
You can customize your band width!
Step 11: Shoulder/Neck Straps
- Make a slip knot.
- Attach to the top side of cup (not the center), in the 2nd stitch from the top for strength.
- Ch for about 50 inches (try on for fit).
- Skip first chain, sc in each chain across strap.
- Sl st into the top of bralette. Ch 1, fasten off, and weave in ends.
- Repeat for other cup.
Attaching the strap offset, rather than at the point, prevents stretching and sagging. Single crochets make a sturdy strap.
Step 12: Finishing
- Weave in all yarn tails securely using the yarn needle.
- Try on your bralette; adjust straps and side bands as needed for comfortable fit.
- Block lightly if needed.
Conclusion
You have now crocheted a custom-fit and comfortable bralette! This flexible approach can be sized up or down for any cup or band size, and the design can be embellished with more complex borders or patterns.
Pattern Corrections & Tips
- Always count your stitches in each row and at the center increase to keep the cup symmetrical.
- For a snugger underbust, subtract 5 inches from your actual measurement due to stretch.
- Use a stitch marker for the center dc at the cup point for easy reference.
- For bigger cups, simply start with a longer initial chain and continue more rows.
- For extra support, work the final band row in single crochet, or add elastic thread along the band while crocheting.