NO SEW OCTOPUS Free Crochet Pattern with Easy Steps

Stitch up a cute no-sew crochet octopus with this free pattern, adding a splash of fun and creativity to your crafting while making the perfect squishy buddy.
Keep your creative projects simple and enjoyable with an adorable handmade sea creature that’s both fun and easy to make. This design, shared by LihnaHandmade, uses a no-sew technique to create a charming octopus, perfect for makers seeking a neat finish without complicated stitching.
Easy Free Crochet NO SEW OCTOPUS Pattern Tutorial
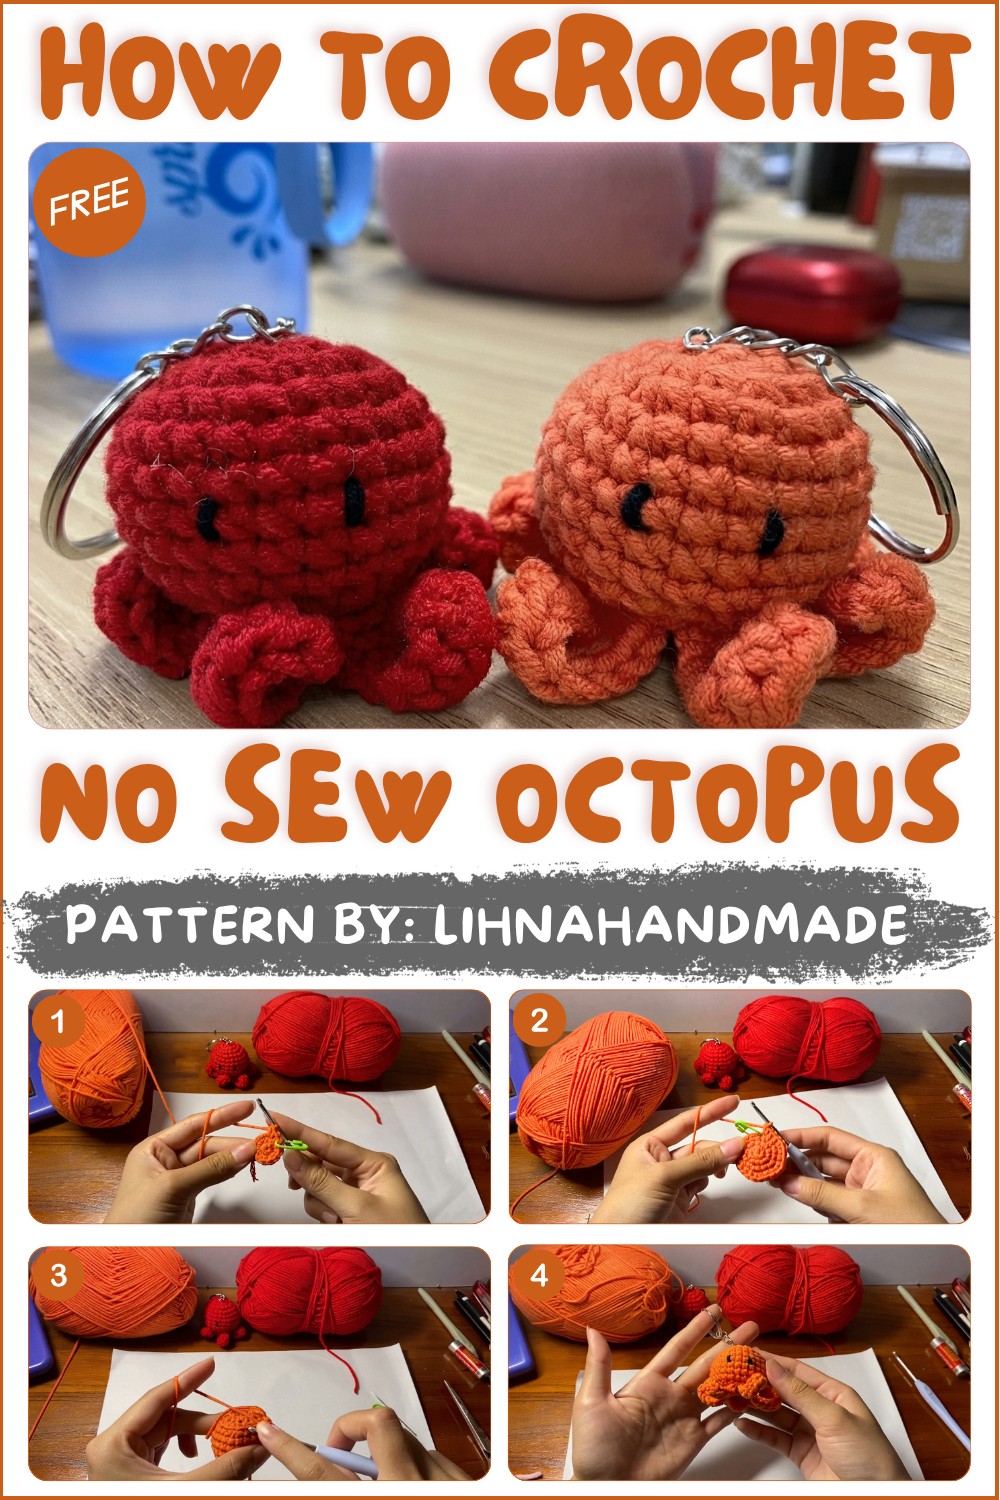
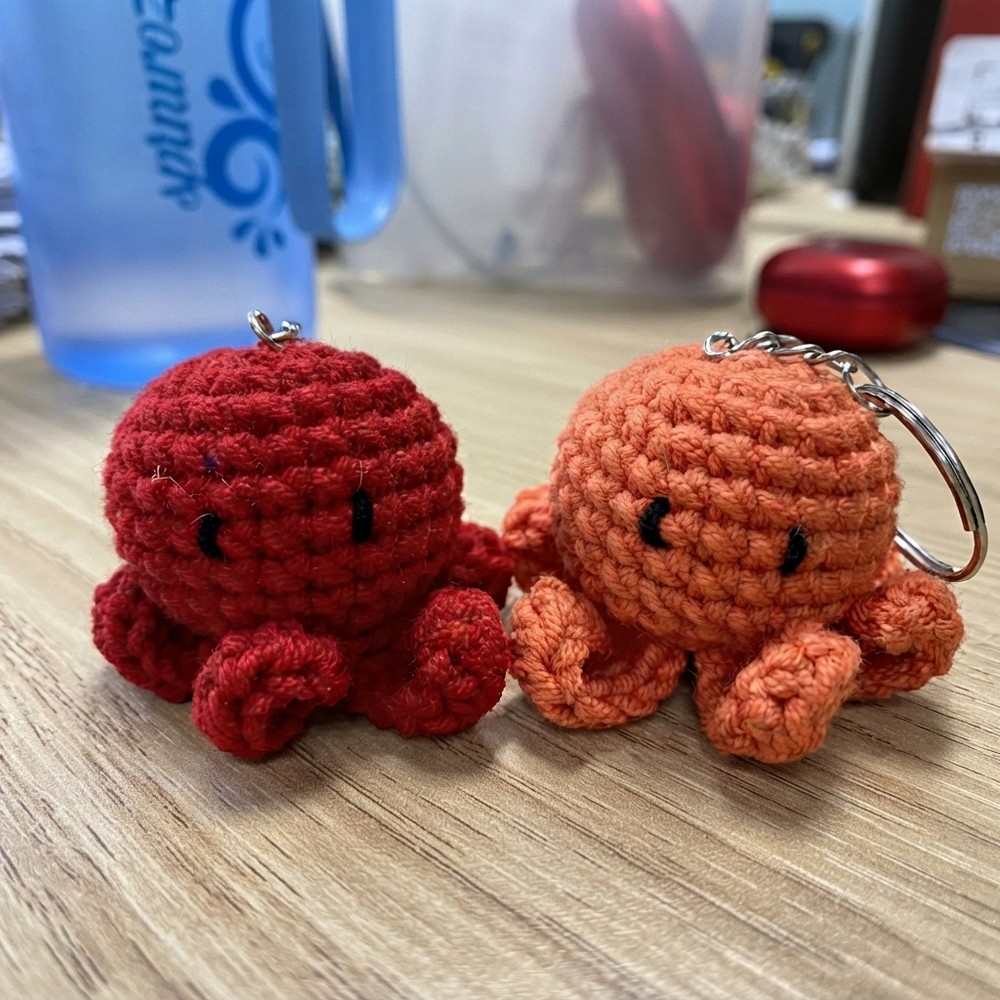
The octopus features a soft, rounded head and long, curly tentacles that add a playful and whimsical flair. Its smooth texture and tight stitches offer a cuddly yet durable feel. With its flowing shape and sweet details, this piece shines as a lovely decoration for nurseries, children’s rooms, or a thoughtful, unique gift.
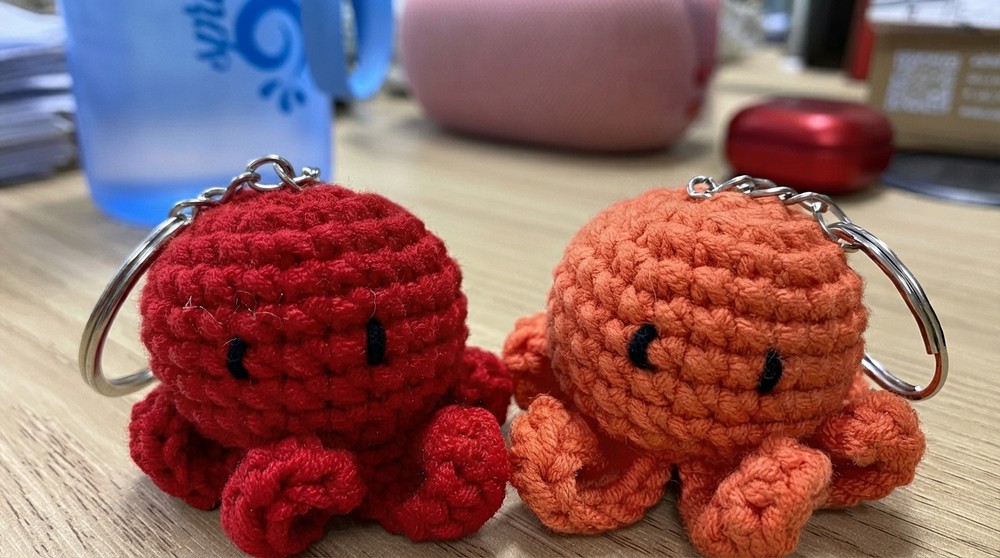
A standout aspect of this project is its seamless construction, every part is crocheted together without sewing, resulting in a clean and polished look. Besides making a beautiful ornament, the octopus can also be a comforting toy or a delightful way to improve yarn-handling skills.
This no-sew octopus project is both accessible and rewarding. The finished creation combines charm, practicality, and versatility, showcasing how simple methods can turn yarn into a truly special keepsake.
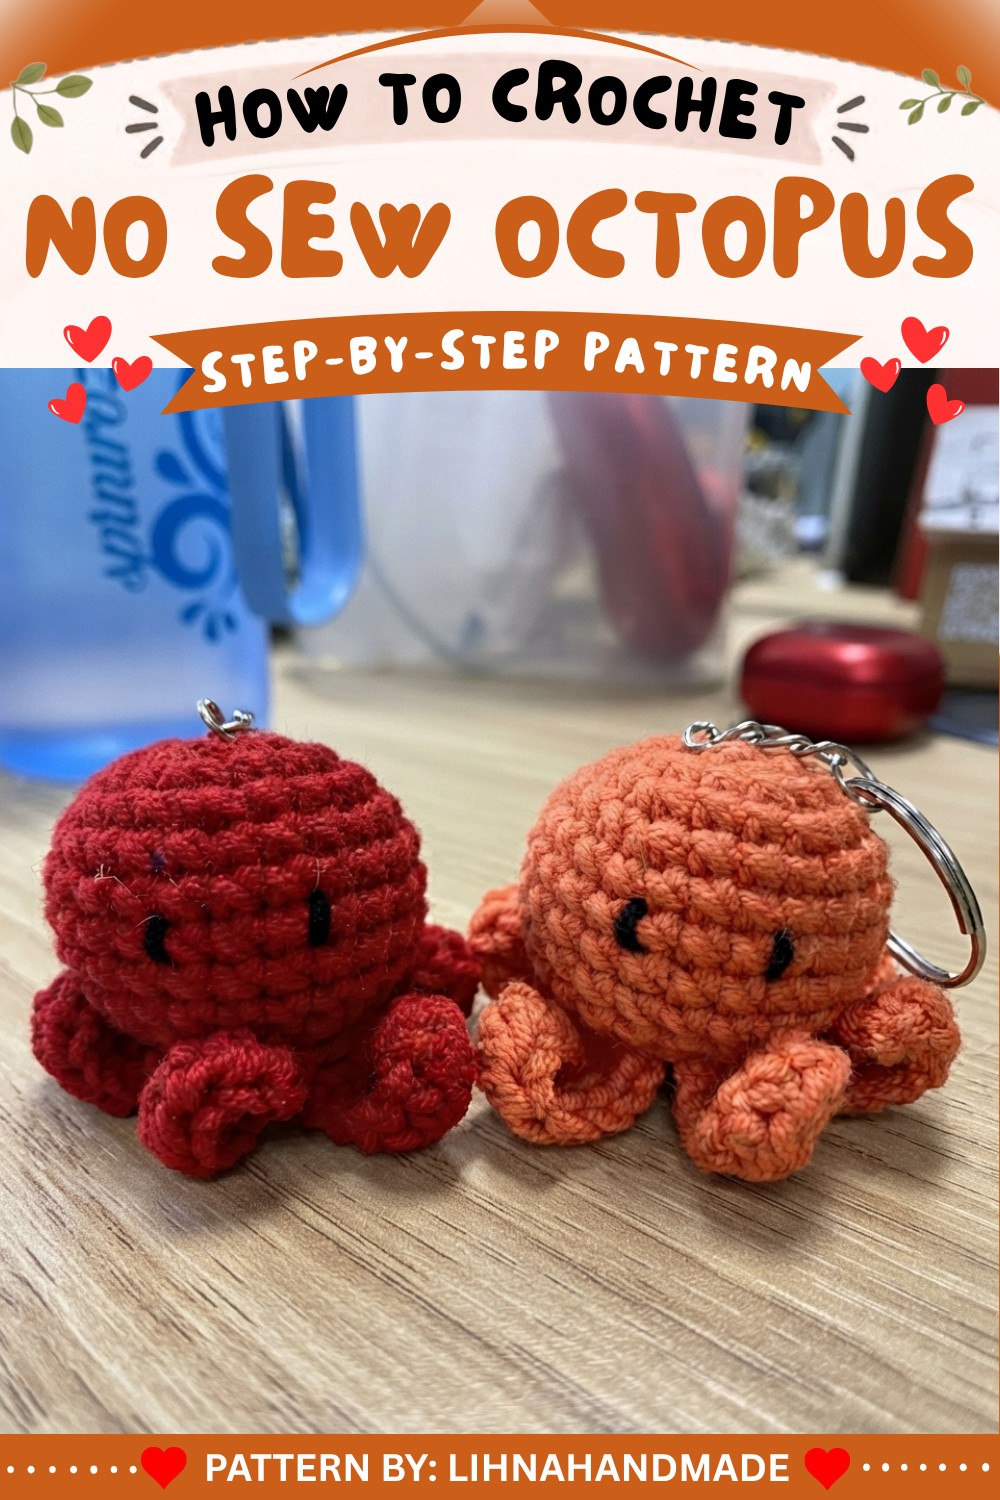
No-Sew Crochet Octopus Keychain Pattern
For beginners, this pattern uses basic stitches and eliminates sewing by cleverly joining tentacles directly to the body. With simple rounds, playful tentacles, and embroidered eyes, you’ll create an adorable octopus with minimal finishing work.
Pattern Basic Points
- Worked in the round using the magic ring technique for a seamless, sturdy body.
- Increasing and decreasing shapes the head/body, creating a classic amigurumi dome.
- No sewing required: Tentacles are crocheted directly into leftover front loops.
- Simple assembly: Stuffing and embroidery give a charming personality.
- Keychain-friendly: Good structure and a built-in loop for practical use.
Structural Highlights
- Tentacles are directly attached: Each tentacle starts from front loops, skipping stitches for even spacing.
- Eyes embroidered after finishing: Personality added last for safety and customization.
- Secure stuffing: With well-closed rounds, stuffing stays put even with regular handling.
- Slip stitch finishes: For a smooth edge and professional closure.
Special Notes
- Count your stitches in each round for accurate shaping. Mark round starts if needed.
- Tentacle spacing is flexible: Feel free to adjust skip stitches for different tentacle spread.
- Variety of colors: Choose brights, pastels, or neutrals to match your style.
- Adjust tentacle length: Add chains for longer tentacles or use fewer for mini octopus versions.
- If keychain loop isn’t needed: Simply weave in the end at the top.
Skill Level
Beginner
Basic knowledge of single crochet, magic ring, increase/decrease, and some embroidery is helpful. No sewing or complex shaping required.
Materials
- Yarn: Color of your choice (worsted or DK recommended for body/tentacles)
- Crochet Hook: Sized appropriately for yarn (e.g., 3.5 mm–4.0 mm)
- Stuffing: Polyester fiberfill
- Scissors
- Yarn Needle: For weaving in ends and embroidering features
- Black yarn: For embroidery (eyes)
- Optional: Keychain ring
Measurements / Sizing
- Finished octopus: Approximately 4–6 cm (1.5–2.5”) tall, excluding tentacles, depending on yarn weight and hook size.
- Tentacles: Add 2–3 cm to total length.
- Designed for palm-sized plushie or keychain accessory.
Gauge
- Gauge is not crucial for this pattern; aim for firm, tight stitches to keep stuffing inside.
Stitch Abbreviations
- MR – Magic ring
- sc – single crochet
- inc – increase (2 sc in one stitch)
- dec – decrease (sc2tog)
- flo – front loop only
- sl st – slip stitch
- ch – chain
- hdc – half double crochet
- st(s) – stitch(es)
Special Stitches
- Magic Ring: Adjustable loop for working in the round.
- Invisible decrease (sc2tog): Insert hook in front loops only of next two stitches, yarn over, draw through, yarn over, complete single crochet.
Invisible Decrease (sc2tog) Stitch
The Invisible Decrease (sc2tog) stitch is a handy crochet technique that creates smooth, nearly invisible decreases. It’s especially useful in amigurumi to keep shapes neat without gaps. To work it, you insert the hook through the front loops of two stitches instead of the whole stitch, then finish a single crochet decrease. This method results in a cleaner, tighter look that helps maintain the piece’s overall texture and shape, making your crochet projects look professional and polished.
- Front loop only (FLO): Used in Round 11 for anchoring tentacles.
- Tentacles: Chain, sc, then hdc for curly effect.
Step By Step Pattern
The Head/Body
- Round 1:
- Create a magic ring (MR).
- 6 sc into the ring. (6 sts)
- Round 2:
- 6 inc (2 sc in each stitch around). (12 sts)
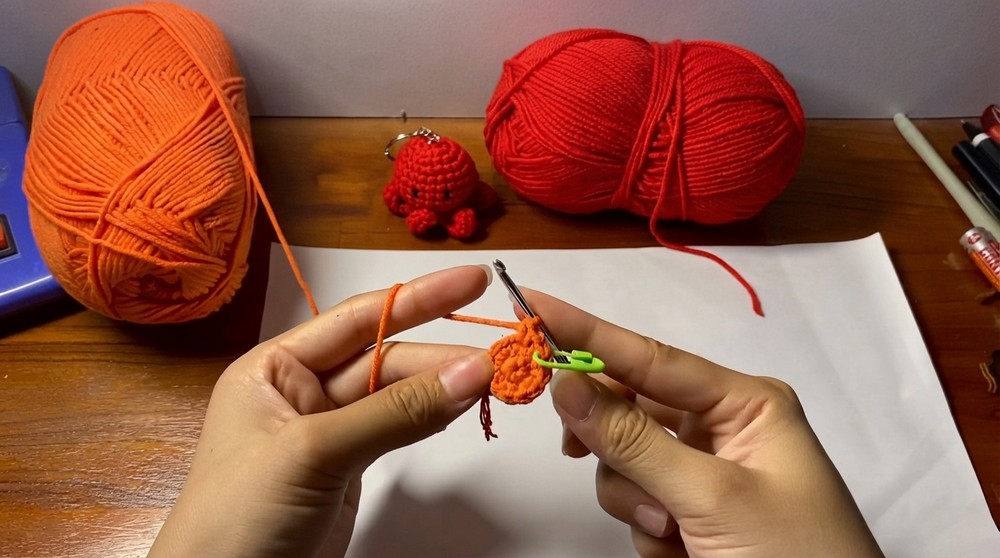
- 6 inc (2 sc in each stitch around). (12 sts)
- Round 3:
- [1 sc, 1 inc]; repeat six times around. (18 sts)
- Round 4:
- [2 sc, 1 inc]; repeat six times around. (24 sts)
- Rounds 5–9:
- Sc in each stitch. (24 sts each round)
- Round 10:
- [2 sc, 1 dec]; repeat six times around. (18 sts)
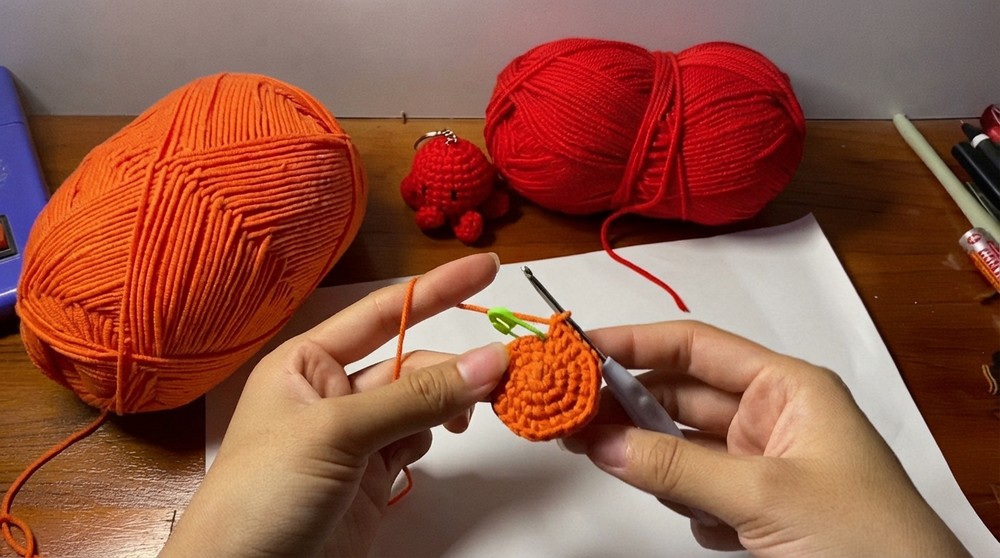
- [2 sc, 1 dec]; repeat six times around. (18 sts)
- Round 11 (Front loop only):
- [1 sc, 1 dec]; repeat six times, working only in FLO. (12 sts)
- Pause and stuff firmly with fiberfill.
- Round 12:
- 6 dec; decrease around. (6 sts)
- Slip stitch to finish, cut yarn.
- Use yarn needle to pull through remaining stitches and cinch closed.
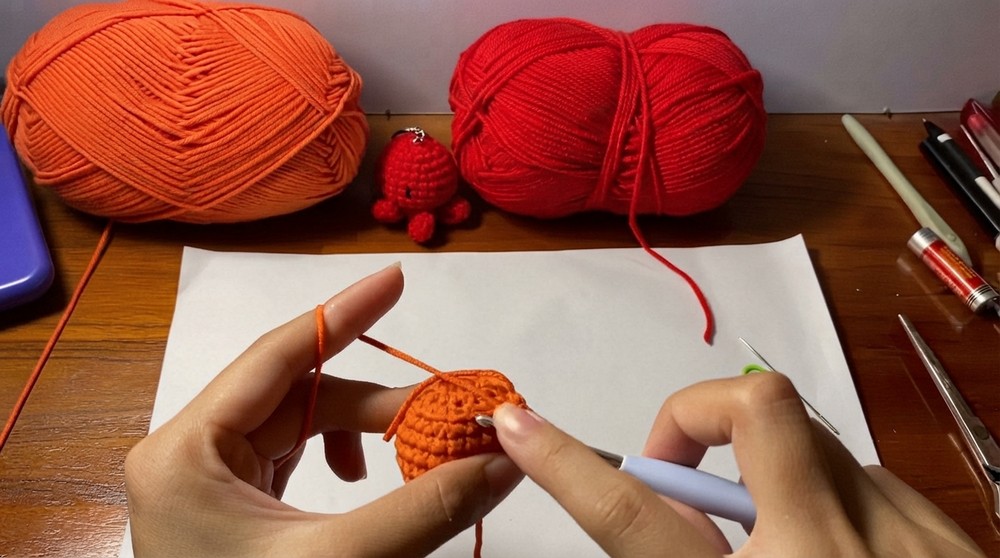
The Tentacles
- Attach yarn to any remaining front loop from Round 10.
Repeat for each tentacle (total of 6):
- Tentacle Pattern:
- Ch 10.
- Start in second chain from hook:
- 1 sc into this chain.
- hdc in remaining 8 chains.
- Tentacle will begin to curl.
- Connection:
- Skip two stitches on body base,
- sl st into the next front loop to anchor tentacle.
- Repeat steps until you have 6 tentacles evenly spaced.
- Final Round:
- Slip stitch to the first tentacle’s base, fasten off.
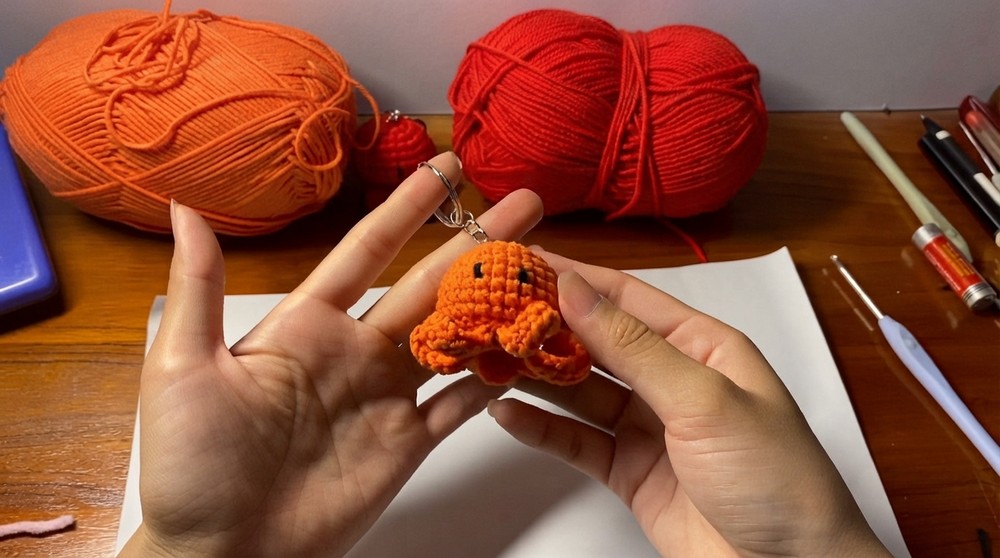
- Slip stitch to the first tentacle’s base, fasten off.
Finishing Touches
- Use remaining yarn tail at top to make a loop for a keychain ring if desired.
- Thread black yarn or embroidery thread and use a yarn needle to:
- Embroider simple eyes (e.g., ‘v’, oval, or French knot) on front of the head.
- Weave in all yarn tails inside the body.
Assembly & Finished Size
- Stuffing:
- Ensure head/body is firmly stuffed for shape and durability.
- Tentacles:
- Adjust each tentacle to face outward and curl naturally.
- Eyes:
- Embroider eyes in desired position (typically centered and close together).
- Keychain loop (optional):
- Use top tail to secure a ring or make a loop for hanging.
- Final size:
- 4–6 cm tall, tentacles add playful motion, perfect for keychains, gifts, or desk mascots.
Conclusion
The no-sew crochet octopus offers a fast, rewarding experience for crafters of all skill levels. Every step—from the seamless body to the attached tentacles, embodies playful simplicity, making it ideal for gifts, swaps, or daily joy. Assembling without sewing streamlines the process, letting you jump right into finishing and personalization. With endless color possibilities and expressive features, each octopus is unique.

![How to Crochet Eleven (Stranger Things) Amigurumi Tutorial [EN, ES, DE Sub] 13](https://claireabellemakes.com/wp-content/uploads/2026/07/How-to-Crochet-Eleven-Stranger-Things-Amigurumi-Tutorial-EN-ES-DE-Sub-13-768x768.jpg)