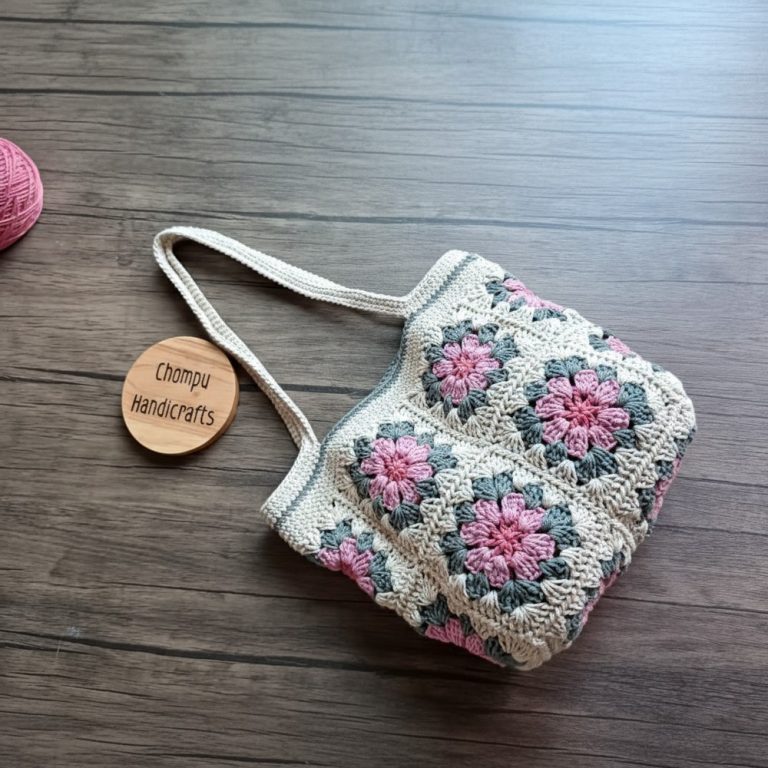
Unique Free Crochet Mesh Bag Pattern Ideal for Gifting
Learn how to make a stylish crochet mesh bag perfect for girls, featuring a simple and versatile pattern ideal for everyday use.
I wanted a project that was simple, practical, and would actually get used, so I decided to crochet a mesh bag using a free pattern I found. The mesh design really drew me in because it’s light and airy, but still strong enough to carry groceries, gym clothes, or books. There’s something cool about the open weave, it looks casual, modern, and holds its shape nicely no matter what I toss in.
The pattern is easy to follow and leaves room for adjusting the size, so you can make a small pouch or a big tote depending on what you need. After finishing my first bag, it felt good to carry something I made myself, and I could show it off or give it as a gift.
Free Crochet Mesh Bag Pattern
Making this mesh bag is perfect for beginners. You only need basic crochet stitches, like chaining and double crochet, and most of the construction uses V-stitches to create the mesh effect. The steps are clear and repeat so you find your rhythm as you go. Attaching the handle is simple, and you can personalize the bag with colors or a little tie at the top for extra style or security.
Once you’ve made this mesh bag, you’ll see how easy it is to adapt the pattern for other things. The same stitches and shape can become a handy pouch for your phone or keys, a larger shopping bag, or even a beach tote. This pattern teaches you how to measure, shape, and customize, which are all skills you can use for your next crochet project. The best part is seeing your progress and knowing you made something both good-looking and useful with your own hands. It’s an encouraging start for anyone, and it might even get you hooked on trying new crochet ideas.
Crochet Mesh Bag Pattern
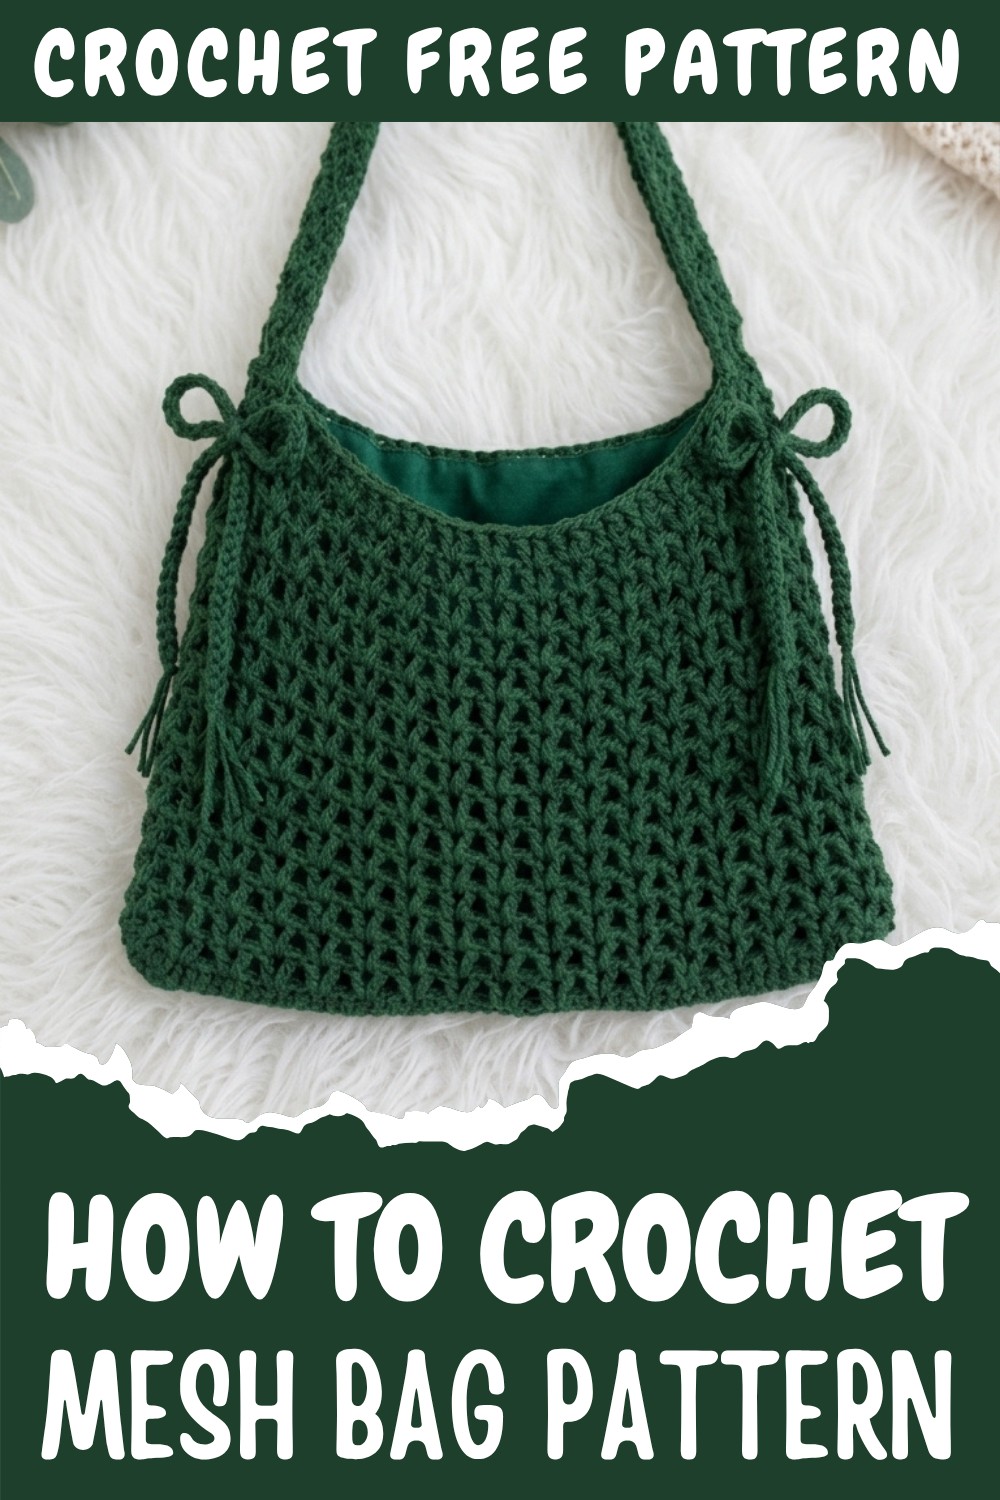
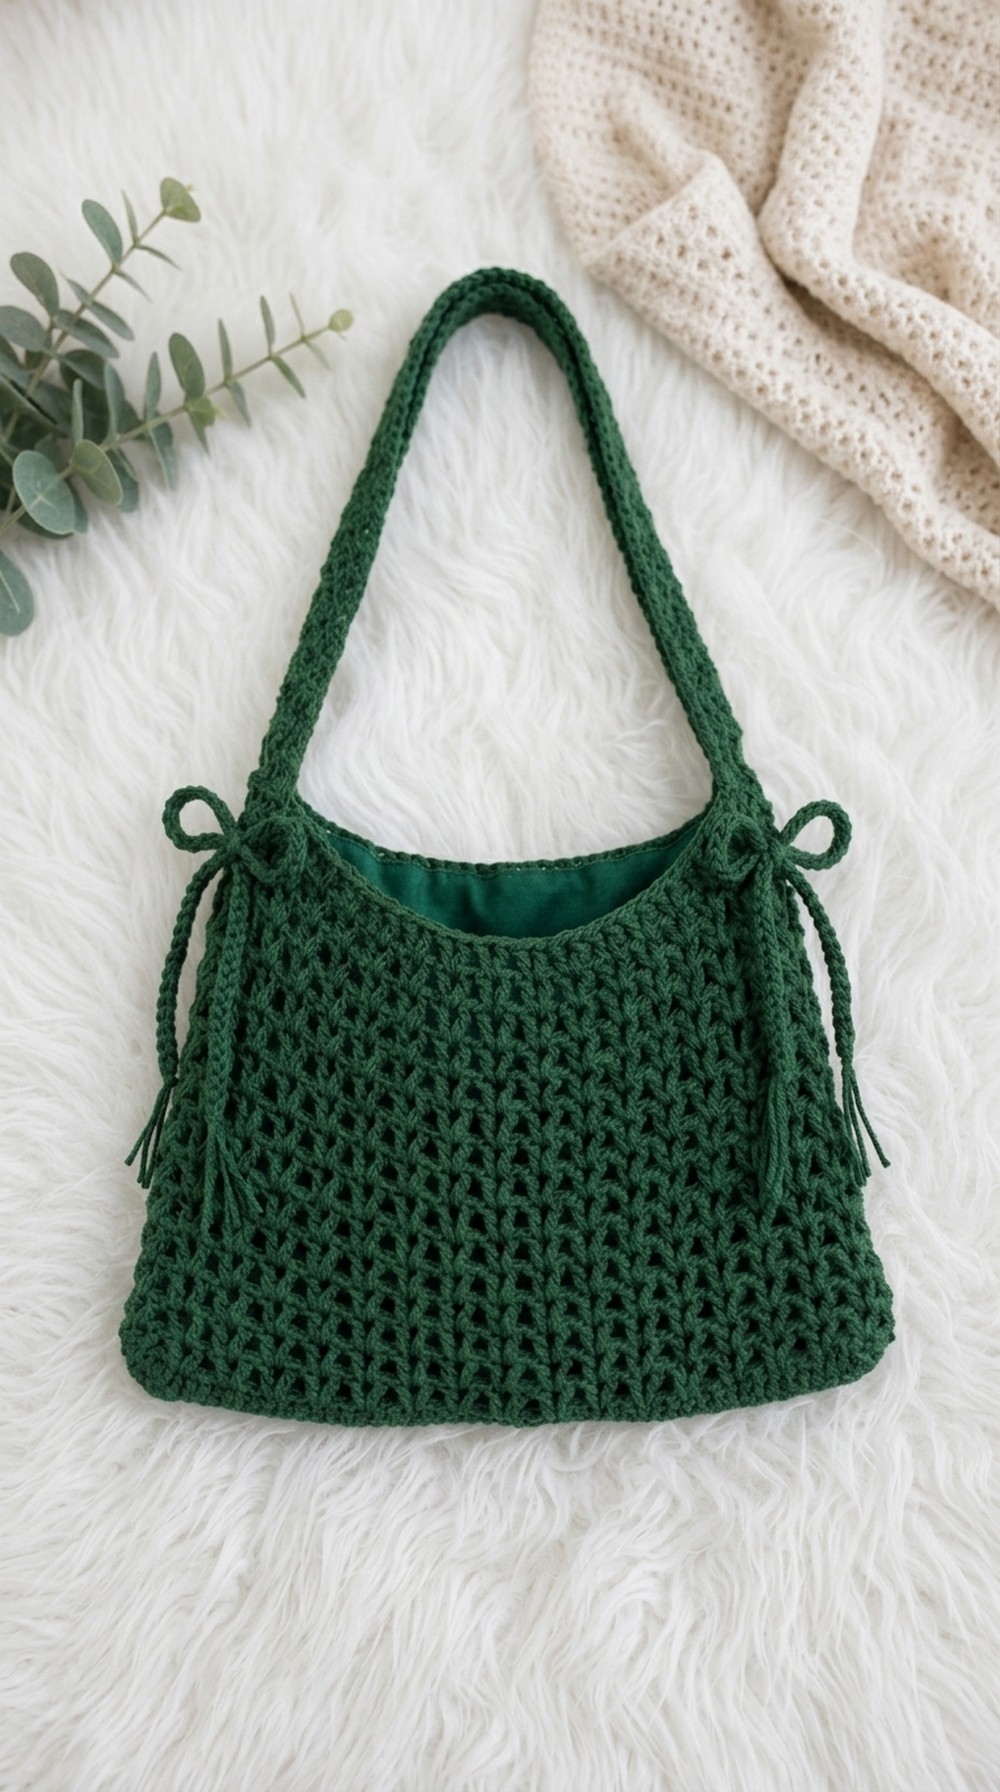
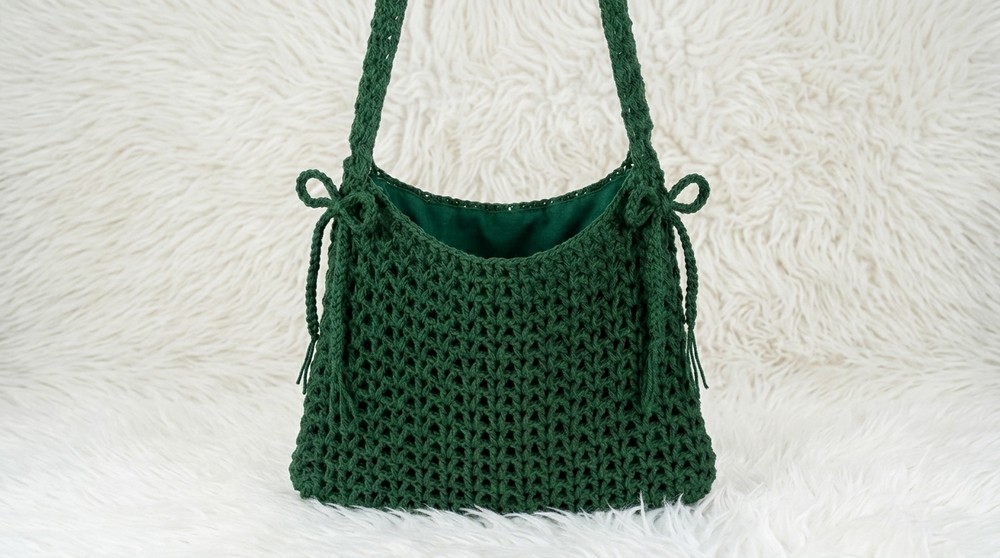
This beginner-to-intermediate mesh bag is roomy, strong, and perfect for everyday use or gifting. The bag is crafted in a classic V-stitch mesh pattern that grows quickly and stretches to hold a generous amount. Detailed steps guide you through a sturdy oval base, an airy mesh body, and neat strap construction. Optional finishing details—such as a bow or button closure—let you personalize the project. Written in US crochet terminology, this pattern provides clarity even if you are new to reading crochet patterns.
Skill Level
Beginner-Intermediate:
Requires basic proficiency with double crochet (dc), slip stitch (sl st), working in the round, increasing, and assembling pieces.
Materials
- Yarn: Acrylic 4-ply yarn (or any sturdy worsted cotton, ~150g recommended)
- Hook: 4.5mm crochet hook
- Notions:
- Tapestry needle (for weaving and joining)
- Stitch markers
- Scissors
- Measuring tape
- Optional: contrasting color yarn or ribbon for bow/decoration, small button for closure
Key Abbreviations
- ch: chain
- dc: double crochet
- sl st: slip stitch
- st(s): stitch(es)
- rep: repeat
- sp: space
- V-stitch (V): (dc, ch 1, dc) in same stitch/space
Special Notes
- The bag is worked bottom-up: first a sturdy oval base, then a mesh body, and simple V-stitch straps attached seamlessly to the bag’s sides.
- Work with two strands held together if using thin yarn.
- Mark beginning of rounds with a stitch marker and always join rounds as instructed for best results.
Size/Adjustment Tips
- Sample foundation chain: 45 ch (≈10.5 in base width).
- Bag body in sample is 15 mesh rows high (≈9.5 in). Length and width easily adjusted by changing foundation chain and mesh row count.
- Strap length is adjustable. Sample has 39 rows for a hand/shoulder bag (≈22 in).
THE PATTERN
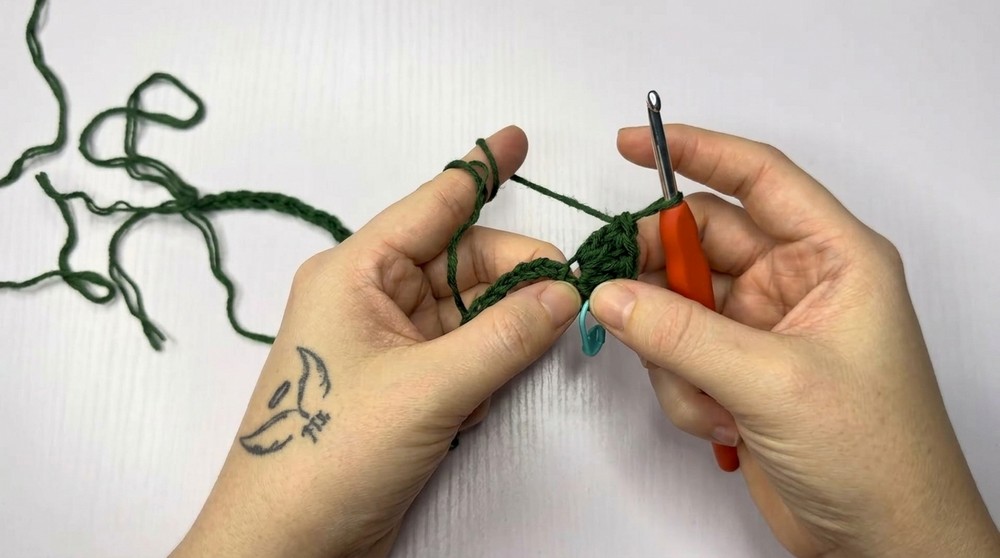
1. Bag Base (Oval Foundation)
Start: With 4.5mm hook and chosen yarn, make a slipknot.
Step 1:
- Ch 45 (or desired width).
This will be the “bottom” edge of your bag.
Step 2:
- Ch 2 (does not count as dc).
- 6 dc into the last foundation ch (mark first dc).
- Work 1 dc in each ch across to the last chain.
Step 3:
- In the first chain (other short end), 6 dc (mark first dc for this side).
- Work 1 dc into each foundation ch along the opposite side of the chain back to your starting point.
Step 4:
- Sl st to top of first dc (do not count ch-2 as a stitch) to close round.
You have now created an oval base for the bag.
To clarify: You create an oval by working into both sides of the chain and increasing with 6 double crochets at each short end. The bag will expand upward from this sturdy base.
2. Base Increase Round
Step 5:
- Ch 2 (does not count as dc).
- (2 dc in each of 6 stitches at curve) at both oval ends, and 1 dc in each st across the long sides.
- Join with a sl st to first dc.
You increase at both ends to keep the base from curling. If unsure, simply put two double crochets in each of last round’s 6 increased stitches at each end, and one in each stitch along the sides.
3. Repeat for Sturdy Base
Continue with another round as follows:
Step 6:
- (2 dc in each dc at the curve—6 at each end), 1 dc in each stitch across the sides.
- Join with slip stitch.
- Repeat until you have an oval base that fits the width and length you want (usually 2 increase rounds after your foundation).
4. Body of Bag: Mesh Pattern
Mesh Stitch Setup
Step 7:
- Ch 4 (counts as dc + ch 1).
- (Dc, ch 1, dc) (V-stitch) into first st (making first V).
- Skip 2 sts, V in next st; rep across oval.
- At the end of round, you may have 2 or 3 stitches left; skip them and join with sl st to the third ch of starting ch-4.
Here you create the mesh body with open V-stitches. Don’t worry if you have a few extra stitches left; just skip them and continue—the bag shape will adapt.
Continue Mesh Body
Step 8:
- Before beginning each new round:
- Sl st into the first V-stitch space.
- Ch 4 (dc + ch 1), then dc in same V-space (first V).
- Work V-stitch (dc, ch1, dc) in each V-space of previous round.
- Join each round with a sl st to third ch of starting ch-4.
- Repeat Step 8 until you have 15 mesh rounds, or your desired bag height (usually 9.5–12 in).
The mesh is simple: work (dc, ch 1, dc) in every ch-1 space all the way around, making airy diamonds. The bag will naturally stretch. Each round, do a slip stitch into each v-space to “move up” your beginning, keeping the seam neat.
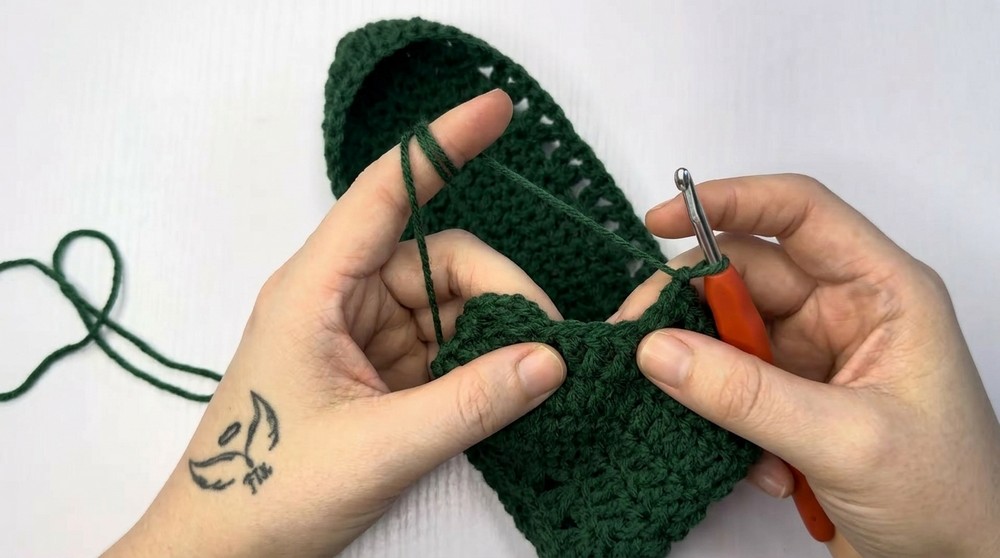
5. Strap Section
Step 9:
- Continue at end of mesh body, sl st in V-space, ch 3 (counts as first dc).
- Work 3 V-stitches across (you’ll need 5 V’s for the strap/base edge), ending with a dc in last V-space (do not make a V, just 1 dc).
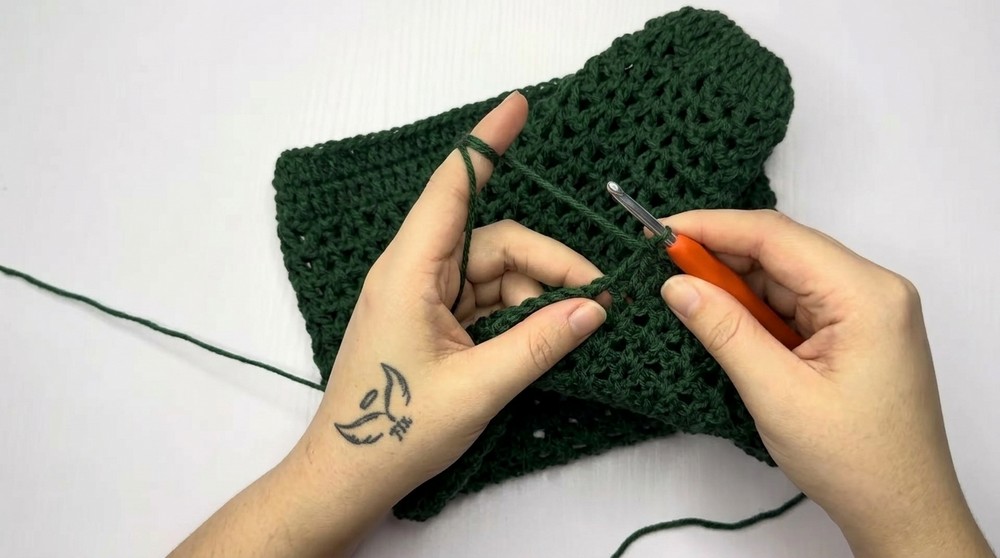
Strap Rows (Worked Flat):
- Ch 3, turn.
- In first V-space, work V, then V in next two V’s, dc in last dc from row below.
- Repeat row until you reach desired strap length (sample: 39 rows for 22in).
For those new to pattern reading: The handle is worked back and forth in rows, not in the round. If you want a longer or shorter handle, add or remove rows as you like.
6. Join Strap to Bag
Step 10:
- On opposite bag edge, count 5 V’s for attaching, mark with stitch markers.
- Line up strap edge to marked edge.
- Rejoin yarn at first marked V-space,
- Ch 3 (acts as dc),
- Work V’s across to 5th V-space, finish with a single dc.
Joining Row:
- Ch 3, turn,
- Place handle and bag sides right sides together,
- Slip stitch handle to marked bag V-spaces, or sew together securely.
Make sure your strap isn’t twisted and is evenly attached for a tidy finish.
7. Optional Finishing & Decoration
Bow/Ribbon:
- Make 2 long chains (sample used ch 150 for each; use 1 or 2 strands together or use ribbon).
- Use a tapestry needle to weave the chains/ribbon through uppermost V-spaces of body in opposite directions (one in front, one in back).
- Tie both into decorative bows at the bag sides.
Alternative Flap:
- To add a lid/cover: After a handle, join yarn at top opening edge and work back and forth in dc on 5 V’s, turning at each edge, for approx. 10 rows. Sew on a button at the body if desired for closure.
Add a personalized closure, bow, or chain for a special, girly finish or make a matching flap as shown on the second sample bag!
8. Weaving in & Final Touches
- Securely weave in all ends with a tapestry needle on the bag’s inside.
- Block gently as needed to perfect shape.
Beginner Step-by-Step Review
If you’re not familiar with reading patterns:
- Start by making an oval base with chains and double crochet increases at the ends.
- Move to a mesh pattern: each ch-1 space gets “1 double crochet, chain 1, and another double crochet,” then repeat in every space.
- When bag is tall enough, work handle back and forth, then sew to other side.
- Decorate with a chain bow or attach flap if you like.
Conclusion
You have completed a sturdy and attractive Crochet Mesh Bag, perfect for books, groceries, or as a fun accessory. The pattern provides stretch, structure, and options for customization with bows or flaps.
Pattern Correction & Tips
- If your oval base curls, add a repeat increase round.
- If the bag sags, make the strap shorter or use a denser yarn.
- Mark your beginnings and count V-stitches each round to align shapes.
Tip:
Use strong cotton for market or groceries, and secure seams tightly if you plan to carry weight.