Fun Free Crochet Skull Keychain Pattern for Halloween

Start your creative fun with the Free Crochet Skull Keychain Pattern, adding edgy style and a personal touch to your everyday accessories effortlessly.
Creating small accessories with yarn adds a personal and creative touch to everyday items. One standout project to try is the Free crochet Skull Keychain Pattern, offered by the talented creator at Tukitaki. This cute and slightly spooky keychain brings both charm and practicality, perfect for anyone who enjoys unique handmade pieces.
Trendy Free Crochet Skull Keychain Pattern for All Ages
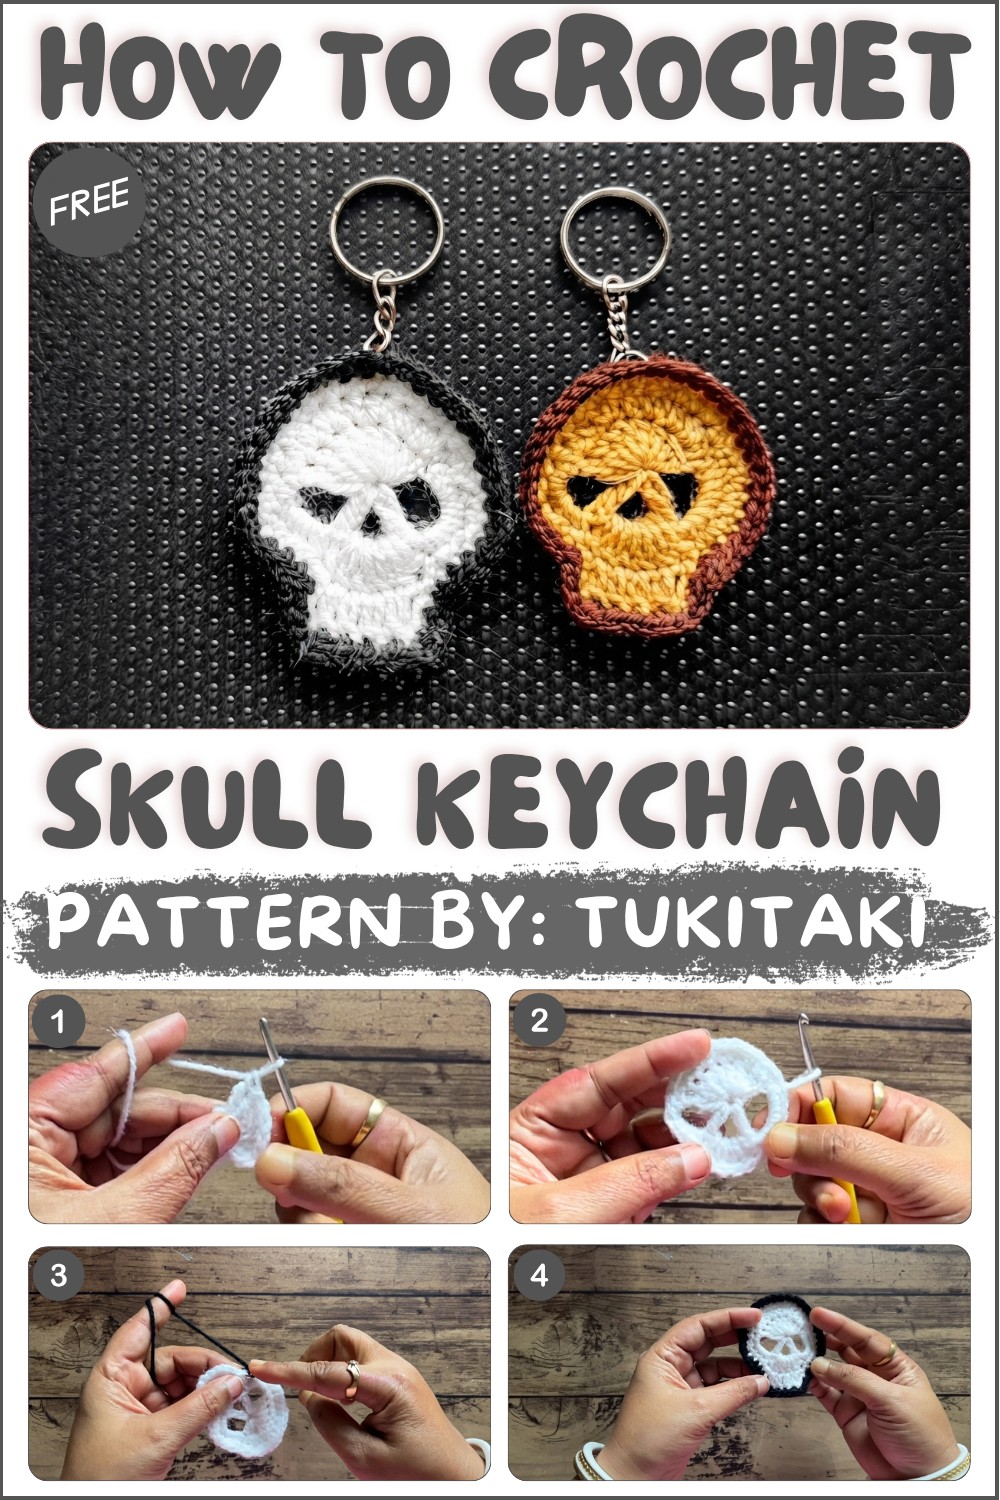
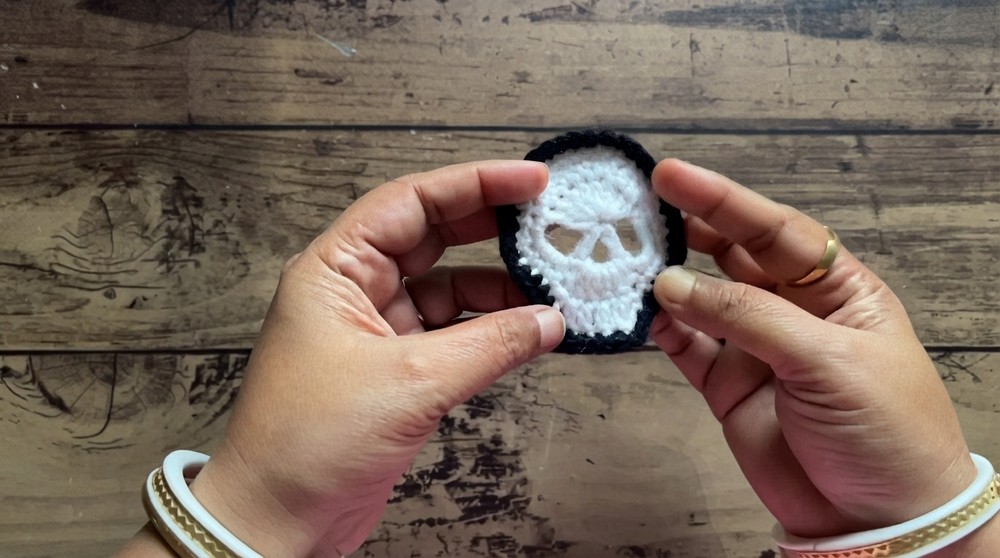
The skull design features a neat, rounded shape with carefully stitched details that give it personality without being scary. Its smooth texture, created by tight crochet stitches, makes it soft to the touch yet sturdy enough to last through daily use. The contrast between the white skull and its black accents highlights the eye sockets and nose, creating a simple but eye-catching look that adds a bit of fun flair wherever it hangs.
Made using basic crochet stitches, this keychain is well suited for beginners wanting to explore amigurumi-style projects. The compact size allows it to easily fit on a set of keys, a backpack zipper, or even as a bag charm. Such versatility makes it a thoughtful handmade gift that’s both practical and decorative.
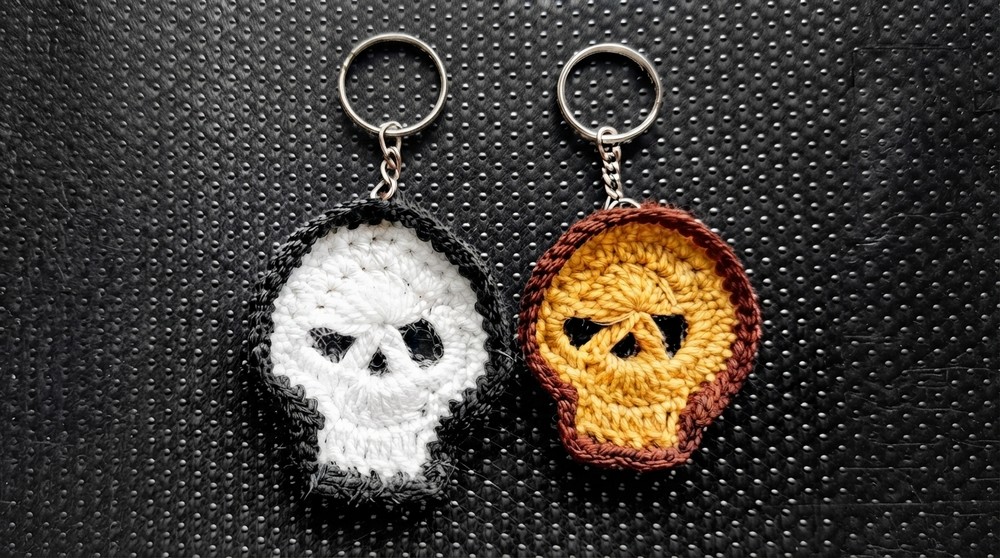
Design details like the slightly raised facial features and neat edging show the care put into every stitch. This skull accessory carries a quirky style that’s great for Halloween but charming enough to enjoy year-round. Aside from its decorative value, it helps keep keys organized and easy to find.
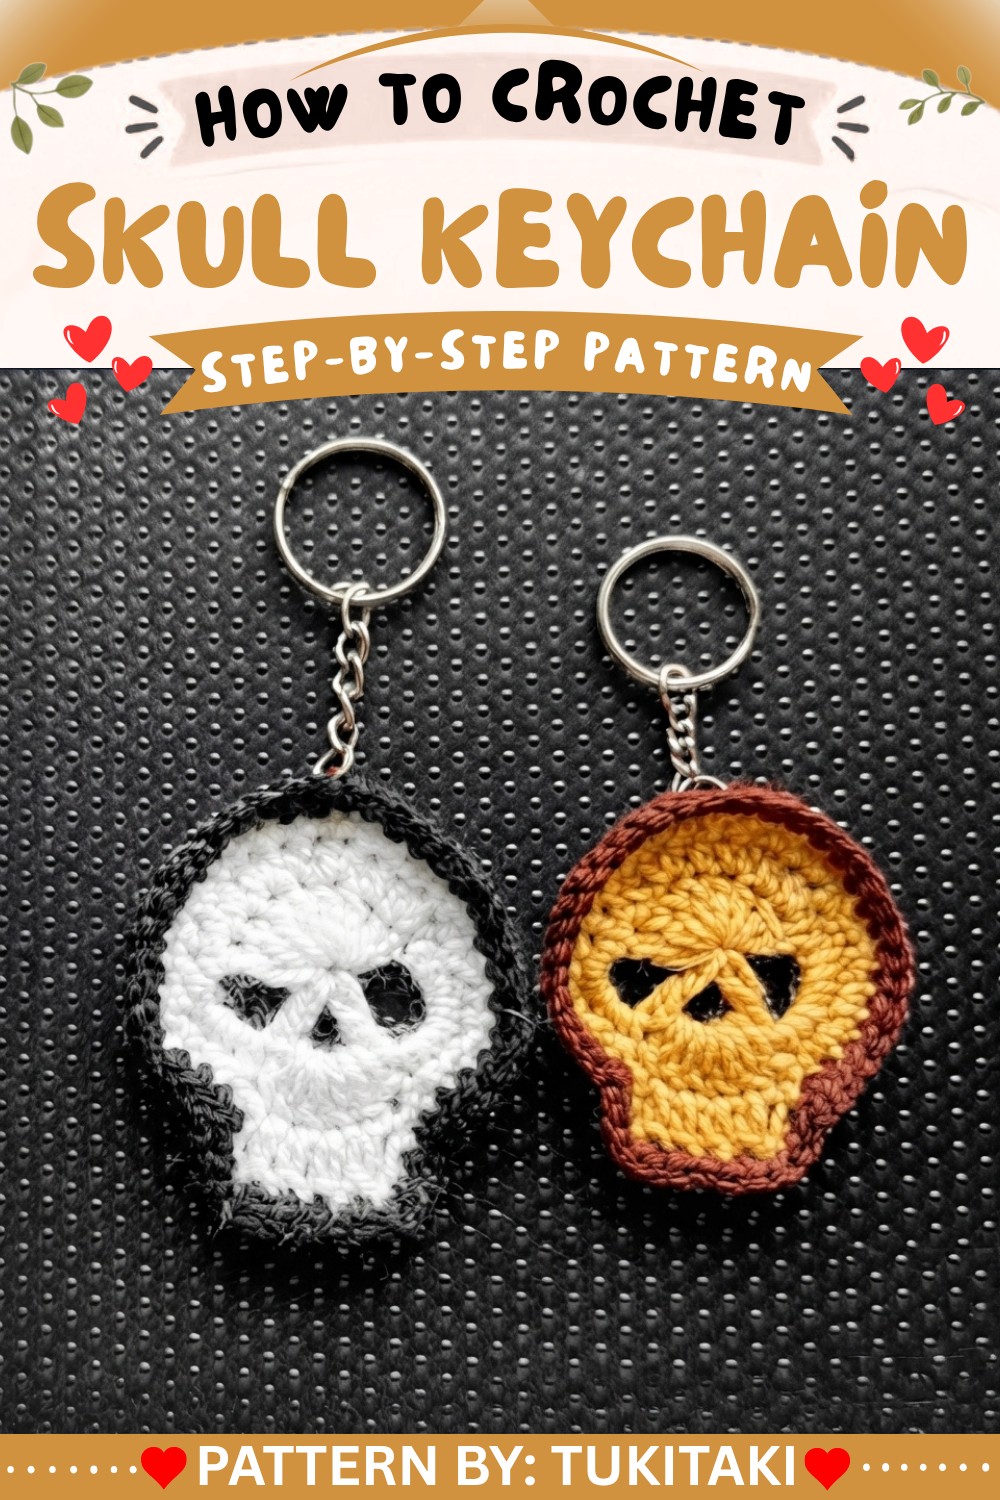
Crochet Skull Keychain Pattern
This easy, beginner-friendly crochet pattern creates a striking skull keychain, ideal for Halloween, gothic style, or simply as a fun project for crafters of all levels. Using basic stitches and simple rounds, you’ll make a small, textured skull motif that can be customized with color, border, or extra embellishments.
Pattern Basic Points
Core Methods
- Worked in rounds: Most shaping happens via spirals or joined rounds.
- Classic Eye Sockets and Chin: Created with chains and increased stitches.
- Flat Motif Finishing: Piece is bordered for sturdy, clean edges.
- Simple Assembly: Finish by attaching to a keyring; weave in ends for durability.
Stitch Types Used
- Magic ring foundation for a seamless start.
- Double crochet, half double crochet, single crochet for easy shaping.
- Increasing in the round for realistic skull curves.
- Chain spaces and borders for motif effects.
- Slip stitch joins for smooth transitions and finishing.
Special Notes
- Ensure your starting magic ring is tightly closed to avoid holes in the center.
- Keep increases even for symmetrical skull shaping.
- Always join rounds as instructed for crisp, flat edges.
- The border can be made with any contrasting color for more dramatic effect.
- To customize: Use colored yarn for festive skulls, or embellish with embroidery for extra detail.
Skill Level
Beginner to Intermediate
The pattern involves basic stitch techniques and joining; it’s straightforward for those new to crochet, yet engaging for experienced crafters.
Materials
- Yarn: 4-ply (sport or DK weight), cotton or acrylic—classic white for skull, black or color for border (about 5–10g total)
- Crochet Hook: 3.0mm or 3.5mm, depending on motif size desired and yarn choice
- Keyring: Small (metal or plastic)
- Tapestry needle: For finishing and weaving ends
- Scissors
Measurements / Sizing (Optional Schematic)
- Finished Skull Motif: Approximately 5–7 cm (2–2.75 inches) across
- Thickness: Flat, just the thickness of the yarn
- Keyring Attachment: Loop or stitch at the top
Gauge
Gauge is not critical for this motif; however, ensure stitches are close and tight for best results and durability.
Stitch Abbreviations
- ch – chain
- sc – single crochet
- hdc – half double crochet
- dc – double crochet
- sl st – slip stitch
- MR – magic ring
Special Stitches
- Magic Ring (MR): Form a circle, work stitches inside, pull tight to close.
- Increase: Work 2 stitches in the same stitch (used for shaping).
- Border sc: Single crochet worked evenly around edge to define motif.
- Working into chain spaces: Essential for the “eye” and “chin” shaping.
Pattern Itself
Base (Skull Foundation)
- Create a magic ring.
- Ch 2, then work 7 dc into the ring.
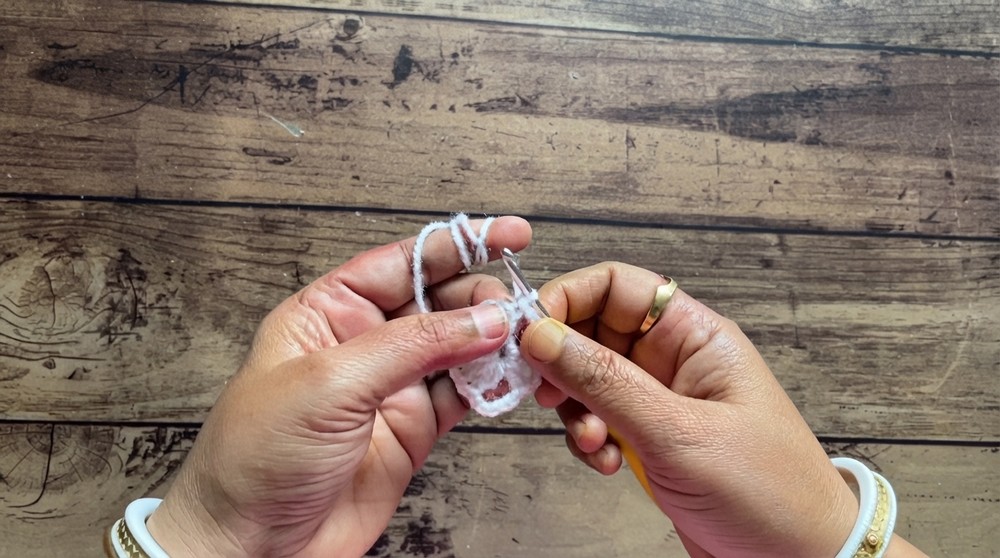
- Ch 5, 1 dc into the same ring, ch 3, 1 dc into the same ring, ch 5.
- Close the magic ring tightly.
- Join with a sl st to the second chain of the beginning.
2nd Row (Build Skull Shape)
- Ch 1, work 1 hdc into the same stitch.
- Work 4 sets of the following: 1 hdc in next stitch, 2 hdc in the following stitch (for increasing and shaping).
- In the 5-chain space from the previous row, work 5 sc.
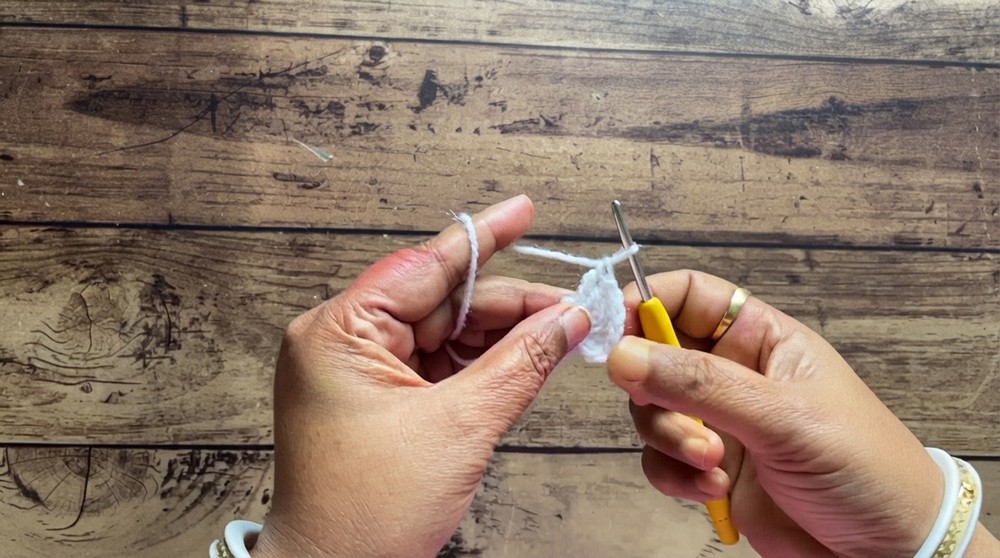
- In the 3-chain space, work 6 dc.
- In the next 5-chain space, work 5 sc.
- Join with a sl st to the first dc.
3rd Row (Contour Skull & Chin Area)
- Ch 1, 1 sc in the same spot, 1 sc in next stitch, then 1 increase (2 sc in one stitch).
- Repeat this sequence around the main skull area for gentle contour and shaping (to about 8:10 in tutorial).
- On the 6-dc section (chin), ch 3, work 4 dc (one into each of the next four stitches).
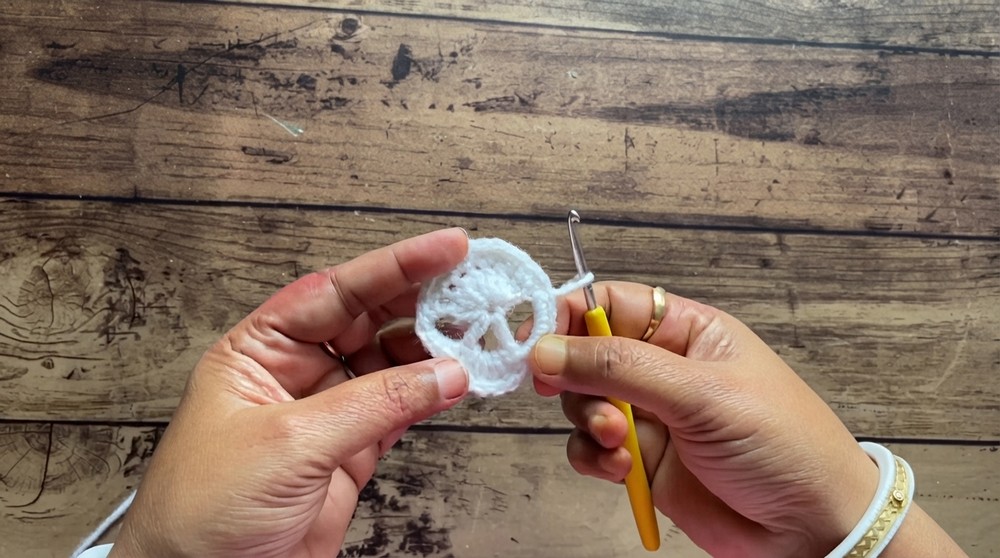
- Ch 3, sl st into the next stitch; then continue working sc in the remaining stitches, with increases as needed for proper shaping.
- Fasten off; hide yarn tails securely with a tapestry needle.
4th Row – Border
- Join black (or contrast) yarn anywhere on the perimeter.
- Work 1 sc in every stitch around the piece.
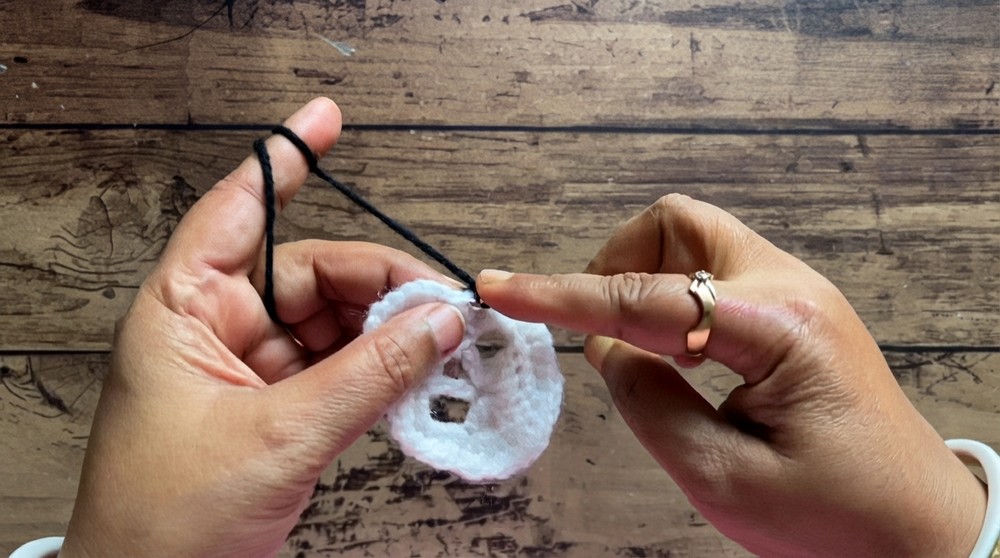
- When going over 3-chain spaces from the previous row, work 3 sc into each for shape.
- For the top 4-dc section, work 2 sc in the first and last stitches, 1 sc in the middle two stitches.
- Finish the round with a sl st; cut the yarn and weave in all ends securely.
Assembly & Finished Size
- Attach keyring: Sew or slip stitch a loop at the top, secure to keyring.
- Weave in all yarn tails for strength and neat appearance.
- Final size: Flattish skull motif about 5–7 cm across.
Conclusion
This skull keychain pattern delivers a perfect blend of simplicity and bold style for beginners and more experienced crocheters alike. The easy-to-follow instructions for rounds, increases, and border create a well-shaped, recognizable skull motif. The process reinforces basic stitches, joining, and motif shaping techniques—valuable skills for broader crochet projects. With personalized color choices and embellishments, your finished keychain reflects your own creative flair.