Crochet Christmas Snowman Pattern with Free Tpis and Tutorial

Add festive charm to your holiday decor with this Free Crochet Christmas Snowman Pattern for warm and memorable celebrations.
Bringing festive cheer to your home can be as simple as creating a tiny winter friend made of yarn. The Free crochet Christmas Snowman Pattern shared by the creative minds at Tukitaki is a perfect project to add a handmade touch to your holiday decorations. This charming snowman is a beautiful blend of yarn colors and stitches, making it an inviting piece for celebrating the season.
Free Crochet Christmas Snowman Pattern for Holiday Decor
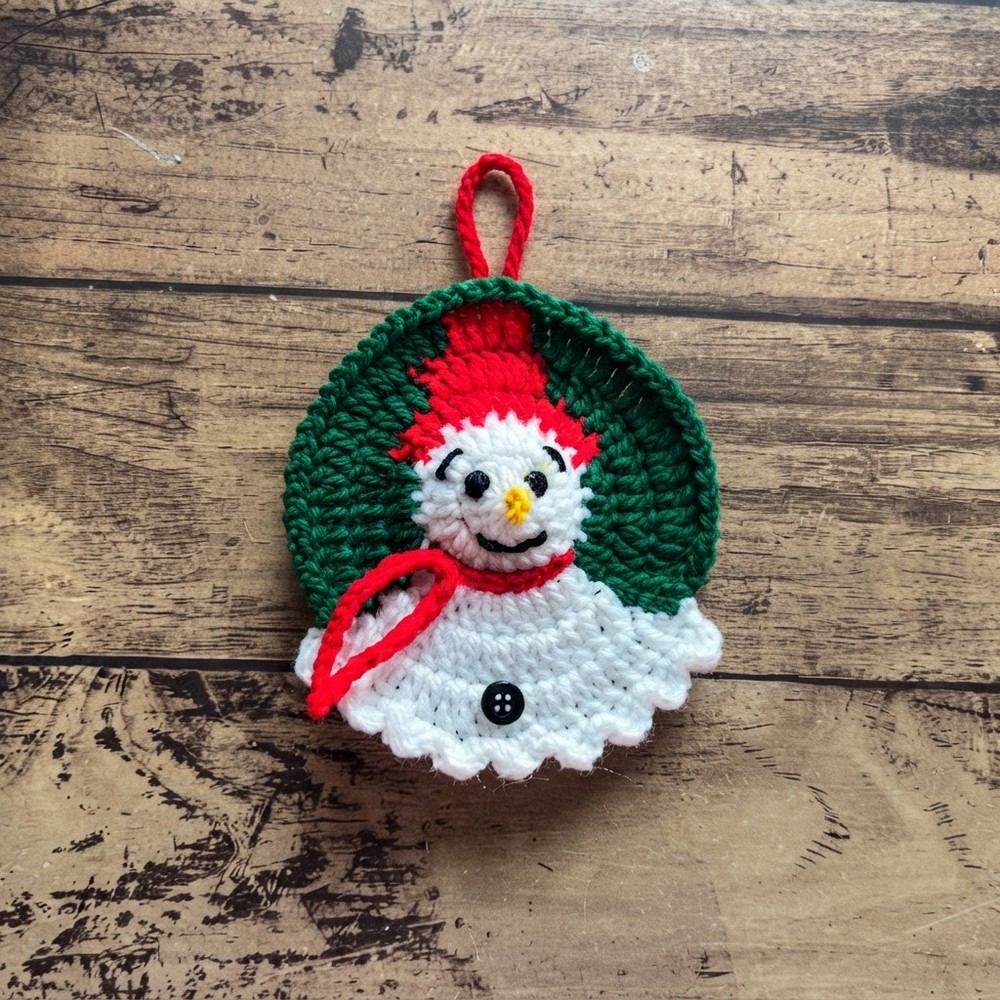
This snowman features a round, plump shape that mimics the classic snowy figure we all love. The textured crochet stitches give it a soft and cushy feel, perfect for holding or displaying on shelves and mantels. The mix of white, green, and red yarns adds a festive flair, with neat color changes that highlight the snowman’s hat and scarf with lively stripes. Small details like tiny embroidered eyebrows, a carrot-colored nose, and a sweet little smile bring this snowman to life with personality and warmth.
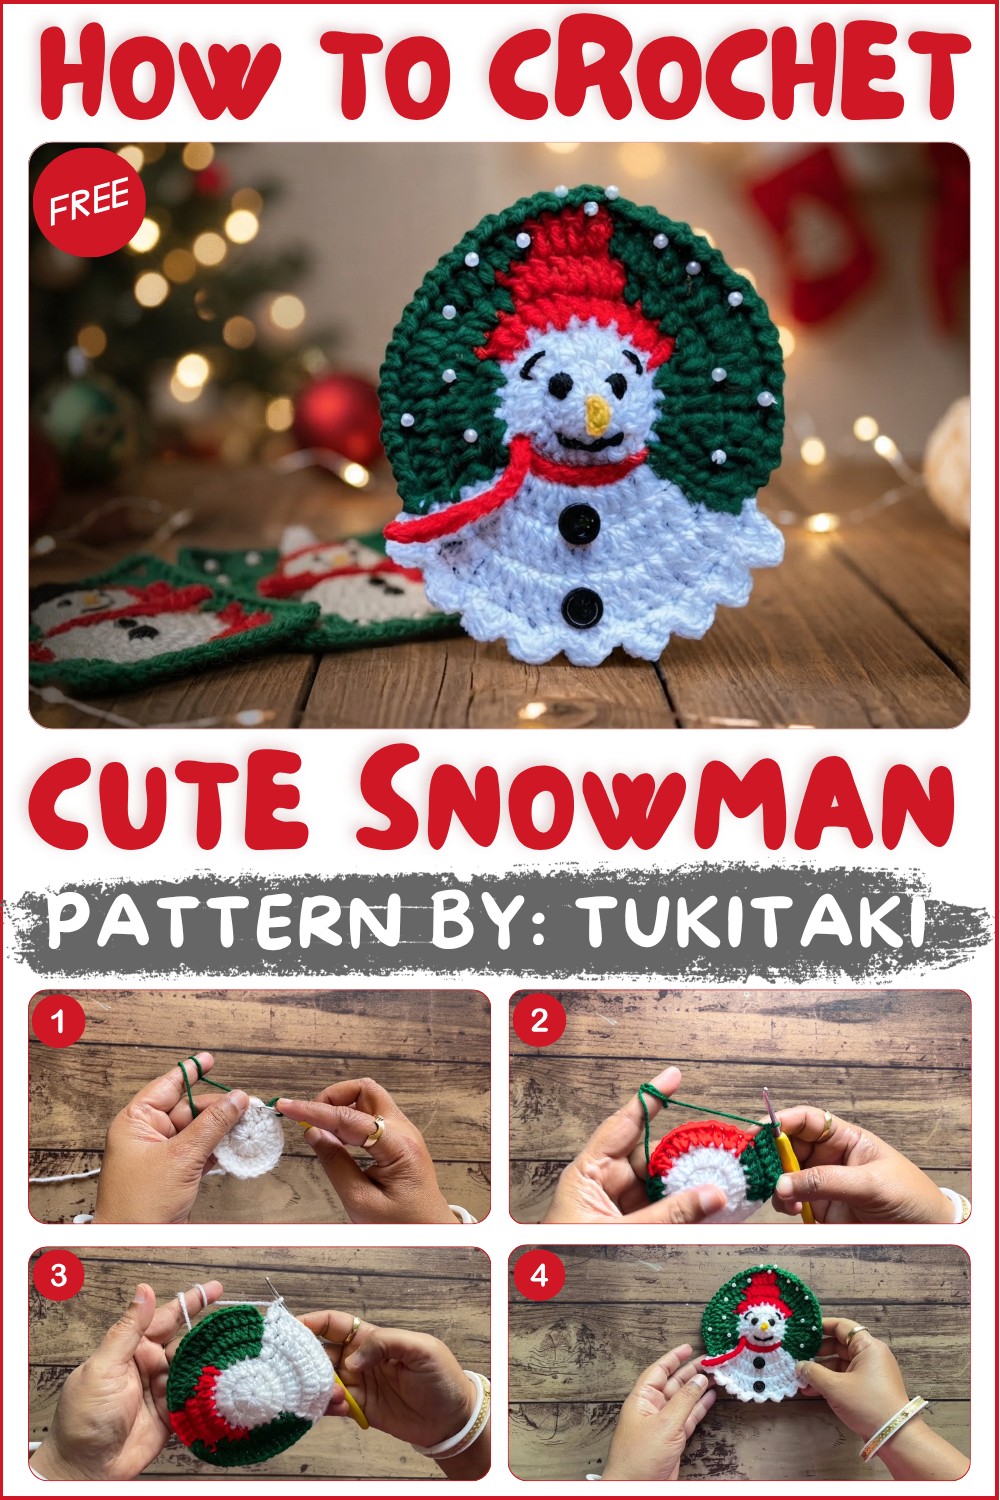
The project uses a magic ring to start and builds up through rows of double crochets, making it accessible for beginners and fun for seasoned crafters. Its size and style make it an ideal gift, whether as a thoughtful stocking stuffer, a cozy ornament, or a cute desk companion during holiday work. It’s a great way to spread joy with something crafted by hand, showing care and holiday spirit.
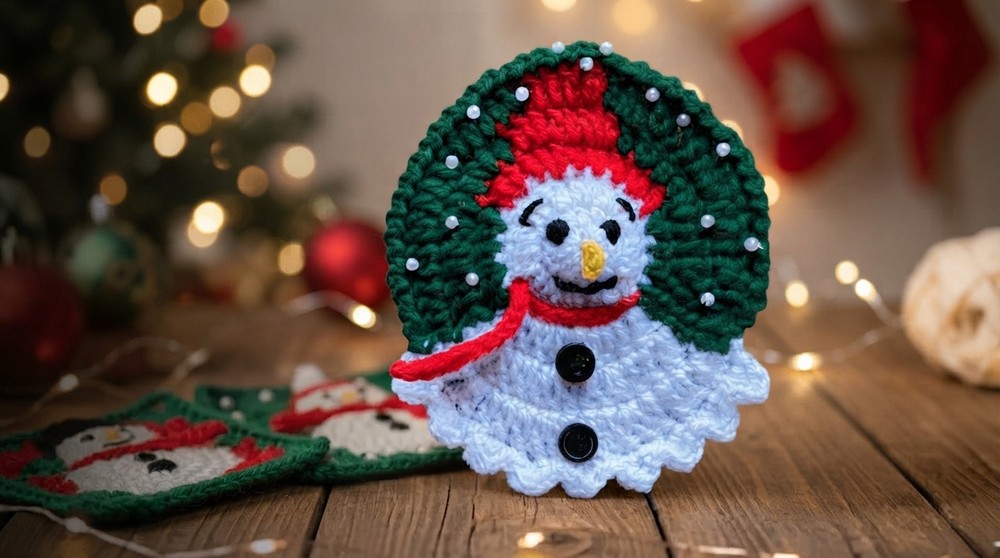
Design elements like the puffed hat, the bright scarf, and button-like accents add depth and character. The snug texture ensures it holds its shape while remaining soft to the touch. This snowman is not only a decorative delight but also a symbol of cozy winter vibes that warms any room.
Following this free crochet pattern allows creating a joyful and decorative piece that’s both charming and useful. The end result is a festive friend ready to brighten your holidays and inspire smiles all season long.
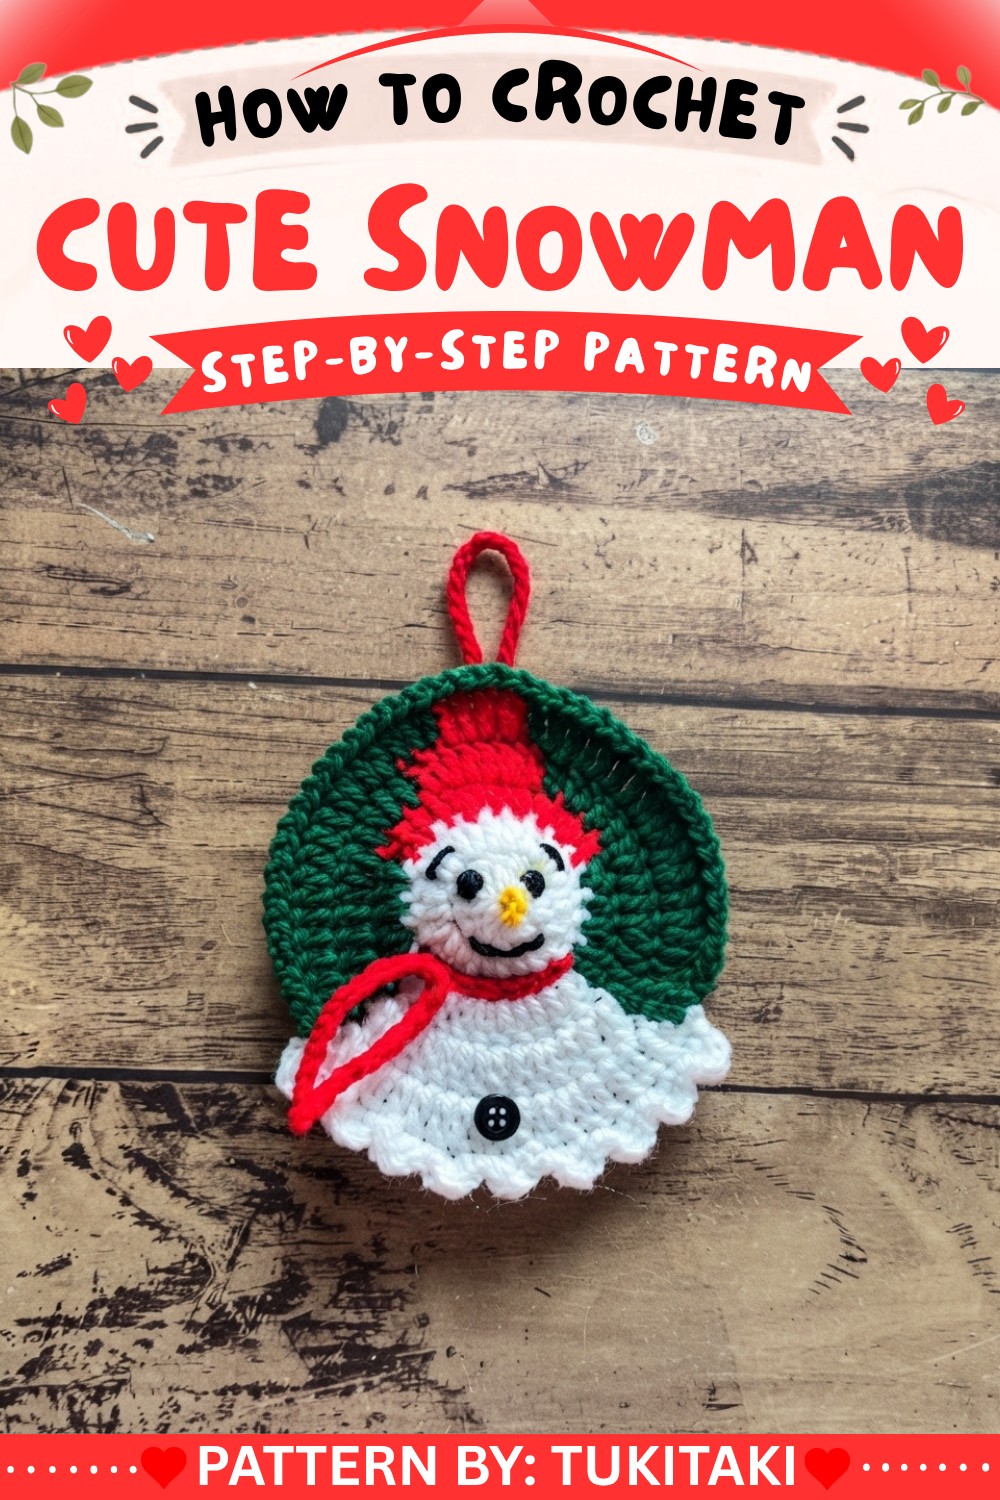
Crochet Snowman Coaster Pattern
This beginner-friendly pattern works up quickly and transforms simple stitches into a charming winter-themed coaster perfect for the holiday season or as a cheerful gift. The snowman design incorporates classic crochet techniques, colorwork, and simple embroidery for details, resulting in a delightful and functional piece. Whether it’s hot cocoa or your favorite winter beverage, this coaster will add a cozy handmade touch to any setting.
Pattern Basic Points
Project Structure
- Crocheted in the round, then joined after each row.
- Colorwork in rounds 2–5 creates the snowman’s hat and scarf effects, bringing the character to life.
- Surface detailing (nose, face embroidery, scarf, and buttons) is completed after the main circle base.
- Textured border (in both white and green) gives a festive, finished feel.
Key Features
- Smooth, dense fabric (using double crochet) ensures durability.
- Easy increases for perfectly flat circles.
- Decorative and three-dimensional details: carrot nose, embroidered face, scarf, and button embellishments.
Special Notes
- Keep color transitions to the back of your work for a neat presentation.
- Join rounds precisely to avoid unsightly gaps and keep coaster shape even.
- Tug and shape after embroidering details or adding buttons/scarf to maintain a perfectly circular form.
- Use a tighter gauge to provide good structure so cups or mugs will sit securely atop the coaster.
- Customize with alternate colors or extra embellishments for different holidays!
Skill Level
Confident Beginner
Basic knowledge of working in the round, changing colors, increasing stitches, and simple embroidery is required. Experience with sewing on buttons is helpful.
Materials
- Yarn: 4-ply medium (size 4) acrylic yarn in:
- White (main face and body)
- Green (hat and scarf)
- Red (accessory/hat trim)
- Orange (nose)
- Black (features)
- Hook: 3.75 mm crochet hook
- Scissors
- Tapestry needle (for attaching details, weaving ends, embroidering face)
- Keyhole sewing needle (optional, for buttons)
- Small buttons (for front of snowman)
- Measuring tape (optional, for sizing)
Measurements / Sizing
- Finished size: Approx. 10–12 cm (4–5 inches) in diameter when using medium weight yarn and a 3.75 mm hook.
- Fits standard cups/mugs.
Gauge
- 14–16 dc = 10 cm/4″, unblocked.
- Tight, even stitches are best for a sturdy, functional coaster.
Stitch Abbreviations
- MR – Magic ring
- ch – chain
- sc – single crochet
- dc – double crochet
- inc – increase (2 dc in same stitch)
- sl st – slip stitch
- st(s) – stitch(es)
Special Stitches
- Decorative Cluster (border): 1 sc, 2 dc, 1 sc in the same stitch.
- Magic ring: Adjustable loop to start circles without a center hole.
- Embroidery: Use a tapestry needle and yarn to stitch facial features.
Detailed Pattern Guide
1. Base (Face & Body)
Row 1:
- Create a magic ring (MR).
- Into the ring, 1 sc, ch 2 (counts as first dc), then 11 dc (total 12 dc).
- Sl st into top of beginning ch-2 to join. Tighten ring.
Row 2:
- Ch 3 (counts as first dc), work 2 dc into each stitch around (total 24 dc).
- As you finish the round, join green yarn; sl st to join.
Row 3:
- Ch 3, (1 dc in next stitch, 2 dc in next stitch—inc) repeat around (total 36 dc).
- Follow tutorial for color transitions: alternate green and red sections (for hat/scarf). Always complete color changes at the last yarn-over of the prior stitch.
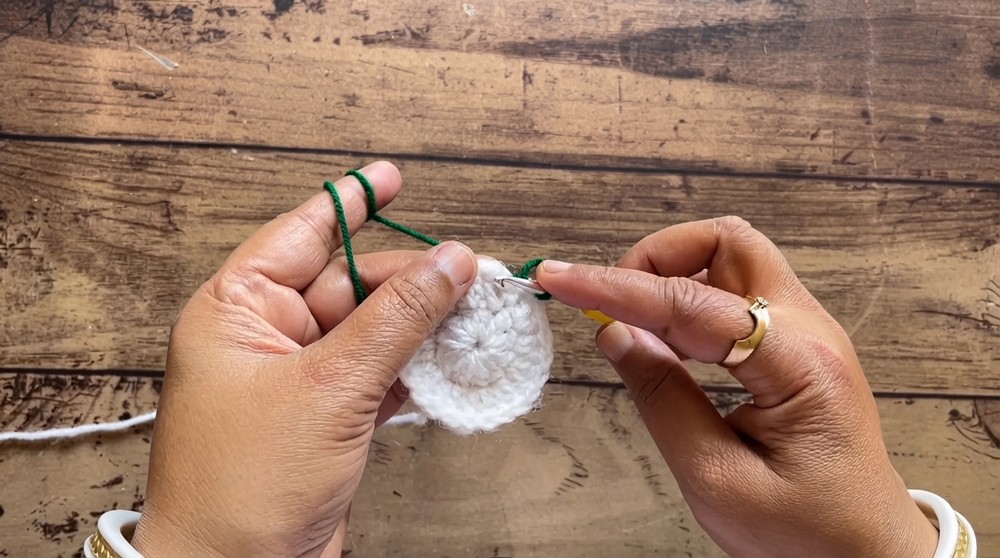
- Join with sl st to top of beginning ch-3.
Row 4:
- Ch 3, (2 dc in next two stitches, 2 dc in next stitch—inc) repeat around (total 48 dc).
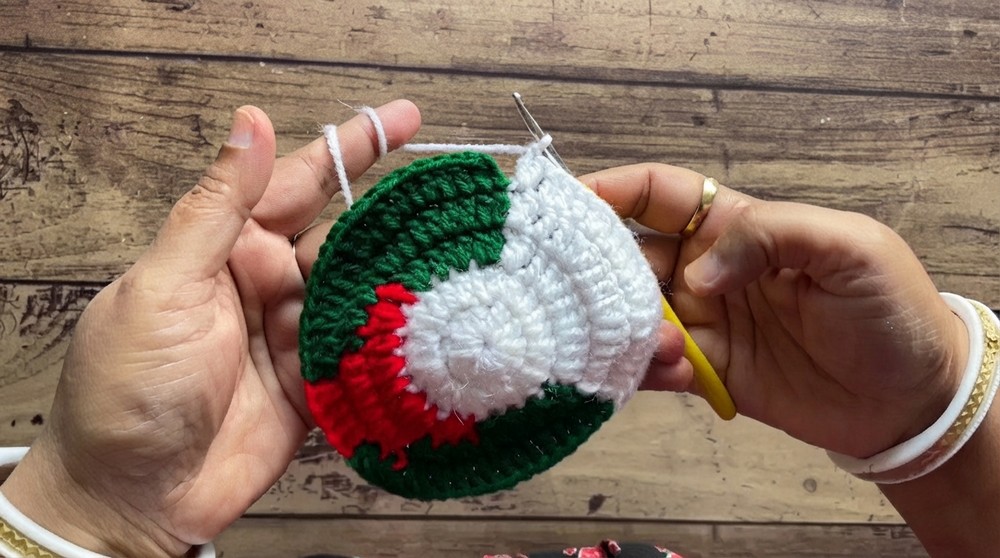
- Draw in red and white as needed for stripes/section accents per the video.
- Join with sl st to top of beginning ch-3.
Row 5:
- Ch 3, (1 dc in next three stitches, 2 dc in next stitch—inc) repeat around (total 60 dc).
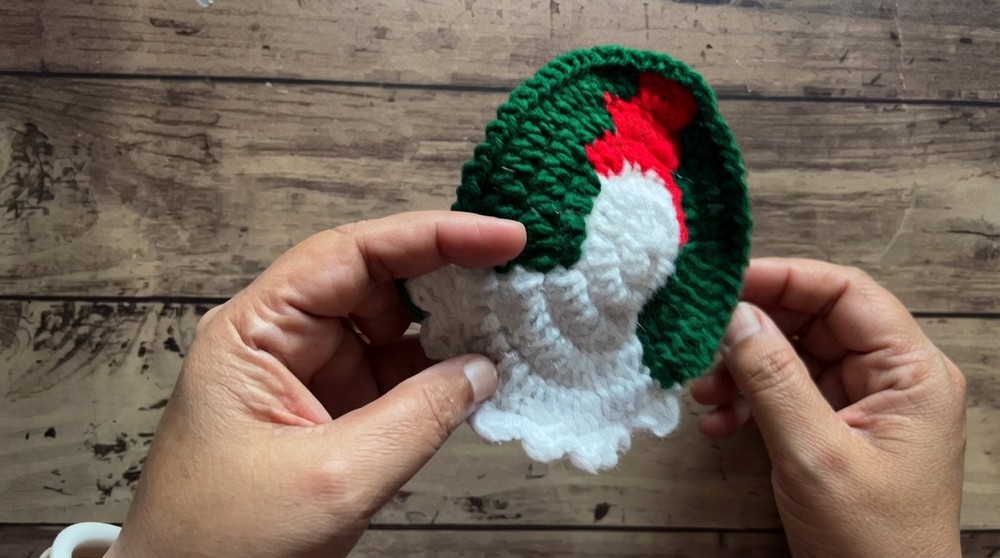
- Complete round using white for snowman’s face/body section.
- Join with sl st.
2. Finishing Details
Border (White Portion)
- On white section: In a stitch, 1 sc, 2 dc, 1 sc (all in same st, cluster border).
- Repeat clusters evenly spaced around the white section for a decorative, ruffled effect.
Border (Green Portion)
- Switch to green yarn, sc, ch 3, sc in next stitch along the hat/scarf edge for a festive trim.
Nose (Carrot-Shaped)
- With orange yarn:
- Make a slip knot.
- Ch 3, then in the next st, 1 sl st followed by 2 sc.
- Fasten off, leaving a tail for sewing.
- Attach nose in center of white “face” with a tapestry needle.
Embroidered Features (Eyes, Brows, Mouth)
- Thread black yarn into tapestry needle.
- Stitch two small eyes, arched eyebrows, and a simple stitched smile below the nose.
- Take care to keep facial expression cheerful and symmetrical.
Muffler (Scarf) & Buttons
- Using green or red:
- Work a sl st for the scarf base around base of head/neck area.
- Ch 30 for “tie” ends of the scarf, and secure as desired.
- Sew on two or three small buttons (use contrasting color yarn or black) along snowman’s body for classic finishing touch.
Assembly & Finished Size
- Weave in all yarn tails on the reverse side using the tapestry needle.
- Eye, nose, and mouth embroidery: Center features neatly on face area.
- Attach muffler (scarf) securely along color transition (neckline).
- Sew on buttons—space them evenly below head area on “body.”
- Block lightly if needed to ensure a smooth, flat coaster.
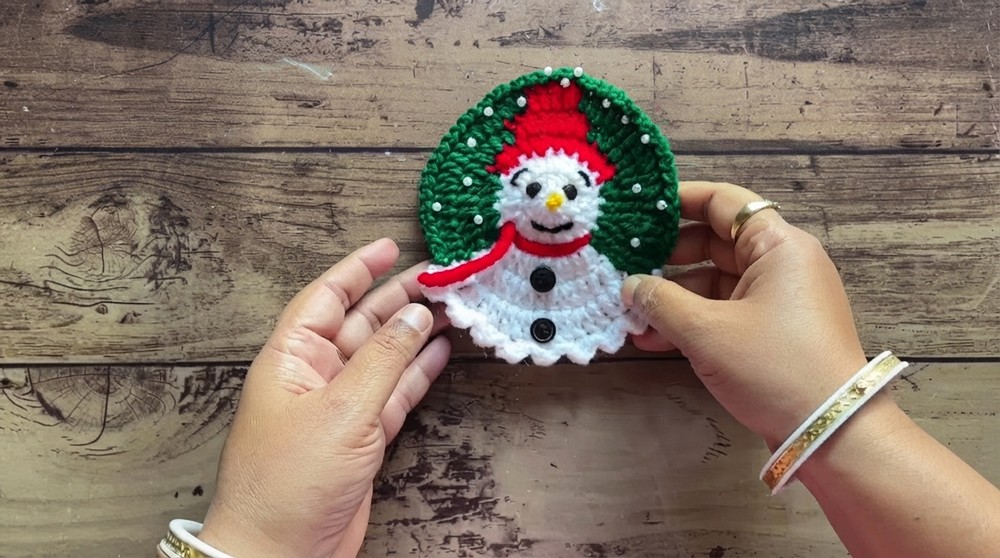
Final coaster should measure approx. 10–12 cm and sit evenly on any flat surface.
Conclusion
The final result is a charming, functional piece that brings warmth to winter decor and makes a thoughtful, unique gift. Mastering these rounds and details builds a foundation for future coaster or motif-based projects while celebrating the joy of handmade items.