Free Crochet Cat Amigurumi Pattern and Detailed Video Tutorial
Create a purr-fectly adorable companion with this free crochet Cat Amigurumi Pattern, offering simple steps to make a cuddly and charming feline friend.
I was scrolling through YouTube one day, looking for a cute and easy crochet project to make for my baby when I found this Free Crochet Cat Amigurumi pattern. The video tutorial was so clear and friendly, it made me want to try it right away. This little crochet cat has a simple round shape and soft texture that feels nice to hold. It’s perfect for beginners because it uses easy stitches, and the best part is the cute face with embroidered eyes and whiskers, plus little legs made with puff stitches and a tail that needs just a bit of sewing.
Crochet Cat Amigurumi Free Pattern With Tutorial
This project is great if you want to make a lovely gift, a toy for a child, or just a sweet decoration for your home. You can change the size by using different yarns and hook sizes or pick your favorite colors to make your cat special. The cat is made mostly in rounds with simple steps that keep everything neat. One tip that helps a lot is to use soft, slightly fuzzy yarn—it makes the cat extra cuddly and the stitches look great. You can see how to do this clearly in the video.
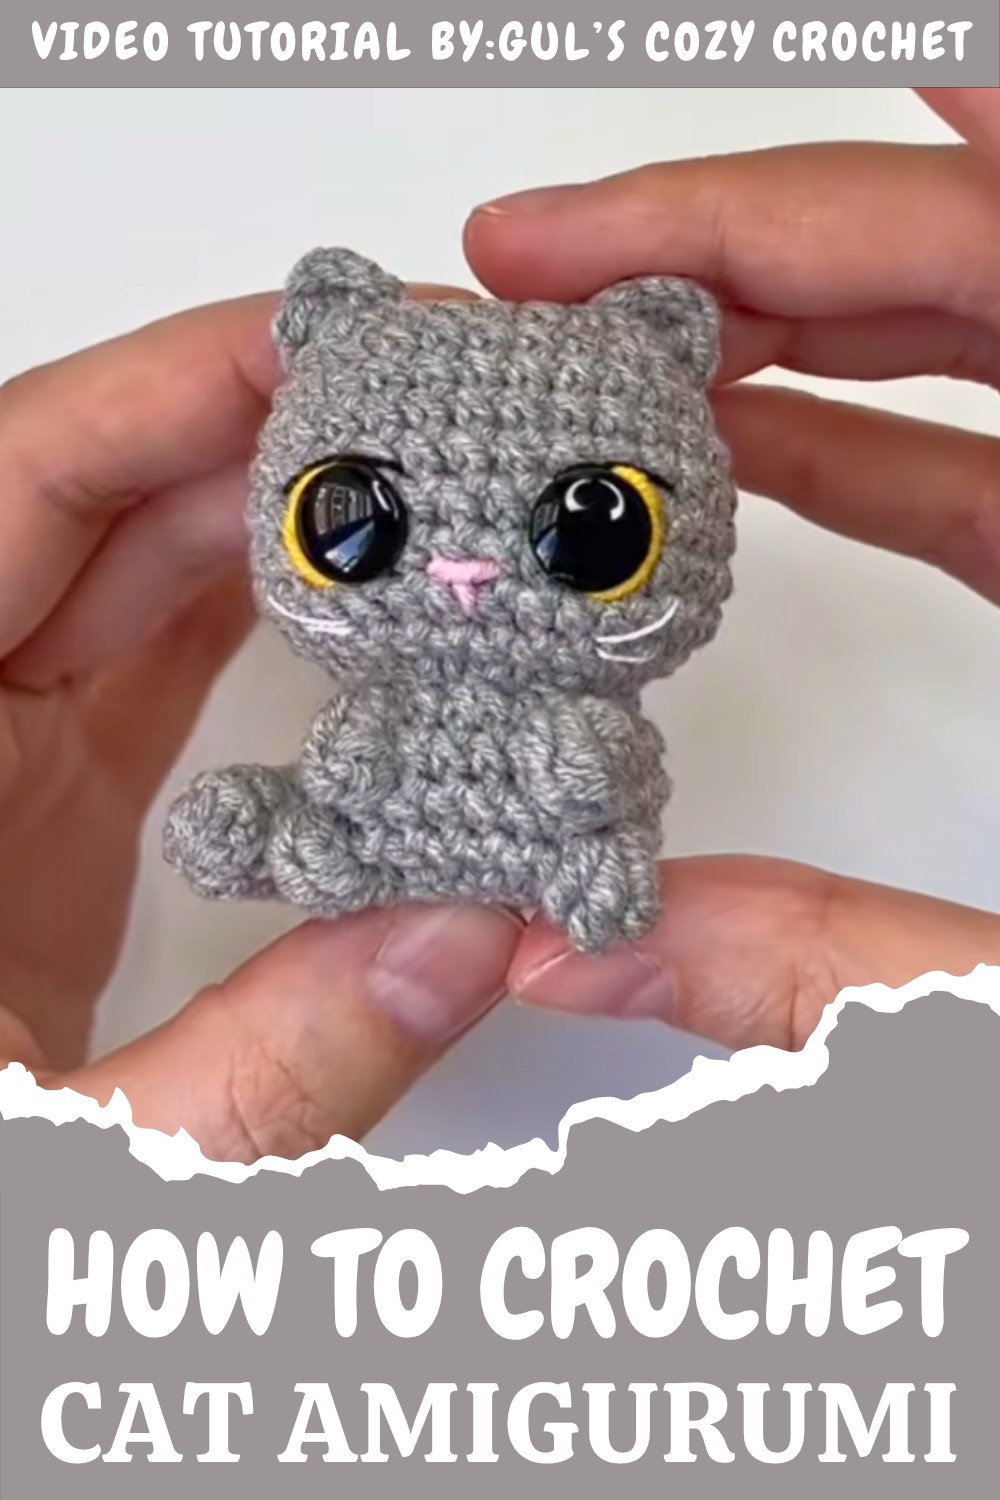
The idea behind this cat came from wanting to create a tiny, lovable pet that anyone can make and enjoy. It’s perfect for birthdays, holidays, or just fun crafting time. I suggest visiting the channel (Gul’s Cozy Crochet) where the video tutorial is available because it shows every step and makes the whole process easy and enjoyable. Whether you’re making it as a gift or to keep, this free crochet pattern is a wonderful little project to try.

Tiny Crochet Cat – Step-by-Step Pattern
This beginner-friendly pattern helps you create an adorable, miniature crochet cat with almost no sewing required. The pattern is designed in a smart way to reduce assembly, working the body and head as one piece, attaching the arms and legs as you go, and only sewing on the tail at the end. The finished cat is perfect as a pocket pal, gift, or amigurumi accent, featuring cute face embroidery and sculpted limbs for extra charm.
Pattern Notes
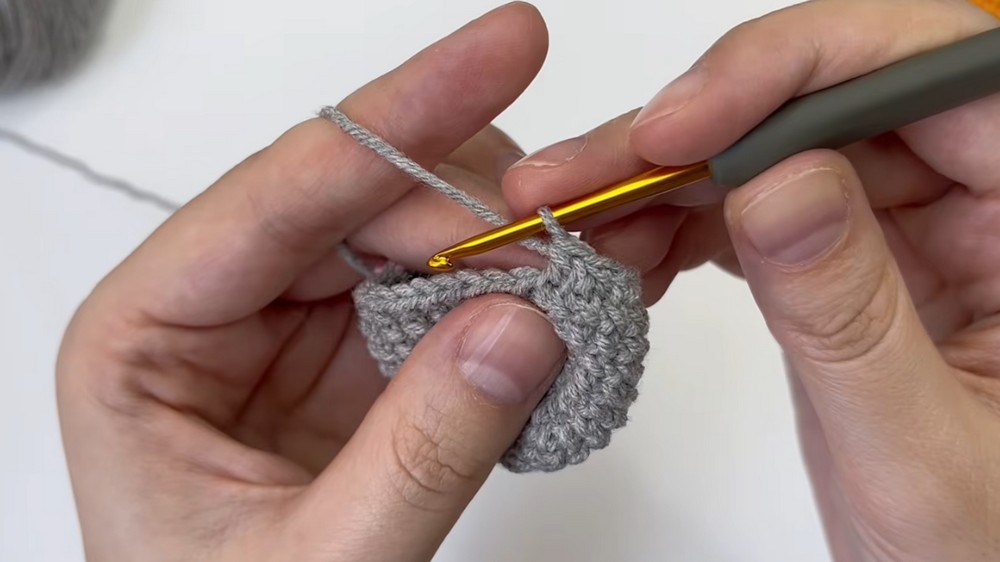
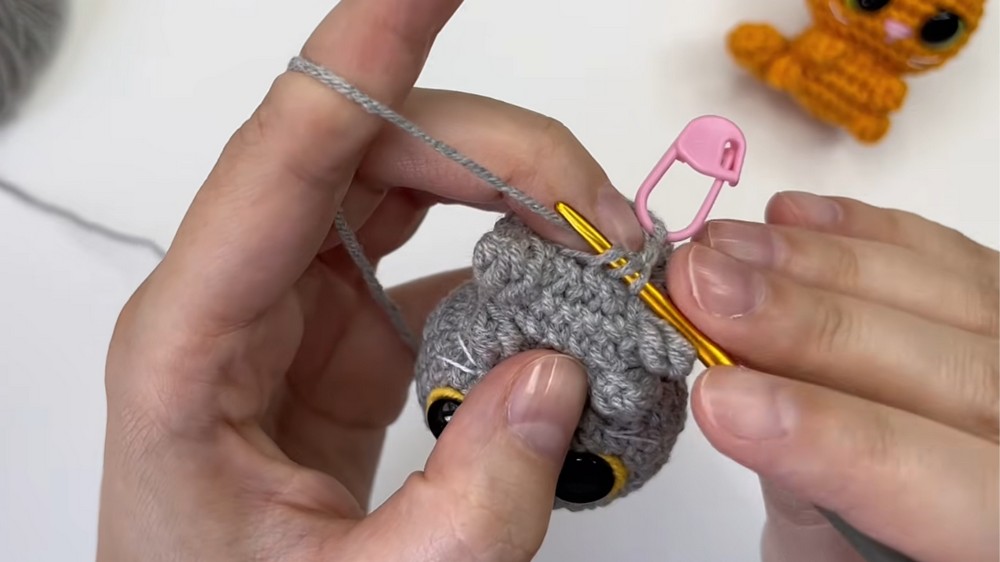
- The pattern is worked in joined rounds unless otherwise stated. Use a stitch marker to keep track of the last stitch of each round.
- Most of the cat is made in one piece, reducing the need for sewing.
- Embellishments such as the nose, eyes, and whiskers are embroidered. Safety eyes can be used for a different look.
- The tail is worked separately and then sewn on.
- The pattern uses US crochet terminology.
Skill Level
Confident Beginner
- Skills: working in rounds, increases and decreases, basic embroidery, simple sewn assembly (tail).
Materials
- Fingering or sport weight yarn in main cat color (less than 20g)
- Scrap yarn (pink or black) for face embroidery
- 2 mm–2.5 mm crochet hook
- Polyester or fiberfill stuffing
- 2 safety eyes (optional, 6–8mm) or black embroidery floss
- Yarn needle and sewing needle
- Scissors
- Stitch marker
Measurements / Sizing
- Finished size: approximately 8–9 cm (3–3.5 inches) tall and 5 cm (2 inches) wide at base
- Schematic available upon request (not included for brevity)
Gauge
- Gauge is not essential, but for reference:
10 sc x 10 rows = 3 cm x 3 cm (1.2” x 1.2”) using 2.25 mm hook. - Tight tension helps shape and firmness.
Stitch Abbreviations
- ch = chain
- sc = single crochet
- inc = increase (2 sc in one stitch)
- dec = decrease (single crochet two together)
- hdc = half double crochet
- dc = double crochet
- tr = treble crochet
- sl st = slip stitch
- st / sts = stitch / stitches
- MR = magic ring
- FO = fasten off
Special Stitches
- Treble Crochet Cluster (3-cluster for front legs): Yarn over twice, insert hook in stitch, pull up a loop, (yarn over, draw through 2 loops) twice, leave last loop on hook; repeat 3 times (4 loops on hook), yarn over, pull through all.
- Treble Crochet Cluster (4-cluster for back legs): Same as above but work four instead of three times.
- Decrease (dec): Insert hook into next st, yarn over, pull up loop, insert into next st, yarn over, pull up loop, yarn over, draw through all loops on hook.
The Crochet Pattern
Head
- Foundation: Slip knot, ch 8.
- In second ch from the hook: inc, sc in next 5 sts, 3 sc in last ch.
- Rotate work. Along the other side of the chain, sc in next 6 sts (across the bottom of starting chain). (16 sts total)
- Place a stitch marker in the last stitch to mark your rounds.
Rounds
- Round 2: 2 inc, sc 5, 3 inc, sc 5, inc (16 + 2 + 3 + 1 = 22)
- Round 3: Sc in each st (22)
- Round 4: (Sc, inc) x2, sc 5, (sc, inc) x3, sc 6, inc (See video for exact placement.)
- Rounds 5–7: Sc in each st (no increases) (total st count is approx 32–34)
- Round 8: Sc, inc, sc 13, inc, sc 12 (adds 2 sts)
- Round 9: Sc in each st (continue even)
- Round 10: 3 dec, sc 7, 3 dec, sc 11
- Round 11: 12 dec (reduces head to base size)
Face Embroidery
- Insert safety eyes (or embroider) and stuff the head firmly; shape and embroider nose, whiskers, and lashes as desired.
Body
- Work in Front Loops Only: 12 inc around (24)
Front Legs (worked as you go)
- Body and Legs Part 1:
- Sc 4, make front leg:
- Cluster of 3 treble crochets together in next st.
- Sc 4,
- Make second front leg (cluster of 3 tr in one st),
- Sc 14 to finish.
Body and Back Legs
- Round 14: Sc in each st around.
- Round 15: Sc 3, make cluster of 4 tr for back leg, sc 6, cluster of 4 tr for back leg, sc 13.
Decreasing and Finishing Body
- Round 16: 12 dec
- Stuff body firmly
- Round 17: 6 dec, sl st to close
- Finish stuffing, FO, and close opening neatly.
Ears (make 2, directly on head)
- Mark 4 stitches on top of the head for placing ears.
- Attach yarn to first marked st, ch 1, hdc in next, dc in next, ch 2, sl st to same st.
- Cut yarn, weave ends on the inside.
- Repeat for the second ear.
Tail (worked separately)
- MR, 8 sc in ring.
- Rounds 2–9: Sc in each st (8 per round).
- Round 10: (Dec, sc 2) x2 (6)
- Round 11: Ch 1, fold piece in half, work 3 sc through both layers.
- Round 12: Ch 1, turn, dec, sc in last st.
- FO, stuff lightly if desired, sew to back of cat.
Assembly & Finished Size
- Minimal sewing – just sew tail to lower back.
- Weave in all ends on inside of cat for neat finish.
- Shape head and body with gentle squeezing.
- Finished size approx. 8–9 cm tall, 2 inches wide.
Quick Overview for Beginners
- Work head as an oval in the round, increasing at both ends.
- Add body directly to head, working around.
- Create legs using treble crochet clusters as you go.
- Work ears directly onto head after finishing body.
- Crochet tail separately and sew to back.
- Stuff as you go, embroider face to preference.
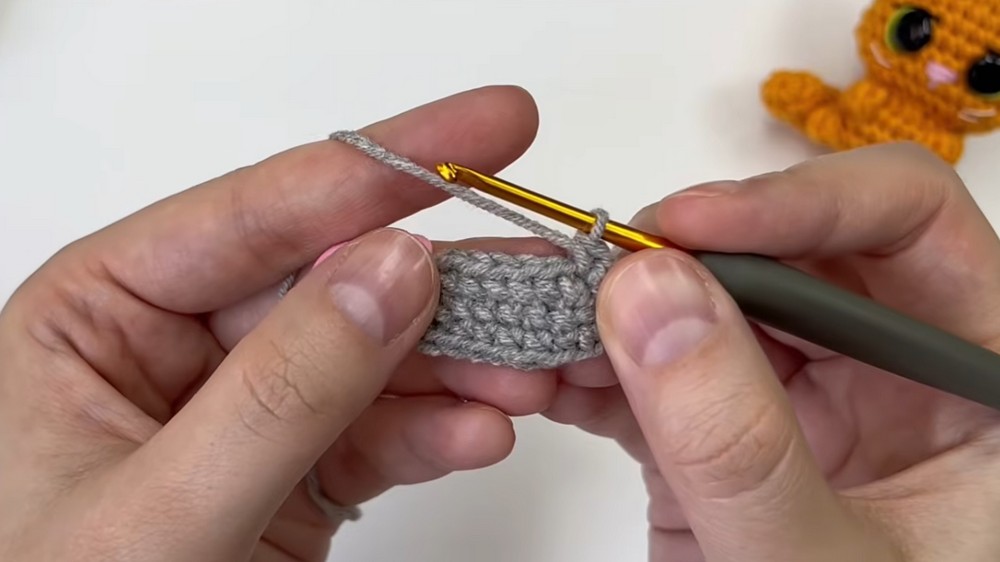
If you’d like some visual help or want to watch each technique in action, click on this video link for clear, step-by-step tips and demonstrations. Seeing the stitches, shaping, and assembly in motion can make the process even more beginner friendly and enjoyable.