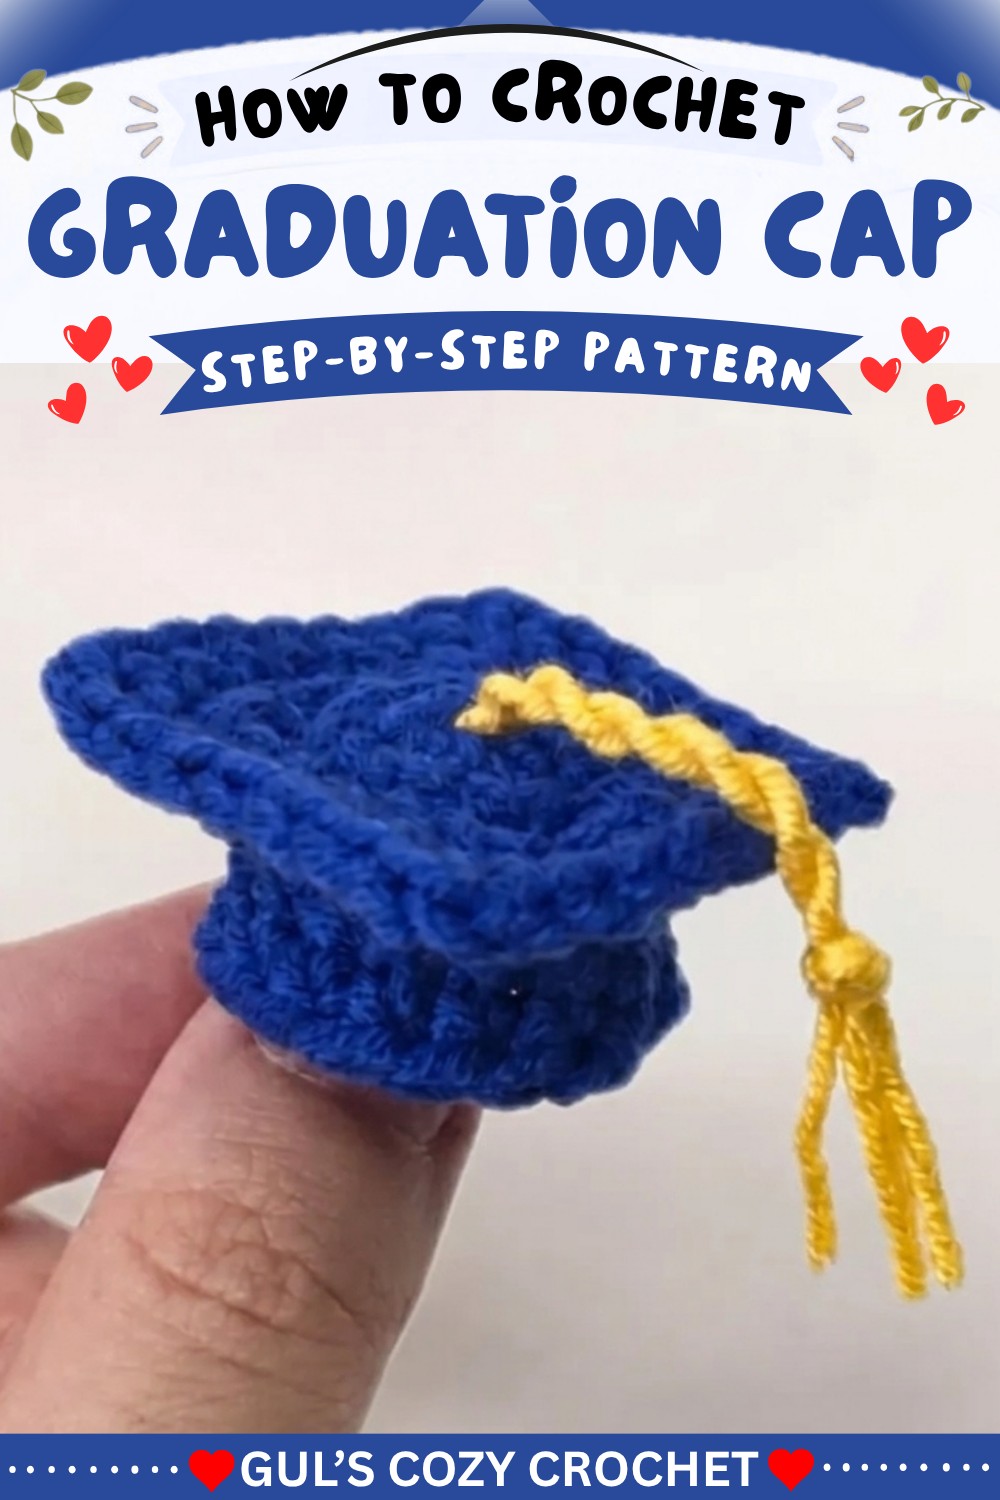
How to Crochet Graduation Cap Free Pattern For Beginners

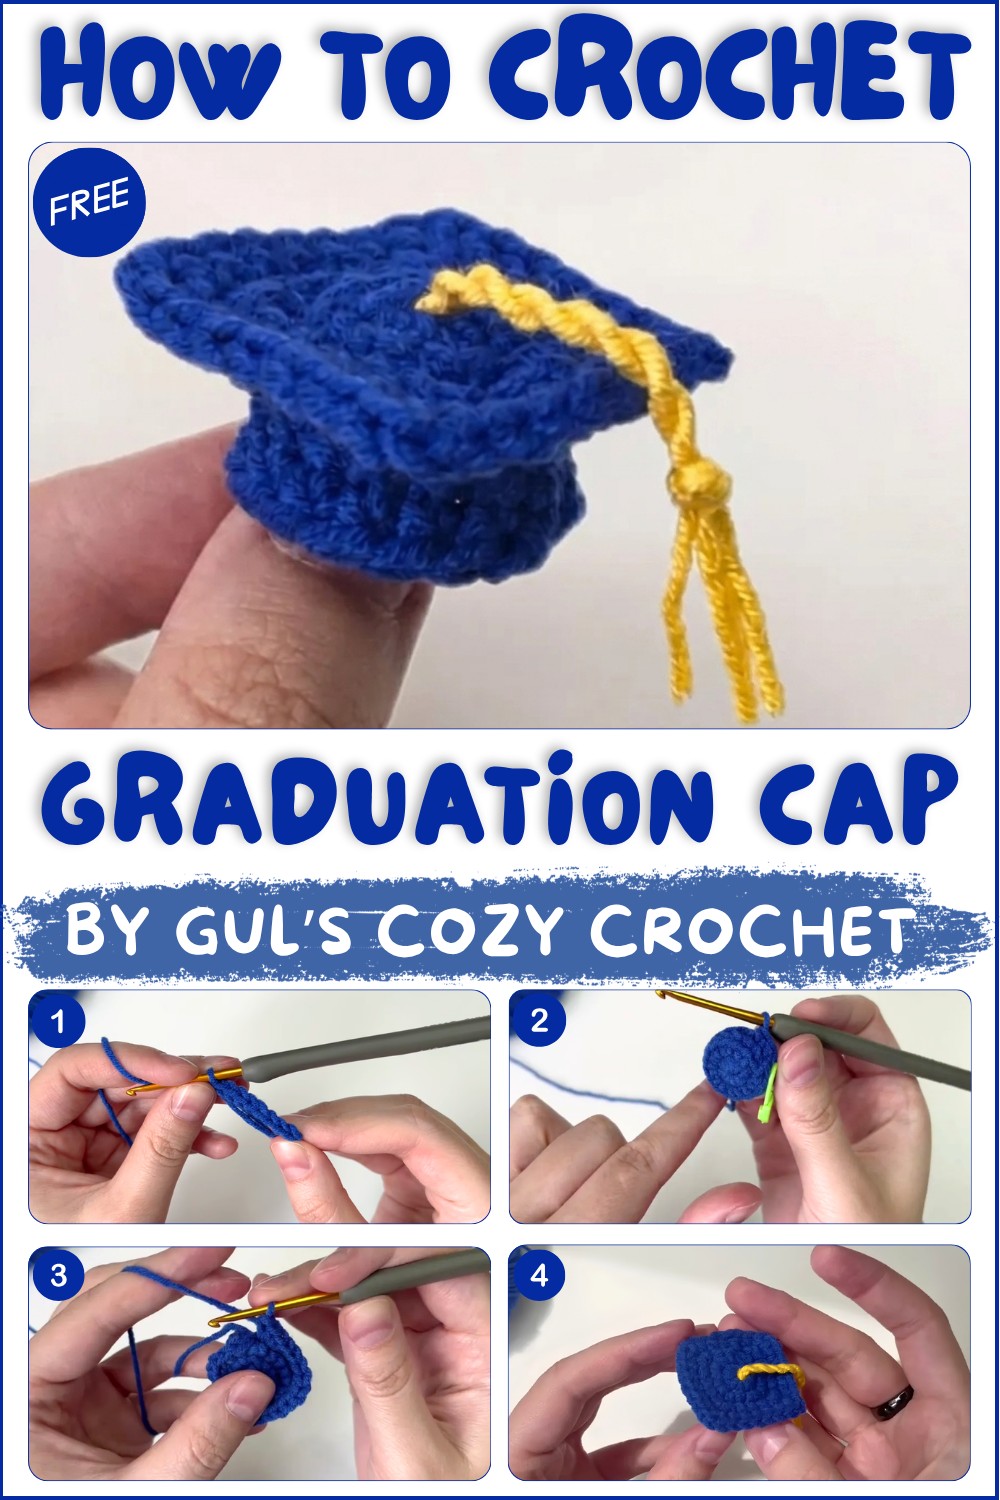
This little cap can become part of a graduation party display, gift wrapping, photo setup, classroom decoration, or memory box. You can place it beside a graduation card, attach it to a gift, or display it with a graduate’s favorite photos. Choosing school colors can make it feel even more personal. You can also add a small letter or simple detail to represent the graduate.
The project can be a nice choice for crocheters who enjoy making small themed pieces. Beginners may like creating a simple graduation keepsake, while more experienced makers can have fun choosing colors and adding personal touches. The finished cap is small enough to make a thoughtful project without needing a large amount of time.
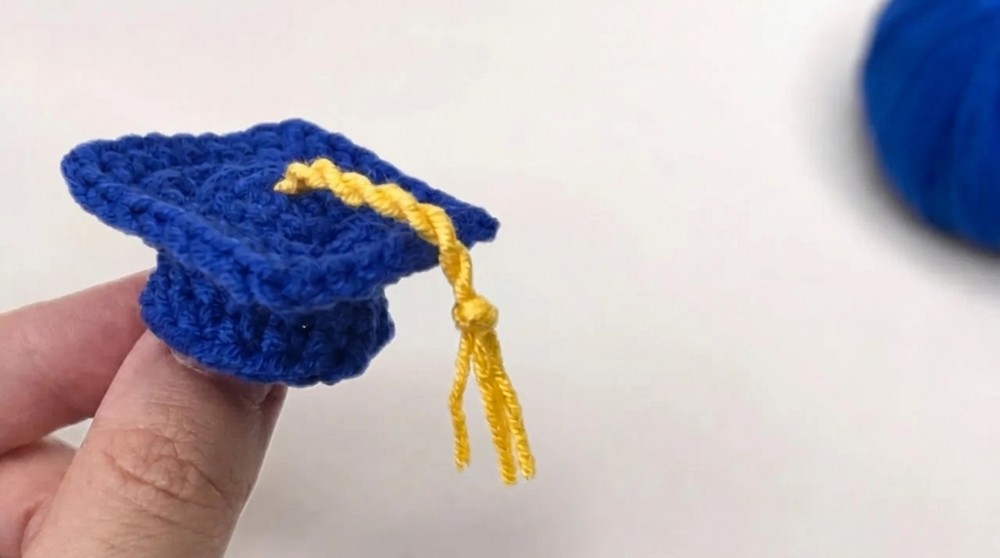
A handmade graduation cap can also become a special gift for a student, friend, sibling, child, or family member reaching an important milestone. It can be saved as a reminder of a proud day long after the ceremony is over. If you enjoy crochet projects that celebrate special moments, the Free Crochet Graduation Cap Pattern is a sweet way to create something meaningful, useful, and full of memories.
Tiny Graduation Cap Crochet Pattern
Introduction
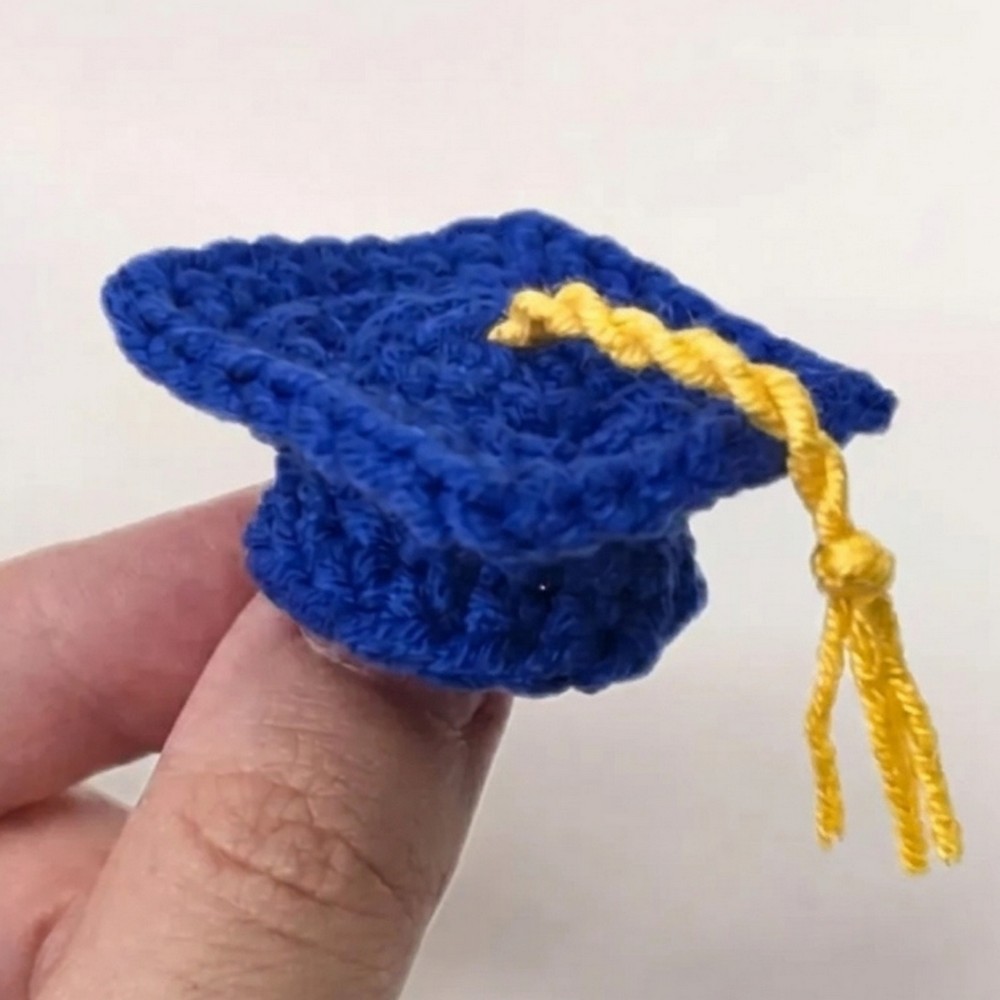
Celebrate milestones with this charming tiny graduation cap crochet pattern. Designed in three main parts — the cap base, the brim, and the signature tassel — this pattern offers a detailed method to create an elegant miniature cap perfect for doll accessories, keychains, or keepsakes. Featuring textured stitches and careful shaping, this project combines simple crochet techniques to craft a beautifully realistic graduation cap.
Quick Overview Of Pattern
- Part 1: Cap Base — Circular foundation worked in rounds with increases and back loop stitches for shaping.
- Part 2: The Brim — Worked around the cap base using front loops for texture, shaping square corners and straight edges.
- Part 3: The Tassel — Simple cord made by twisting yarn strands and attaching a decorative knot.
- Finished cap showcases classic square mortarboard design detailed with a tiny cord tassel.
Notes
- The cap base and brim employ working in back loops only (BLO) and front loops only (FLO) to create structural definition.
- Stitch counts and increases are consistent for a neat, flat circle and squared edges.
- Tassel cord is handcrafted with twisting yarn technique, adding authenticity to the cap.
- The pattern is designed for a tight tension to maintain shape and durability.
Skill Level
- Beginner to Intermediate — suitable for those familiar with basic stitches and comfortable with working in rounds, increases, slip stitches, and loops manipulation.
Materials
- Medium weight (worsted) yarn in black (or graduation color of choice)
- Crochet hook size 3.5 mm (or appropriate for your yarn)
- Scissors
- Yarn needle for weaving in ends
- Measuring tape or ruler for gauge and tassel length
Measurements / Sizing
- Final graduation cap measures approximately 5 cm (2 inches) in diameter, large enough for small figurines or charms.
- Tassel length varies; recommended about 7–8 cm (3 inches) trimmed after twisting.
- Dimensions adjustable by using different yarn weights or hook sizes.
Gauge
- Gauge is flexible but maintaining consistent tension is important for the cap’s structure.
- Approximate gauge: 16 single crochets = 5 cm in diameter after round 2.
Stitch Abbreviations
| Abbreviation | Full Term | Description |
|---|---|---|
| MR | Magic Ring | Adjustable loop start for rounds |
| ch | Chain | Yarn over, pull through loop |
| sc | Single Crochet | Insert hook, yarn over, pull through two loops |
| inc | Increase | Two single crochet stitches in one stitch |
| sl st | Slip Stitch | Insert hook, yarn over, pull through loop |
| BLO | Back Loops Only | Work stitch through the back loop only |
| FLO | Front Loops Only | Work stitch through the front loop only |
Special Stitches
- Back Loops Only (BLO): Creates ridges and structural definition by inserting the hook only into the back loop of the stitch.
- Front Loops Only (FLO): Used in the brim to provide texture and help anchoring the brim to the base.
The Crochet Pattern!
Part 1: The Cap Base
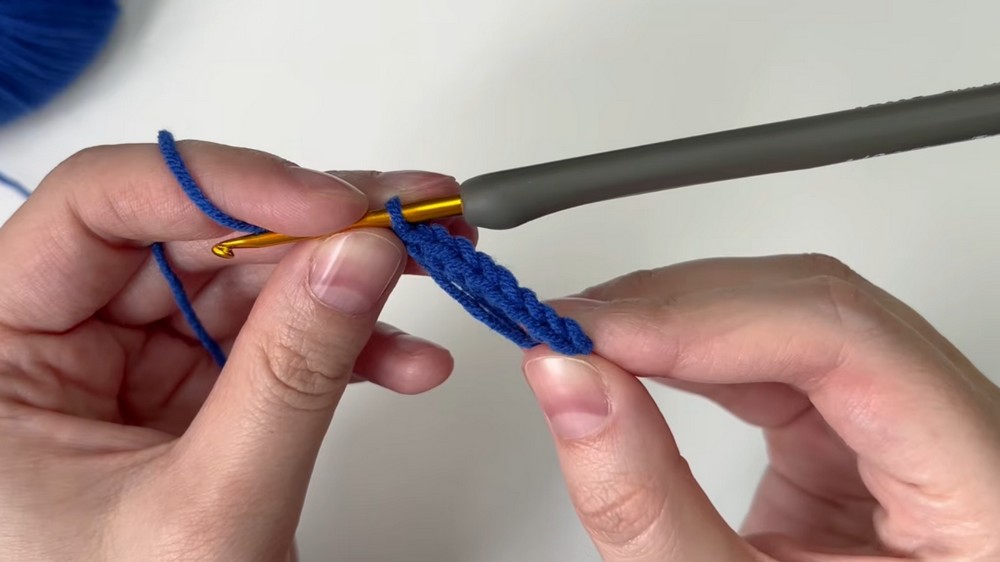
- Round 1:
- Begin with a magic ring (MR).
- Work 8 single crochets (sc) into the ring.
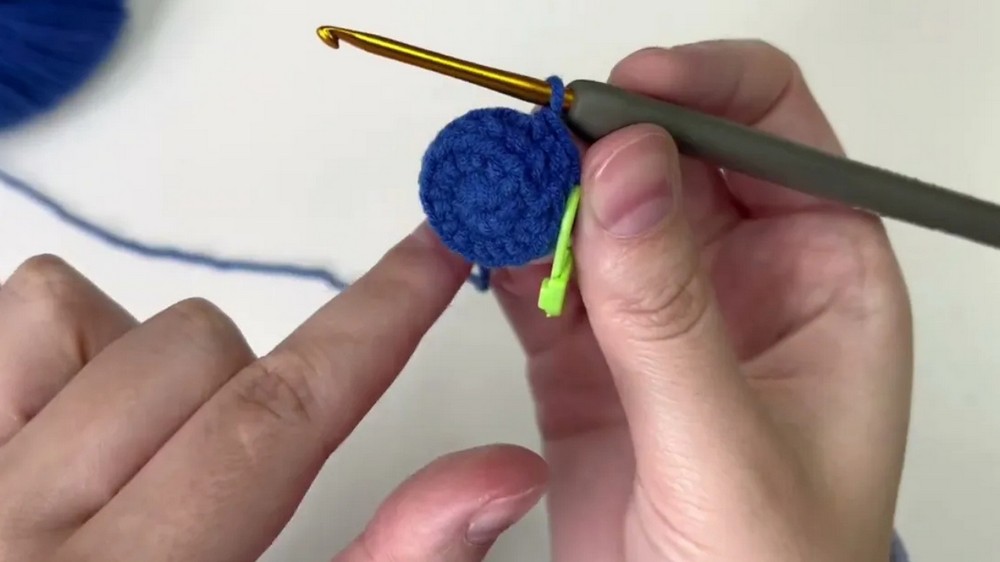
- Round 2:
- Make an increase (inc) in every stitch around:
- That is, work 2 single crochets (sc) in each stitch, doubling total stitches to 16.
- Round 3:
- Work 1 single crochet (sc) in each stitch in the back loops only (BLO).
- Maintain the stitch count at 16 stitches, focusing on back loops for texture and grip.
- Round 4:
- Work 1 single crochet (sc) in each stitch normally, completing the round with 16 stitches.
- Finish this round with a slip stitch (sl st) to join and fasten off your yarn. This completes the base.
Part 2: The Brim
- Join yarn in the front loops only (FLO) of Round 2 of the base to begin the brim.
- Foundation:
- Start by making 1 single crochet (sc) in the next 2 stitches along the front loops.
- Corner 1:
- Into the next stitch, work 3 single crochets (3 sc in same stitch) to create a corner.
- Then work 1 sc in each of the next 3 stitches along the loop.
- Corner Repeats:
- Repeat the corner pattern (3 sc in one stitch, then 3 sc along stitches) three more times to form the square edges of the mortarboard.
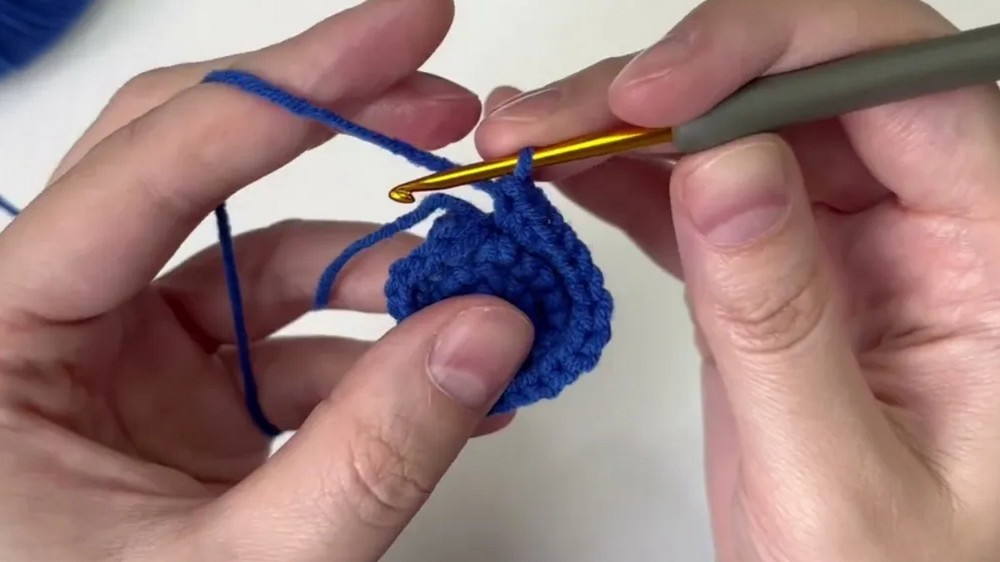
- Repeat the corner pattern (3 sc in one stitch, then 3 sc along stitches) three more times to form the square edges of the mortarboard.
- Final Corner:
- Complete the round with the final corner, working 3 sc into one stitch and finishing with a slip stitch to join seamlessly.
- Final Shaping Round:
- Begin with 1 sc in each of the first 3 stitches.
- At each corner, work 1 single crochet, chain 1, 1 single crochet (1 sc, ch 1, 1 sc) to provide slight spacing and corner curvature.
- On each straight edge (between corners), work 5 single crochets (5 sc) into the following five stitches.
- Repeat the corner plus side pattern three times, finishing with a slip stitch joining the round.
Part 3: The Tassel
- Cut approximately 20 inches (about 50 cm) of yarn. Fold and divide this into four equal strands.
- Fold the strands in half and lay the fold over your finger to hold.
- Twisting:
- Twist the yarn strands clockwise tightly until the strands have plenty of tension.
- Forming the Cord:
- Fold the twisted strand in half; it will naturally twist into a cord by itself.
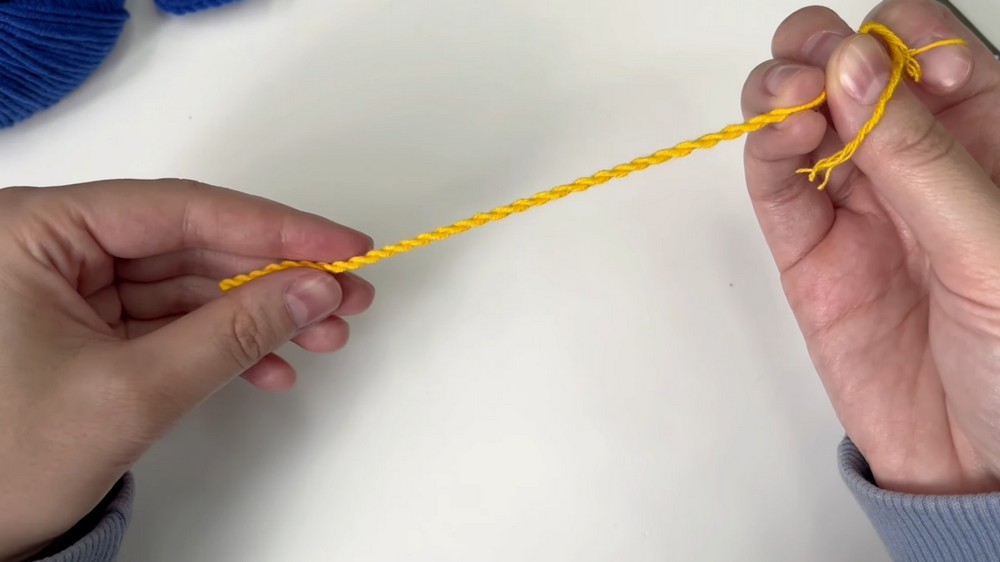
- Fold the twisted strand in half; it will naturally twist into a cord by itself.
- Final Assembly:
- Tie a tight knot at one end to secure the twist.
- Attach the knotted end to the center top of the graduation cap.
- Trim the tassel cord to your desired finishing length, typically around 7–8 cm.
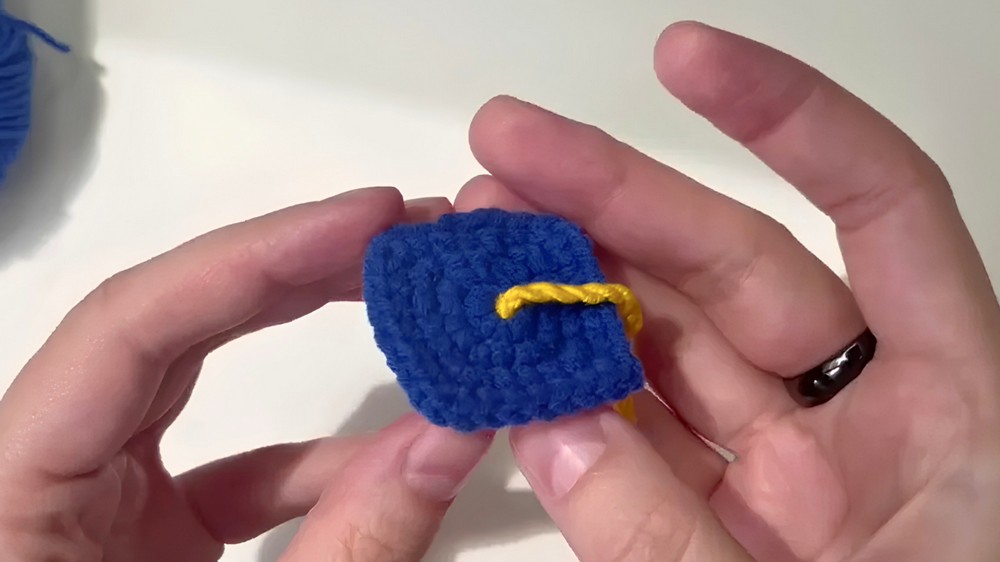
Assembly & Finished Size
- The completed cap measures roughly 5 cm wide, perfectly miniature but detailed.
- The structured square brim and firm cap base provide a realistic mortarboard look.
- The tassel adds elegance and graduation symbolism.
- Perfect for doll accessories, gifts, keychains, or as a memento.
- Securely weave in all yarn ends to maintain cap durability.
Conclusion
This tiny graduation cap crochet pattern captures all the essential features of a classic mortarboard in a compact, adorable size. The use of back loop and front loop stitches offers texture and structure vital for shaping, while the carefully crafted tassel brings an authentic finishing touch.
By following the clear round-by-round instructions and paying attention to tension and stitch definition, crocheters of intermediate beginner skill levels can successfully create this beautiful miniature cap. It is a meaningful accessory to celebrate achievements or to incorporate into themed crafts.