Flower Pot Crochet Pattern – Free for Plant Lovers

Let inspiration flow into your next project with this Free Crochet Flower Pot Pattern that is perfect for captivating accents and personalized designs.
Have you ever wanted to make something unique and beautiful with your crochet skills? The Free Crochet Flower Pot Pattern is an exciting project that combines the charm of blooming flowers with the softness of yarn. Shared by the talented Guada crochet on YouTube, this pattern is easy to follow and perfect for adding a cheerful touch to any space or creating a thoughtful handmade gift. Whether you’re a beginner or experienced with crochet, this design is sure to inspire you!
Easy Flower Pot Crochet Pattern for Beginners – Free
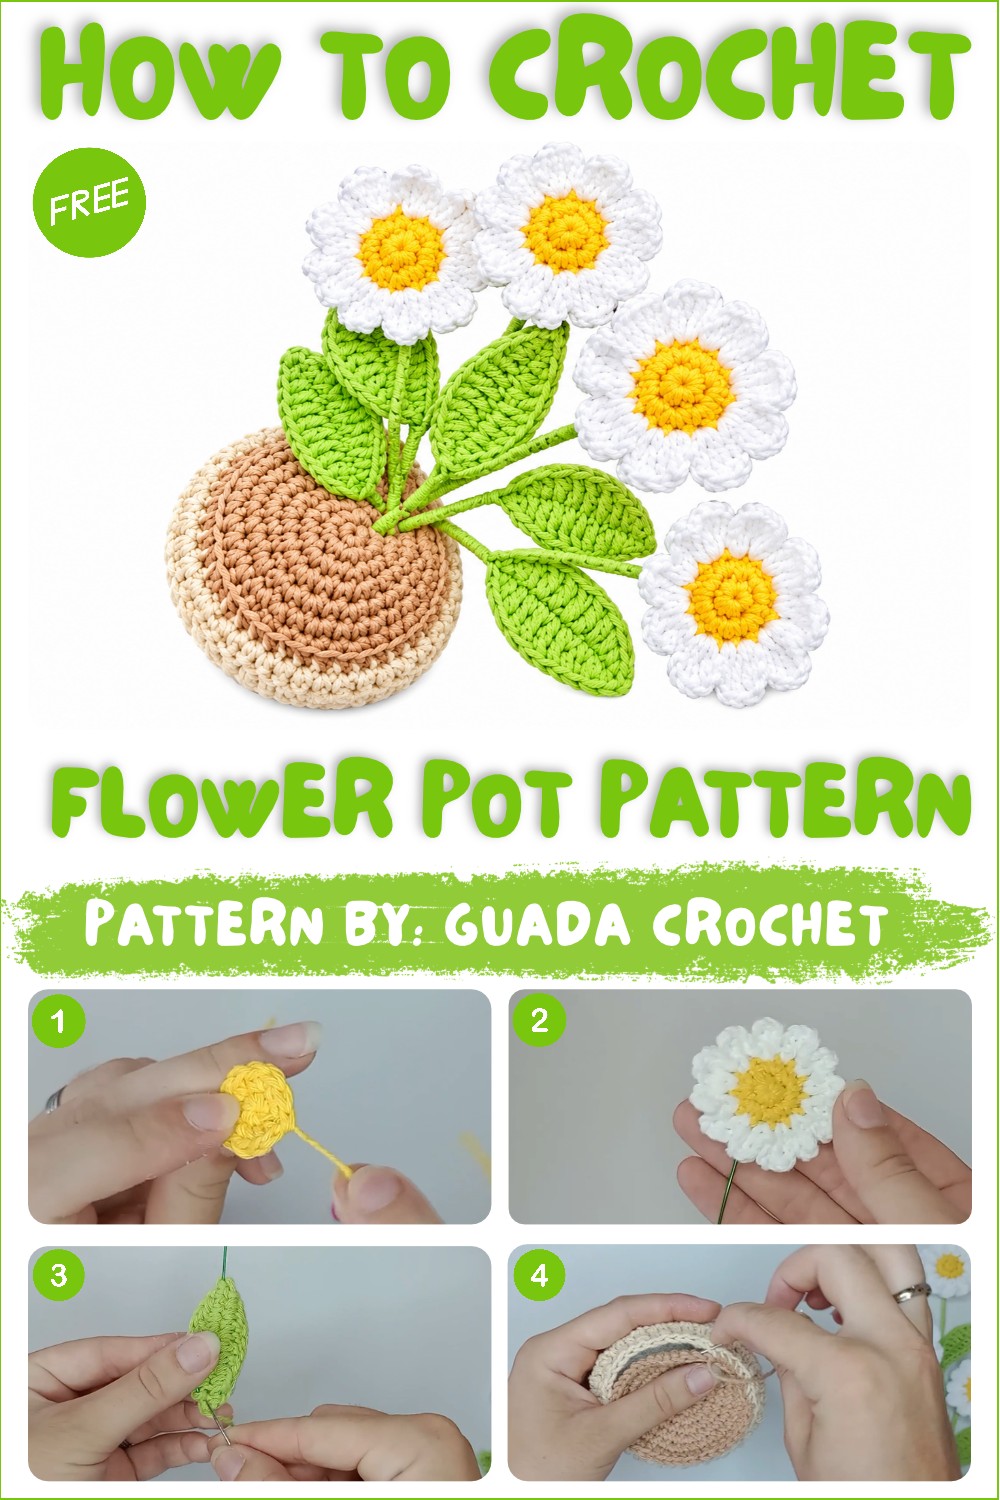
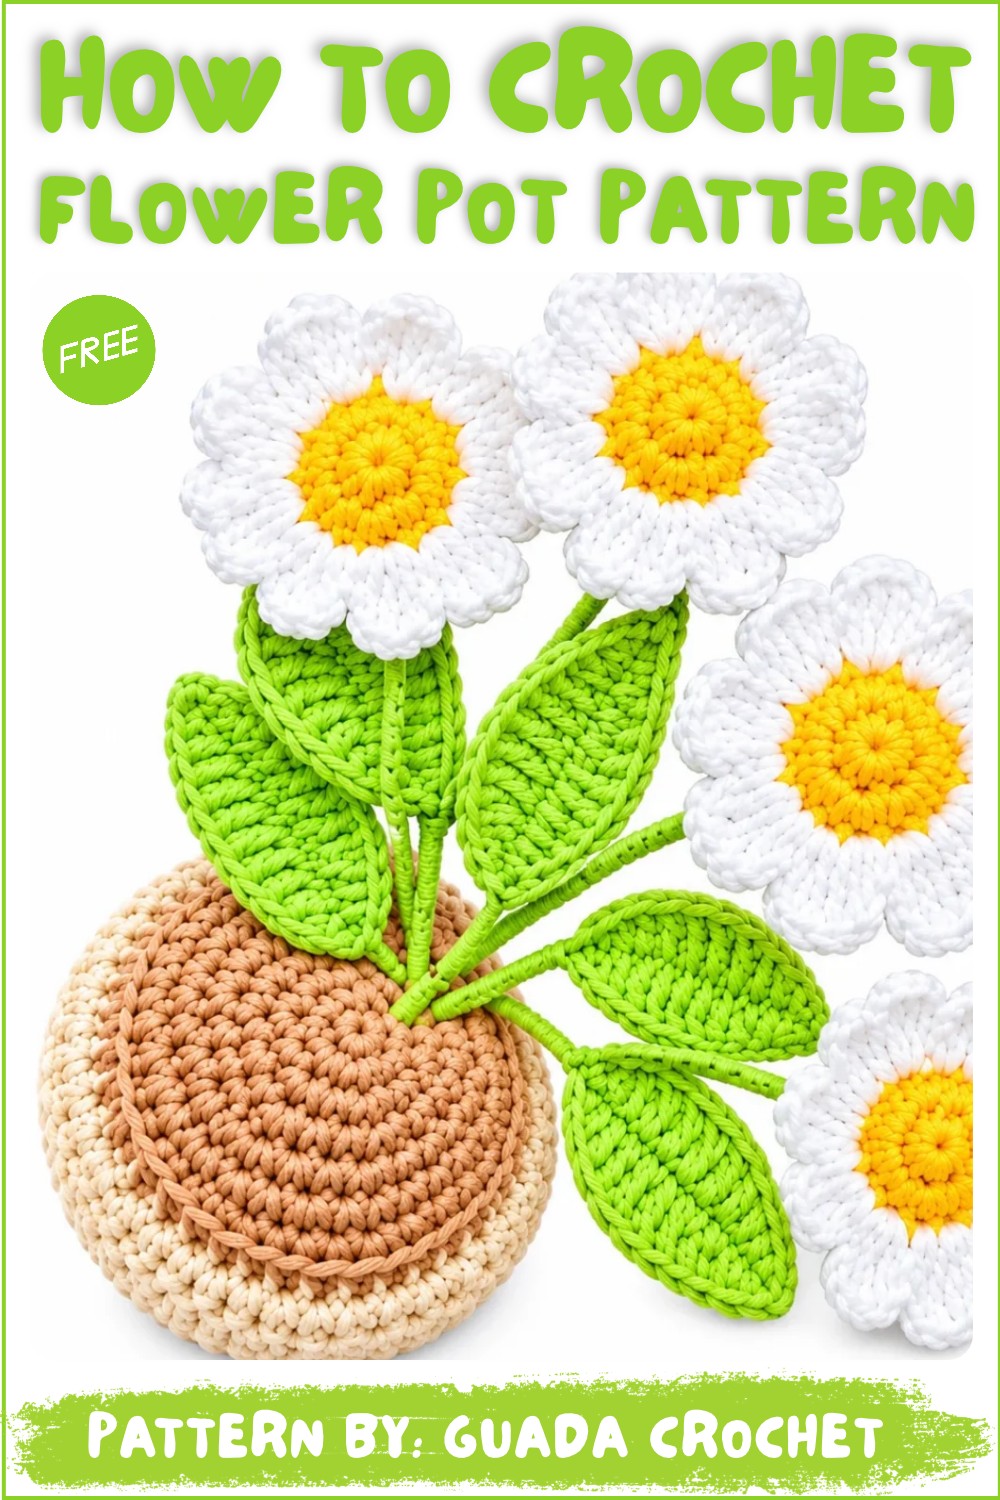
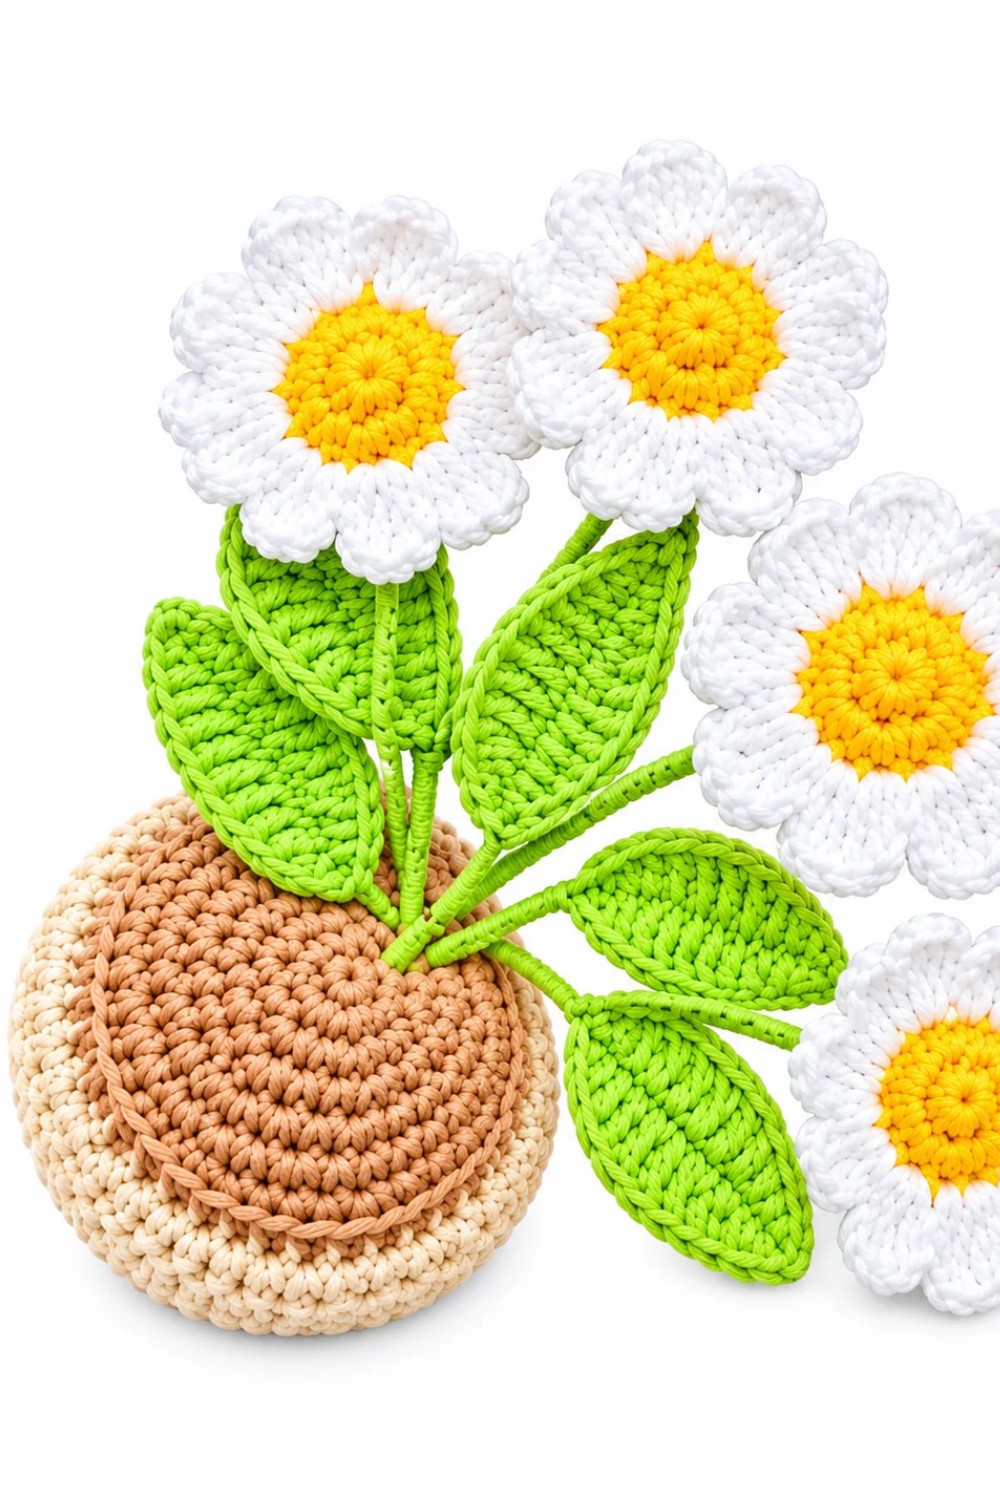
This flower pot stands out for its delightful appearance and eye-catching design. The pot is small and rounded, giving it a cute and cozy look, while the flower on top features soft, detailed petals and a sweet little stem. You can use bright and vibrant colors to make it pop or softer tones for a more elegant vibe—it’s completely up to you! The finished piece is a perfect blend of simplicity and playful beauty, with the soft yarn textures making it even more endearing.
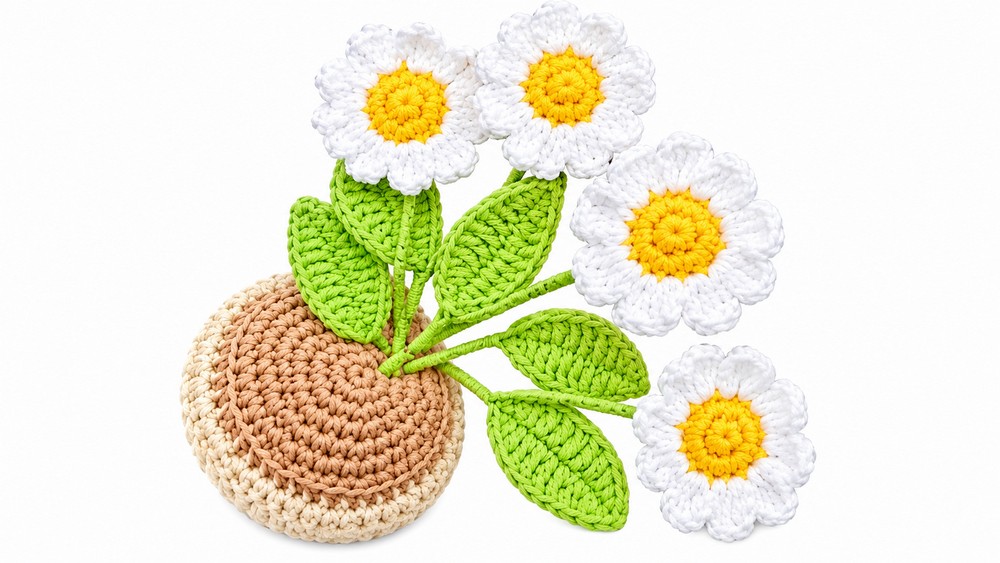
This adorable flower pot has plenty of uses. It’s perfect for brightening up a desk, shelf, or window ledge, adding a touch of charm to your space. It’s also a fantastic idea for a personalized gift, one you can make with love and care. Unlike a real plant, this flower pot is long-lasting and doesn’t require any maintenance, making it a practical yet decorative choice. Get ready to enjoy bringing this beautiful creation to life!
Potted Daisy Crochet Decoration Pattern
This crochet project teaches you how to create a charming potted daisy decoration. The realistic flower and leaves combine with a sturdy crochet pot and fiberfill “soil” to make a delightful home accent or gift. Working with fine cotton yarn and basic crochet stitches, this project features detailed shaping and assembly instructions for a lasting, attractive floral piece.
Pattern Highlights
- Realistic daisy flower center crafted with yellow and green yarn pieces.
- Detailed petals constructed by joining two flower centers and crocheting petals through both layers.
- Structured daisy leaves with shaping stitches worked along a chain base.
- Robust pot base using increasing rounds and textured stitches for a pleasing finish.
- Soft soil base made with fiberfill stuffing enclosed in a crocheted brown cap.
- Use of craft wire for sturdy stems allowing shape retention.
- Full assembly instructions, combining all elements into a charming decorative accent.
Notes
- The fine yarn used requires small-sized hooks (3 mm recommended) for tight, neat stitches.
- Use stitch markers to track rounds and ensure accurate stitch counts.
- Insert craft wire carefully through flower centers leaving a bend to secure it firmly inside.
- The soil stuffing helps the plant stand upright—make sure it’s firmly packed.
- Use liquid silicone glue sparingly to secure yarn ends or parts as needed.
- Blocking is optional but can help petals and leaves hold their shape better.
Skill Level
Suitable for intermediate crocheters proficient with:
- Working in magic rings and continuous rounds.
- Constructing petals with multiple stitches worked into the same space.
- Combining pieces by working through two layers of crochet.
- Managing a variety of stitches: single crochet (SC), double crochet (DC), half double crochet (HDC), slip stitches (sl st), and front-post relief stitches.
- Basic assembly techniques including inserting wire and sewing parts together securely.
Materials
- Cotton yarn, approx. 2 mm thickness, in colors:
- White (for petals),
- Yellow (flower center),
- Green (leaves and stem),
- Dark brown (soil),
- Beige (pot).
- 3 mm crochet hook.
- Tapestry needle and stitch marker.
- Scissors.
- Liquid silicone glue.
- Thin craft wire for floral stems.
- Fiberfill stuffing (bellón).
- Small piece of cardboard or plastic for the pot’s base disc.
Measurements / Sizing
- Finished potted daisy stands approximately 15–20 cm tall (depending on yarn tension and wire length).
- Daisy flower diameter is roughly 6–8 cm.
- Pot diameter and height approximately 7 cm each.
- Leaves approx. 8 cm in length.
Gauge and Stitch Pattern
- The piece is worked primarily in single crochet (SC) rounds, with detailing through double crochet (DC) and half double crochet (HDC) stitches.
- Pot body includes textured rounds using front-post relief stitches.
- Work tightly to maintain shape and prevent fiberfill from poking through stitches.
- Adjust hook size if necessary to achieve a firm fabric.
Stitch Abbreviations
| Abbreviation | Meaning |
|---|---|
| MR | Magic Ring |
| sc | Single Crochet |
| dc | Double Crochet |
| hdc | Half Double Crochet |
| sl st | Slip Stitch |
| inc | Increase (2 stitches in 1) |
| BLO | Back Loop Only |
Special Stitches
- Magic Ring (MR): Begin round with adjustable loop allowing for tight center closure.
- Front-post relief stitch: Crochet around the post of the stitch from the previous round, creating a raised texture.
- Petal formation: Made by chaining and working a combination of double crochet, slip stitches, and chains in the same stitch through two layers for firmness.
The Crochet Pattern!
Daisy Flower Center
Round 1:
- Using yellow yarn, create a Magic Ring.
- Crochet 6 single crochets (sc) into the ring. Pull tight.
Round 2:
- Increase in each stitch: 2 sc in each sc around (total 12 stitches).
Repeat this exact procedure to create one yellow center piece and one green center piece. These will be joined for petal construction.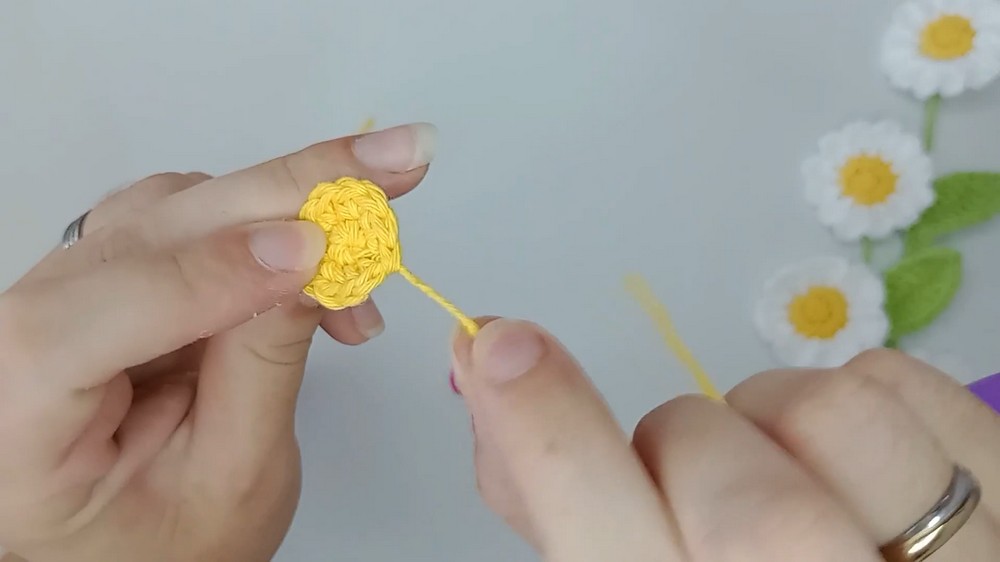
Daisy Petals
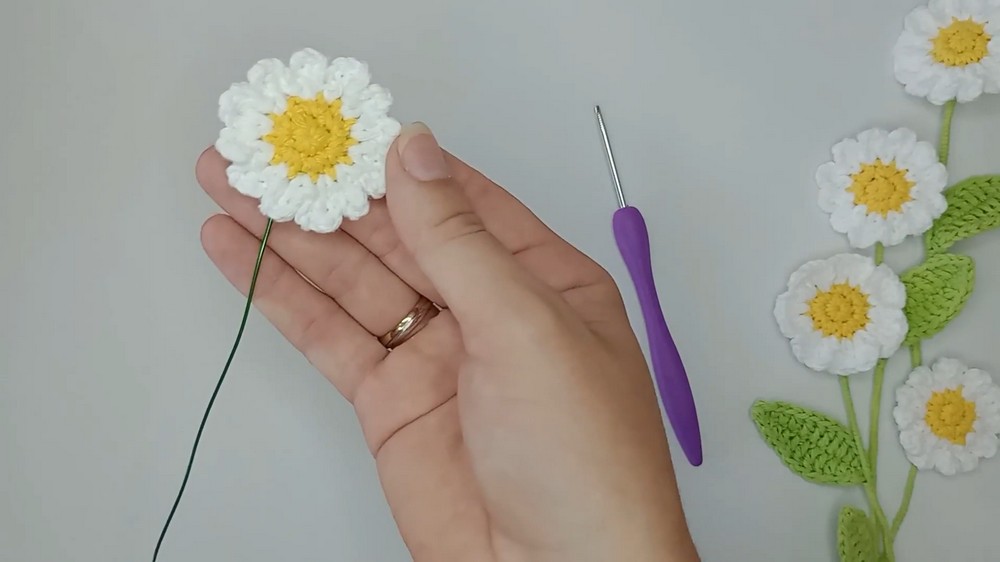
- Join the yellow and green centers by placing their wrong sides together.
- Work through both layers simultaneously.
- In each stitch around:
- Chain 3,
- 1 double crochet (dc) in the same stitch,
- Chain 3,
- Slip stitch in the same stitch.
- This sequence forms one petal. Repeat in each stitch until you have created 12 petals all around.
- Wire insertion: Leave a small gap between petals to insert the thin craft wire. Bend the wire end to secure it inside the flower, ensuring that the stem will be stable.
Leaf Pattern
- Chain 13.
- Work along the chain as follows:
- 2 slip stitches (sl st),
- 1 single crochet (sc),
- 2 half double crochets (hdc),
- 4 double crochets (dc),
- 2 half double crochets (hdc),
- 1 single crochet (sc),
- 1 slip stitch (sl st).
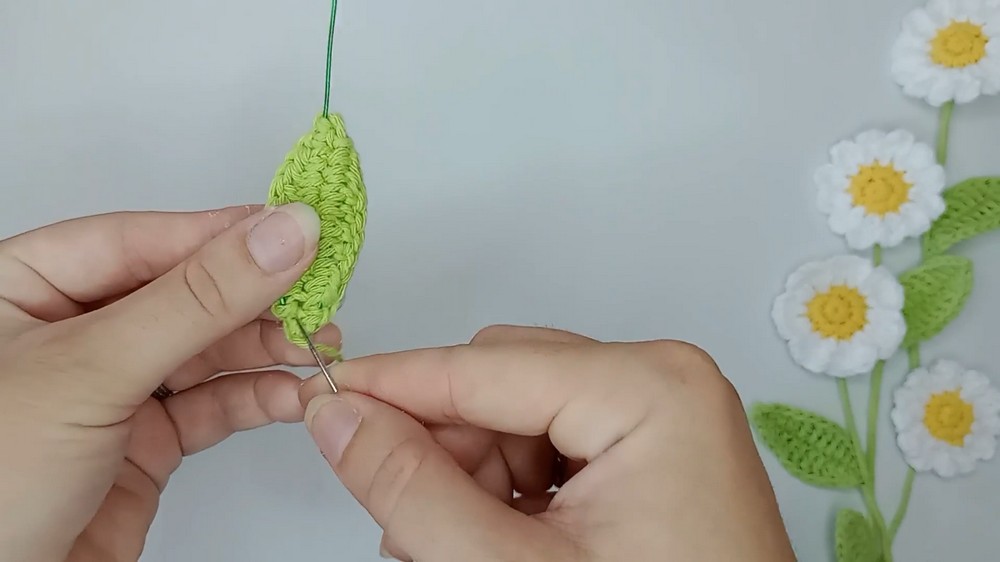
- Chain 1, turn the work, and repeat the same stitch sequence on the opposite side of the chain to create a symmetrical leaf.
- To prepare the stem: wrap the thin craft wire with green yarn tightly. Secure the completed leaf at the midpoint of the wire stem.
The Pot
Round 1:
- Using beige yarn, create a Magic Ring.
- Crochet 6 single crochets (sc) into the ring.
Round 2:
- Increase in every stitch (2 sc in each) to get 12 stitches.
Round 3:
- 1 sc, 1 inc repeat around, total 18 stitches.
Round 4:
- 2 sc, 1 inc repeat around, total 24 stitches.
Round 5:
- 3 sc, 1 inc repeat around, total 30 stitches.
Round 6:
- 4 sc, 1 inc repeat around, total 36 stitches.
Round 7:
- 5 sc, 1 inc repeat around, total 42 stitches.
Round 8:
- Work in back loops only (BLO).
- Crochet 1 half double crochet (hdc) in each stitch around.
Rounds 9-12:
- Continue with 1 half double crochet (hdc) in each stitch.
Round 13:
- 1 single crochet (sc), 1 front-post relief stitch repeat around for textured finish.
Soil and Assembly
- Create a base piece for the pot bottom identical to the pot base by repeating Rounds 1-7 of the pot pattern. This will create a sturdy insertion base.
- Insert the cardboard or plastic disk into the bottom of the pot for structure.
- Stuff the pot firmly with fiberfill stuffing to simulate soil volume.
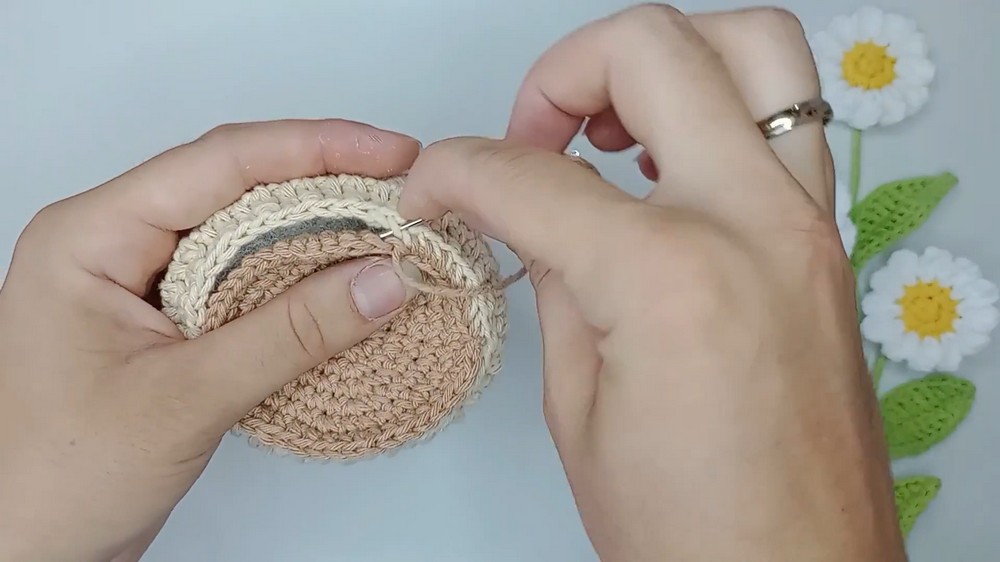
- Crochet the brown “soil cap” and sew it securely onto the top edge of the pot.
- To finish the pot’s edge, crochet double crochets (dc) into the front loop stitches left from Round 8, enhancing the rim’s definition.
- Insert the daisy’s wrapped wire stems into the fiberfill “soil.” Adjust and arrange the flowers upright as desired for your final display.
Assembly & Finished Size
- Assemble all pieces carefully: attach petals securely by working through both flower center layers.
- Securely wrap wire stems with yarn and attach the leaves midway.
- Stuff the pot and position the cardboard/plastic base internally for stability.
- Attach the soil cap tightly to the pot top, ensuring a neat finish.
- After inserting stems into the soil, shape the daisy into a natural, upright pose.
- The finished potted daisy measures approximately 15-20 cm tall, with a pot diameter near 7 cm and a flower diameter of 6-8 cm.
Conclusion
This detailed potted daisy crochet pattern offers a delightful combination of delicate floral handiwork and sturdy structural elements. Its skillful use of petals worked through two layers, realistic leaf shaping, and textured pot details demonstrate intermediate crochet techniques designed to yield a charming decorative piece. The integration of wire stems allows for easy arrangement and lasting posture, while fiberfill soil and a rigid base preserve overall stability. Perfect for gifting or brightening your living space, this potted daisy serves as a beautiful testament to the versatility of crochet art.