Free Crochet Tulip Flower Bouquet Pattern For Table Displays

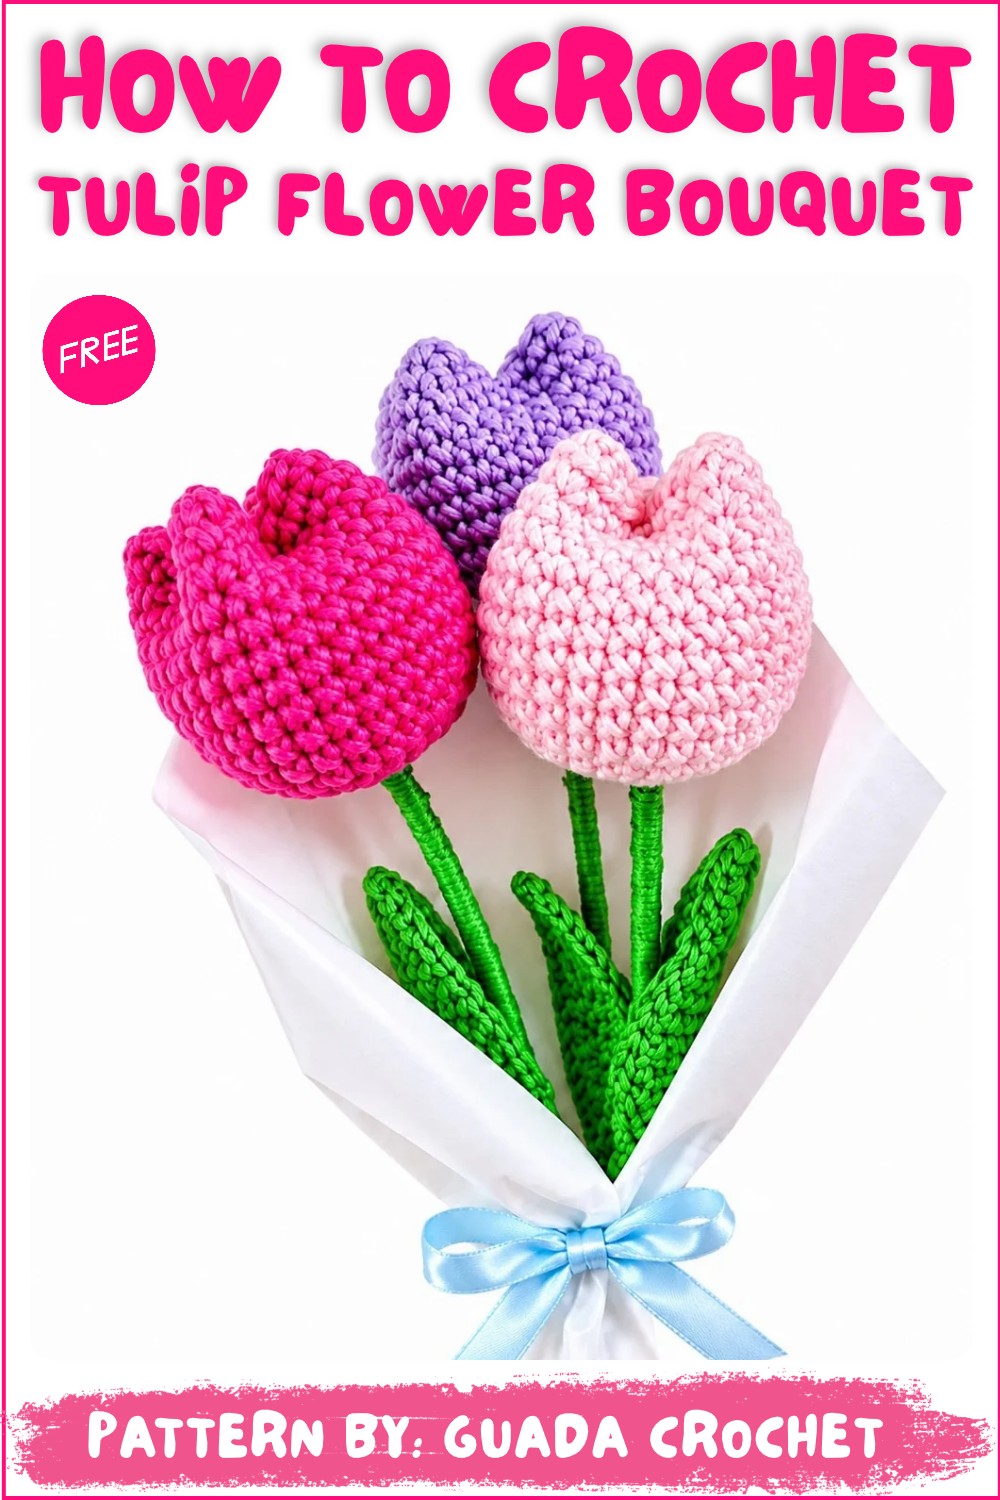
Arrange lovely flowers with this Crochet Tulip Flower Bouquet Free Pattern, featuring soft petals for a beautiful table or shelf display.
Bringing the fresh charm of spring into your home with a splash of color that never fades. Flowers have always been a symbol of beauty and warmth, making them perfect gifts or delightful decorations. Thanks to the talented creator behind Guada Crochet, there’s a wonderful tutorial that guides you through making a stunning Crochet Tulip Flower Bouquet Pattern. This project offers not only a delightful decoration but also a thoughtful handmade gift for loved ones on any occasion.
Handmade Crochet Tulip Flower Bouquet Free Pattern With Simple Steps
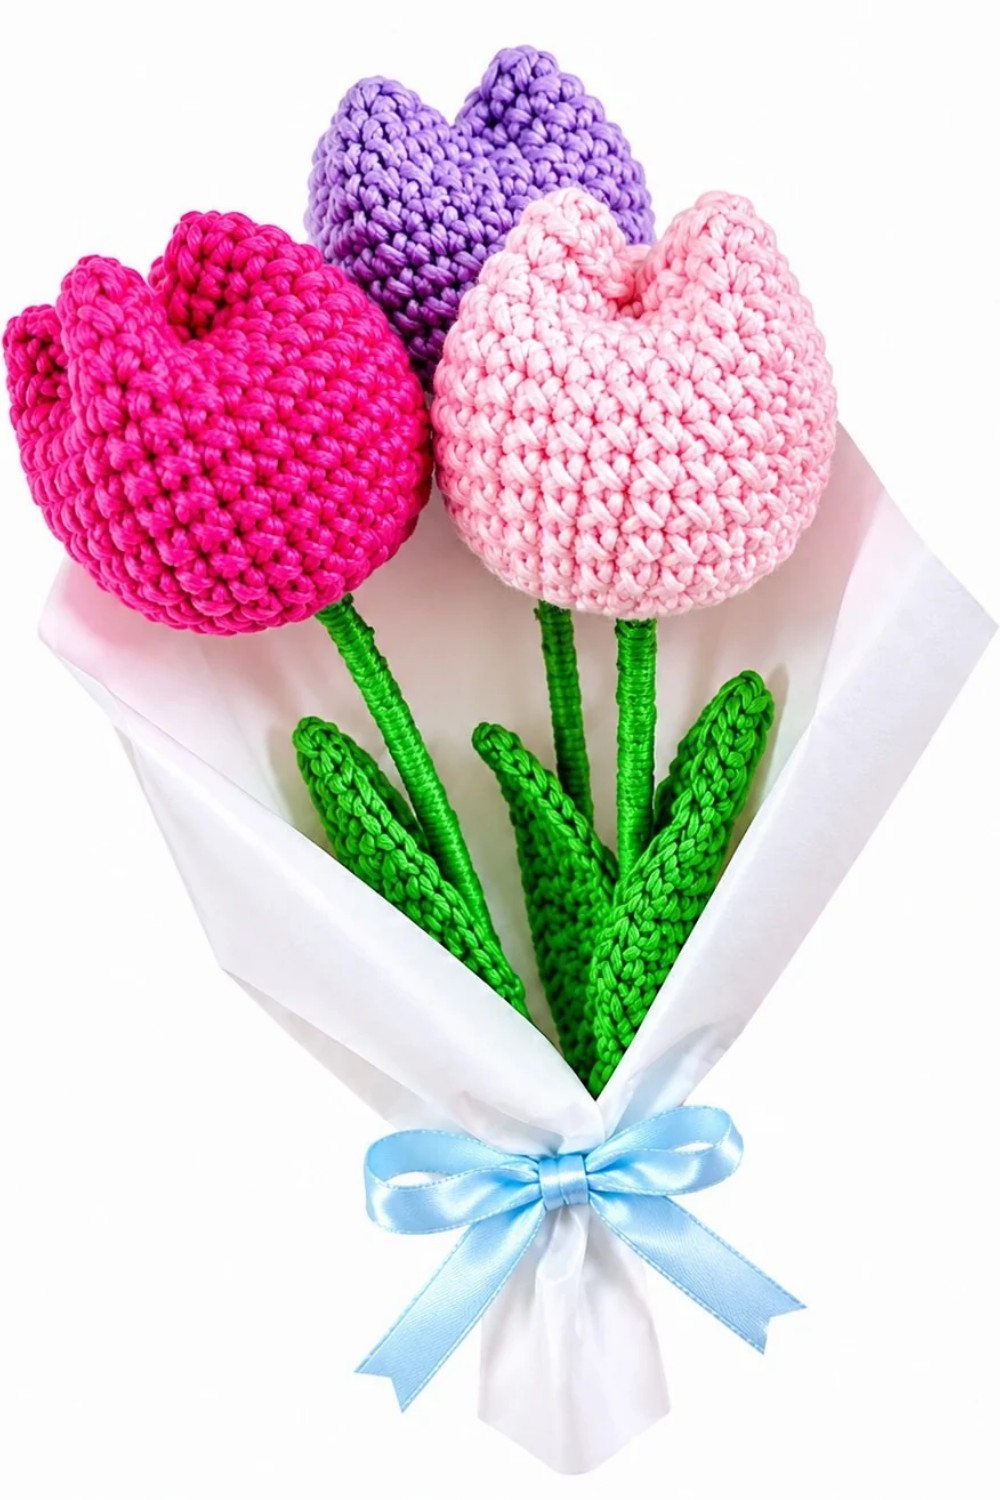
The Crochet Tulip Flower Bouquet is a charming floral arrangement made entirely from soft, delicate yarn. Each tulip showcases a beautifully rounded flower head with gently layered petals, crocheted to mimic the natural shape of a real tulip. The flowers are topped with slender green stems, wrapped neatly with yarn and reinforced with sticks, creating a lifelike yet durable structure. The leaves add extra elegance, shaped with careful stitches to bring fullness and balance to the bouquet.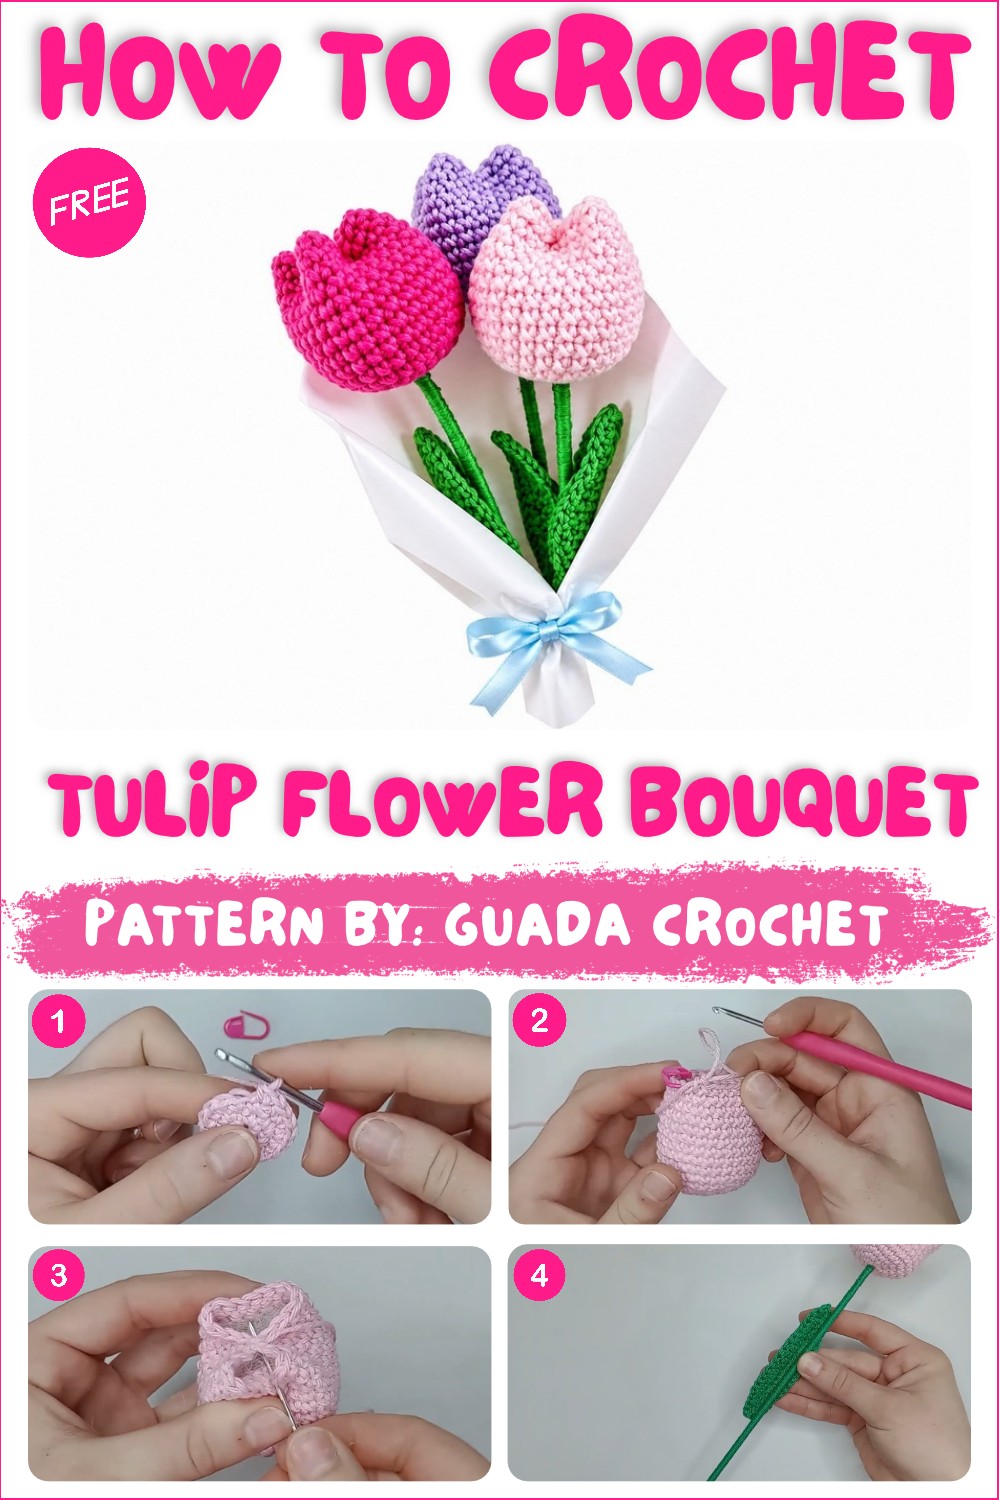
What truly makes this tulip bouquet special is its texture and style. The yarn’s smoothness combined with firm, even stitching gives the bouquet a pleasant tactile quality, making it inviting to touch and admire. Its compact, uplifting design fits perfectly on a desk, windowsill, or as part of a centerpiece, brightening any space effortlessly. Beyond home décor, this bouquet can be a memorable gift for birthdays, anniversaries, or simply as a token of appreciation.
Whether used to decorate a cozy living room or to brighten someone’s day, this crochet tulip bouquet blends creativity with a touch of nature’s elegance, making it a timeless treasure anyone can enjoy.
Fresh Crochet Tulip Flower Bouquet Free Pattern
This pattern guides you through creating a charming crochet tulip, perfect as a gift or cheerful decoration. Working in the spiral technique and applying fundamental amigurumi methods, you will produce a realistic tulip flower atop a sturdy, wrapped stem, finished with a delicate crochet leaf. Only two basic yarn colors and simple notions are needed to crochet and assemble your tulip, making it an accessible and satisfying project.
Quick Overview Of Pattern
- Crochet the tulip flower head from the magic ring, increasing in rounds for forming a realistic bulb shape.
- Prepare and cover the stem with green yarn for a neat, finished appearance.
- Attach the stem securely, gluing for stability.
- Crochet a leaf with easy stitch variations, then attach it to the stem.
- Close the flower tip, shaping petals for a natural look.
Notes
- Work in a continuous spiral unless stated; mark your first stitch of each round.
- Do not fully close the base of the tulip until the stem is inserted.
- This flower works up quickly; adjust the size by adding/removing increase rounds.
- Always allow glue to dry thoroughly before continuing to assembly steps.
- The leaf may be made smaller or larger by increasing or reducing chain counts.
Skill Level
Beginner/Advanced Beginner
If you know how to make:
- Magic ring
- Single crochet
- Half double crochet
- Double crochet
- Increasing
Then you will master this pattern easily!
Materials
- Cotton Yarn (~2 mm):
- Green for stem and leaves
- Pink for the flower (or any color of your choice)
- Crochet Hook: Size 3 mm
- Stems/Sticks: Floral or craft sticks for stability
- Stuffing: Polyester fiberfill or silicone stuffing
- Glue: Fast-drying craft or hot glue (that doesn’t penetrate the fabric)
- Tapestry needle
- Stitch marker
- Scissors
Measurements / Sizing
- Finished tulip length: varies by stick and flower size (flower head approx. 5 cm tall, stem length as preferred)
- Leaf: approx. 7 cm long; width around 1.5 cm at widest part
Gauge (and Stitch Pattern)
Gauge is not critical; make sure stitches are tight enough to hold their shape when stuffed.
Stitch Abbreviations
- mr – magic ring
- sc – single crochet
- inc – increase (2 single crochets in one stitch)
- sl st – slip stitch
- ch – chain
- hdc – half double crochet
- dc – double crochet
Special Stitches
- Magic Ring: Make a loop, pass your hook through, pull up a loop, and secure with a chain. Then work desired stitches into the ring.
The Crochet Pattern
The Flower Head
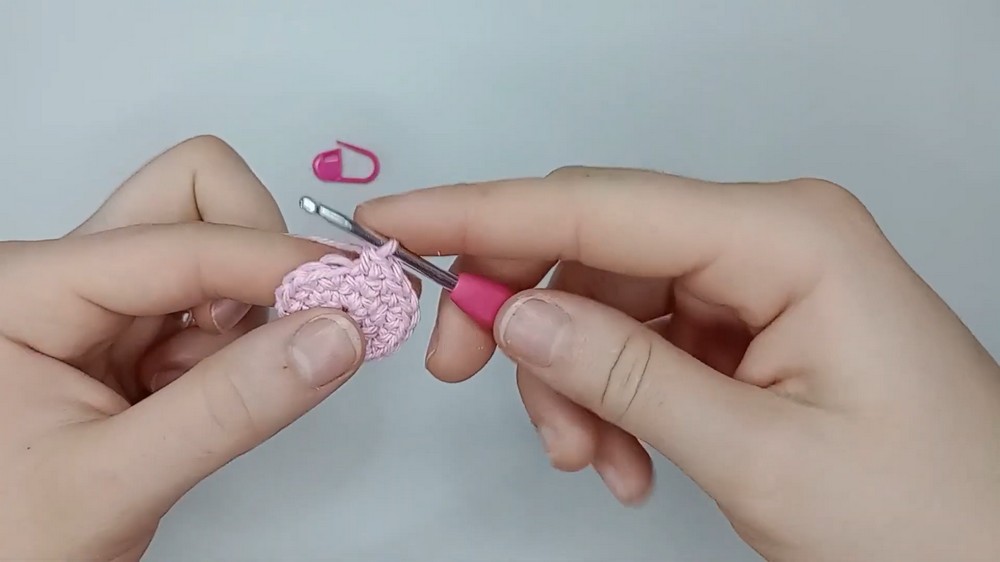
- Magic Ring: With flower color yarn, form a magic ring, then ch 1.
- Work 6 sc into the ring.
Do not close the ring tightly; leave a small opening for the stem later. - Round 2:
- Inc in each stitch around (2 sc in every stitch) – 12 sts.
- Mark the first stitch.
- Round 3:
- (1 sc, 1 inc) around.
- (18 sts)
- Round 4:
- (2 sc, 1 inc) around.
- (24 sts)
- Round 5:
- (3 sc, 1 inc) around.
- (30 sts)
- Rounds 6–15 (10 rounds):
- Sc in each stitch around.
- (30 sts per round)
- Continue marking the first stitch in each round.
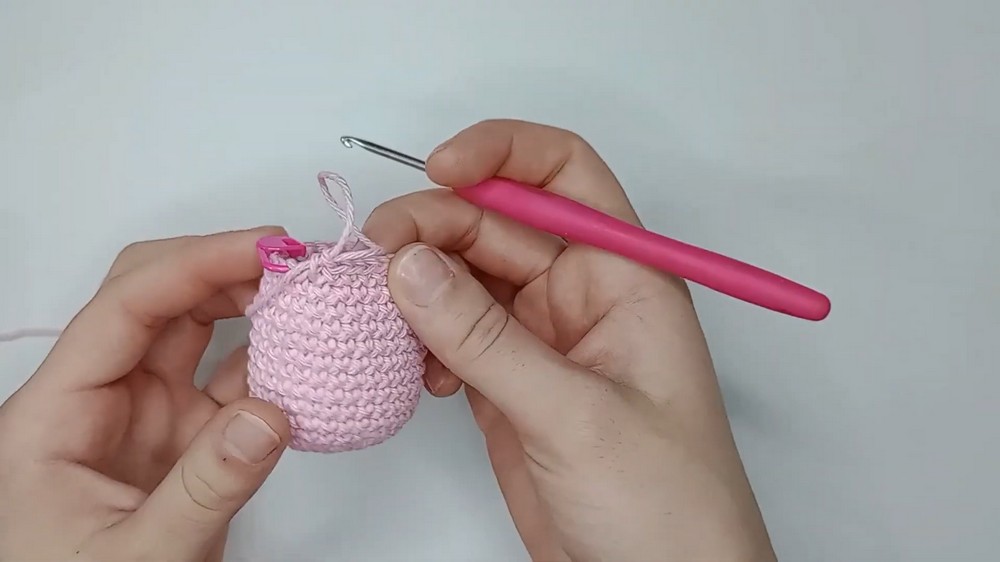
- After finishing Round 15,
- Sl st into the marked first stitch.
- Ch 1, cut yarn leaving a long tail (for sewing).
- Pull tail to the inside and set aside.
Preparing and Covering the Stem
- Insert a stick through the flower’s base (center of magic ring) to check depth.
- Remove the stick. At the place marked,
- Apply glue and attach the green yarn’s end.
- Neatly wrap the yarn side-by-side down the stick, adding glue every so often to hold in place.
- When you reach near the base, apply glue again, finish wrapping, cut excess yarn, and let dry.
Attaching Stem to Flower
- Insert the wrapped stick into the center hole of the tulip.
- Pull the magic ring’s starting tail to gently close the hole around the stick base.
- Apply glue around the base of the flower inside, securing the stem.
- Let the glue dry fully before moving on.
The Leaf
- With green yarn, ch 21.
- Foundation Row:
- In 2nd ch from hook,
- 2 sc,
- 3 hdc,
- 10 dc,
- 3 hdc,
- 2 sc.
- In 2nd ch from hook,
- Turning Row:
- Ch 1, turn the work, working along the chain’s opposite side:
- 2 sc,
- 3 hdc,
- 10 dc,
- 3 hdc,
- 2 sc.
- Ch 1, turn the work, working along the chain’s opposite side:
- Finishing the Leaf:
- Sl st into the first sc.
- Ch 1, cut a long tail.
- Use the tapestry needle to weave in or hide ends.
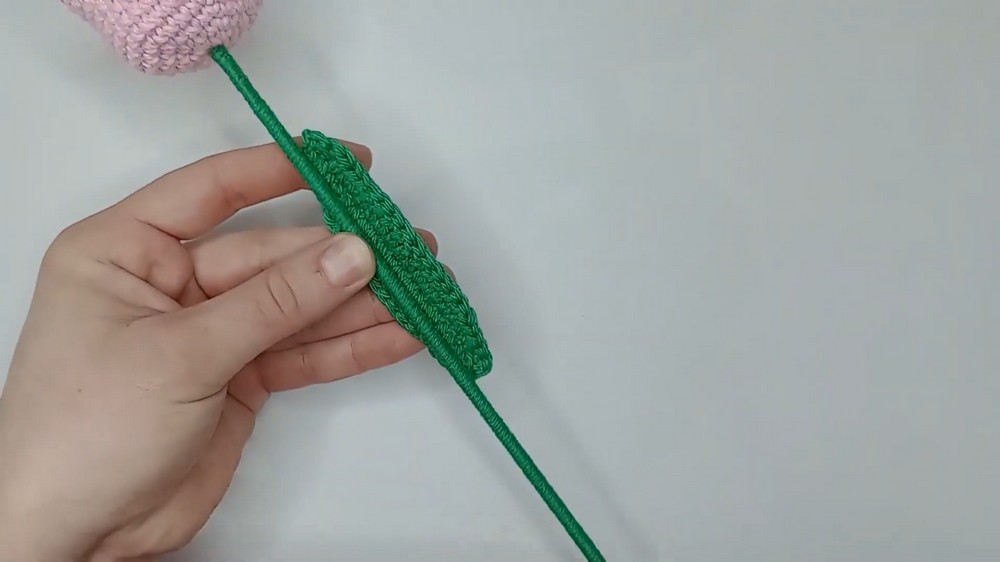
Attaching the Leaf
- With the tapestry needle, weave in the remaining yarn tail.
- Apply glue down the center back of the leaf.
- Press onto the stem at your chosen height. Hold until dry.
Closing the Tulip Top
- Stuff the tulip with fiberfill, filling only up to the area you want to close while keeping the rim soft.
- Use the long yarn tail (from flower’s top) and tapestry needle.
- Fold the top opening in half and sew across the center, joining the edges firmly.
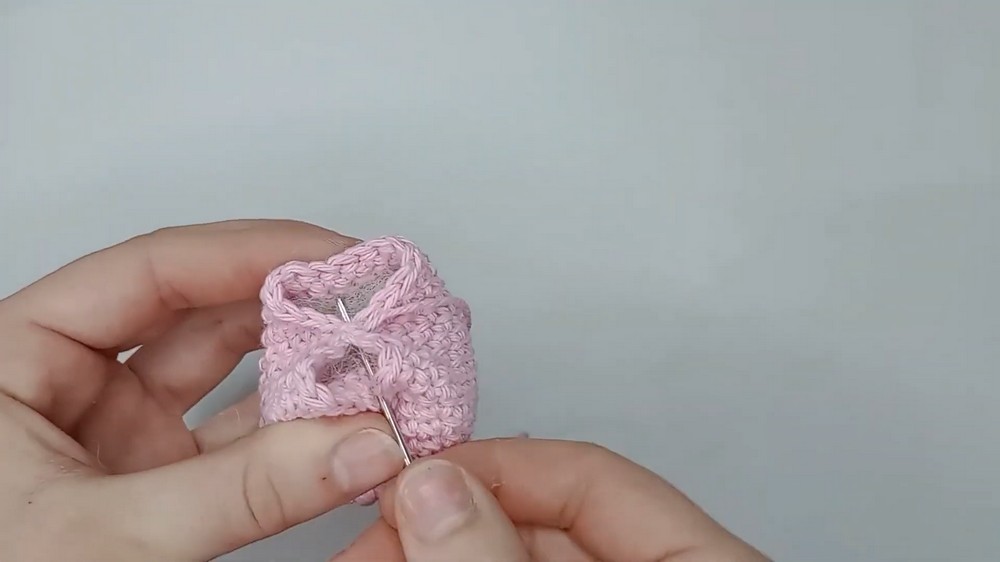
- Fold each remaining corner toward the center, shaping the closed tulip petals.
- Stitch the corners down for security, forming a nice, closed tulip tip. Knot firmly.
- Insert the yarn tail inside the flower with the needle; trim excess.
Assembly & Finished Size
- Make sure all glue is set and the leaf attached firmly.
- Fluff the flower and leaf to your desired shape.
- Your finished tulip stands firm thanks to the wrapped stem and has a smooth, closed blossom with a realistic pointed shape. Total height is determined by the stem length used; typical flower head is 5 cm, leaf approx. 7 cm, and overall tulip height may be 18–25 cm.

Conclusion and Ending Words
Now your lively crochet tulip is complete, ready to brighten up any space! This easy, satisfying pattern utilizes core crochet skills along with simple assembly and finishing techniques shown in the video. Create a bouquet with different colors, or experiment with leaf placement for a custom arrangement. Using tight single crochets ensures your flower keeps its shape, while well-placed seams and wrapping keep your tulip looking professional and vibrant. Enjoy gifting your tulip, adding it to your décor, or mixing it with other flowers for a joyful handmade bouquet.