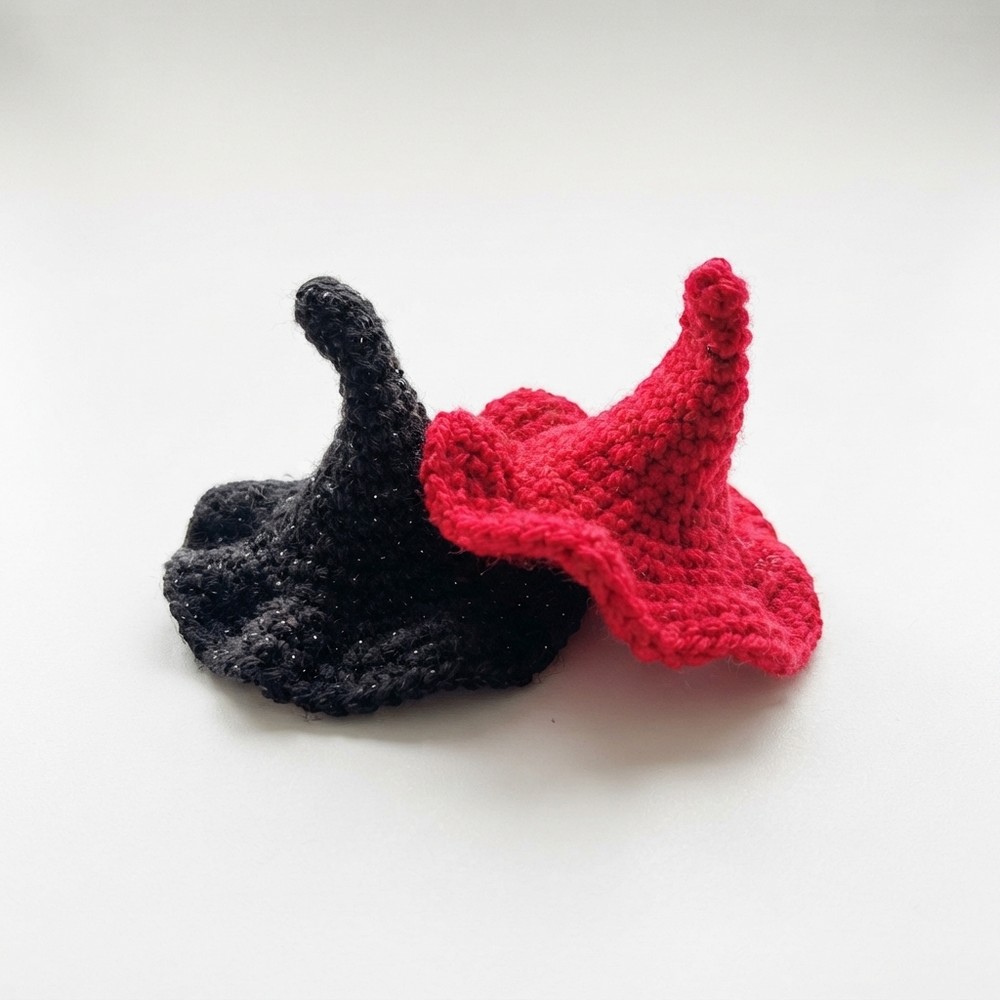
Cute Free Crochet Witch Hat Pattern for Halloween

Add a touch of magic to your projects with this free crochet witch hat pattern, bringing charm and fun to your seasonal or everyday handmade items.
Halloween is the perfect time to add a touch of spooky charm to your handmade creations, and the free crochet Witch Hat Pattern is an excellent way to do just that. Offered by the talented Needle Cuddle, this cute little hat is designed to fit small witch dolls but works brilliantly as a decorative charm, keychain, or playful ornament. Its simple yet effective design makes it a fun project for crocheters looking to boost their skills while creating something festive and unique.
Simple Free Crochet Witch Hat Pattern for Dress Up
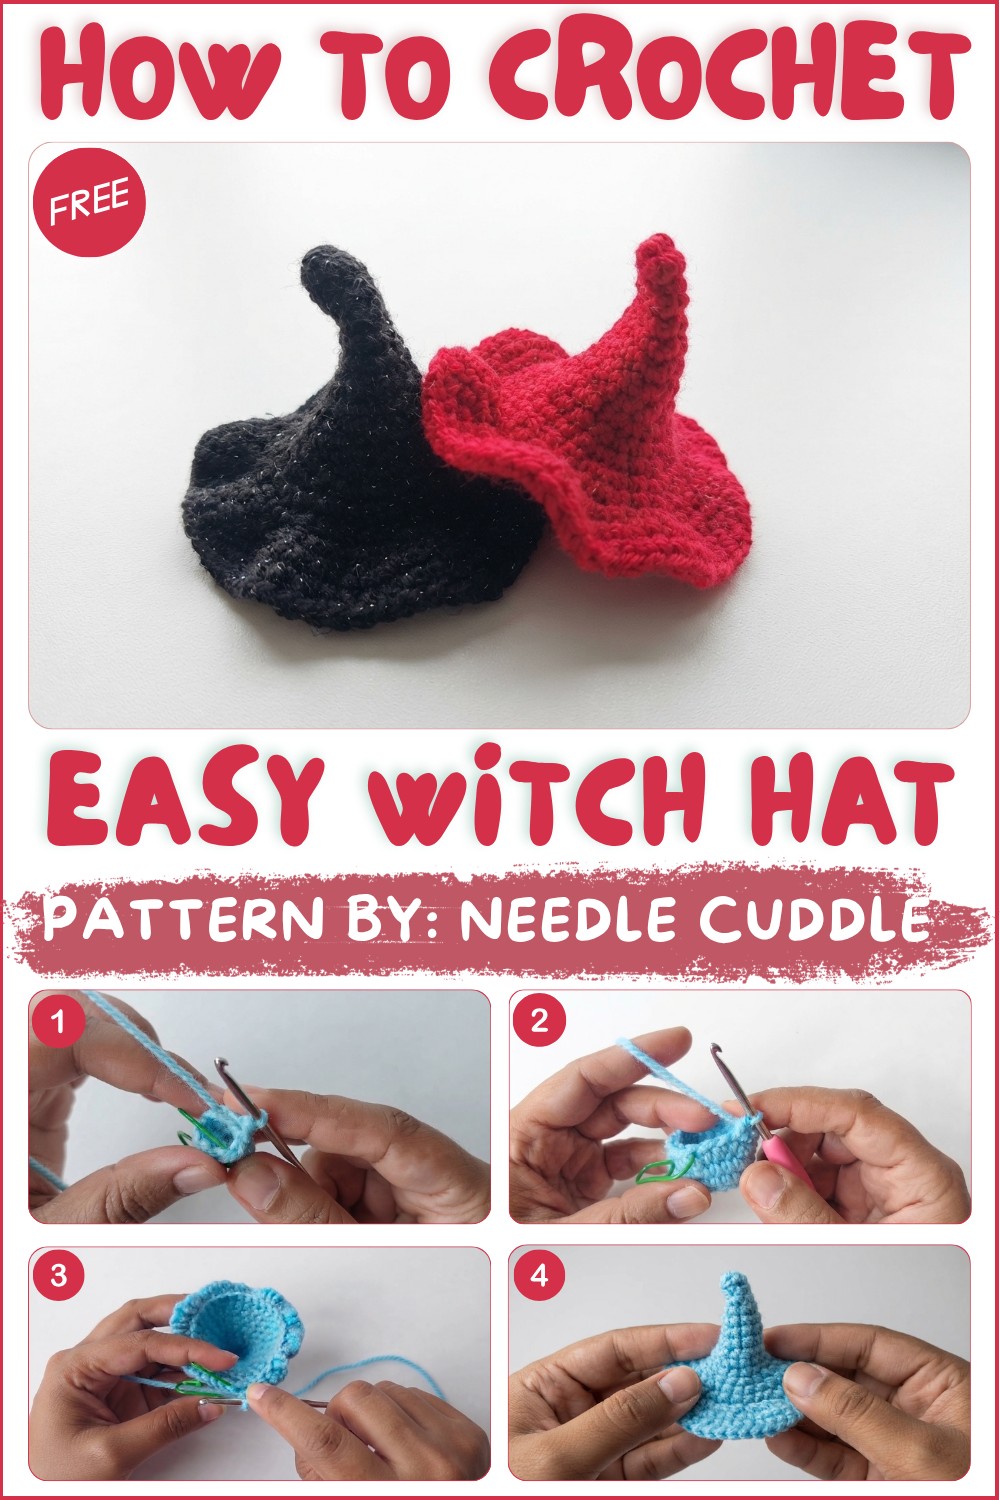
This witch hat boasts a classic triangular shape with a tall, pointed crown and a wide, flat brim that beautifully captures the essence of Halloween. The texture is firm and well-defined, thanks to tight single crochet stitches worked mostly in rounds, with some rounds crocheted only in the front loops to add subtle dimension. The pattern’s clever use of yarn colors allows you to experiment, while the pattern uses blue yarn for visibility, switching to traditional black or even vibrant purples can make the hat truly stand out. The end result is an elegantly simple piece with clean lines and a polished finish.
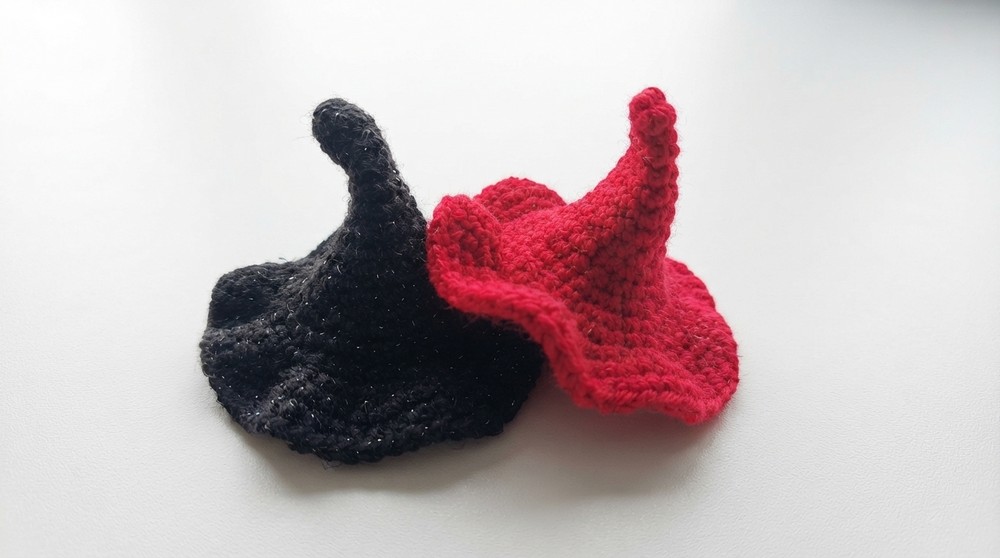
Perfect as a gift for fans of handcrocheted items or as a unique addition to your own seasonal décor, this tiny witch hat has plenty of decorative value. It can top a miniature doll’s head, serve as a quirky keychain, or hang as a festive charm around your home. Beyond its look, making this project helps you practice essential crochet techniques: working magic rings, stitch increases, and front loop crocheting for shaping. This blend of charm and skill-building opportunity makes it a gratifying project.
Thanks to Needle Cuddle’s detailed and easy-to-follow video, creating this free crochet Witch Hat Pattern is both enjoyable and satisfying, infusing your projects with personality and a hint of magic.
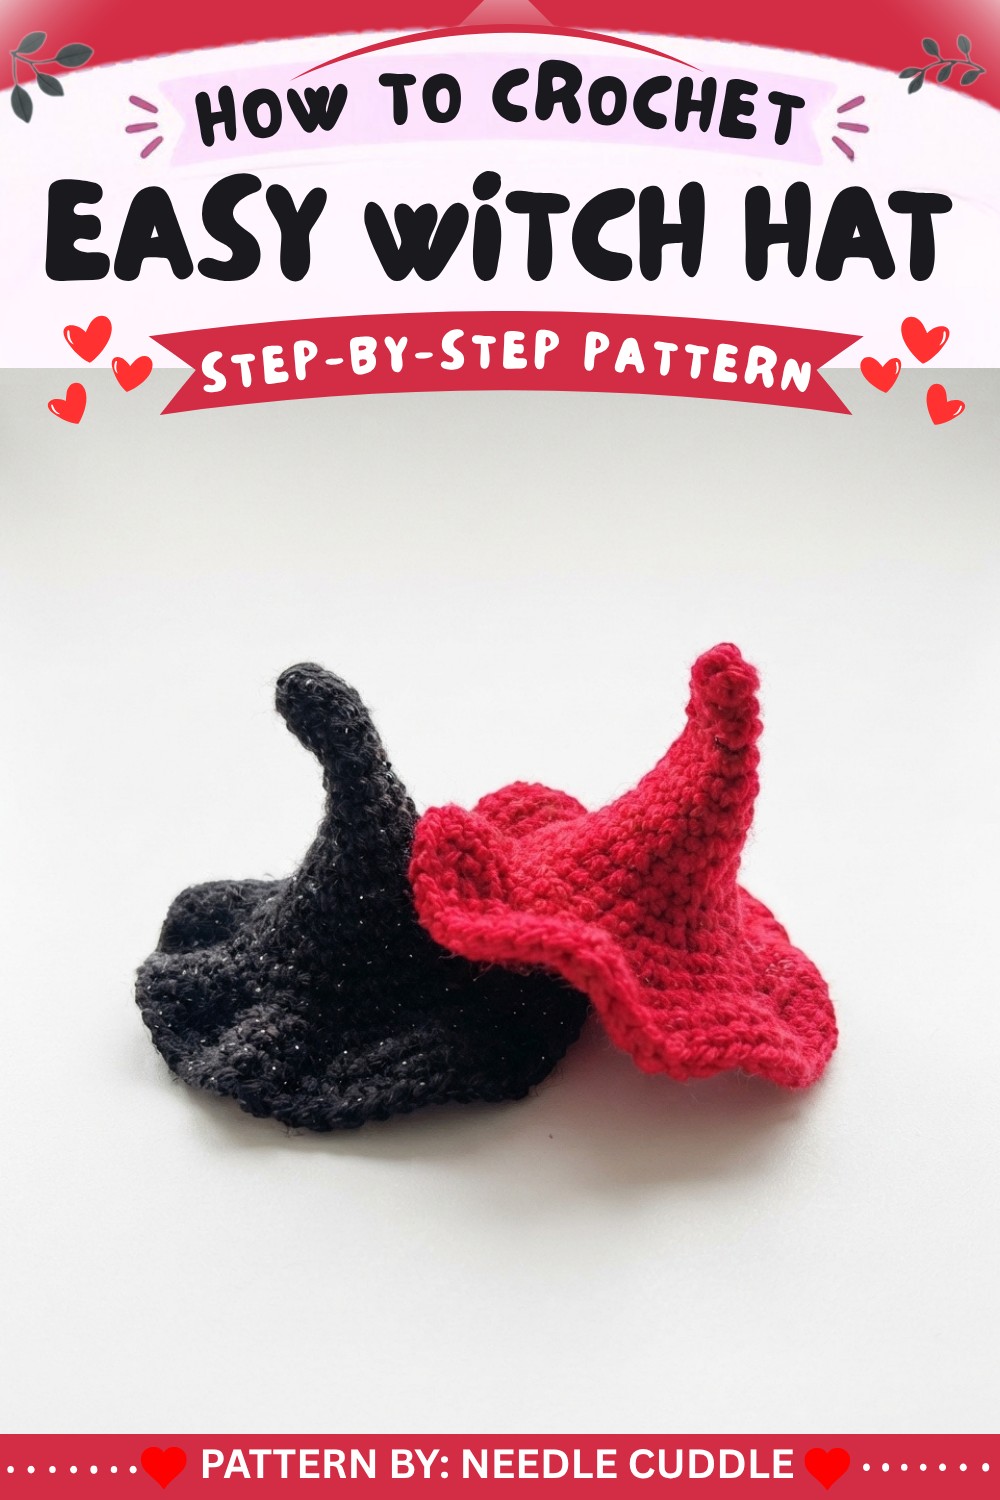
Tiny Witch Hat Crochet Pattern
In this step-by-step crochet pattern, you will learn how to make a tiny witch hat, following the video instruction exactly from start to finish. Each round is described in detail, ensuring your finished hat comes out crisp and magical, ready for any amigurumi witch, doll, or to use as a keychain accessory.
Pattern Basic Points
Construction Overview
- The hat is crocheted in one piece, starting at the tip and working down to the brim.
- Alternating between increasing rounds and standard single crochet rounds forms the classic pointed shape.
- Full brim is created with front loop only (FLO) increases for a flared edge.
- Precise stitch counts and color changes (if desired) reproduce the same hat as seen in the video.
- The result is a sturdy, dimensional witch hat suitable for play or decoration.
Special Notes
- A stitch marker is highly recommended for marking the beginning of each round, as the rounds are worked in a continuous spiral.
- Maintain even and tight tension throughout to give the hat proper shape.
- Adjust the brim or color to personalize or match your own amigurumi creations.
- Use a long tail to sew the hat onto a doll, or weave in neatly if making as a freestanding accessory.
Skill Level
Confident Beginner to Intermediate
If you are familiar with basic amigurumi techniques such as the magic ring, working in the round, single crochet increases and decreases, and working in front loop only, you will find this hat approachable and enjoyable.
Materials
- 4-ply yarn (blue is shown for visibility, but any color will work for your witch hat)
- 2.5 mm crochet hook
- Scissors
- Tapestry needle or yarn needle (for finishing and sewing)
- Stitch marker
Measurements / Sizing
- Approximate finished size: About 2 inches (5 cm) tall; brim diameter about 2–2.5 inches (5–6.5 cm)
(Exact size will vary based on yarn and tension.)
Gauge
- Gauge is not critical for this project.
To ensure a firm, stand-up shape, use the smallest hook recommended for your yarn and maintain tight, even stitches.
Stitch Abbreviations
- ch: chain
- sc: single crochet
- inc: increase (2 sc in same stitch)
- st(s): stitch(es)
- BLO: back loop only
- FLO: front loop only
- MR: magic ring
Special Stitches
- Magic Ring (MR): Form a loop, work the first stitches into the ring, and pull tight to close.
- Increase (inc): Work 2 single crochets into the same stitch.
- Front Loop Only (FLO): Insert hook into the front loop only of the stitch (for brim).
- Working in Spiral Rounds: Do not join at end of round; place stitch marker at start of round.
Pattern Instructions
Tiny Witch Hat
Work in a continuous spiral. Place a stitch marker at the beginning of each round and move it up as you go.
Hat Point
- Row 1:
- Magic Ring, 4 single crochet (sc) into ring. (4 stitches)
- Row 2:
- 1 sc in each stitch. (4 stitches)
- Row 3:
- (1 inc, 1 sc) x 2. (6 stitches)
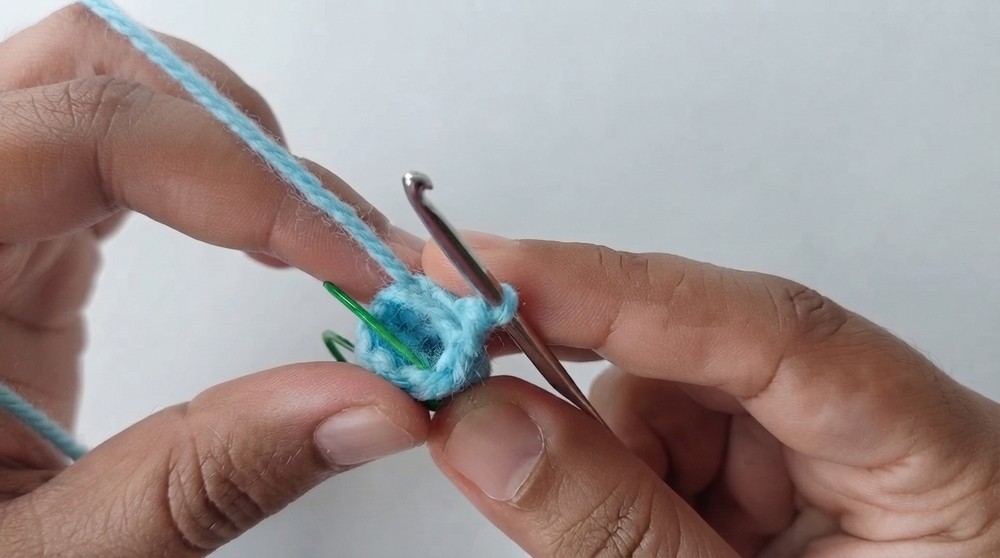
- (1 inc, 1 sc) x 2. (6 stitches)
- Row 4:
- 1 sc in each stitch. (6 stitches)
- Row 5:
- 1 sc, 1 inc, 1 sc, 1 inc, 2 sc. (8 stitches)
- Row 6:
- 2 sc, 1 inc, 2 sc, 1 inc, 2 sc. (10 stitches)
- Row 7:
- 3 sc, 1 inc, 3 sc, 1 inc, 2 sc. (12 stitches)
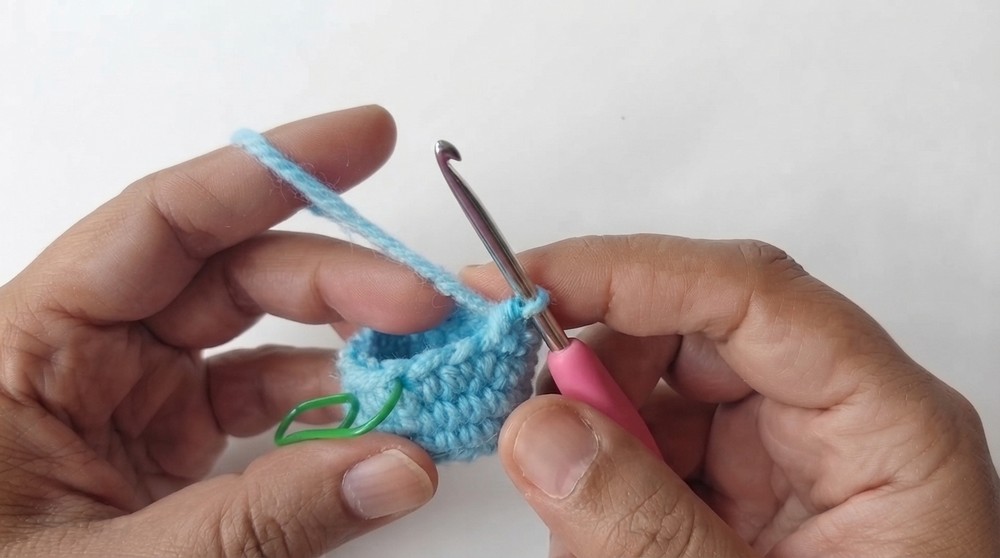
- 3 sc, 1 inc, 3 sc, 1 inc, 2 sc. (12 stitches)
- Row 8:
- 4 sc, 1 inc, 4 sc, 1 inc, 2 sc. (14 stitches)
- Row 9:
- 1 sc in each stitch around. (14 stitches)
Increase Rounds for Wide Hat Base
- Row 10:
- (2 sc, 1 inc) x 4, 2 sc. (18 stitches)
- Row 11:
- 1 sc in each stitch around. (18 stitches)
- Row 12:
- 1 sc, 1 inc, (2 sc, 1 inc) x 5, 1 sc. (24 stitches)
- Row 13:
- (3 sc, 1 inc) x 6. (30 stitches)
- Row 14:
- 1 sc in each stitch around. (30 stitches)
Brim
- Row 15:
- (FLO 1 inc) x 30.
That is, work 2 single crochet into the front loop only of each stitch from the previous round, all the way around.
(60 stitches, giving a very full, even brim)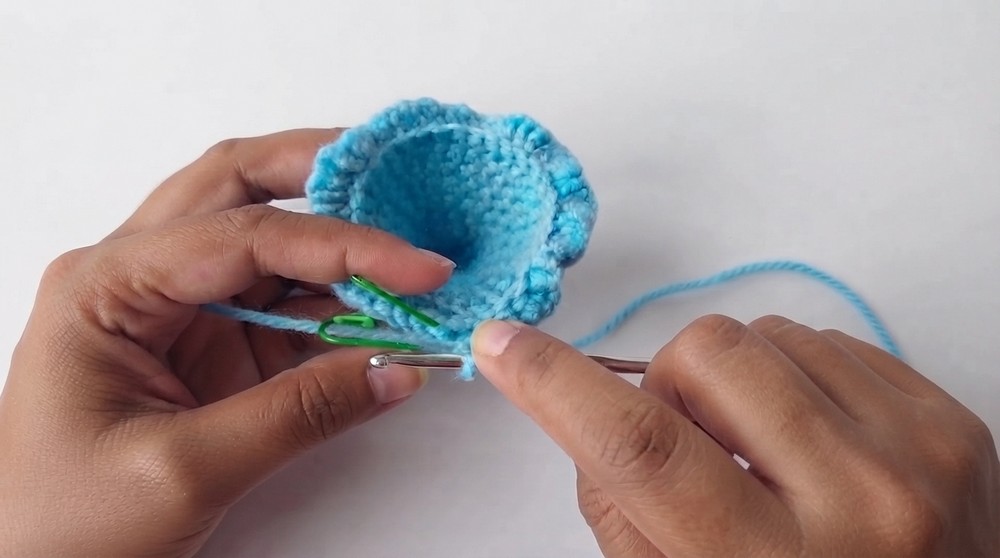
- (FLO 1 inc) x 30.
- Rows 16–17:
- 1 sc in each stitch (through both loops). (60 stitches per row)
Finish
- If attaching to a doll or figure, leave a long yarn tail for sewing.
- If using as a keychain, weave in the end securely with a tapestry/yarn needle.
Assembly & Finished Size
- No separate assembly is required for the hat itself.
- If desired, use the long yarn tail to securely sew the witch hat to a doll’s head, or add a string for hanging or display.
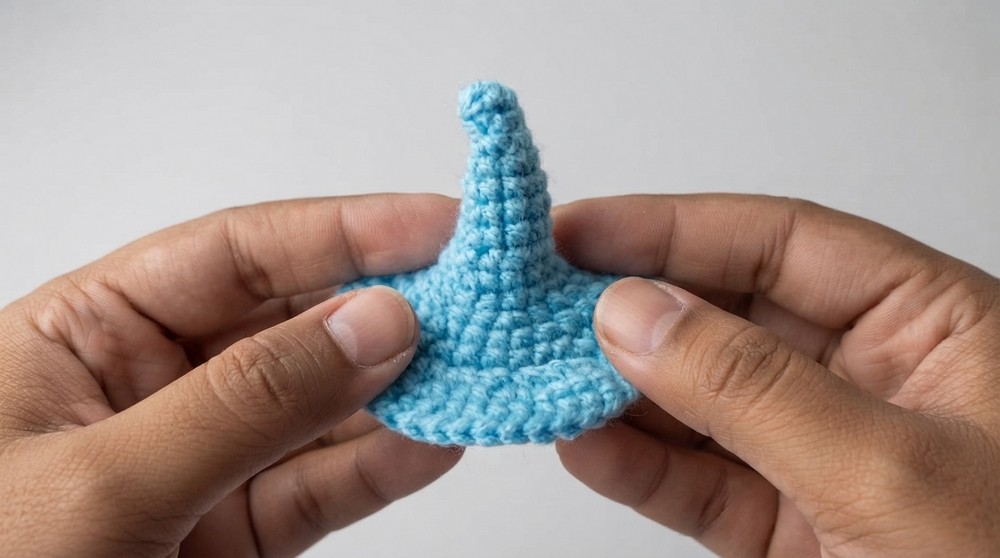
- Finished hat is approximately 2 inches (5 cm) tall and the brim measures about 2–2.5 inches (5–6.5 cm) wide.
Conclusion
Congratulations! Your tiny witch hat is now complete, featuring a pointed top, classic curved brim, and crisp construction as shown in the video tutorial. This magical accessory is ideal for amigurumi witches, Halloween-themed crafts, miniature displays, or keychain gifts. You can personalize your hat with stripes, appliqués, or embroidery for extra character.
https://www.youtube.com/watch?v=tKcTRTISIPM