Free Amigurumi Crochet Elephant Ornament Pattern

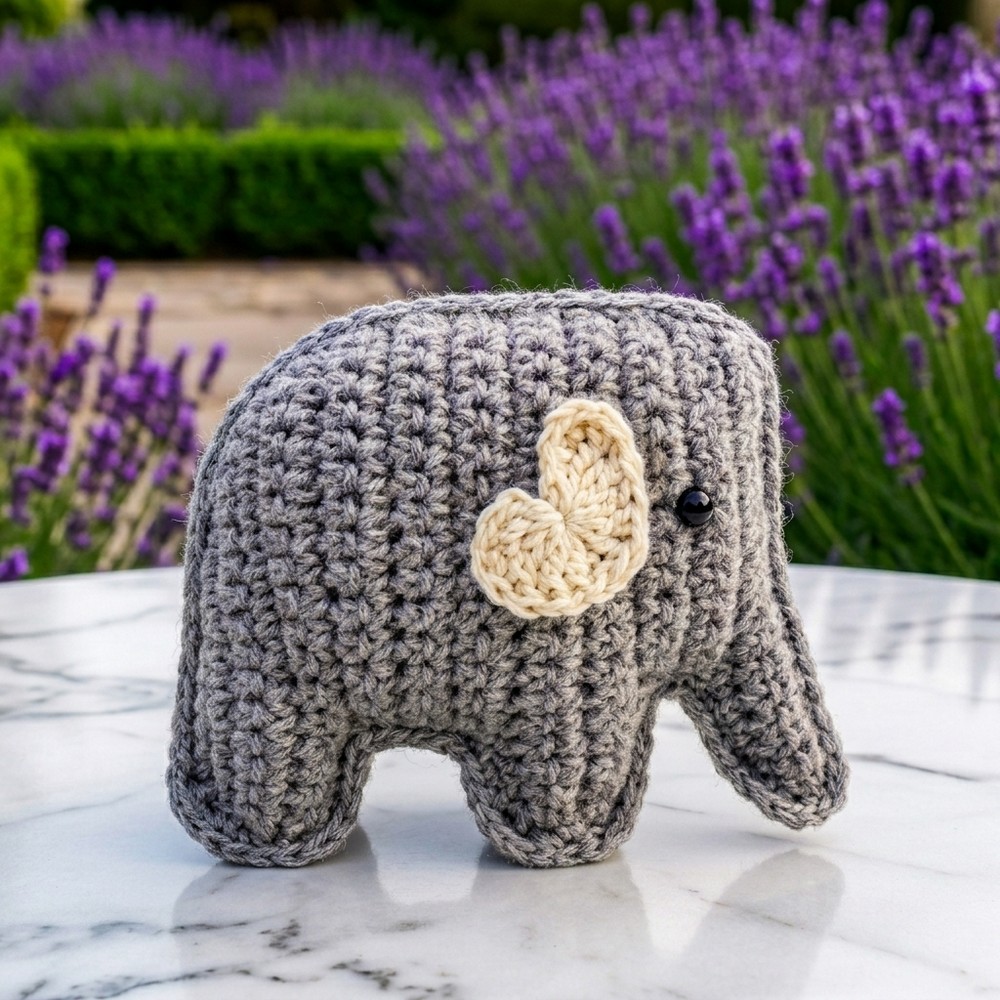
I enjoy picking up fun crochet projects that bring a little extra happiness and creativity to my day, and making a tiny elephant is one of those delightful experiences. Using a free crochet elephant ornament pattern, I created this cute little elephant that instantly adds charm wherever it goes. The best part is, with a few simple changes, you can turn this pattern into a keychain, a playful baby toy, or even a larger cuddly plushie. It’s a project that lets you get creative and try new twists every time you make it.
Crochet Your Own Elephant Amigurumi Free Pattern
This elephant is more than just adorable, it’s full of personality. Its round, soft body and big floppy ears give it a shape that’s both simple and charming. The smooth texture from neat, even stitches feels nice to hold. The little trunk and oversized ears really make the design stand out. You can hang this ornament on a holiday tree, place it on a shelf, or clip it onto a bag for an instant touch of handmade cuteness.
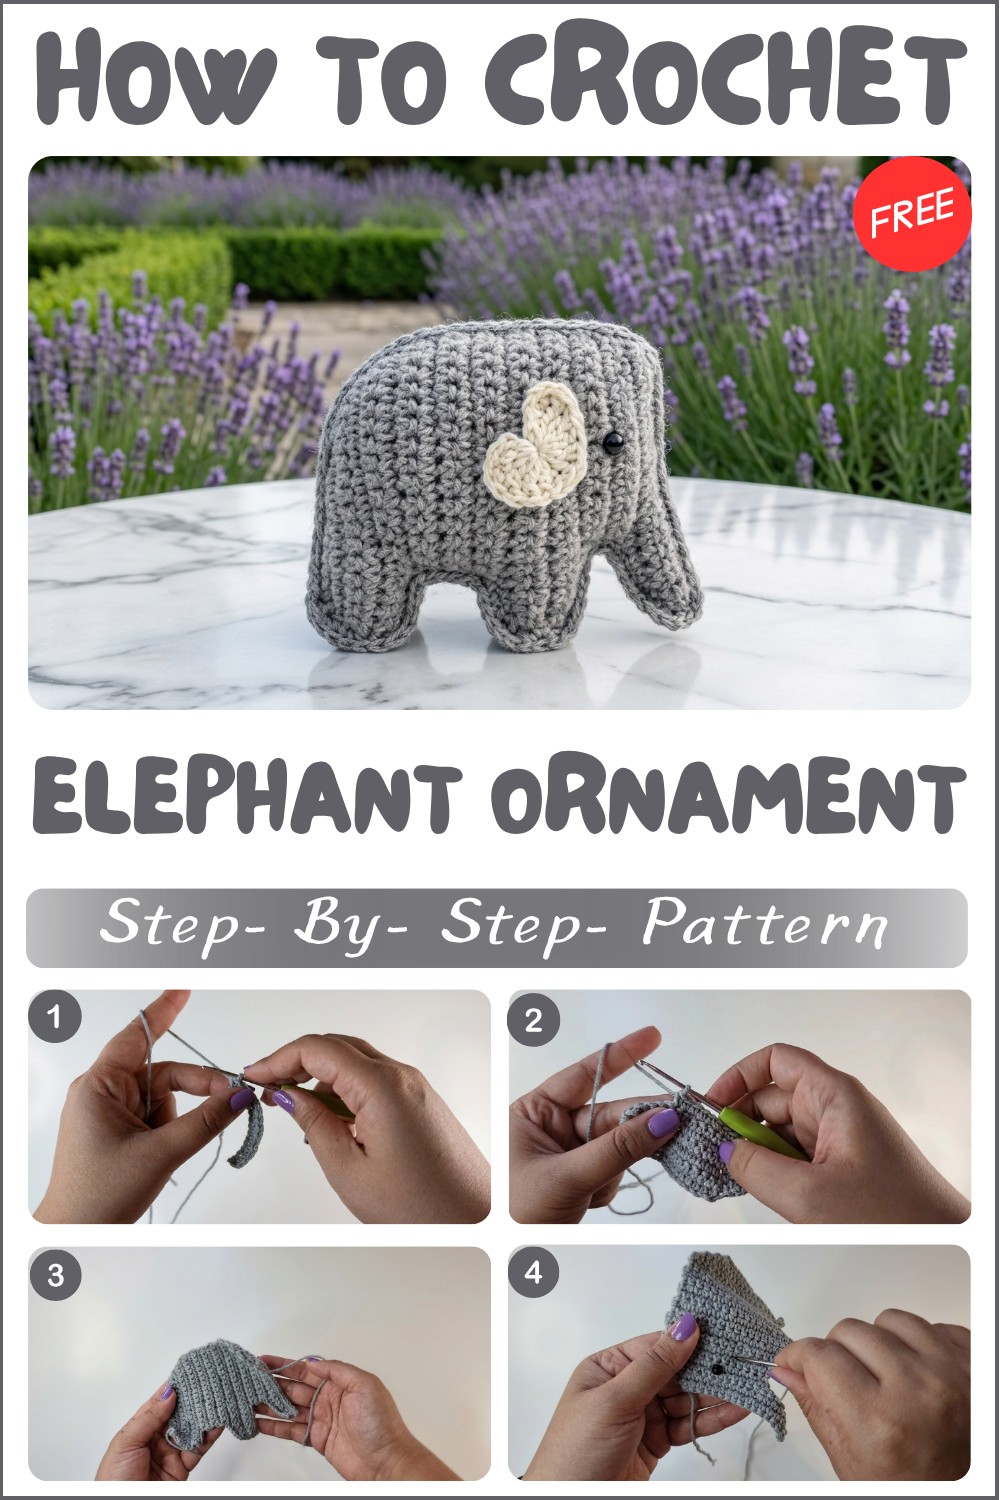
If you’re new to crochet, this project is perfect because it mostly uses the single crochet stitch – one of the easiest stitches to learn. The elephant is made by working in rounds, which helps shape its body and ears smoothly and easily. It’s a quick and fun project that lets you practice basic stitches while making something truly lovable.
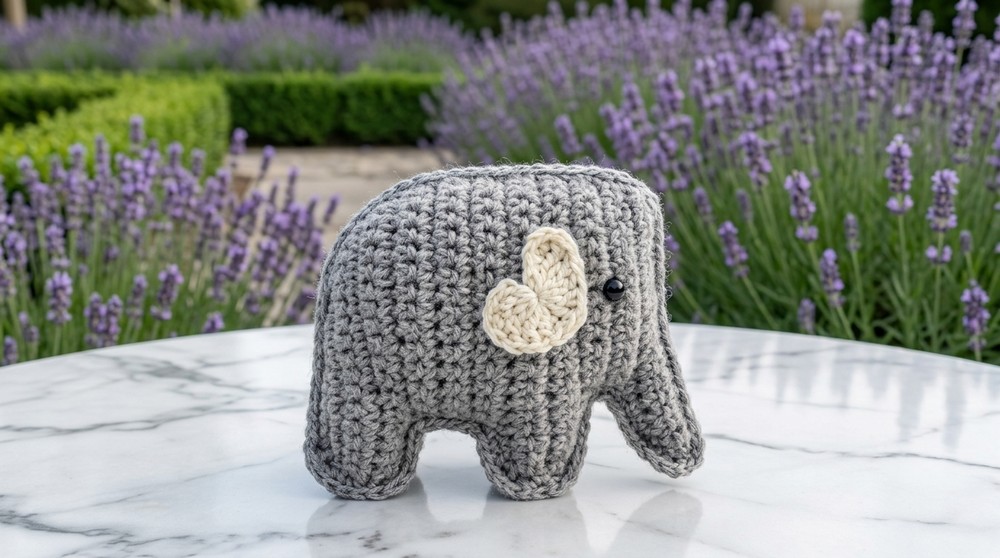
This free crochet elephant ornament pattern makes a thoughtful gift, a sweet decoration, or a quirky collectible. Its small size and charming style also make it great as a wearable accessory. If you want a simple, joyful project that adds personality to your crafting time, this little elephant is a wonderful choice.
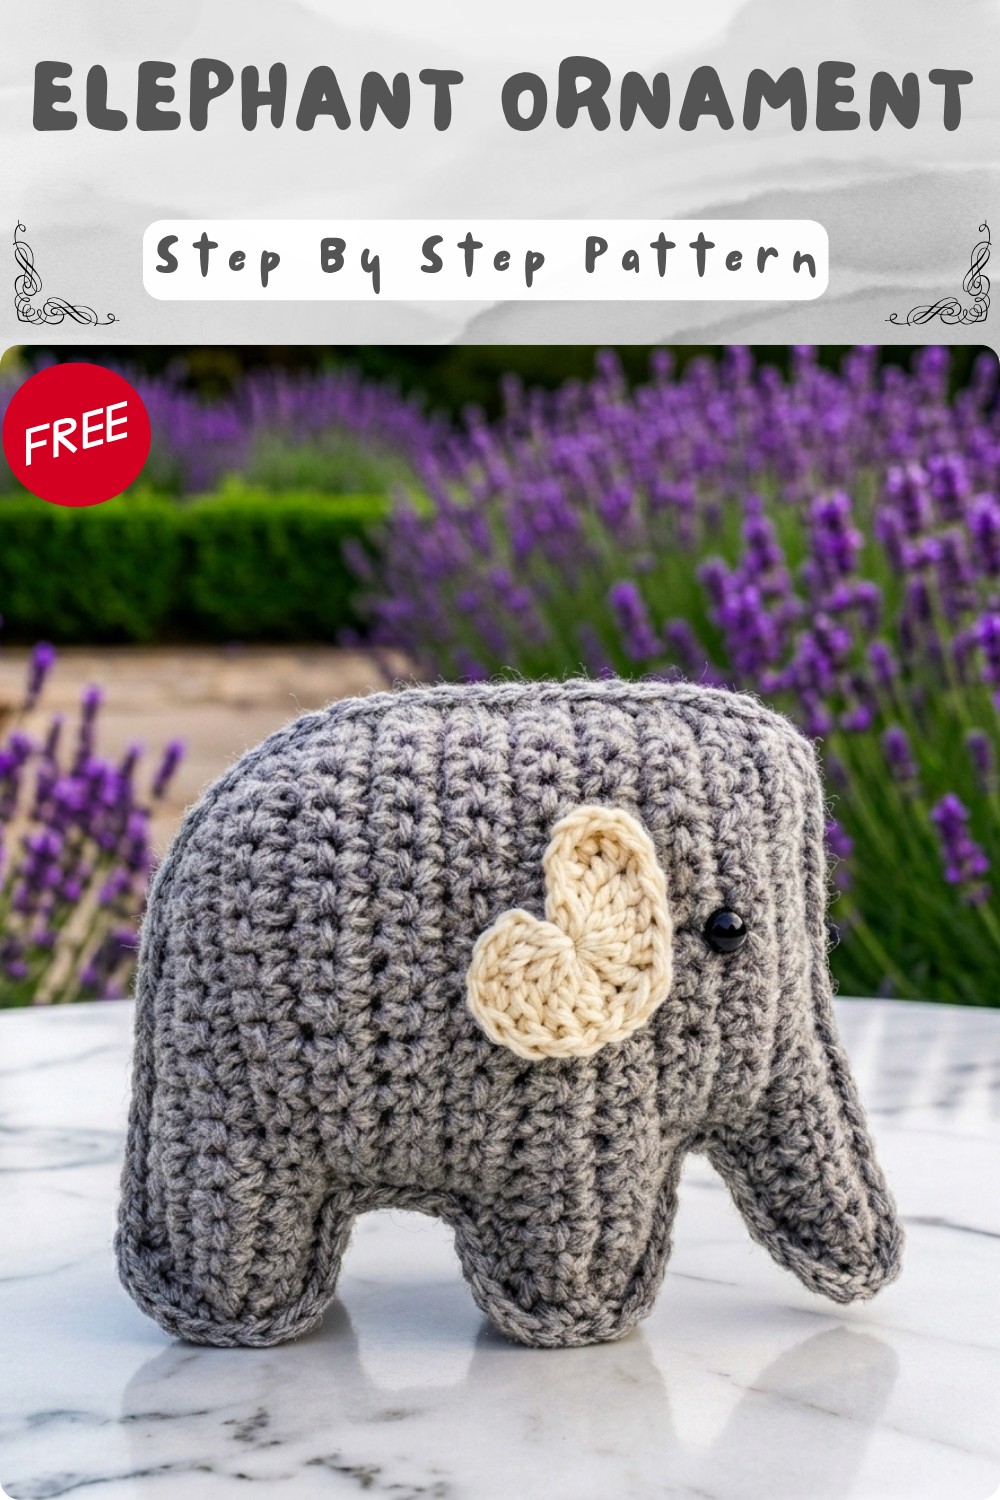
Adorable Flat Elephant Plushie (Keychain/Bag Charm) Crochet Pattern
Before You Start
- This is a fast and easy project perfect for beginners, and a great way to use up scrap yarn.
- You do NOT need to join at the end of the rows unless instructed.
- Make sure your edges remain straight and count stitches at the end of each row.
- The elephant and its features are crocheted and sewn together, using basic construction.
- The project is completely customizable: make it as big or small as you want by changing yarn weight or hook size.
Pattern Notes
- Pattern is worked flat in two identical pieces and joined together.
- Some rows use increases only on one side—watch for this to achieve the shape.
- One piece remains attached to working yarn for seaming.
- All features are sewn as you go; minimal sewing at the end.
- Ears are crocheted as little “hearts.”
How I Made the Crochet Pattern
- Two identical shapes are crocheted for the body and head.
- Pieces are joined and lightly stuffed for a slightly plush, flat elephant.
- Ears are worked individually as heart shapes, and sewn to each side.
- Facial features and keychain hardware are added last for a neat finish.
Skill Level
Beginner
Finished Size
- Approximately: 7–9 cm (2.5–3.5”) tall
- Across: ~8–10 cm (3–4”) wide
- Varies based on yarn/hook
Materials
- Scraps of sport weight yarn in two colors (main color for body, contrasting for ears)
- 2.0 mm crochet hook (or preferred for your yarn)
- Safety eyes (tiny, 5–6 mm) or black yarn/thread for embroidering eyes
- Scissors
- Yarn/darning needle
- Polyester stuffing/fiberfill
- Keyring, bag charm hardware, or beads (optional)
Measurements / Sizing
- Body shape is flat, about the size of your palm
- Ears are about 2.5–3 cm (1”) wide
Gauge
Gauge is not crucial.
Aim for neat, tight stitches to keep stuffing in.
Stitch Abbreviations
| Abbreviation | Meaning |
|---|---|
| ch | chain |
| sl st | slip stitch |
| sc | single crochet |
| inc | increase (2 sc in same st) |
| dec | decrease (sc 2 together, see below) |
| tr | triple (treble) crochet |
| dc | double crochet |
| MR | magic ring |
Special Stitches
- Magic Ring (MR): For making a tight, closed start to ears. Wrap yarn into a ring, work into ring, then draw closed.
- Increase (inc): Work 2 single crochets in same stitch.
- Decrease (dec): Insert hook into next st, pull up a loop, insert into following st, pull up a loop (3 loops on hook), yarn over, pull through all.
- Triple Crochet (tr): Yarn over twice, insert hook, pull up, yo pull through 2, yo pull through 2, yo pull through 2.
- For Ears: Start with ch 3, work tr/dc into MR for the distinctive heart shape.
The Pattern
BODY (Make 2)
- With main color yarn, ch 15.
- Row 1:
- Skip first ch, 2 sc in next ch,
- 1 sc in each ch to end (total 15 sts).
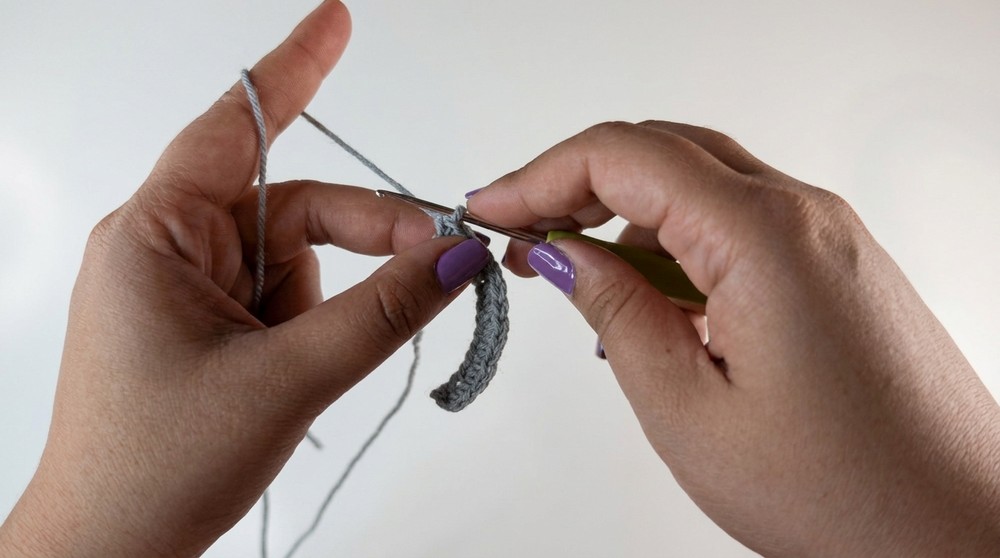
- Row 2:
- Ch 1, turn, 14 sc, 2 sc in last st (16 sts).
- Row 3:
- Ch 1, turn, 2 sc in first st, 1 sc in next 15 sts (17 sts).
- Row 4:
- Ch 1, turn, 16 sc, 2 sc in last st (18 sts).
- Row 5:
- Ch 1, turn, 2 sc in first st, 1 sc in next 17 sts (19 sts).
- Row 6:
- Ch 1, turn, 18 sc, 2 sc in last st (20 sts).
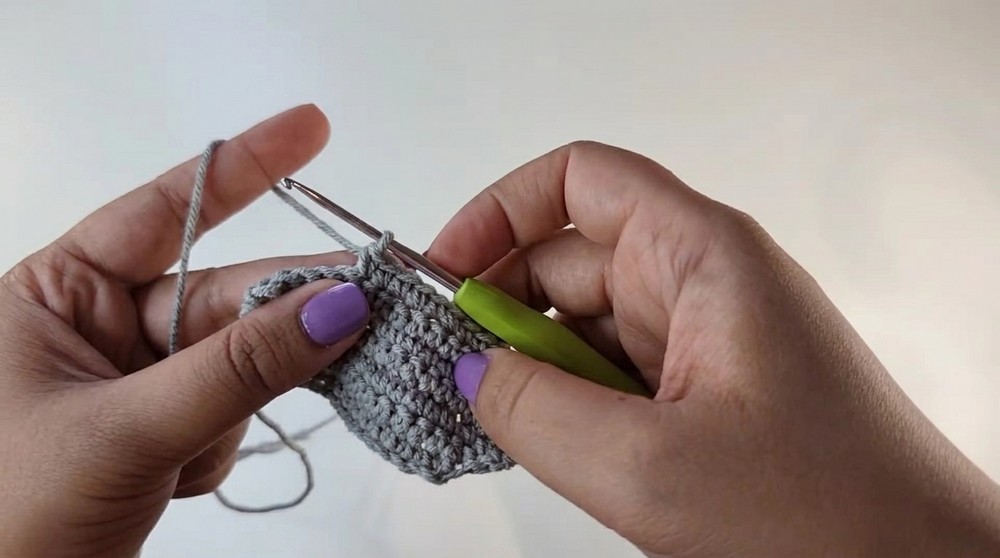
- Ch 1, turn, 18 sc, 2 sc in last st (20 sts).
- Row 7:
- Ch 1, turn, 16 sc (do not finish row).
- Rows 8-10:
- Ch 1, turn, 16 sc (repeat for total 3 rows, until Row 11).
- Row 11:
- Ch 1, turn, 16 sc but do not finish row.
- Row 12:
- Ch 5,
- Skip first ch, 1 sc in each ch, then sc in each st to end (20 sts total).
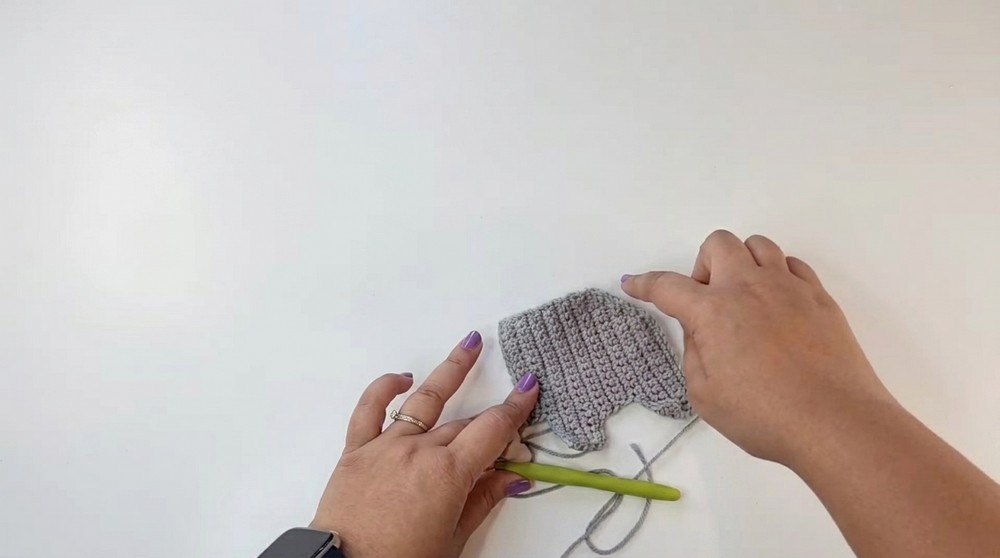
- Rows 13–16:
- Ch 1, turn, 20 sc (repeat for 4 rows).
- Row 17:
- Ch 1, turn, 14 sc.
- Row 18:
- Ch 1, turn, 14 sc but do not finish row.
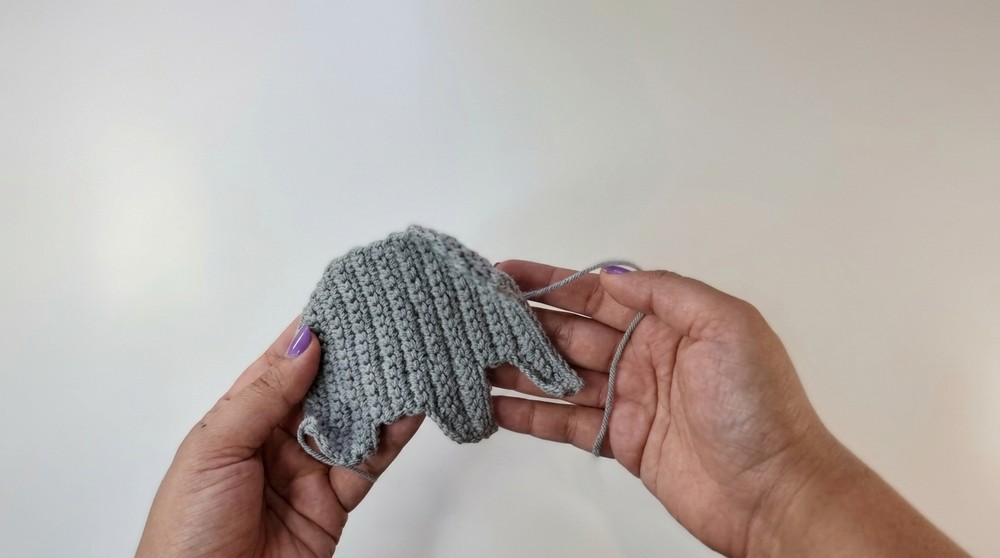
- Ch 7 for trunk.
- Row 19:
- Turn, skip first ch, 1 sc in chain/row (18 sc), last 2 ch: dec (see special). (Trunk formed!)
- Row 20:
- Ch 1, turn, dec over first 2 sts, sc in each to end.
- Row 21:
- Ch 1, turn, sc in each st till last 2, dec over last 2.
You should have a flat, slightly L-shaped piece, trunk at one end and “legs” at the other.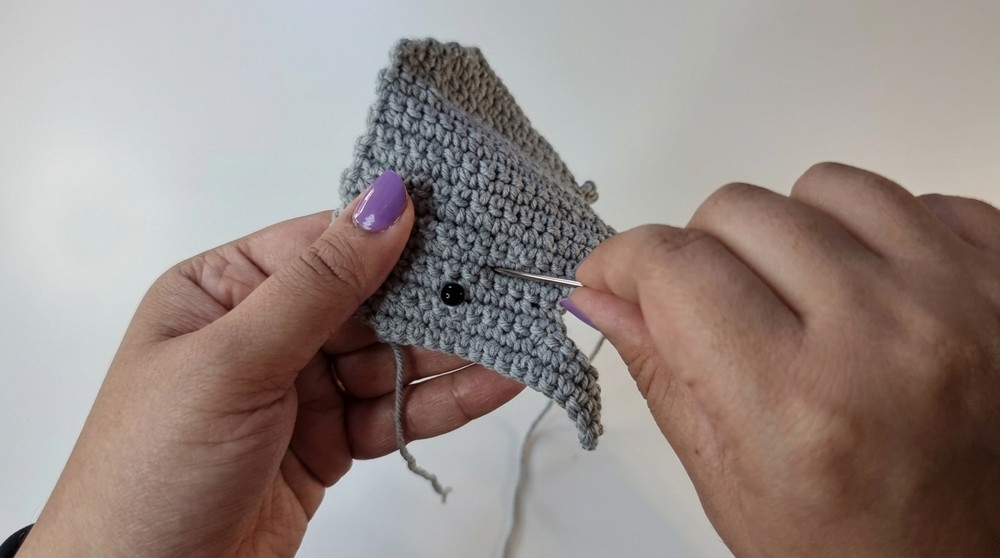
(If you prefer not to read patterns: Make a rectangle increasing at only one side, then after a neck, separate two short “legs”, and extend a trunk from the top. Make 2.)
EARS (Make 2)
- With ear color, MR.
- Ch 3, 2 tr, 3 dc, 1 tr, 3 dc, 2 tr in ring.
- Ch 3, sl st into ring.
- Fasten off leaving a long tail for sewing.
- Tighten ring to shape a small chubby heart.
The “heart” shape is what makes the elephant ear both decorative and easy to attach.
Assembly & Finishing
- Sew or place safety eyes several rows up, in line with trunk (or embroider with black yarn).
- Sew ears a few rows behind the eyes, flappy or flat as preferred.
- Place two body pieces together, lining up edges.
- Begin single crocheting edges together with body color yarn held from one piece.
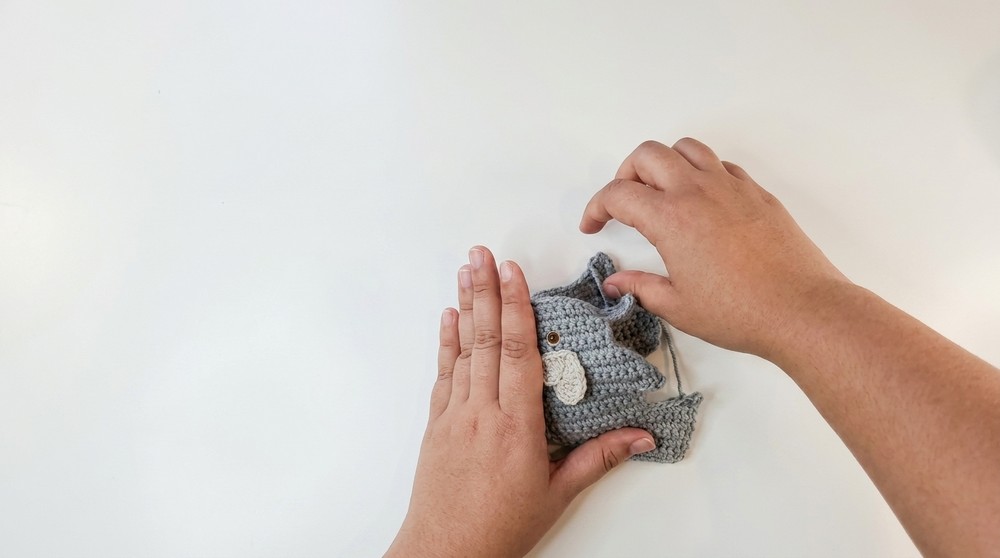
- Stuff gently as you go—do not overstuff.
- Continue closing the whole perimeter.
- Fasten off, weave in all ends.
- Attach keyring, beads, or bag charm hardware to corner or top, as desired.
Solution to Common Problems
- Lopsided shape? Always count stitches at the end of major rows, especially those involving increases.
- Trunk too floppy? Try making it shorter, or using a firmer yarn/hook size.
What You Can Make Using These Stitches
- Elephant plushies (flat, squishy, or even in blanket form)
- Bag charms or keychains
- Stuffed animal motifs for blankets or pillows
- Brooches or pin embellishments
- Wall hangings, mobiles, or bunting
Pattern Overview
Start with increasing rows to build a flat oval/rectangle, then add legs and the trunk as extensions. Use single crochet, chains, increases, and simple decreases for trunk shaping. Ears are little crocheted hearts, and assembly is simple joining and stuffing. This pattern is beginner friendly and very versatile.