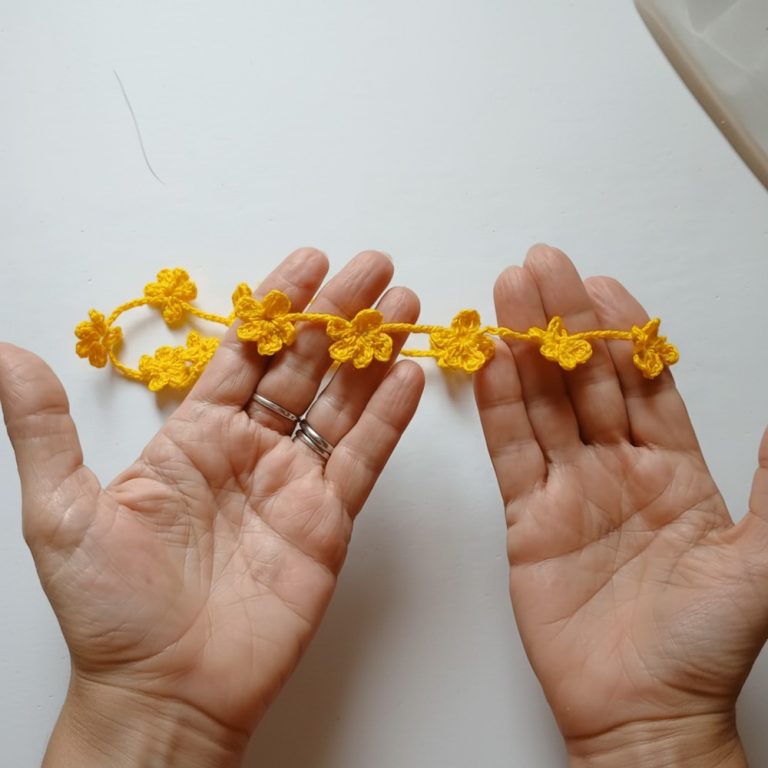
Cute Crochet Baby Whale Keychain Free Pattern For Your Keys
Making small, charming crochet projects has always been something I enjoy, and creating a little ocean animal was a delightful experience. Using the free crochet baby whale keychain pattern, I made an adorable baby whale keychain that’s not only cute but also practical. With just a few modifications, it’s easy to turn this pattern into different sea creatures or even larger whales for varied designs.
Free Crochet Baby Whale Keychain Pattern
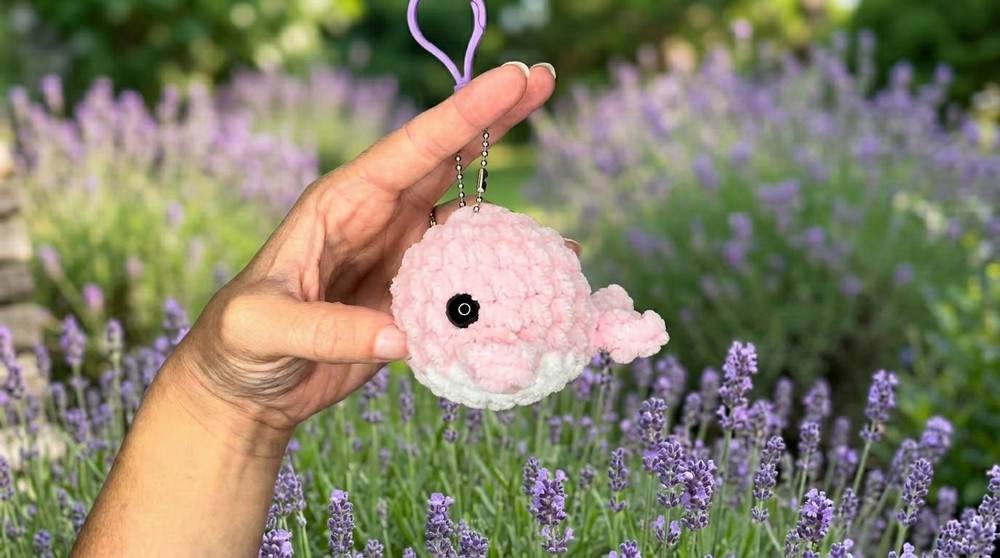
This baby whale stands out with its simple yet lovely appearance. It has a smooth, rounded body, tiny fins, and a small tail that gives it a gentle, friendly vibe. The texture is soft and neat, thanks to the consistent stitches, making it enjoyable to touch and hold. Its compact size makes it perfect for attaching to keys, bags, or even hanging as a sweet decoration. The whale’s sweet shape and soft colors give it a unique charm that catches the eye in a subtle way.
Ideal for beginners, this project relies mostly on the basic single crochet stitch. Creating the whale involves working in continuous rounds, shaping the body and fins smoothly without complicated techniques. It’s a straightforward pattern that helps build confidence while producing a lovable final piece.
The free crochet baby whale keychain pattern makes a thoughtful handmade gift, a delightful accessory, or a cute item to add to a crochet collection. Its portability and charm also make it a fun decoration or wearable flair. If you are looking for a simple, enjoyable project that delivers a lot of personality with minimal effort, this baby whale keychain is a great match for your skills and creativity. Give it a go, and welcome this little ocean friend into your handmade creations. 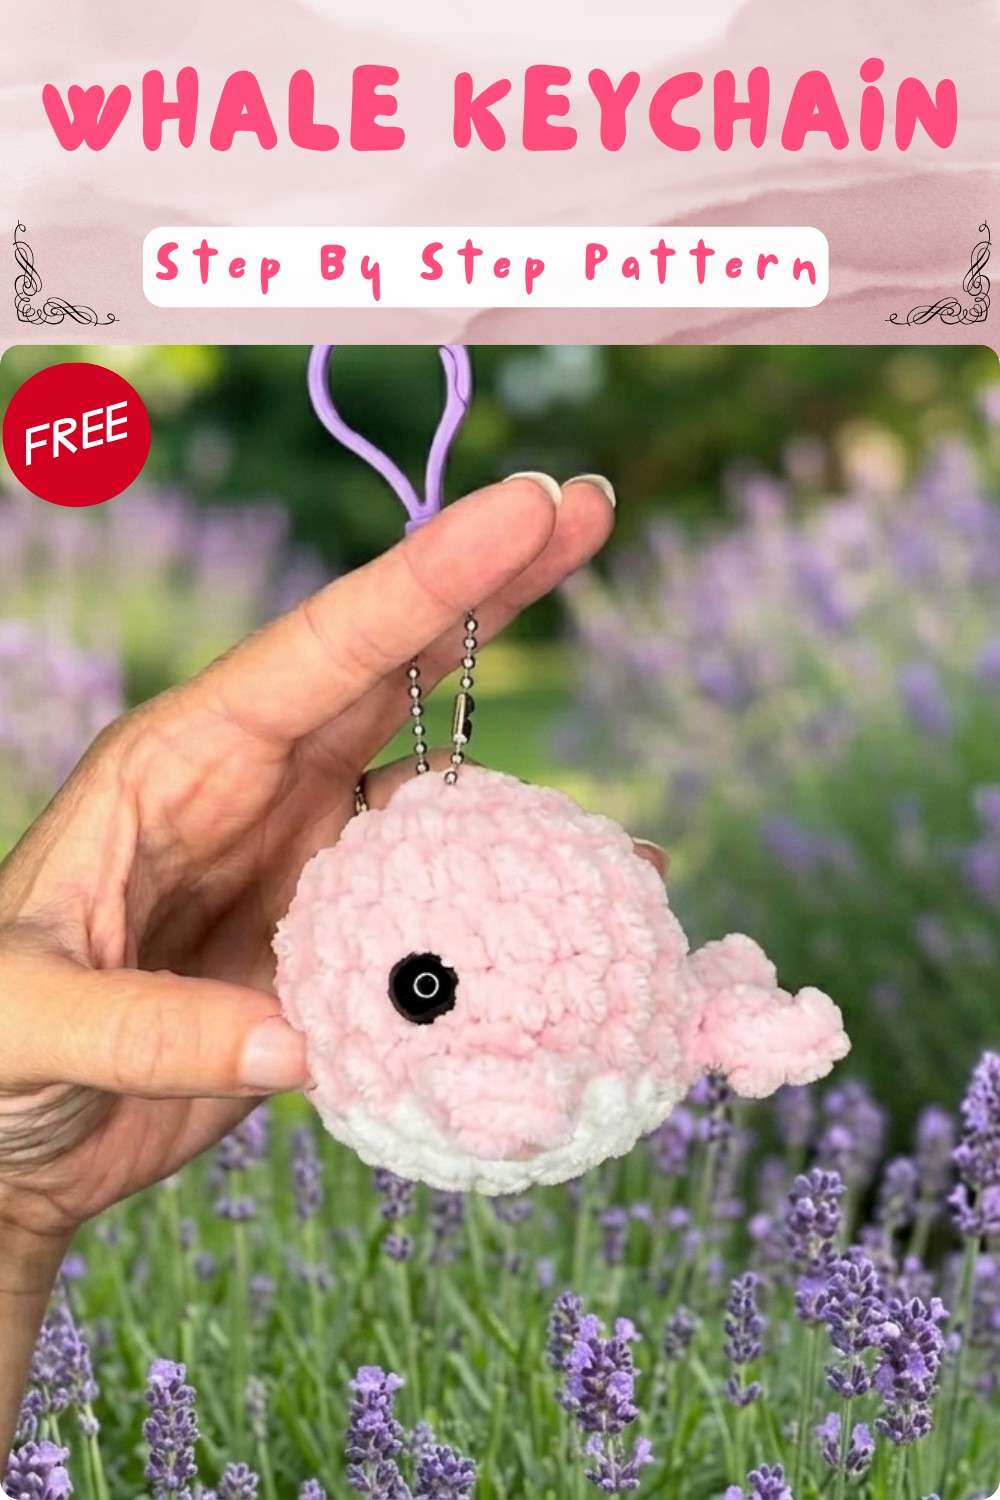
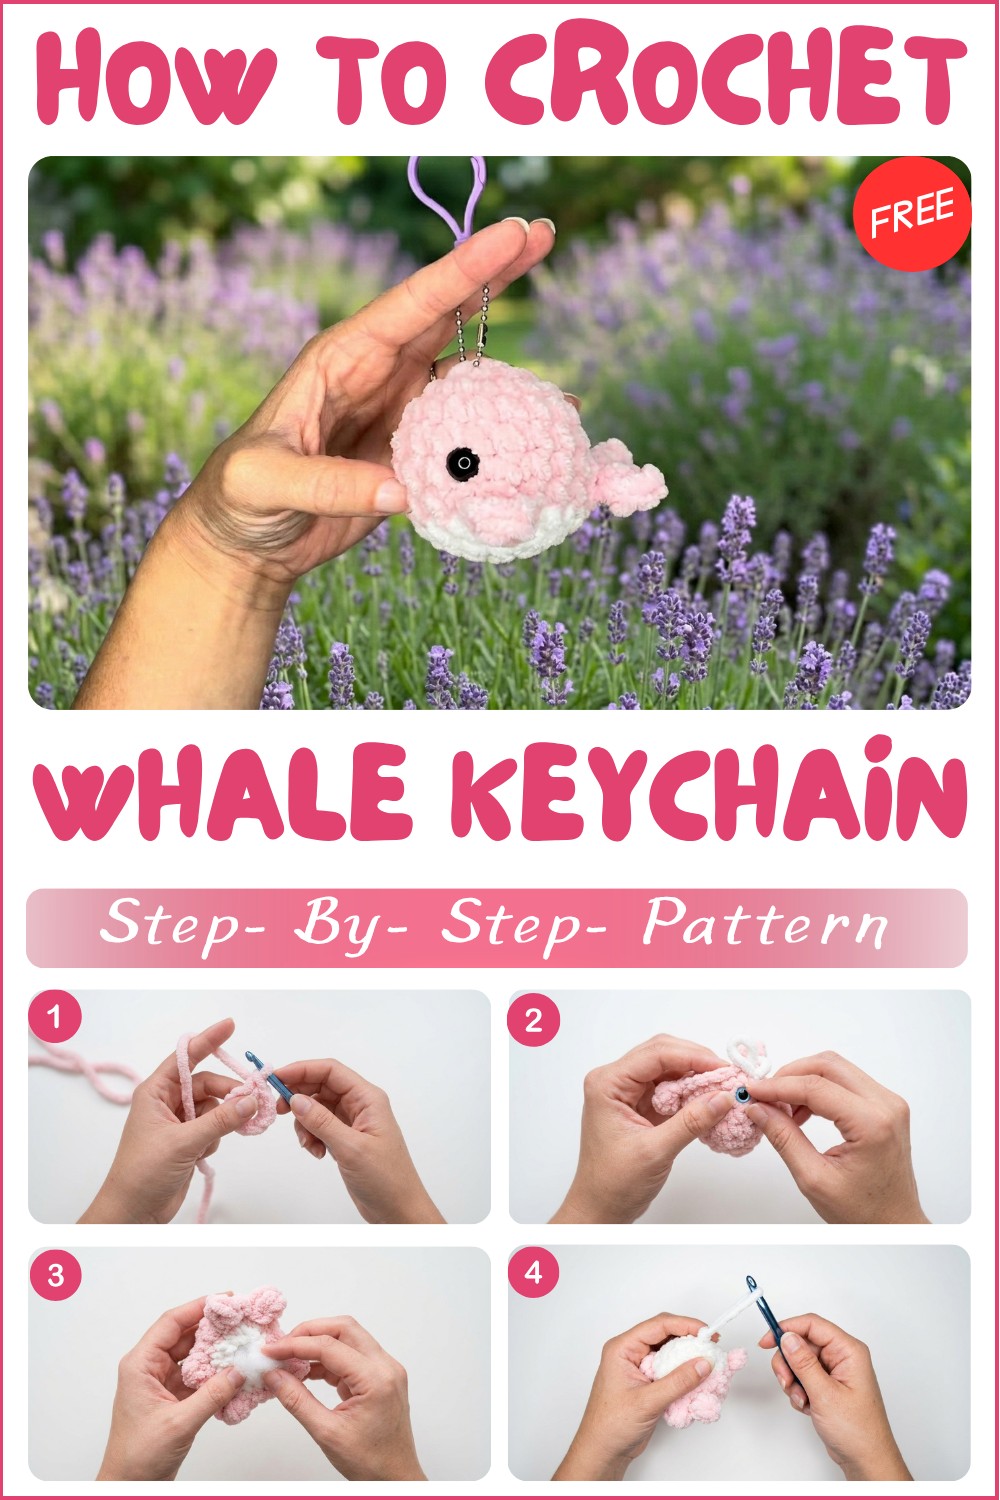
Sweet & Snuggly No-Sew Little Whale Keychain Pattern
Welcome to Bella Coconut Boutique! Today, you’ll learn how to crochet a charming little whale keychain, designed to be soft, snuggly, and fuss-free. This no-sew pattern is worked entirely in the round—meaning no separate fins or tails to attach. Simply crochet, add details, stuff, and attach your keychain hardware!
This adorable amigurumi whale is great for gifts, personal keepsakes, or as a cute project for your own collection. Enjoy the process and don’t hesitate to customize the colors and accessories.
Skill Level & Terminology
- Skill Level: Beginner Friendly
- Crochet Terms: U.S. Terminology
You’ll only need basic amigurumi skills—perfect for those new to 3D crocheting!
Materials & Tools
- Yarn: 1 ball bulky (weight 5/6), super soft chenille or plush yarn in your main color for the body (sample in baby pink); a small amount of contrasting color for the belly (white recommended).
- Hook: 6.5mm (K) crochet hook (or as needed for your yarn).
- Stuffing: Polyester fiberfill.
- Eyes: Pair of 10 mm safety eyes.
- Keychain Hardware: Long bead connector clasp, lobster clasp, or split ring.
- Darning/Yarn Needles: Both thick and thin for weaving and attaching keychain.
- Scissors
- Lighter (Optional): To gently melt the backs of safety eyes (extra secure).
- Stitch Marker: Or use yarn tail to track rounds.
Gauge
Gauge is not critical, but ensure stitches are tight enough so that stuffing does not show through.
Example Gauge:
10 single crochets x 11 rows = 10 cm (4 in) square in your chosen yarn/hook.
Abbreviations List
| Abbreviation | Meaning |
|---|---|
| Ch | Chain |
| St/sts | Stitch/stitches |
| Sl st | Slip stitch |
| Sc | Single crochet |
| Hdc | Half double crochet |
| Inc | Increase (2 sc in same st) |
| Dec | Decrease (invisible, see below) |
| MR | Magic ring |
| FLO | Front loop only |
| BLO | Back loop only |
Special Stitch Instructions
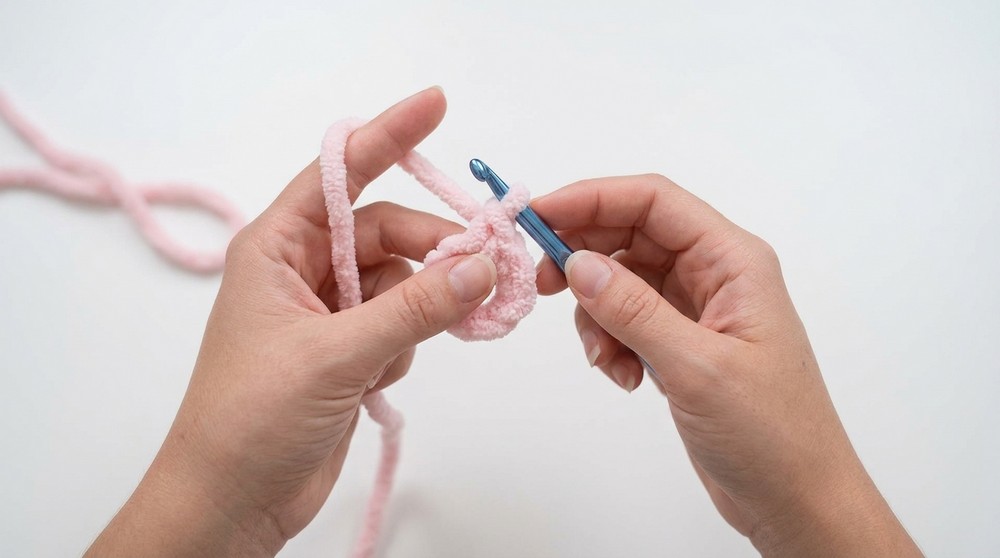
- Magic Ring (MR): Wrap yarn into a loop and crochet the required stitches into the ring, pulling end tight to close.
- Invisible Decrease: Insert hook into FLO of the next two stitches, yarn over, pull up a loop (two loops on hook), yarn over and pull through both.
- All Front Loop Only: For extra fluffiness and for easy fin/tail placement, all rounds except closing are worked into the front loop only (FLO).
Finished Size
Approx. 9–11 cm (3.5–4.5”) long, 6–8 cm (2.5–3”) tall (including fins and tail), thanks to plush yarn and large hook.
The Pattern
How to Start
- The whale is begun with a magic ring for a seamless base.
- Work increases in single crochet in the front loop only (FLO) to make a rounded body.
- Use a combination of chains and short rows for tail and fins, all constructed in the round—no sewing required.
- After the body and flukes, switch to a white or other belly color for the underbelly, then close and stuff.
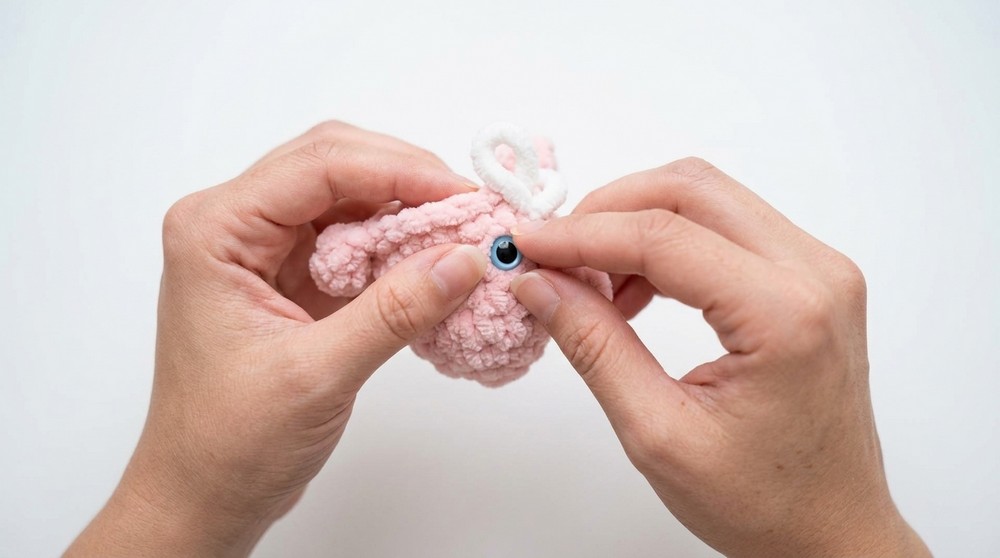
- Eyes are attached after creating the body, before final closing.
BODY & FINS (Work in FLO Throughout)
- Rnd 1:
- MR, 6 sc into ring (6 sts)
- MR, 6 sc into ring (6 sts)
- Rnd 2:
- 2 sc (inc) in each st around (12 sts)
- Rnd 3:
- (Sc in next st, inc in next st) repeat around (18 sts)
- (Sc in next st, inc in next st) repeat around (18 sts)
- Rnd 4-5:
- Sc in each st around (18 sts, 2 rounds)
At this point, your work is a small, slightly flat ball—the perfect start for the classic whale shape. All stitches are worked in the front loop only for extra softness and texture.
TAIL & FINS (Incorporated As You Go, in Rnd 6)
- Rnd 6 (Fin & Tail Construction):
- Tail:
- Sl st in 1st st, ch 4
- Hdc in 3rd ch from hook, sc in next ch
- Sl st in base (same st as start)
- Repeat for second tail fluke (ch 4, hdc in 3rd ch from hook, sc in next, sl st in base)
- Body:
- Sc in next 4 sts
- Side Fin:
- Sl st, ch 3, sc in next 2 ch from hook, sl st in same base st
- Body:
- Sc in next 7 sts
- Other Side Fin:
- Sl st, ch 3, sc in next 2 ch from hook, sl st in same base st
- Body:
- Sc in last 4 sts
- Color Change:
- Work last sc of the round until yarn-over, then switch to belly (white) color to finish stitch.
- Work last sc of the round until yarn-over, then switch to belly (white) color to finish stitch.
- Tail:
This round may seem complex, but you’ll see both tail flukes and two side fins form right on the body. No sewing pieces later! Continue with white for a classic beluga underbelly or other color for playful whales.
UNDERBELLY & CLOSE
- Rnd 7:
- Sc in each st around (18 sts)
Work around, working behind the tail and side fins, keeping flaps on the outside—simply sc in every stitch.
- Pause to Attach Safety Eyes:
- Between Rnds 4–5, one stitch up and one over from each fin; approximately 5 sts apart on opposite “sides” of the head.
- Flatten the safety eye posts with a lighter for security (optional).
- Rnd 8 (Decrease):
- (Sc in next st, dec) repeat around (12 sts)
- (Do invisible decreases for a neat finish.)
- (Do invisible decreases for a neat finish.)
- (Sc in next st, dec) repeat around (12 sts)
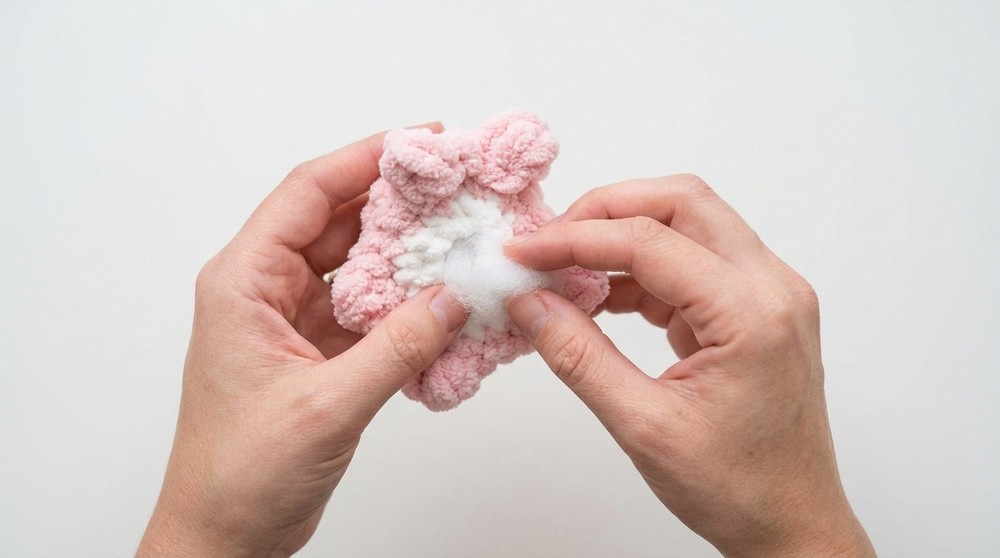
After this, stuff the body with polyfill to your preferred firmness. Add less for a squishier whale or more for a firm plush.
- Rnd 9 (Final Decrease & Close):
- Invisible dec in each pair of sts around (6 sts)
- Finish:
- Sl st to next st to close. Cut yarn, leaving a long tail.
- With yarn needle, weave through the six closing sts and pull tight to shut.
You now have a complete amigurumi whale, tail, fins, and all!
Assembly & Finishing
- Weave in ends:
- Use a yarn needle to tuck and hide all yarn tails back and forth through the whale; trim excess.
- Flatten fuzzy ends with lighter:
- Hold yarn tail end briefly over a lighter to reduce fuzz. (Take safety measures—do not burn the yarn!)
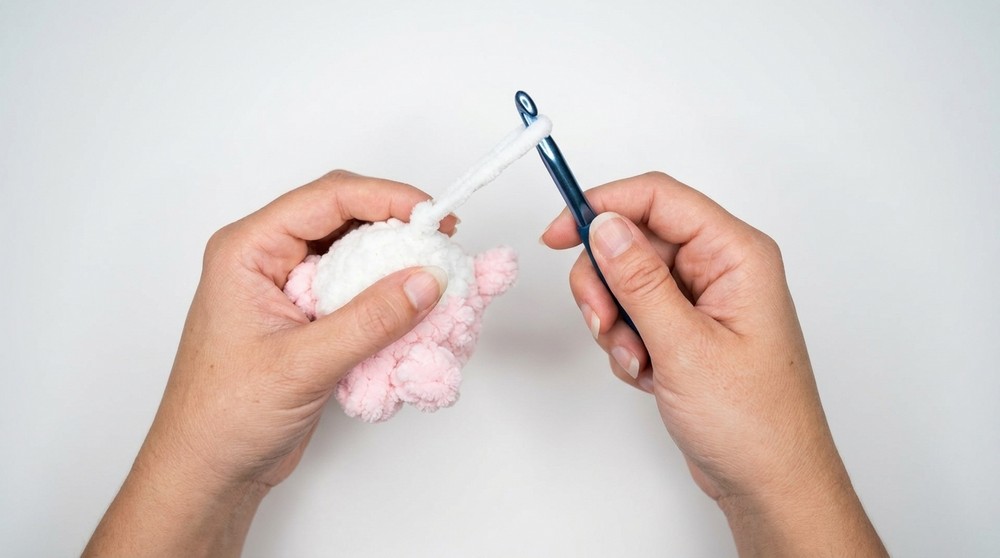
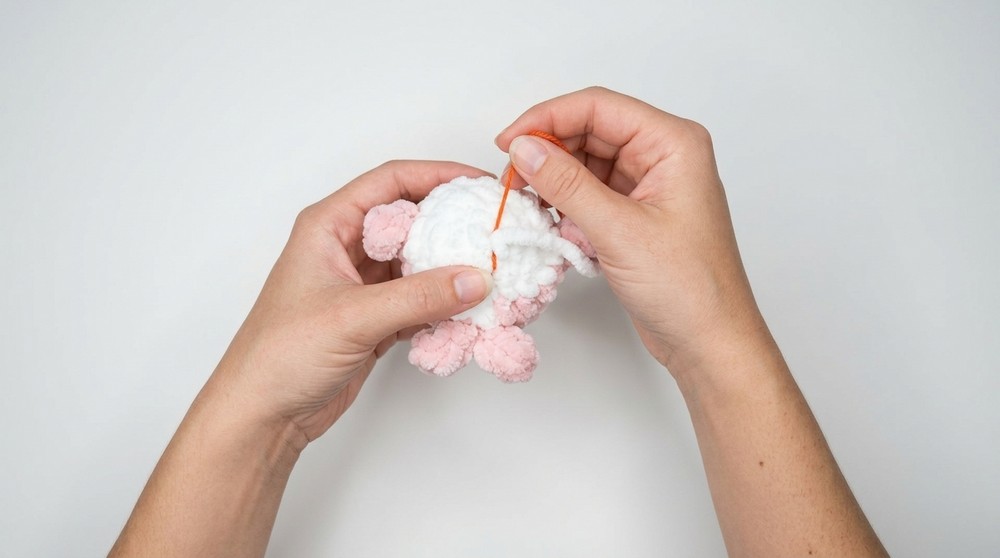
- Attach Keychain:
- Use a thick needle (or hook) to run keychain hardware through the center top of the whale, preferably under the magic circle “crown.”
- Attach the hook or clasp, facing “back” so keychain dangles with the face visible.
- Final shaping:
- Gently pinch and shape tail and fins to desired angle.
For Non-Pattern Readers:
If you don’t read patterns: Start with a magic ring and work a ball for the whale’s body. Both tail and fins are made as you crochet, so no sewing is needed. At the end, switch to white for the belly, add safety eyes, stuff as you go, and close. Insert a keychain clasp through the top.
Pattern Overview
How to start:
Begin with a “magic ring” for a smooth, seamless base. Continue in continuous rounds working in front loop only for added plushness and easier fins/tail construction. Use single crochet, half double crochet, and simple chains/slip stitches. The only special technique is invisible decrease, essential for neat amigurumi closing.
Stitches used:
- Magic ring, single crochet, half double crochet, foundation chains, invisible decrease.
All parts worked with these basic stitches.
The Fun of This Pattern
- No sewing! Tail and fins are crocheted right on.
- Quick, beginner-friendly plush project.
- Easy to customize with colors, stripes, or embroidery.
- Attaches directly to all sorts of keychain hardware.