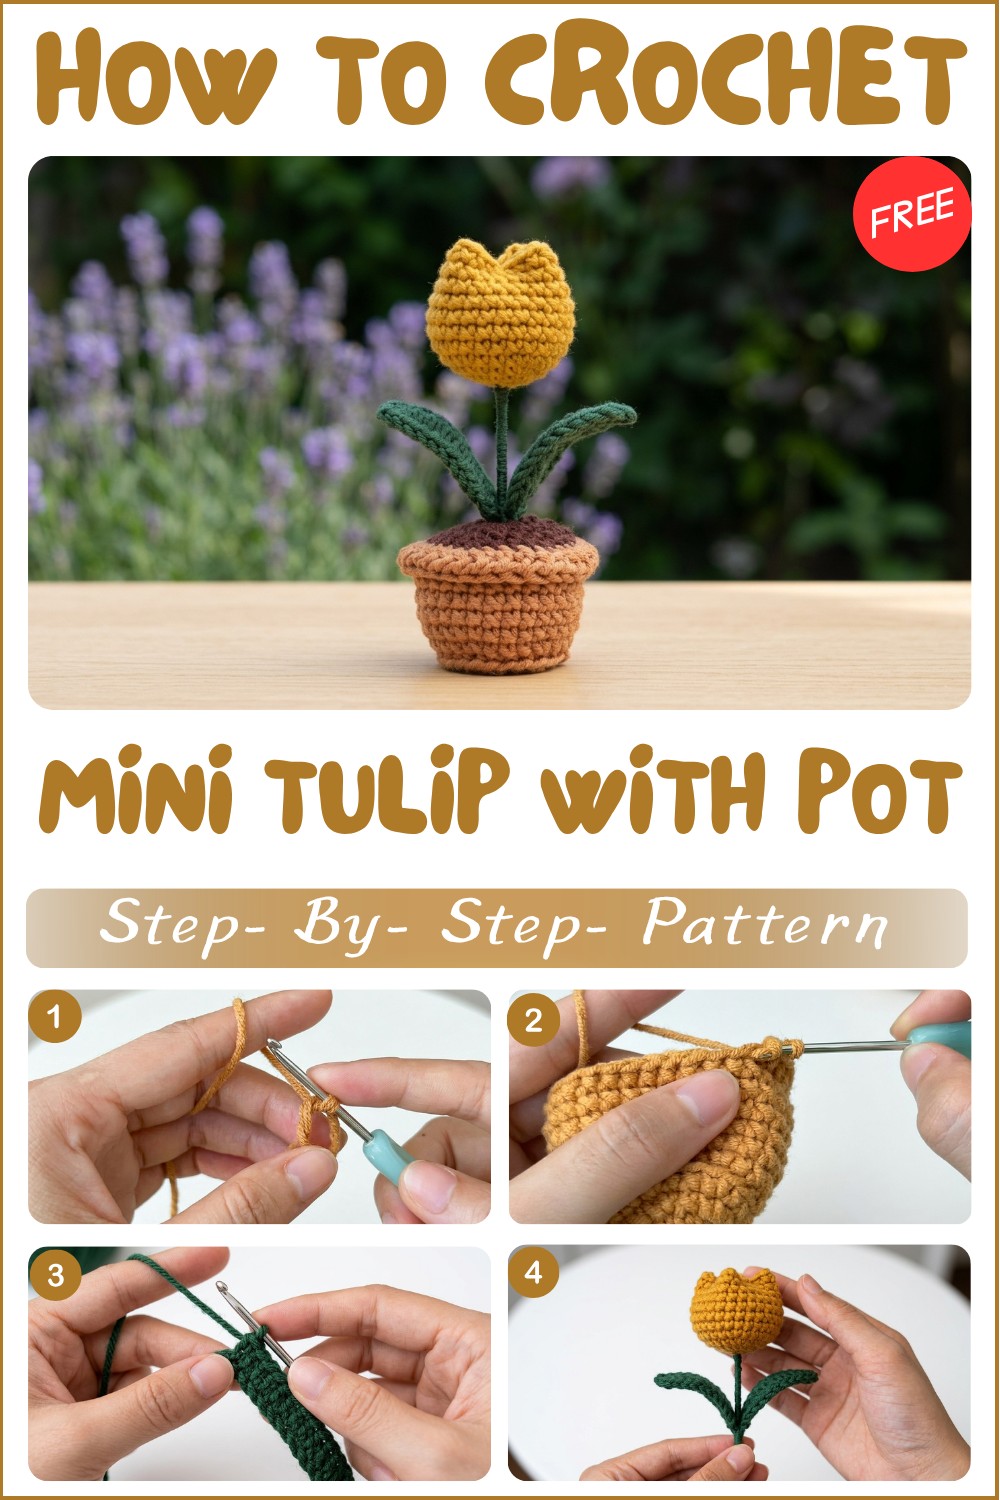
Crochet Mini Tulip Pot Free Pattern To Spruce Up Your Space
One day, I picked up my yarn and hooks and decided to make something tiny and cheerful. That’s when I found the free crochet mini tulip pot pattern—a super cute little flower pot made with yarn! What’s cool is, if you swap out the tulip for other flower shapes or even add some leaves, you can make a whole mini garden of your own. It’s like magic: from simple stitches to a tiny blooming pot that fits right in your hand.
Easy Crochet Mini Tulip Pot Free Pattern
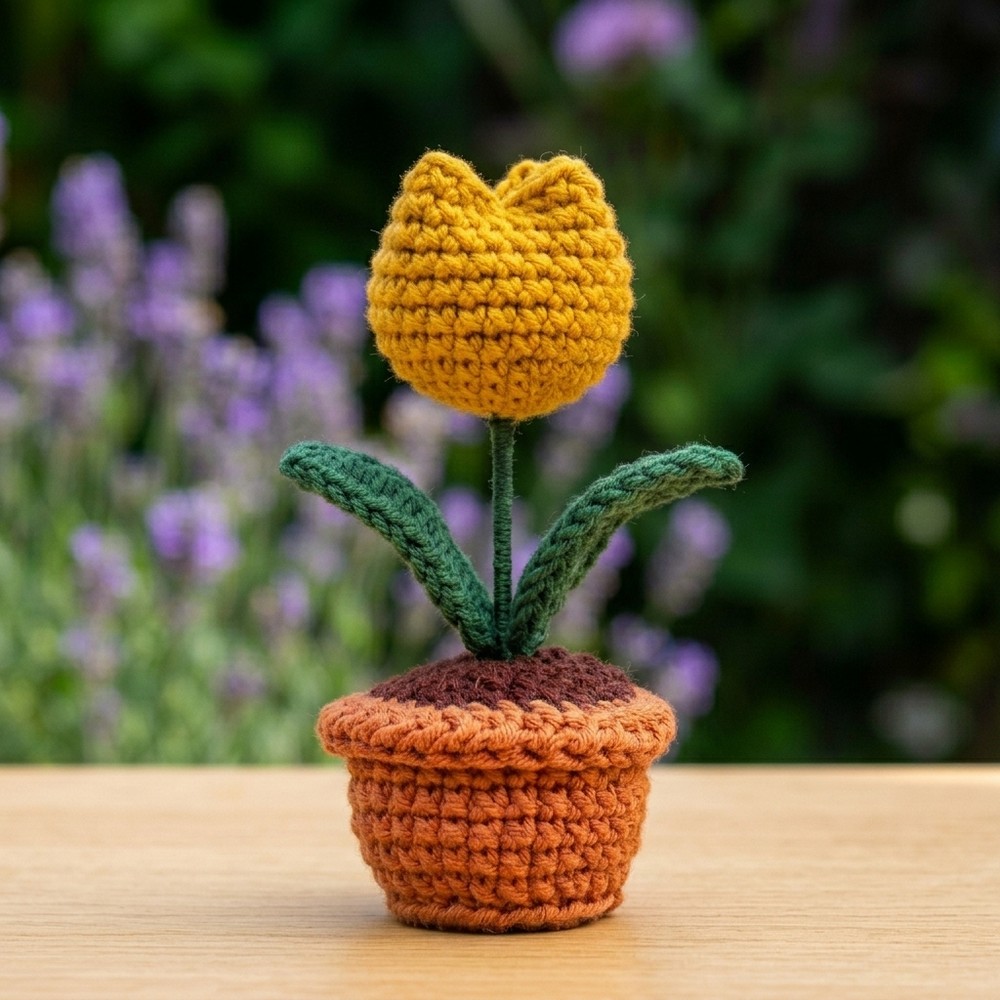
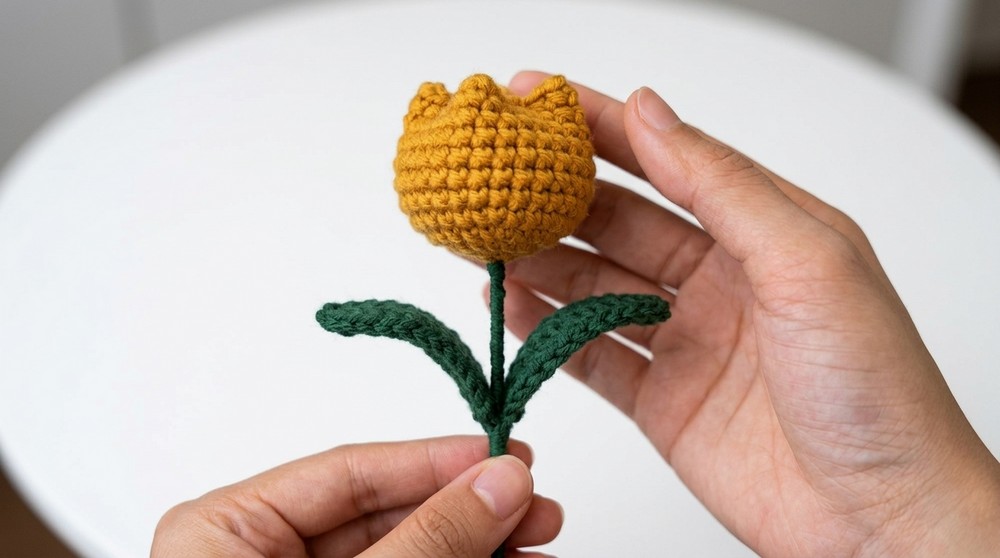
This mini tulip pot looks like a happy little flower ready to brighten up any spot. The round pot is plump and sturdy, hugging the tulip tightly. The petals pop out like a colorful burst, soft and cuddly to touch. The project feels cozy because of the neat stitching, and its petite size means you can keep it on your desk, shelf, or window, bringing a splash of spring all year long. Plus, its bright tulip stands out like a tiny sunshine buddy anywhere you place it.
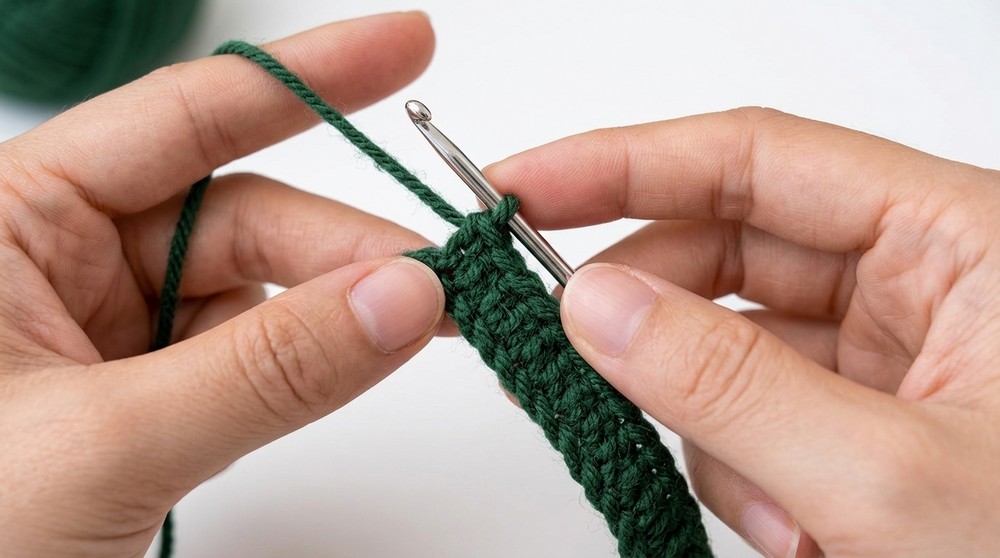
If you’re new to crochet, no worries! This project mainly uses the easy single crochet stitch. You’ll get to practice working in circles to shape your pot and flower, making it fun and simple. It’s a great way to learn or just make something cute without stress.
This little tulip pot is perfect for gifts, decorations, or even a cheerful collectible for your handmade flower collection. It’s small, sweet, and sure to bring smiles. So if you’re looking for a fun, quick project that feels like a tiny burst of joy, this mini tulip pot might just be your new favorite craft! Give it a try, and watch your yarn bloom. 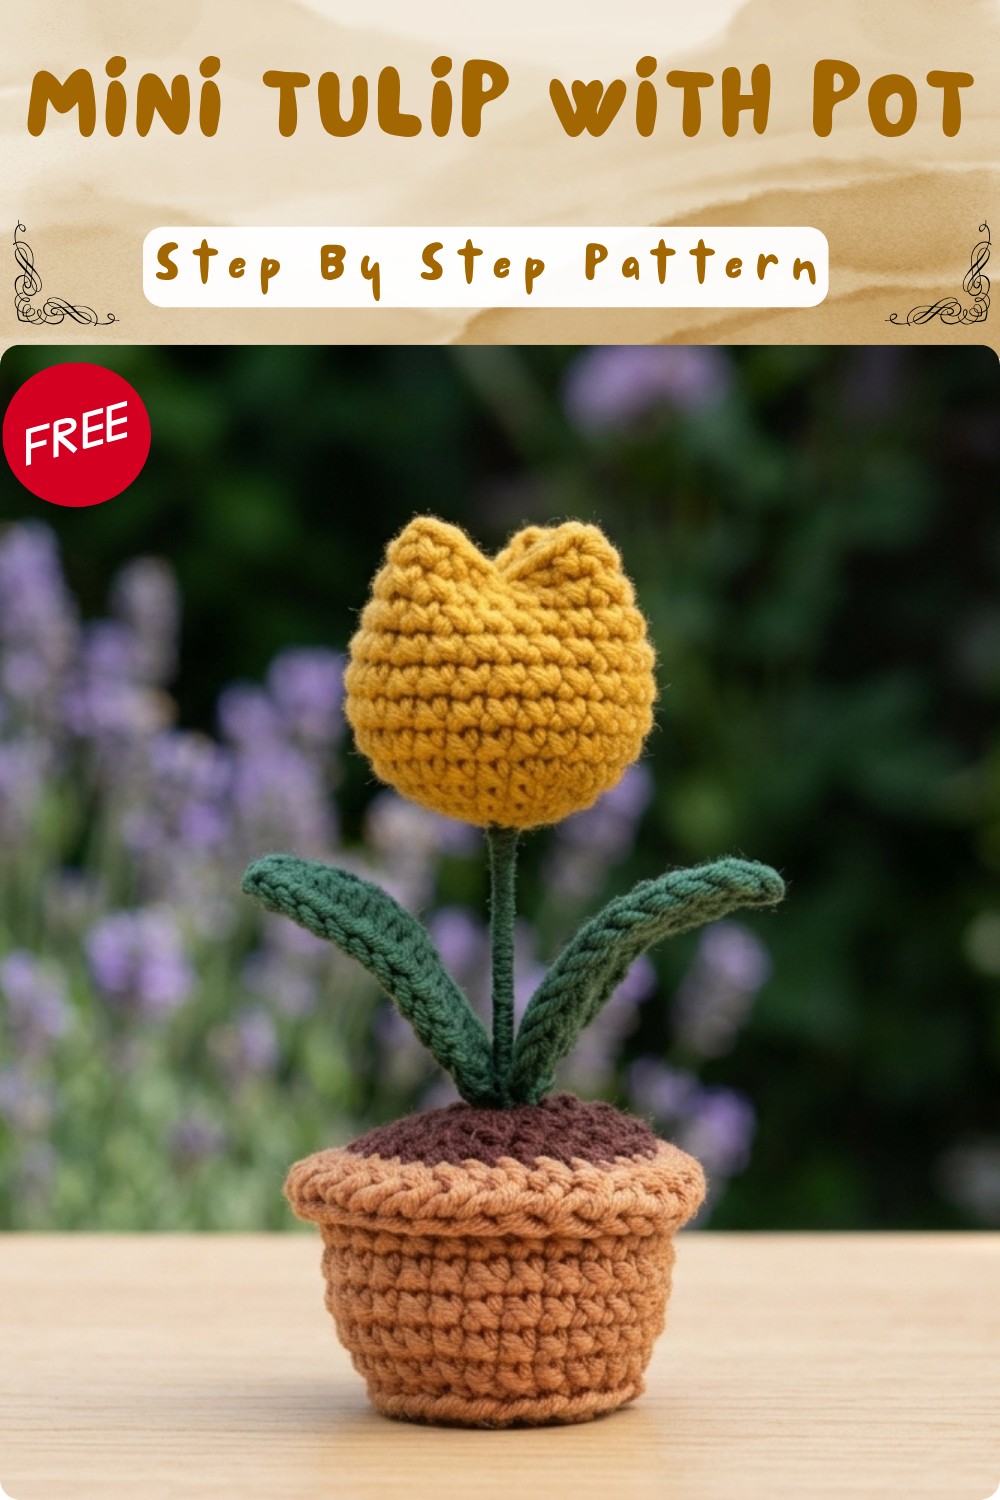
Mini Tulip Pot Crochet Pattern
Before You Start
- Read the full pattern before you begin for best results.
- Amigurumi is worked in continuous spirals unless the pattern says otherwise.
- Use a stitch marker to keep track of the first stitch of each round.
- Prepare a 15 cm floral wire for each leaf and a thicker wire or skewer for the stem.
- Keep glue, stuffing, scissors, needle, and all colors of yarn ready at hand.
- Work with a tight tension to prevent stuffing from showing through.
Pattern Notes
- All pieces are made separately and sewn together at finishing.
- For a neater look, always use invisible decrease (working through front loops only).
- Change color cleanly between the pot/soil/flower.
- You may substitute wire with pipe cleaners for stems and leaves if preferred.
- Don’t overstuff the pieces; keep pot and bud firm, leaves flat, and wire centered.
How I Made the Crochet Pattern? (Summary)
- Began the pot with a magic ring, increasing in rounds.
- Created a “soil” insert with similar rounds as the pot’s base.
- Worked the tulip bud from a small circle, making regular increases, followed by straight rows for barrel shaping.
- The leaves were crocheted around a wire with half double crochet and single crochet, mirrored on both sides.
- Final assembly involved inserting the stem, wrapping it, sewing all pieces, and arranging the leaves.
Skill Level
Confident Beginner – Basic amigurumi techniques, some wiring required for leaves/stem.
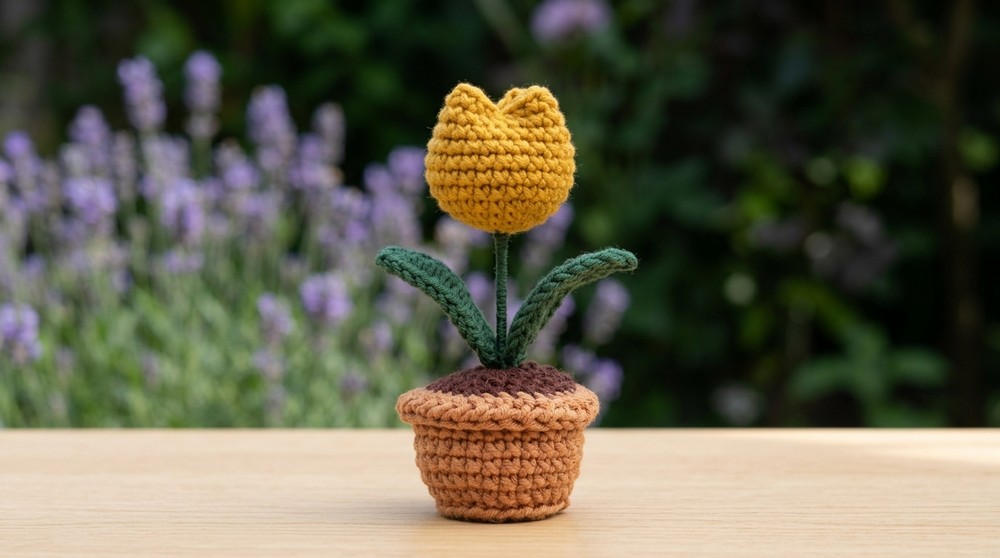
Finished Size
- Total height: approx. 10–12 cm (4–5”)
- Pot: 3.5 cm tall (1.4”), 4 cm across (1.6”)
- Tulip bud: 3 cm tall (1.2”)
- Leaves: 7–8 cm long (2.7–3.1”)
Materials
- Small amounts of DK or sport weight yarn in Mustered Yellow (pot), green (leaves), yellow or any flower color (bud), and dark brown (soil).
- 2.0–2.5 mm crochet hook.
- Stitch marker.
- Yarn/tapestry needle.
- Polyester fiberfill/stuffing.
- Floral or craft wire: 15 cm for leaves, 8–10 cm for stem.
- Wooden skewer (optional for extra support).
- Craft glue.
- Scissors.
Measurements / Sizing (Optional Schematic)
Pot: Diameter 4 cm, height 3.5 cm
Bud: Height 3 cm, diameter 2.5 cm
Leaf: Length 7–8 cm, width 1.2 cm
Gauge (and Stitch Pattern)
Gauge is not critical, but stitches should be tight.
Example:
10 sc × 10 rows = 3.5 cm × 3.5 cm (1.4” × 1.4”)
Stitch Abbreviations
| Abbreviation | Meaning |
|---|---|
| ch | chain |
| sc | single crochet |
| inc | increase (2 sc in same st) |
| dec | decrease (sc 2 together, invisible) |
| sl st | slip stitch |
| hdc | half double crochet |
| MR | magic ring |
| st(s) | stitch(es) |
| BL | back loop only |
| FL | front loop only |
Special Stitches
- Magic Ring (MR): Wrap yarn into a ring, insert hook, draw up loop, ch 1 and work required number of sc. Pull tail to close circle.
- Invisible decrease (dec): Insert hook into front loop of next two stitches, yarn over, pull through, yarn over and pull through.
- Crocheting Over Wire: Place wire parallel to yarn and crochet around it for added structure to leaves/stem.
The Pattern!
Pot
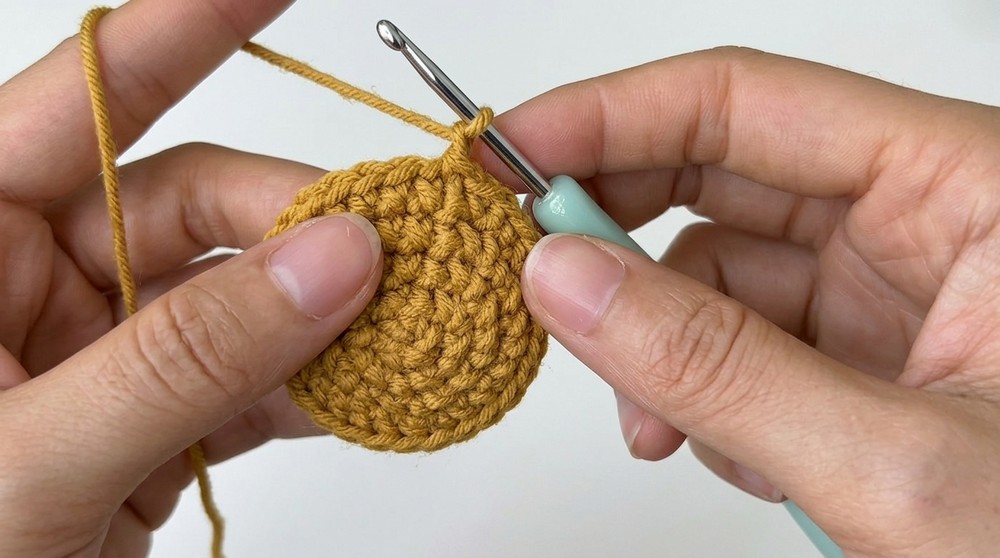
- Rnd 1: MR, 6 sc in ring. (6)

- Rnd 2: inc in each st (2 sc in each) – (12)
- Rnd 3: (sc in next st, inc in next) × 6 – (18)
- Rnd 4: (sc in next 2 sts, inc in next) × 6 – (24)
- Rnd 5: BL only: sl st in each st around – (24)
- Rnd 6: (sc in next 3 sts, inc in next) × 6 – (30)
- Rnd 7–11: sc in each st around – (30 sts per round, 5 rounds)
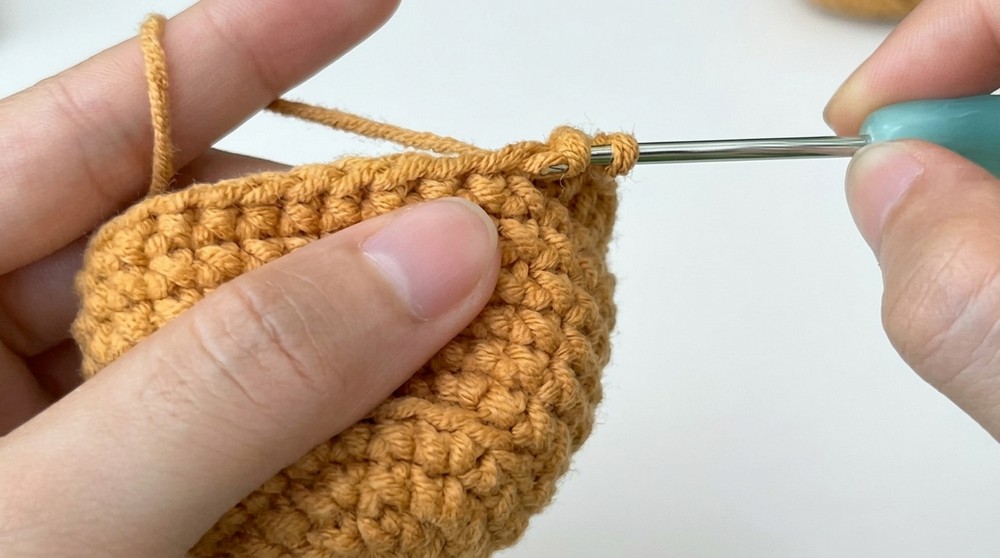
- Rnd 12: FL only: hdc in each st around – (30)
- Fasten off, weave in yarn.
You have created a mini flower pot with a textured rim (from back loop slip stitches) and a neat upper edge (half double crochet in front loop).
Soil
- Rnd 1: MR, 6 sc in ring. (6)
- Rnd 2: inc in each st (2 sc in each) – (12)
- Rnd 3: (sc in next st, inc in next) × 6 – (18)
- Rnd 4: (sc in next 2 sts, inc in next) × 6 – (24)
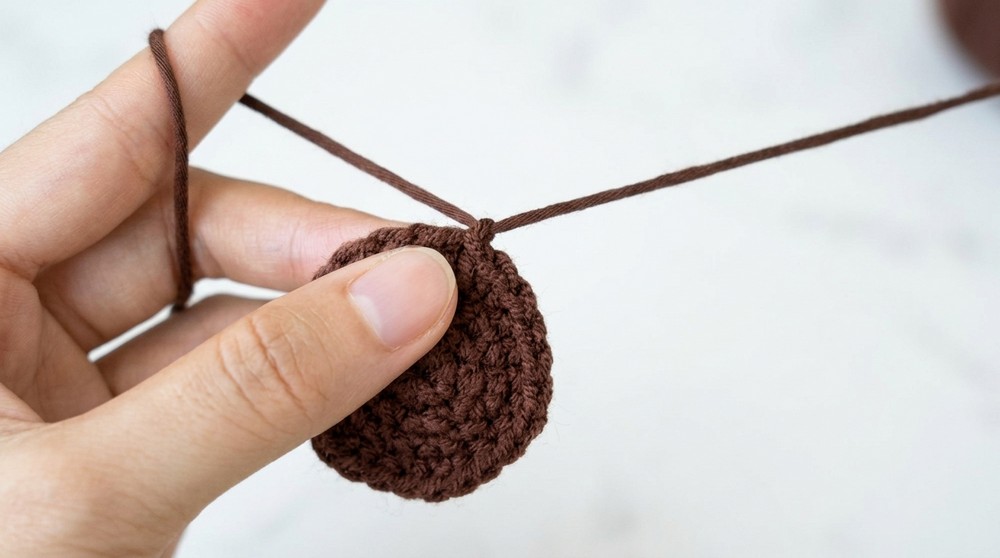
- Rnd 5: (sc in next 3 sts, inc in next) × 6 – (30)
- Fasten off, leaving a long tail for sewing.
The soil disc is the same diameter as the upper opening of the pot.
Tulip Bud
- Rnd 1: MR, 7 sc in ring. (7)
- Rnd 2: inc in each st – (14)
- Rnd 3: (sc in next st, inc in next) × 7 – (21)
- Rnd 4: (sc in next 2 sts, inc in next) × 7 – (28)
- Rnd 5: sc in each st around – (28)
- Rnd 6–11: sc in each st around – (28 sts per round, 6 rounds)
- Fasten off leaving long tail for sewing. Stuff firmly.
The tulip bud is straight-sided and neatly rounded. If you’re new to amigurumi, just add rows of single crochet for height and stuff as you go to maintain shape.
Leaf (Make 2)
- With green yarn, ch 12.
- Prepare a 15 cm piece of thin floral wire.
- For first edge:
- sc in 2nd ch from hook,
- hdc in next 7 ch,
- sc in last 2 ch.
- ch 2, work into same st:
- 1 sc.
- Working down the other side of the chain:
- sc in next st, hdc in next 8 st, sc in last st.
- sl st to first st to close.
- Fasten off.
Wrap yarn around exposed wire ends to cover.
The wire supports and allows you to bend the leaves to look more natural and lifelike.
If You Don’t Read Patterns
The pot is made as a little bowl following increases, with a rim formed by special stitches. The soil is a flat “disc” that sits perfectly inside the pot. You sew the soil into the pot, after stuffing lightly. The tulip bud is worked with circular increases, then several rows for height. The leaves are made on a chain, crocheted on both sides around a wire, then sewn beside the bud.
Assembly & Finishing
- Stuff the pot and soil lightly.
- Sew soil disc securely to the top opening of the pot.
- Apply glue to the “stem” (skewer or thick wire) and insert through soil/pot and up through the tulip bud.
- Wrap green yarn around the stem—as if taping—to look like a plant stem.
- Attach and sew leaves at the base of the tulip bud, shape as desired by bending wire.
- Add extra glue to secure everything and hide yarn/wire ends.
- Gently shape bud and leaves for natural effect.
What You Can Make Using These Stitches
- Miniature potted flowers for gifts, pins, decor, and magnets
- Tiny succulents or cacti using same pot/soil
- Realistic wired leaves for any amigurumi plants
- Floral brooches and hair decorations
- Custom bouquets and home indoor arrangements
This mini tulip pot is a creative celebration of 3D crochet and useful for anyone seeking to add a gentle touch of spring to a desk, home or event. Enjoy applying these techniques in larger floral arrangements, garden-themed toys, or accessories!