Free Crochet Square Christmas Tree Pattern with Easy Instructions

Spread holiday cheer with this Free Crochet Square Christmas Tree Pattern that offers a cozy, handmade touch to your festive home decor.
Bringing festive cheer to your handmade decorations becomes simple and joyful with a charming project from KnitMania. This design offers a fresh take on holiday creativity that combines traditional festive spirit with a modern geometric twist. The Free Crochet Square Christmas Tree Pattern is a wonderful way to add a unique touch to your holiday décor.
Free Crochet Square Christmas Tree Pattern for Festive Home Decor
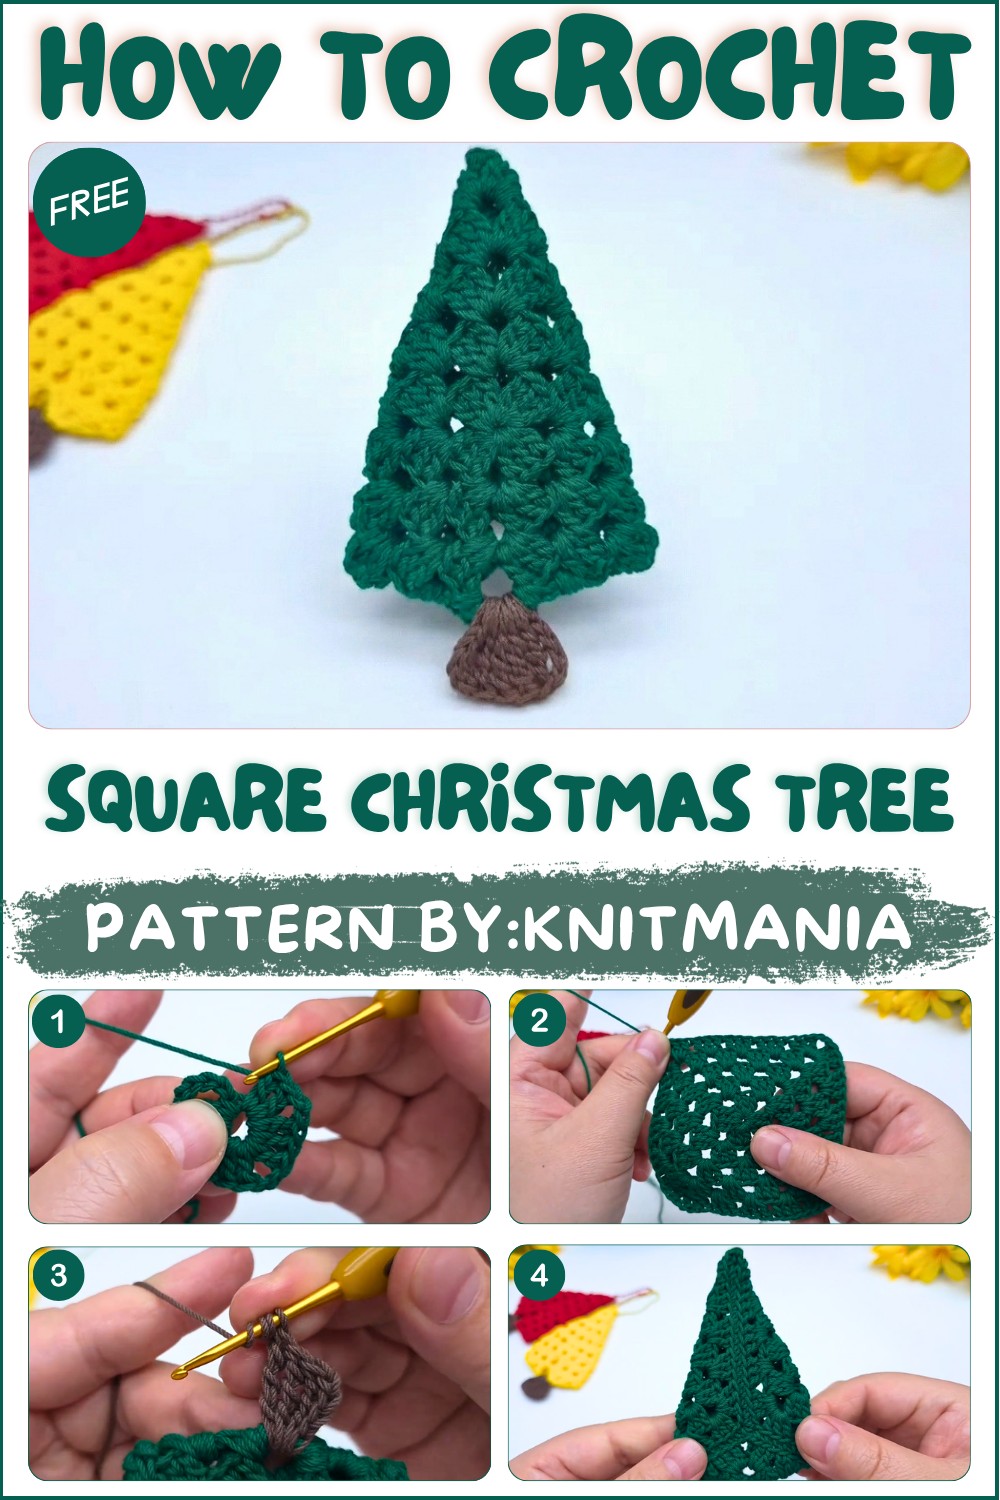
The beauty of this pattern lies in its innovative square shape, which creatively represents a Christmas tree in a compact and stylish way. The textured stitches give the piece a lovely depth and warmth, making it stand out among other seasonal creations. Its neat, symmetrical design fits perfectly into various settings, from hanging ornaments to table decorations. The use of vibrant green yarn and contrasting details further enhances its eye-catching appeal.
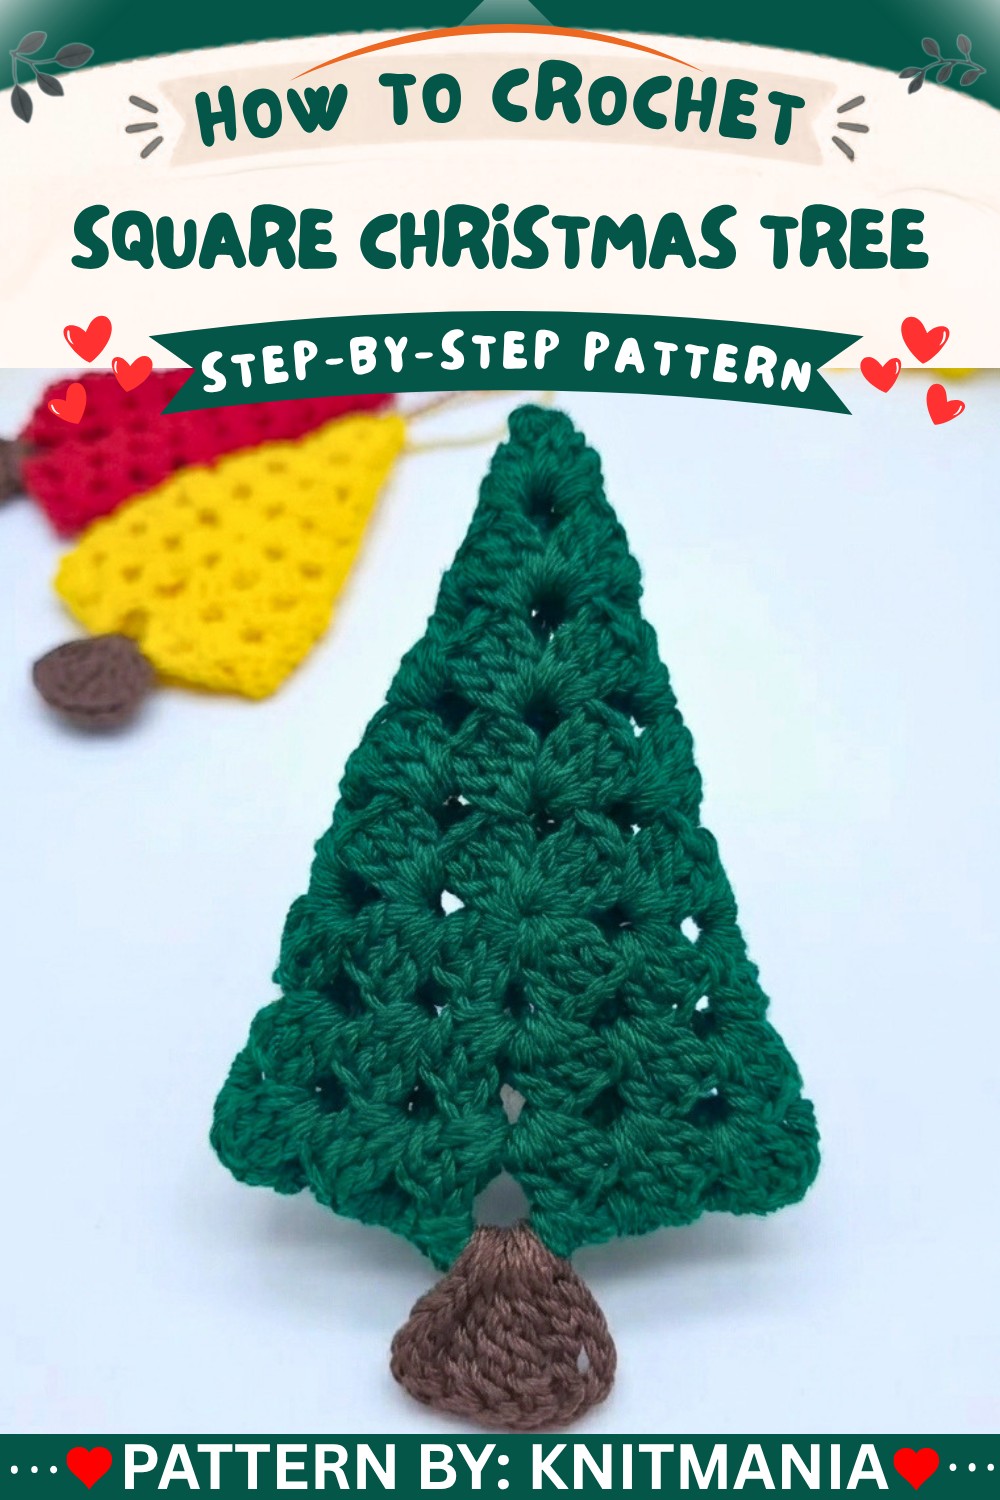
This versatile crochet item can be used in multiple ways. Hang it on your Christmas tree for a distinctive ornament, attach several together to create festive garlands, or use it as charming coasters for holiday gatherings. Because of its sturdy yet soft texture, the piece holds shape well and adds a cozy touch wherever it’s placed. It’s ideal for various spaces including living rooms, offices, or even as a thoughtful handmade gift.
Perfectly suited for beginners and intermediate crocheters, the pattern guides you through creating a festive motif that is both fun and rewarding. You can enjoy making this seasonal piece that brings a modern flair to traditional holiday themes. This unique square Christmas tree design blends creativity, beauty, and practicality in one delightful project.
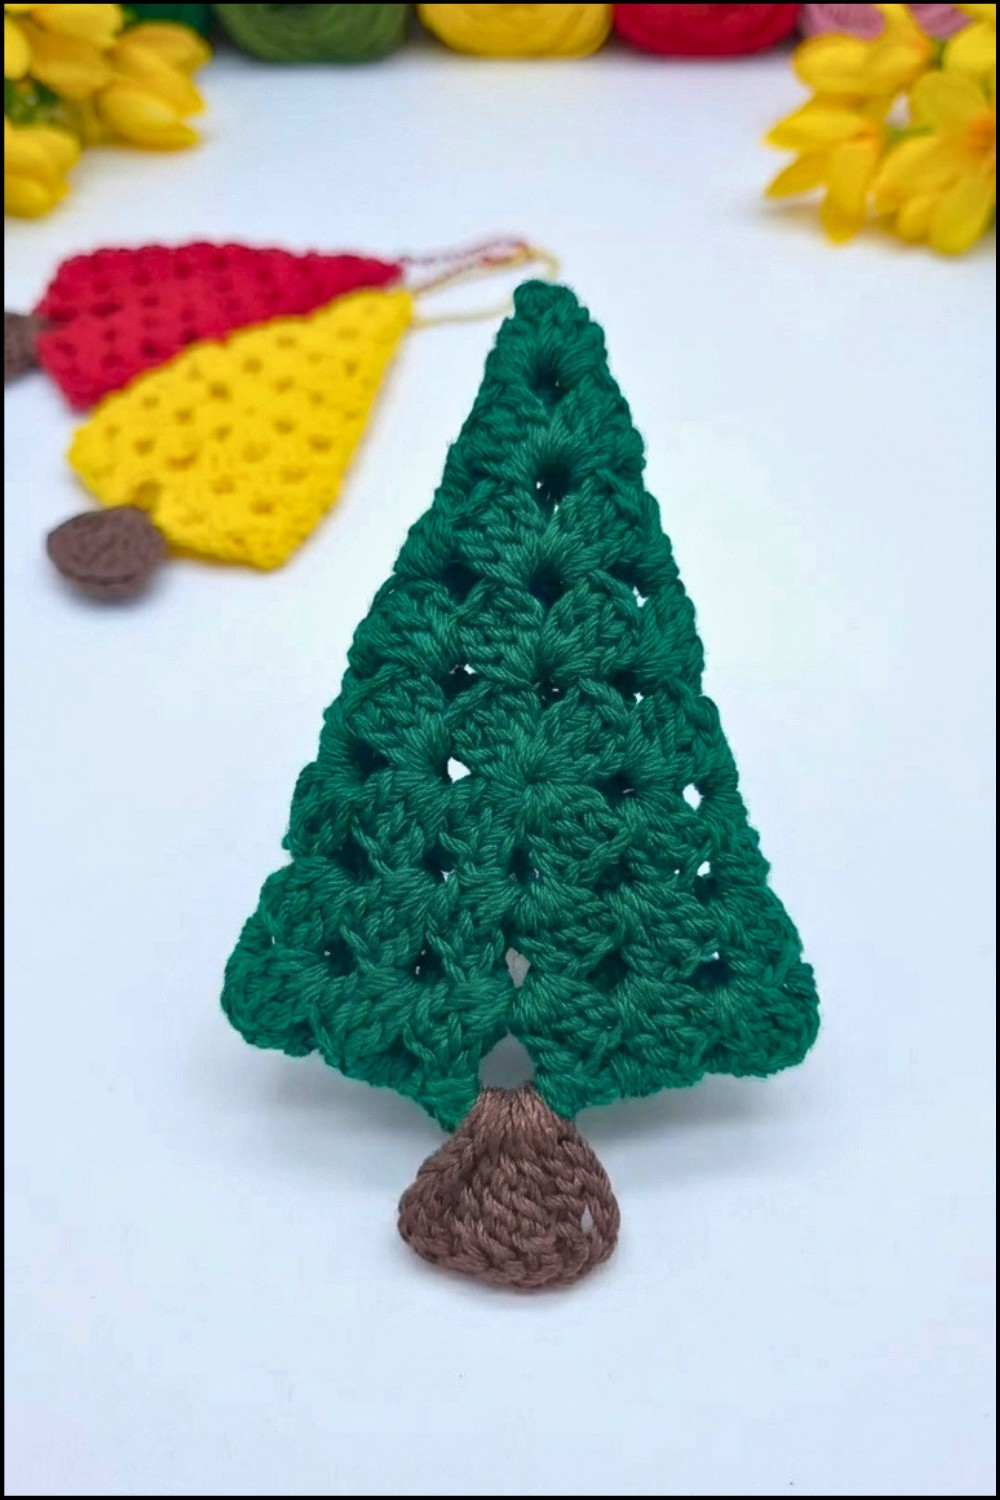
Granny Square Christmas Tree Keychain Crochet Pattern
This project transforms a traditional granny square motif into a festive mini tree—complete with a rustic trunk—making it the perfect seasonal accessory for keys, bags, or as a standout, handmade stocking stuffer. The pattern is thoughtfully structured, guiding you through classic granny square construction, creative folding, simple seamwork, and effective finishing touches to ensure your project is both beautiful and durable.
Pattern Basic Points
Main Construction Outline
- Classic Granny Square Motif: Worked in 5 rounds for a neat, familiar texture and shape.
- Simple Assembly: The square is folded into a triangle for the stylized tree body.
- Secure Seam: Back half-stitch sewing method is used for virtually invisible edges.
- Added Trunk: Brown yarn and tall stitches give your “tree” a realistic base.
- Keychain-Ready: A ball chain or keychain ring is added for instant use.
Special Notes
- Cotton is recommended: Ideal for durability, structure, and easy cleaning—especially for frequently-handled keychains.
- Keep your corners sharp: Block the granny square lightly if needed before folding, for crisply defined triangle “branches.”
- Invisible join: Ensures a seamless look without bulky edges (an essential finishing detail).
- Stitch Placement: Always insert needle/hook through both loops for a robust seam unless otherwise noted.
Skill Level
Beginner / Adventurous Beginner
This pattern is accessible to anyone who can confidently work basic stitches (chain, double crochet, slip stitch) and perform basic sewing assembly.
Materials
- Yarn: 100% Cotton yarn
- Green (tree)
- Brown (trunk)
- Hook: 3 mm crochet hook
- Notions: Tapestry needle, scissors
- Finishing: Ball chain or keychain ring
Measurements / Sizing
- Finished size: Approx. 6–7 cm height (excluding chain), 5–6 cm width (base of triangle)
Gauge
- Gauge is not crucial, but a firm stitch will help the tree keep its shape.
- Sample: Granny square after 5 rounds ≈ 7.5–8 cm (when lightly stretched).
Stitch Abbreviations
| Abbreviation | Description |
|---|---|
| MR | Magic Ring (adjustable loop) |
| ch | Chain |
| dc | Double Crochet |
| tr | Triple Crochet (US) |
| sl st | Slip Stitch |
| st(s) | Stitch(es) |
| sp | Space |
| inc | Increase |
Special Stitches
- Granny Cluster: 3 dc into same space.
- Corner: (3 dc, ch 2, 3 dc) in a ch-2 corner space.
- Back Half-Stitch seam: Insert needle into the back loops only to create a flat, nearly invisible seam.
- Invisible Join: Cut yarn, use a tapestry needle to mimic the last stitch in the round for a smooth edge.
- Triple Crochet (tr): Yarn over twice, insert hook, (yarn over and pull through two loops) three times.
Step-by-Step Pattern
1. Granny Square Motif (Rounds 1-5)
Use green yarn.
- Round 1
- Create a magic ring (MR).
- (3 dc, ch 2)—repeat 4 times into MR for corners.
- Join with a sl st to the top of the starting ch 3 (or first dc).
- Tighten ring to close the center.
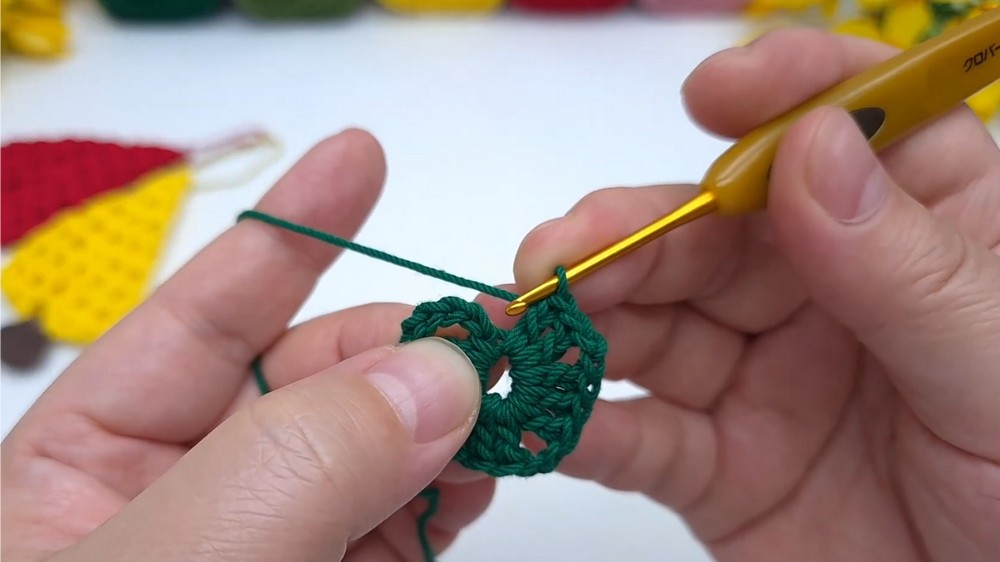
- Round 2
- Sl st into the first corner space.
- [In corner spaces: (3 dc, ch 2, 3 dc)]—work in all 4 corners.
- Skip over the cluster sides (ch 1 between corner clusters for sides).
- Round 3
- Sl st to next corner space.
- (3 dc, ch 2, 3 dc) in each corner space.
- On each side: 3 dc in ch-1 spaces; ch 1 between clusters.
- Rounds 4–5
- Maintain established granny pattern:
- In all corner spaces: (3 dc, ch 2, 3 dc)
- In all side spaces (ch 1 gaps): 3 dc
- Use ch 1 between every cluster, including between corner and side clusters.
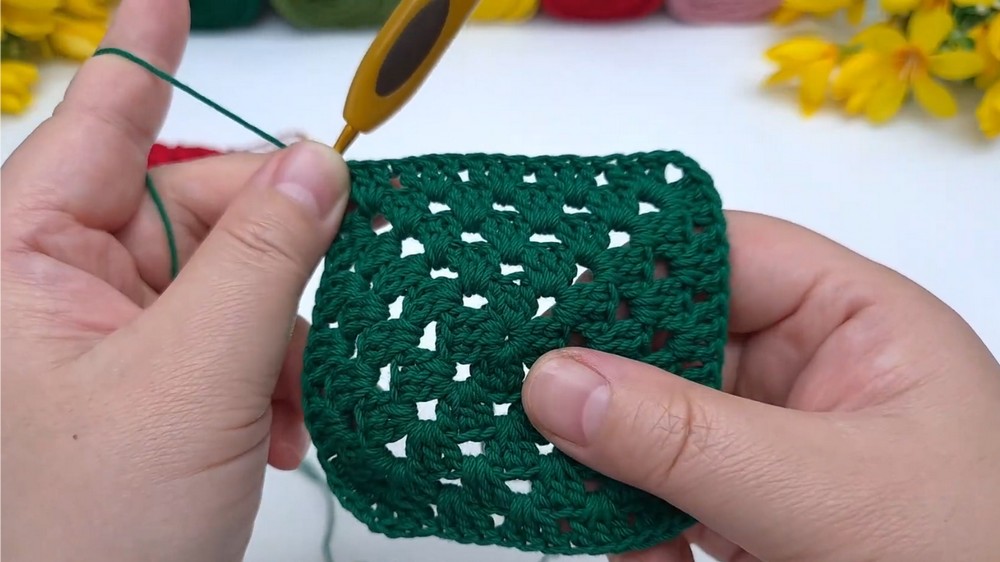
- After completing Round 5, finish with an invisible join for a smooth edge.
- Maintain established granny pattern:
2. Assembly
- Folding
- Lay the granny square flat.
- Fold into a precise triangle by bringing one corner directly across to meet the opposite corner.
- Sewing
- Using yarn tails and a tapestry needle, sew the two open edges together.
- Use the “back half-stitch” (insert needle only through back loops of both layers).
- Pull gently but firmly — your seam should be neat, flat, and almost invisible.
- (Tip: Hide your knot and tail inside as you sew.)
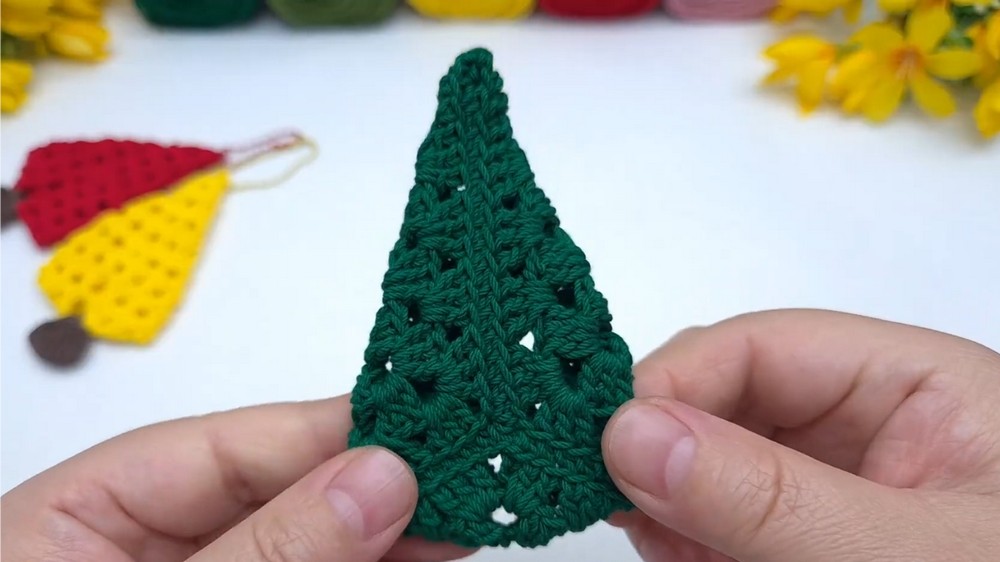
- Using yarn tails and a tapestry needle, sew the two open edges together.
3. Tree Trunk & Finishing
- Crochet Trunk
- Attach brown yarn to the very bottom point of your triangle (center of the folded base).
- Foundation: ch 4, turn.
- Into the ring/center where joined: work 3 tr (triple crochet) into the same space, alongside the chain.
- You may adjust for length (optional: ch 3, 1 tr, ch 1, sl st if you prefer a thinner trunk).
- Fasten off and weave in the brown ends neatly inside the trunk.
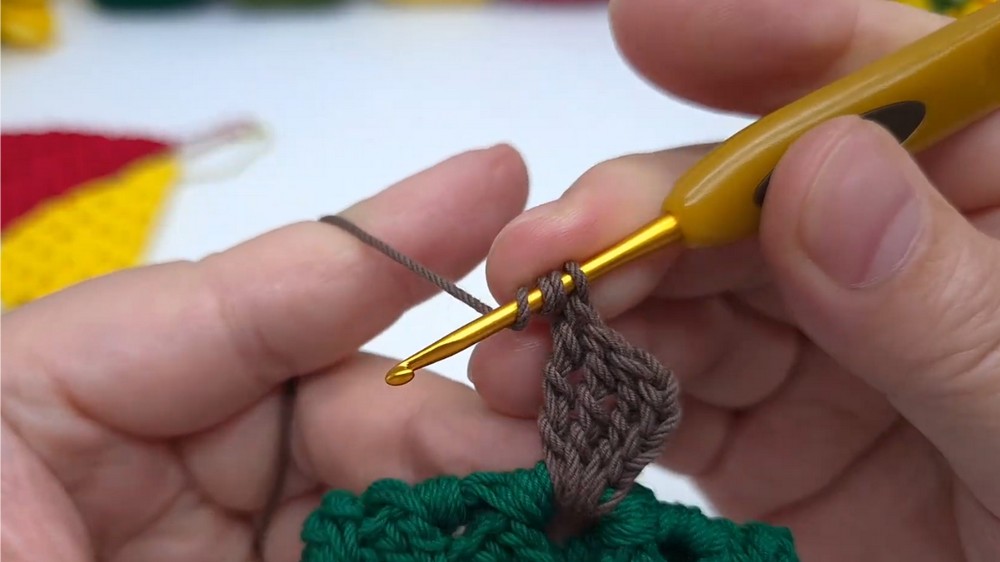
- Final Touches
- Use tapestry needle to weave in any remaining yarn tails, hiding them inside the tree or trunk.
- Attach a ball chain or keychain ring securely to the top triangle point. Pull through securely and knot if necessary.
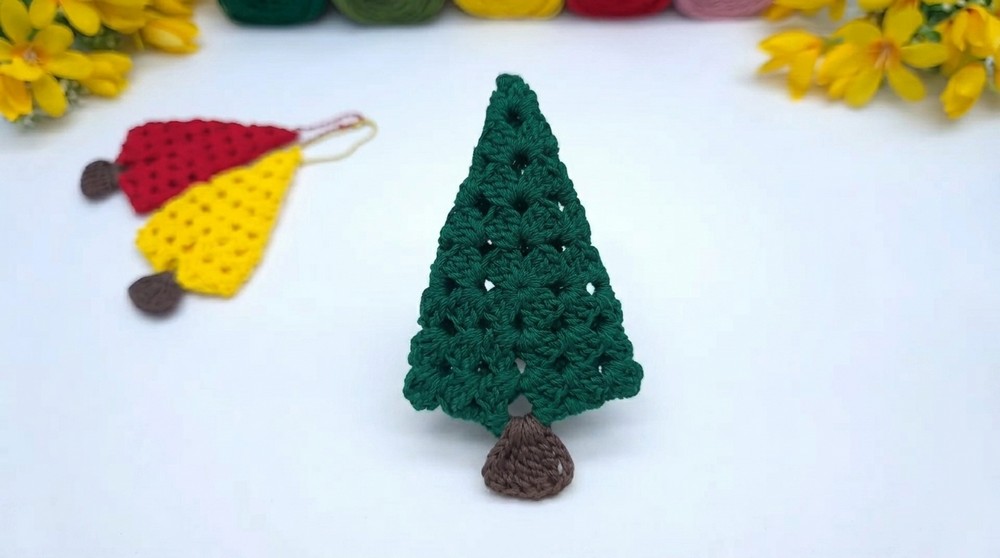
- Shape and gently block if needed—the triangle, trunk, and overall form should now resemble a mini Christmas tree.
Assembly & Finished Size
- Result:
- Approx. 6–7 cm tall, 5–6 cm base width.
- Clean triangle shape with sturdy seams and a neat trunk.
- Keychain securely attached, ready for use or gifting!
Conclusion
You’ve turned a classic granny square into a festive Christmas Tree Keychain—combining timeless crochet technique with creative finishing for a versatile, seasonal accessory. This project is quick, satisfying, and easily customizable: try multi-colored rounds, add beads for “ornaments,” or use metallic thread for sparkle. Hang it on keys, bags, or as a holiday party favor. Your new keychain is practical, eye-catching, and showcases the warm artistry of handmade gifts.