Crochet 3D Christmas Tree Free Pattern & Tutorial For Holiday

Bring holiday cheer to life with this Crochet 3D Christmas Tree that helps you decorate your space with beautiful festive designs.
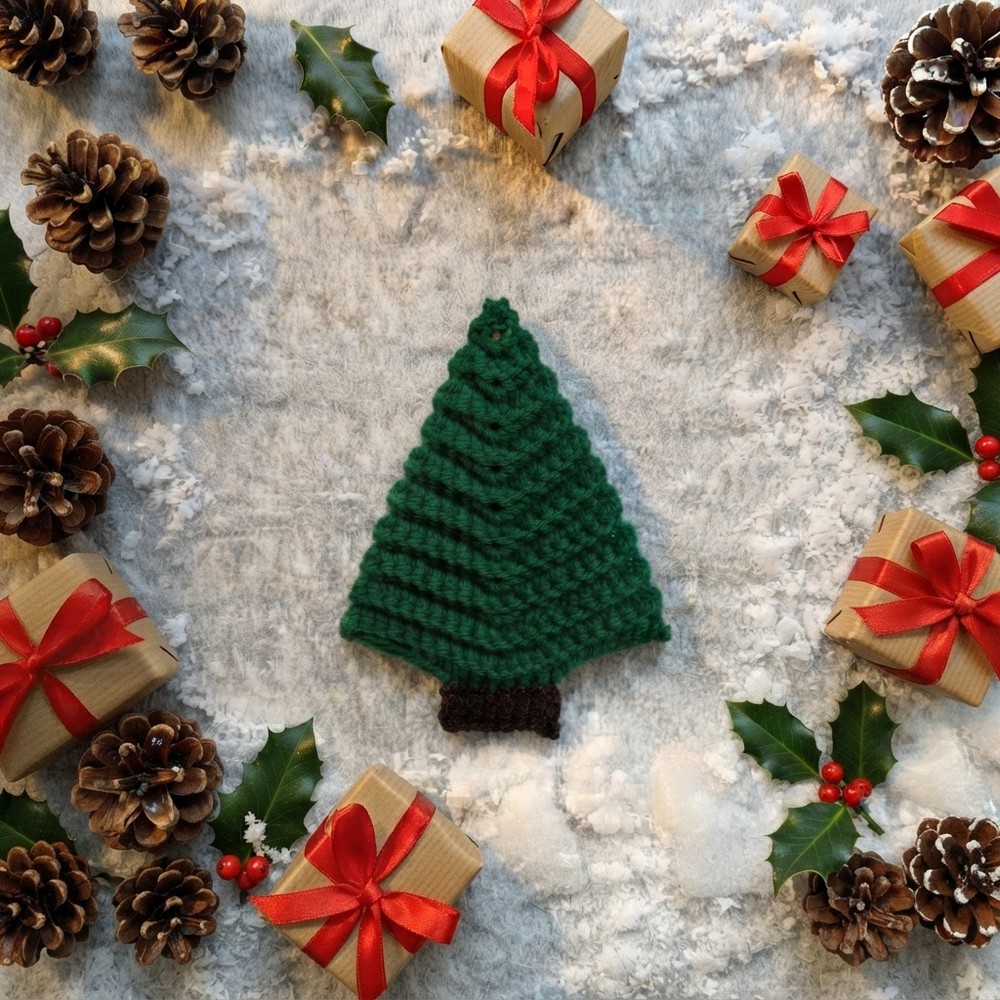
For Christmas, adding handmade decorations brings a warm and personal touch to your festive space. One fantastic project that captures this spirit is the Free crochet 3D Christmas Tree Pattern, expertly shared by Tukitaki. This pattern turns simple yarn into a charming three-dimensional tree, perfect for enhancing holiday décor with cozy, creative flair.
Beginner Friendly Free Crochet 3D Christmas Tree Pattern
This crochet Christmas tree features textured layers created by working single crochet stitches mostly into the back loops, giving it a soft ridged surface. Its classic triangular shape closely resembles a real pine tree, making it a delightful miniature decoration or ornament. The 3D construction adds depth and character, setting it apart from flat, two-dimensional patterns.
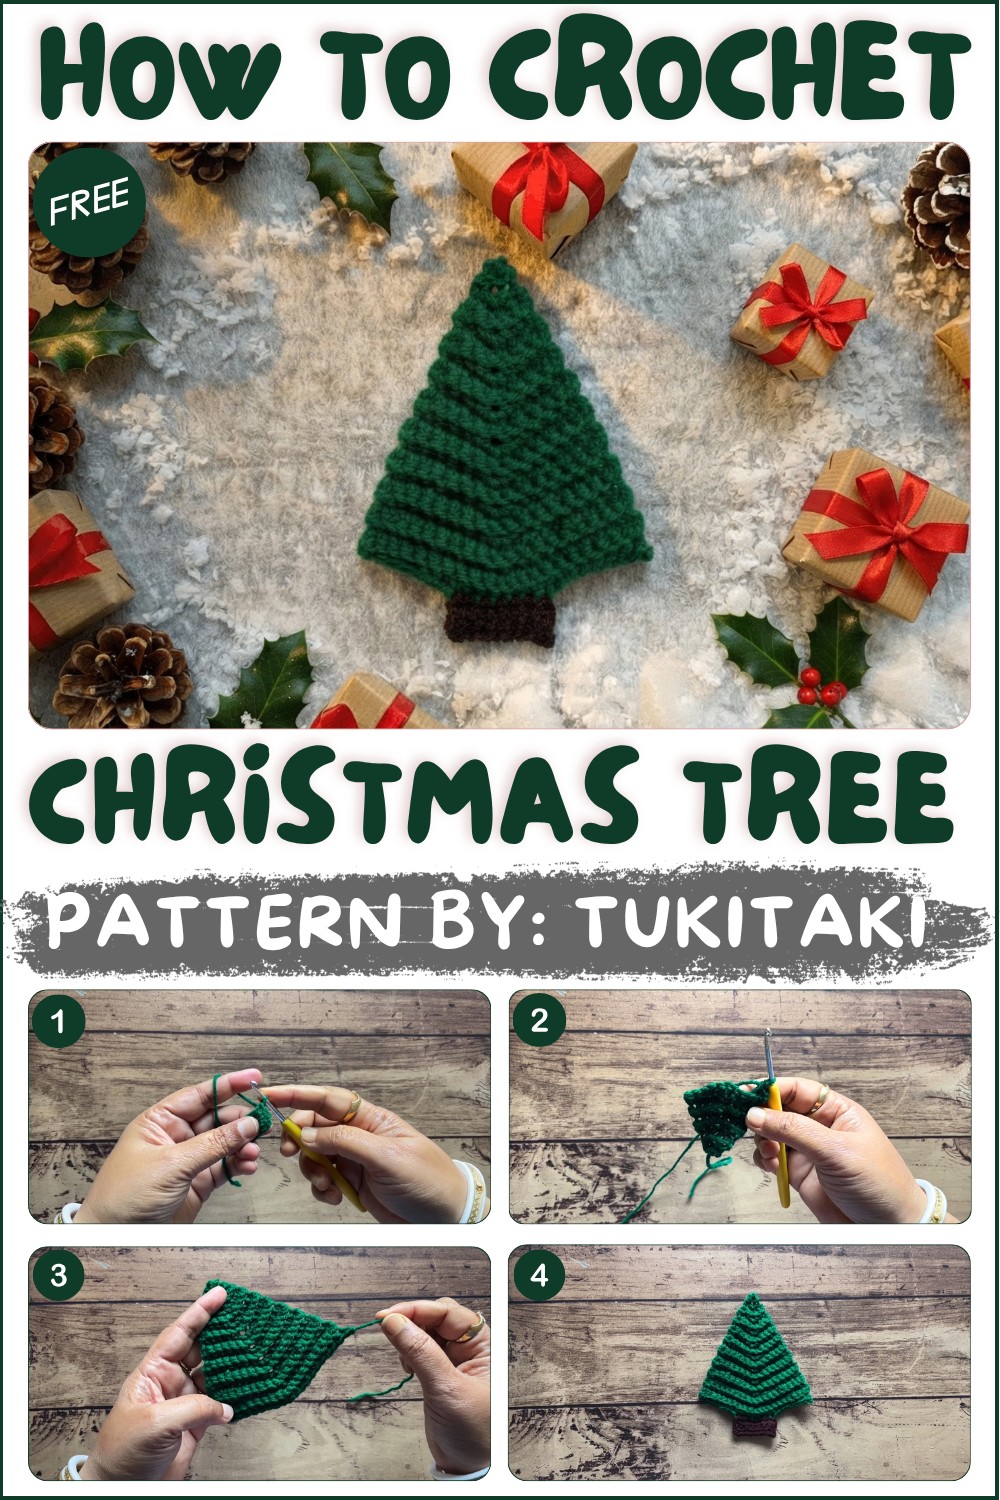
Sized just right for displaying on tables, shelves, or even as a unique gift topper, this handmade tree offers great versatility. It’s also an excellent gift idea, showcasing thoughtful effort and creativity that store-bought items often lack. Using yarn and a crochet hook produces a sturdy yet lightweight feel, ensuring the tree holds its shape with a gentle softness.
A key feature of this pattern is the way stitches increase in certain rows, expanding the shape to create fullness and volume. Starting with a magic ring and carefully counting stitches guarantees a neat, symmetrical result. The design has an appealing simplicity combined with subtle texture that draws the eye.
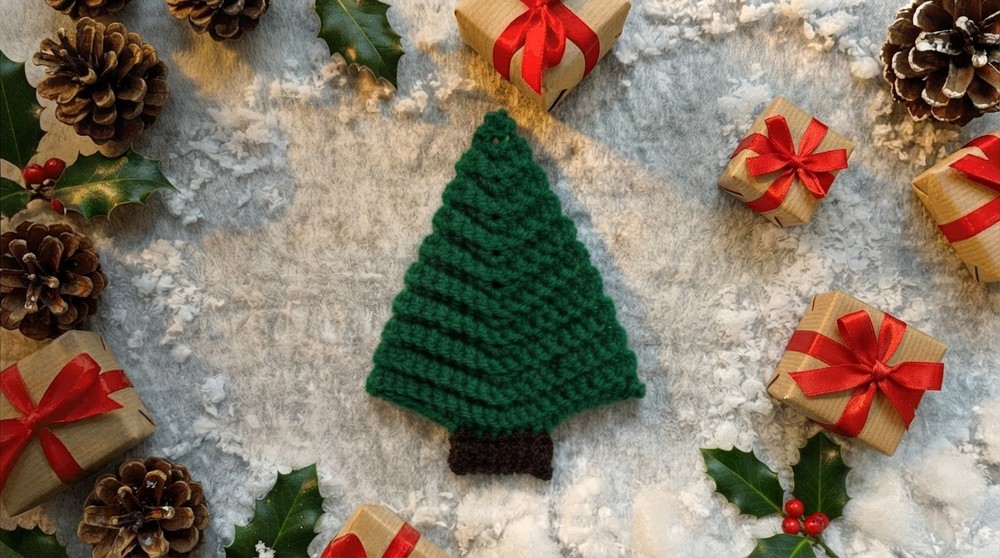
Following this Free crochet 3D Christmas Tree Pattern from Tukitaki is a wonderful way to bring handmade charm and festive cheer into your home. It beautifully demonstrates how traditional yarn work can become delightful holiday décor that spreads warmth throughout the season.
Crochet 3D Christmas Tree Pattern
This beginner-friendly project is perfect for festive home décor, gift accents, or as a whimsical table centerpiece. The step-by-step pattern, focusing on easy increases and the subtle texture of back loop only (BLO) stitches, will guide you from the magical start at the tree-top to the sturdy base of the trunk. Personalize your tree with added decorations or create a forest of festive trees for joyful, handmade cheer.
Pattern Basic Points
Construction & Texture
- Worked flat in rows, beginning with a magic ring at the top and increasing outwards for the conical tree shape.
- All stitches from Row 2 onward are worked in the Back Loop Only (BLO), which adds ridged texture to the tree’s surface.
- Consistent shaping: Each section adds two stitches to the tree, centered with 3-sc increases.
- Sturdy Trunk: Directly joined to the tree’s base for stability and shape.
- Assembly: Once finished, the tree can be lightly stuffed for a plush look or left flat.
Detailing & Finishing
- Invisible yarn joins and hidden ends provide a seamless appearance.
- Optional stuffing for a 3D effect, or leave unstuffed for a firmer, more defined silhouette.
Special Notes
- Always work Row 2 and beyond in the Back Loop Only (BLO) for best texture.
- You can crochet two trees and seam them together for an entirely 3D, double-sided ornament.
- Adjust the amount of stuffing to change the firmness and fullness of your tree.
- This project works well with acrylic yarn, but feel free to explore sparkly or tweed greens for extra festive flair!
- Add embroidery, beads, or mini ornaments after assembly for further decoration.
Skill Level
Confident Beginner
You should be comfortable with basic crochet stitches (single crochet, increasing), working in rows, and simple color changes.
Materials
- Yarn: Medium weight (size 4) acrylic yarn
- Green (tree)
- Brown (trunk)
- Crochet Hook: 3.5 mm – 3.75 mm
- Stuffing material: Polyester fiberfill or yarn scraps (optional, for a 3D look)
- Tapestry needle: For sewing ends and assembly
- Scissors
Measurements / Sizing
- Height: Approximately 12–16 cm (5–6 inches) from tip to trunk base, with recommended materials and stuffing
- Width: Approx. 7–9 cm (3–3.5 inches) at widest (base)
- Size may vary based on yarn weight, hook size, and personal gauge
Gauge
- Gauge is not essential; tight stitches are best for 3D structure.
- For reference: 8–9 sc = 5 cm (2″) in BLO
Stitch Abbreviations
- MR – Magic ring
- ch – chain
- sc – single crochet
- BLO – back loop only
- sl st – slip stitch
- st(s) – stitch(es)
Special Stitches
- Back Loop Only (BLO): Insert hook into the back loop of each stitch, leaving the front loop unworked for a ridged look.
- 3-sc increase: Work 3 single crochet stitches into the same stitch to expand the row and build the tree’s conical shape.
The Pattern
Tree (All Rows After Row 1 Worked in BLO)
- Foundation:
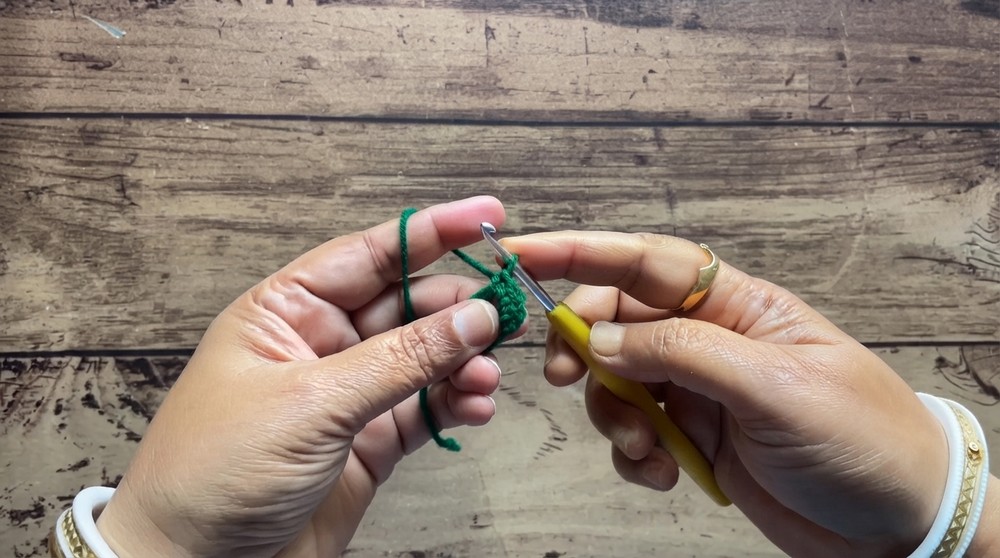
- With green yarn, create a magic ring (MR).
- Ch 1, work 3 sc into the ring. Pull tight to close. (3 stitches)
- Row 2:
- 1 sc, 3 sc in the next st, 1 sc. (5 sts)
- Row 3:
- 5 sc across.
- Row 4:
- 2 sc, 3 sc in the next st, 2 sc. (7 sts)
- Row 5:
- 7 sc across.
- Row 6:
- 3 sc, 3 sc in the next st, 3 sc. (9 sts)
- Row 7:
- 9 sc across.
- Row 8:
- 4 sc, 3 sc in the next st, 4 sc. (11 sts)
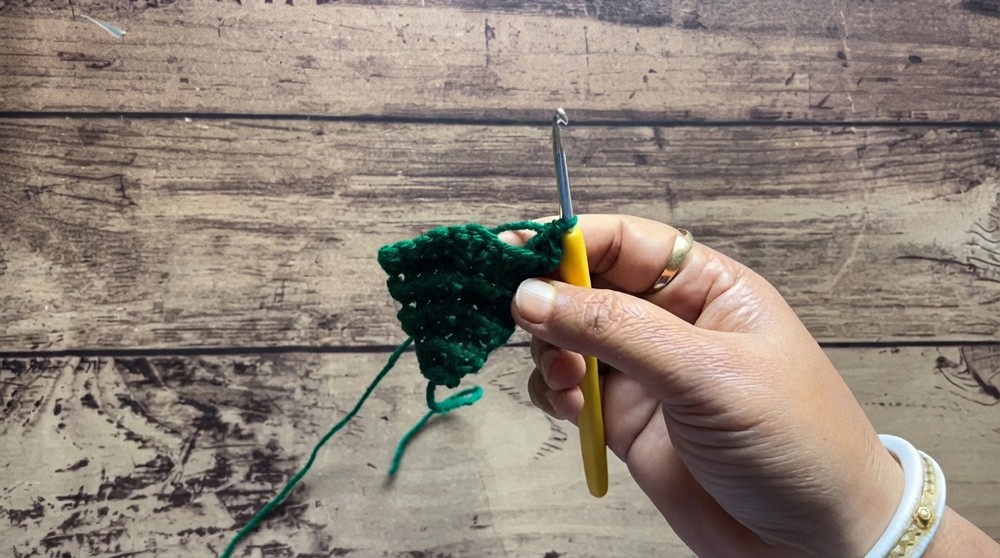
- 4 sc, 3 sc in the next st, 4 sc. (11 sts)
- Row 9:
- 11 sc across.
- Row 10:
- 5 sc, 3 sc in the next st, 5 sc. (13 sts)
- Row 11:
- 13 sc across.
- Row 12:
- 6 sc, 3 sc in the next st, 6 sc. (15 sts)
- Row 13:
- 15 sc across.
- Row 14:
- 7 sc, 3 sc in the next st, 7 sc. (17 sts)
- Row 15:
- 17 sc across.
- Row 16:
- 8 sc, 3 sc in the next st, 8 sc. (19 sts)
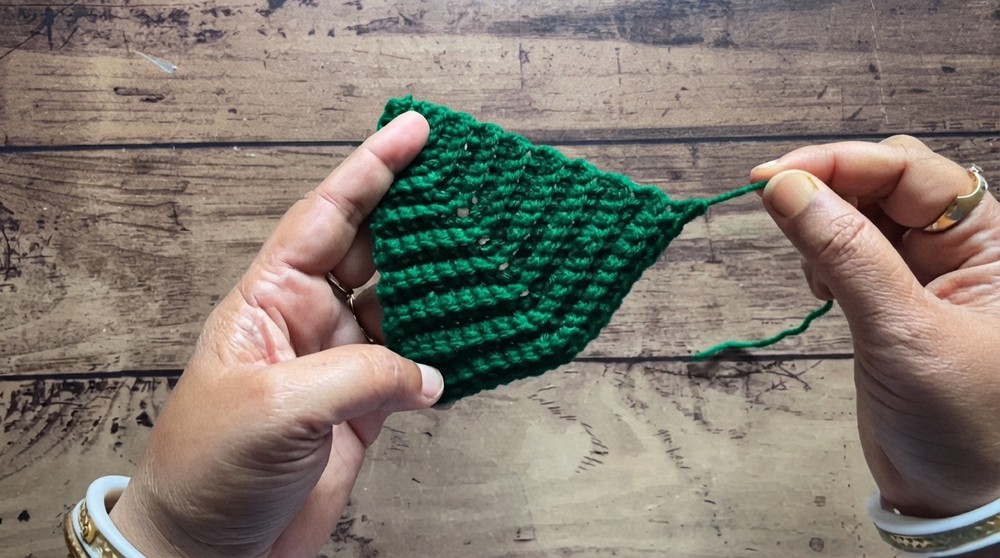
- 8 sc, 3 sc in the next st, 8 sc. (19 sts)
- Row 17:
- 19 sc across.
- Final Row (Row 18):
- 9 sc, 3 sc in the next st, 9 sc. (21 sts)
Trunk
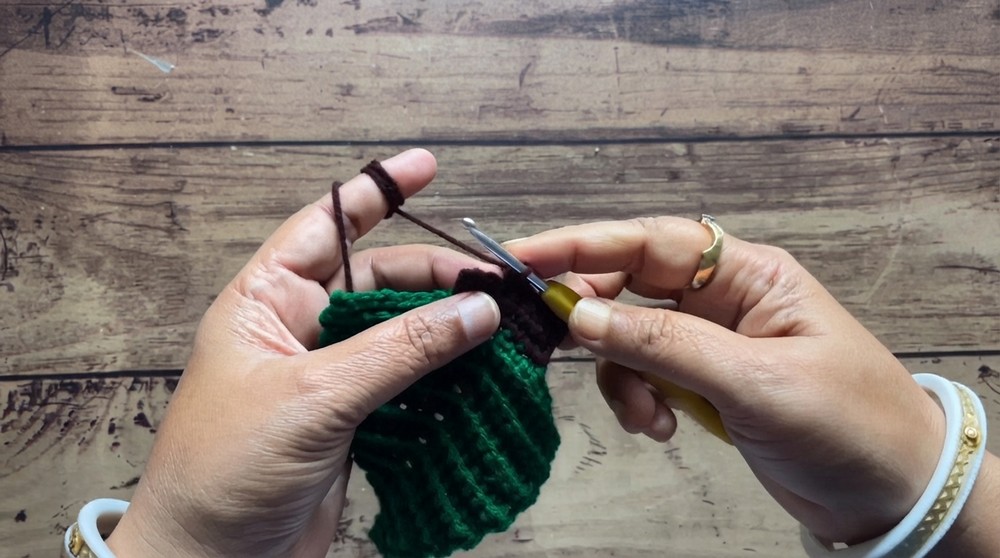
- With brown yarn, join at the center base of the tree (bottom row).
- Skip 7 stitches on either side (locate center 7 stitches of last row).
- Work 7 sc (one in each of the center 7 sts).
- Rows 2–4: Turn and work 7 sc across for a total of 3 rows, forming a sturdy trunk.
- Fasten off and cut yarn.
Assembly & Finished Size
- Stuff the tree (optional): If making a plush ornament, lightly stuff the cone after the tree rows and before working the last row or closing any seam.
- Sew edges: If making a two-sided tree, sew or crochet edges together with BLO, leaving an opening to stuff before closing.
- Finish trunk: Fold trunk if desired for thickness, then sew neatly to base.
- Weave in all ends using the tapestry needle.
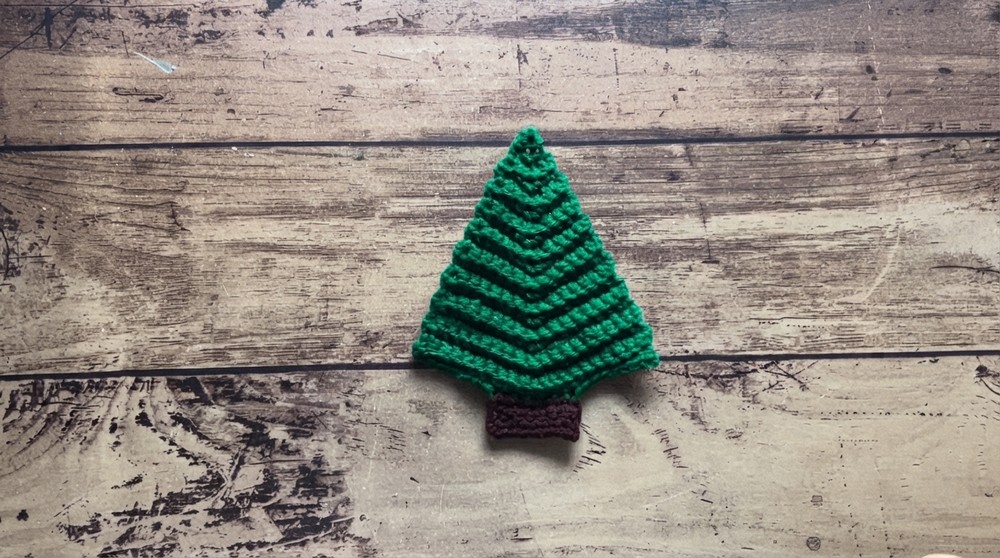
Final height: Approx. 12–16 cm (with trunk); adjust stuffing for desired fullness.
Conclusion
You’ve now crocheted a classic 3D crochet Christmas tree, a project blending elegant simplicity and playful, inviting texture. The nuanced shaping by back loop stitches and central increases brings the tree to life, while easy assembly ensures a rewarding, stress-free finish. Decorate with beads or miniature ornaments, or display as a stand-alone piece.