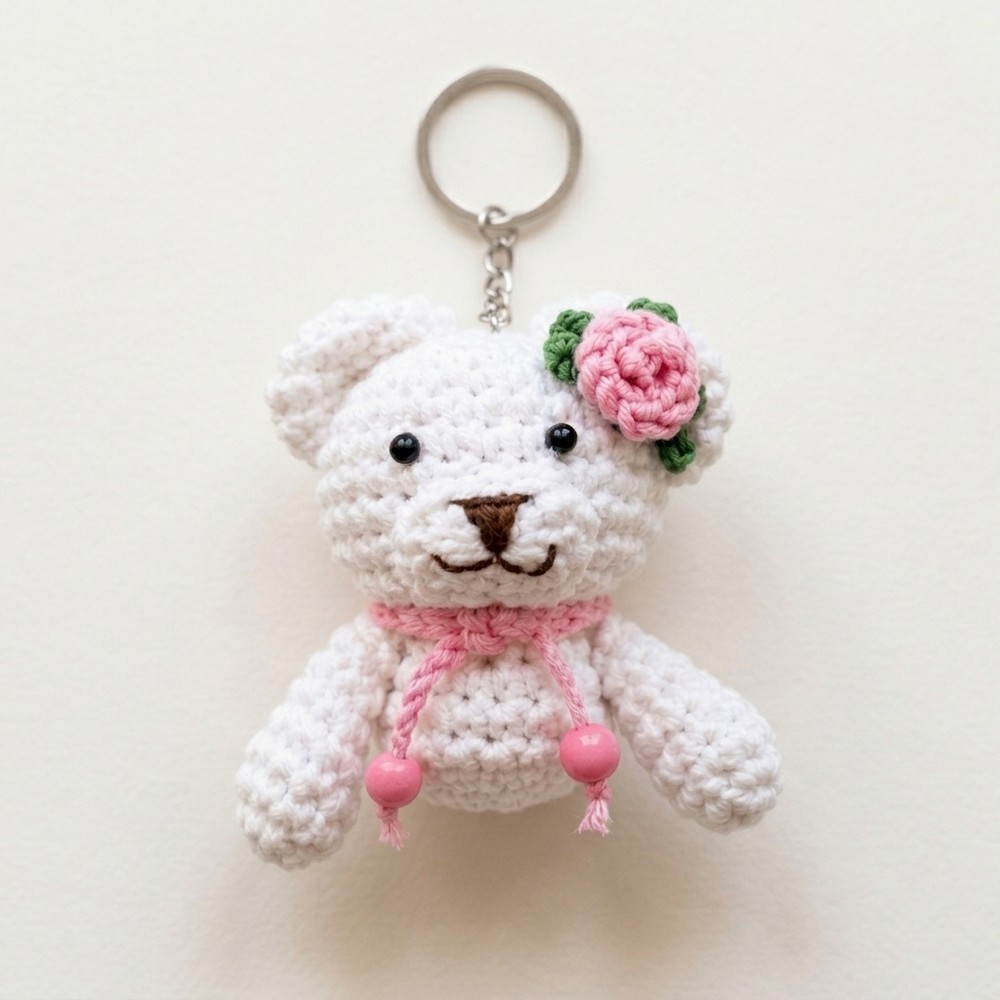
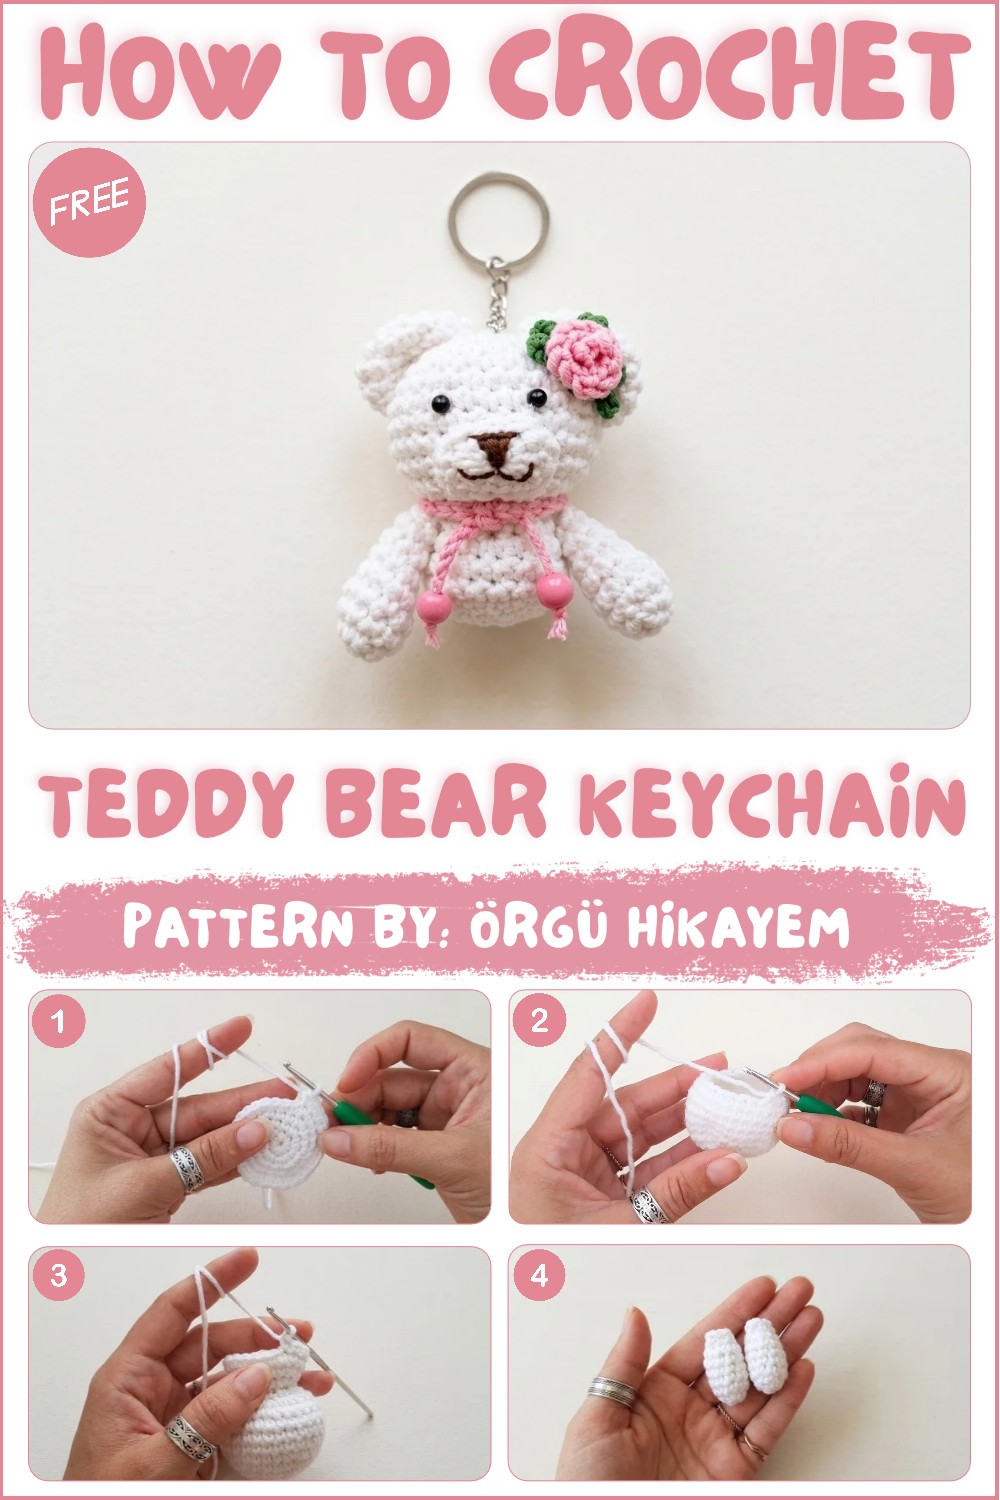
Cute Amigurumi Crochet Teddy Bear Keychain With Free Pattern

Surprise a loved one with a crochet teddy bear keychain as a housewarming present that fits right beside the shiny new keys to their very first place.
House keys feel more personal when there’s something on the ring that has a story. A crochet teddy keychain borrows the round ears and gentle face of a favorite stuffed bear and scales them down for daily use. Those little ears do much of the work. You can recognize the outline as soon as you spot it hanging from a key hook, even when the face is turned toward the wall.
Teddy Keychain Free Pattern for a Handmade Crochet Gift
The Maker Behind the Teddy
Round ears and a familiar face put this teddy among the classic animals in the channel’s amigurumi collection. This version takes a favorite toy shape and gives it a place on an everyday object. Readers interested in more animals they can carry can browse the keychain collection at Örgü Hikayem.
It’s the sort of present that fits a small milestone. For someone picking up the keys to a first apartment, put the bear in a box with the spare ring and a handwritten note. You could also choose a yarn shade that reminds them of the teddy they had growing up. Warm brown gives the bear an old-fashioned toy look, while blue or lilac feels more playful. Color choice can carry the personal part of the gift without needing initials or extra decorations.
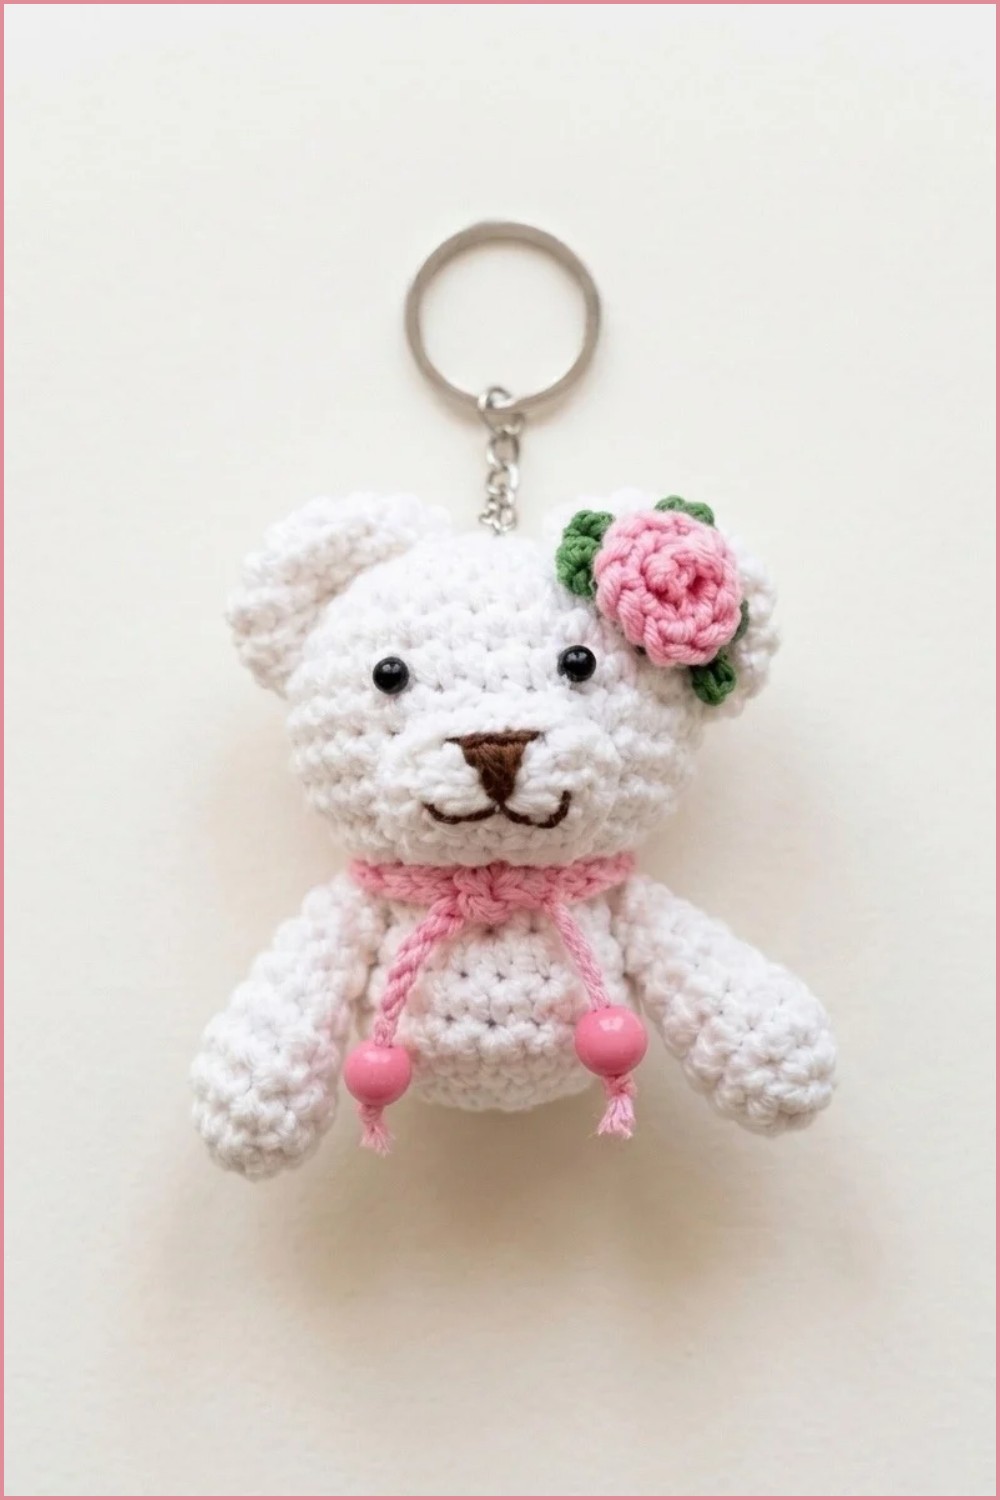
With an accessory that will spend time in pockets, the finish deserves some attention. Keep the stitches even so the outline stays clear, and check that the ring sits firmly at the top before slipping it onto your keys. When it’s hanging at home, the little bear can also help you tell two sets of keys apart at a glance.
Seamless Amigurumi Bear Keychain Pattern
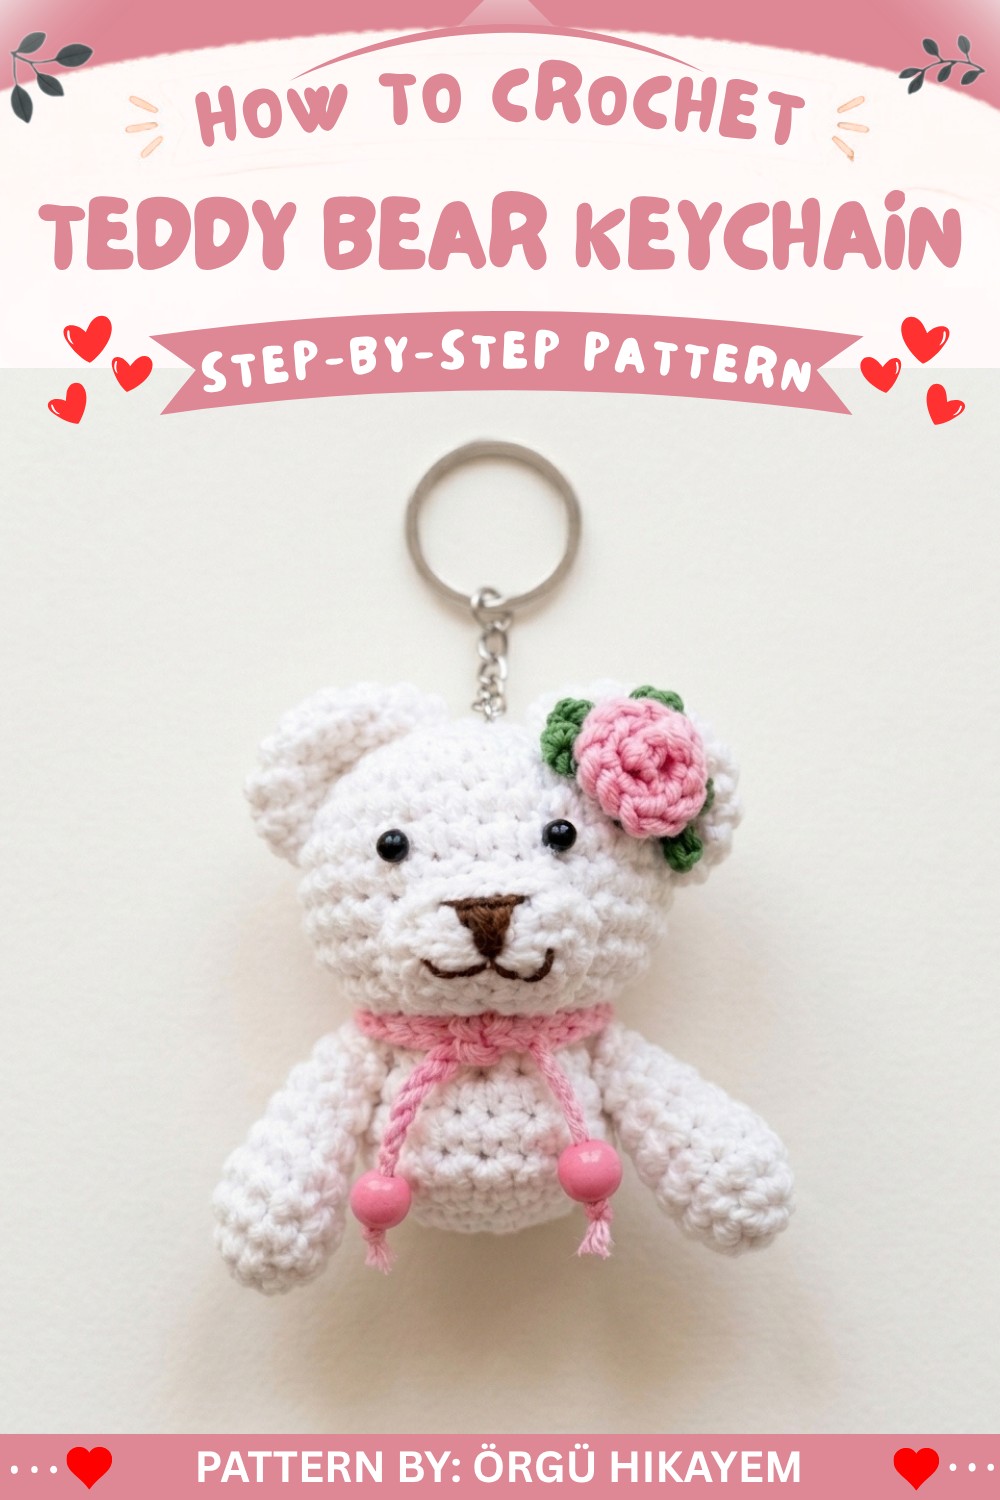
This pattern guides you in crocheting a seamless amigurumi bear keychain, designed to be approximately 7.5 cm in height. With its adorable proportions and sturdy design, this little bear is perfect as a keychain, gift, or decorative piece.
Skill Level
Intermediate
This pattern is ideal for crocheters who already have a good understanding of amigurumi techniques, including magic rings, increasing, decreasing, working in rounds, and assembling small parts. Precision in stitch counting and part attachment is crucial to achieve a polished finish.
Materials
To make the bear keychain, you will need:
- Yarn: Any yarn of your choice in your desired color (e.g., white).
- Crochet Hook: 2.5 mm.
- Safety Eyes: 5 mm diameter.
- Polyester Fiberfill: For stuffing the bear.
- Silicone Glue: Optional, for securely attaching delicate parts.
- Plastic Beads: Optional, for decorative details like the necklace.
Stitch Abbreviations
- sc = single crochet.
- inc = increase (2 sc in the same stitch).
- dec = decrease (single crochet 2 stitches together).
- hdc = half double crochet.
- dc = double crochet.
- ch = chain stitch.
- FLO = front loop only.
- BLO = back loop only.
Useful Tips
- Stitch Counting: Use stitch markers when working in continuous rounds to keep track of your starting points. Accurate counts are essential for shaping the bear.
- Stuffing: Stuff firmly but not overly to ensure a clean, rounded shape without gaps in stitches. Pay extra attention to the stuffing in the head and body.
- Safety Eyes: Attach safety eyes securely between specified rows before closing the head. Ensure they are evenly spaced for symmetry.
- Flattening Parts: When instructed to flatten elements (such as ears and arms), shape them neatly to make sewing easier.
- Decorative Details: Personalize your bear with unique decorations such as flowers or necklaces using contrasting yarn colors.
Pattern Instructions
The pattern includes instructions for crocheting the seamless head and body, ears, arms, snout, and decorative elements.
Head & Body (Worked as One Piece)
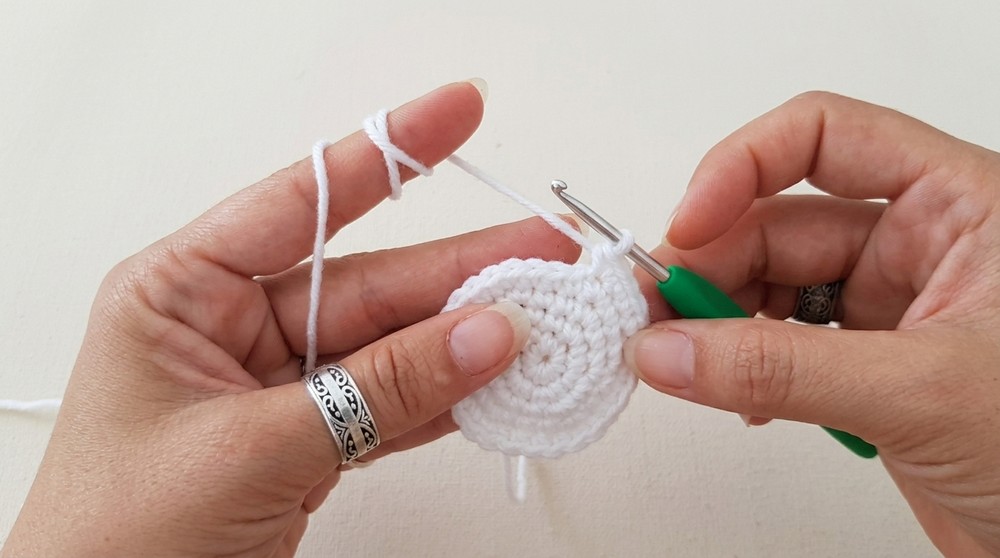
Round 1:
- Begin with a magic ring and work 6 sc into the ring.
Round 2:
- Inc in each st (work 2 sc into each stitch): 12 sc.
Round 3:
- 1 sc, 1 inc (repeat 6x): 18 sc.
Round 4:
- 2 sc, 1 inc (repeat 6x): 24 sc.
Round 5:
- 3 sc, 1 inc (repeat 6x): 30 sc.
Rounds 6-9:
- Work 30 sc straight (1 sc into each stitch) for 4 rounds.
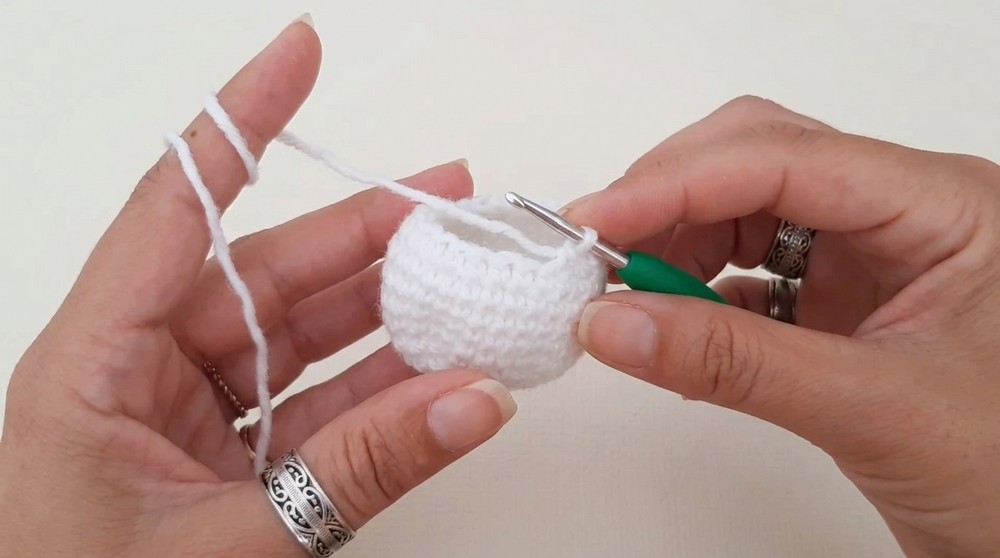
Insert safety eyes between Rows 4 and 5, leaving a gap of 3 sc between them.
Round 10:
- 3 sc, 1 dec (repeat 6x): 24 sc.
Round 11:
- Work 12 dec using FLO: 12 sc.
Round 12:
- 1 sc, 1 inc (repeat 6x) using BLO: 18 sc.
Round 13:
- 3 sc, 1 inc (repeat 4x): 22 sc.
Rounds 14-15:
- Work 22 sc straight (no shaping) for 2 rounds.
Stuff the head and body firmly with polyester fiberfill.
Round 16:
- 11 dec: 11 sc.
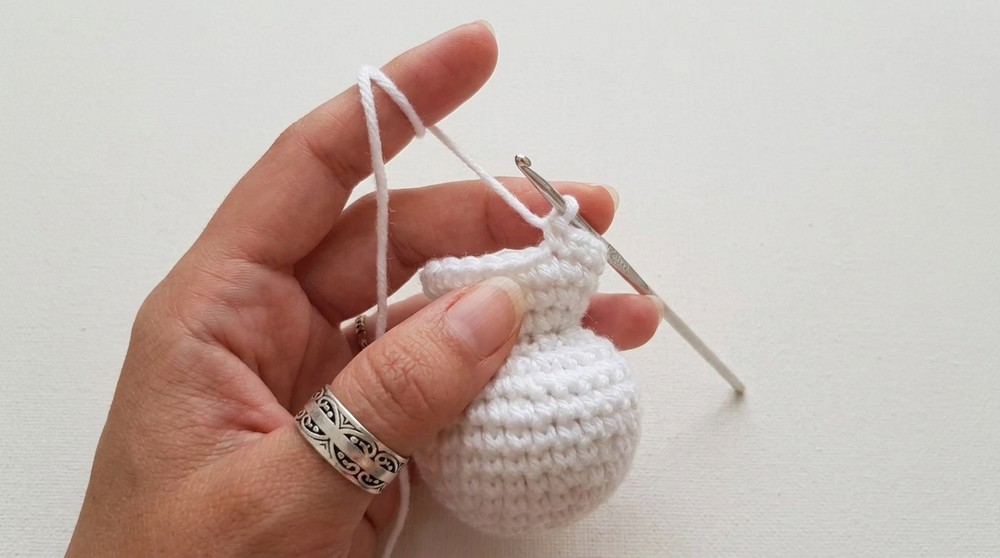
Round 17:
- 5 dec, 1 sc: 6 sc remaining.
- Fasten off and secure.
Ears (Make 2)
Round 1:
- Begin with a magic ring and work 6 sc.
Round 2:
- 6 inc: 12 sc.
Round 3:
- 1 sc, 1 inc (repeat 6x): 18 sc.
Round 4:
- Work 18 sc straight. Flatten the round into a semicircle.
Sew the ears symmetrically onto the head once flattened.
Arms (Make 2)
Round 1:
- Begin with a magic ring and work 9 sc.
Rounds 2-6:
- Work 9 sc straight (1 sc in each stitch) for 5 rounds.
Round 7:
- 1 sc, 1 dec (repeat 3x): 6 sc.
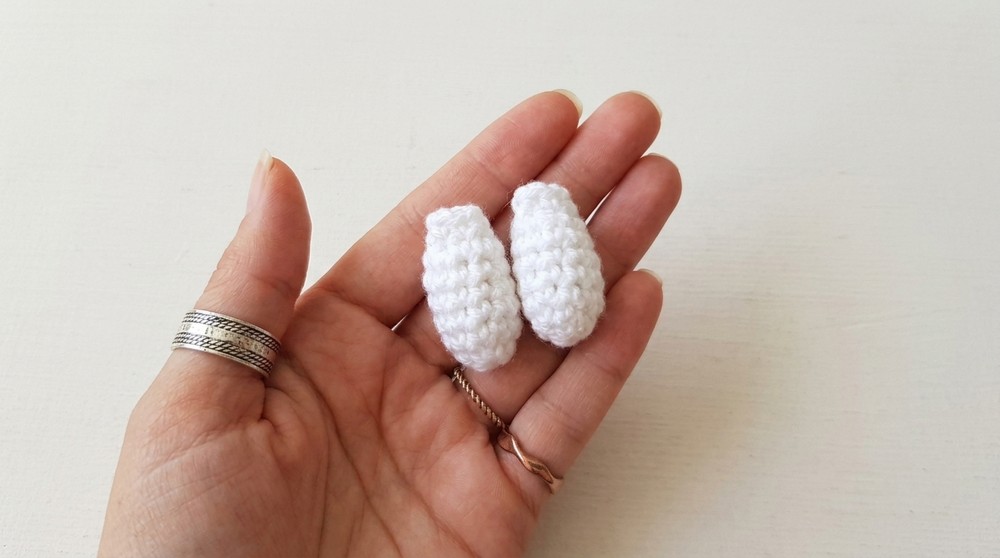
Lightly stuff the arms, fold flat, and sew directly onto the body.
Snout
Foundation Shape:
- Begin with a magic ring and work the following sequence twice:
- 1 sc, 1 hdc, 2 dc, 1 hdc, 1 sc.
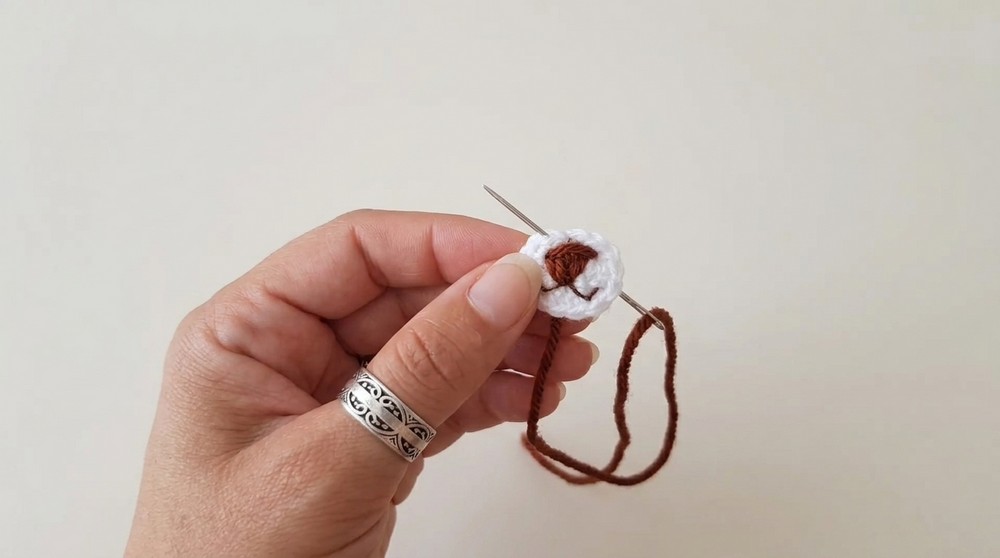
- 1 sc, 1 hdc, 2 dc, 1 hdc, 1 sc.
Sew the snout onto the head, directly below the safety eyes. Use black yarn or embroidery thread to stitch the nose and mouth.
Decorative Details
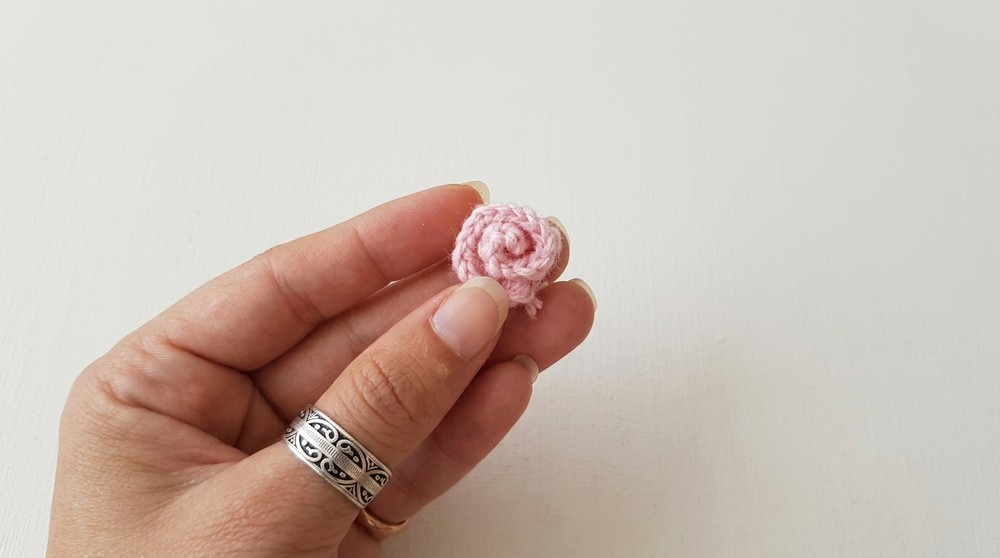
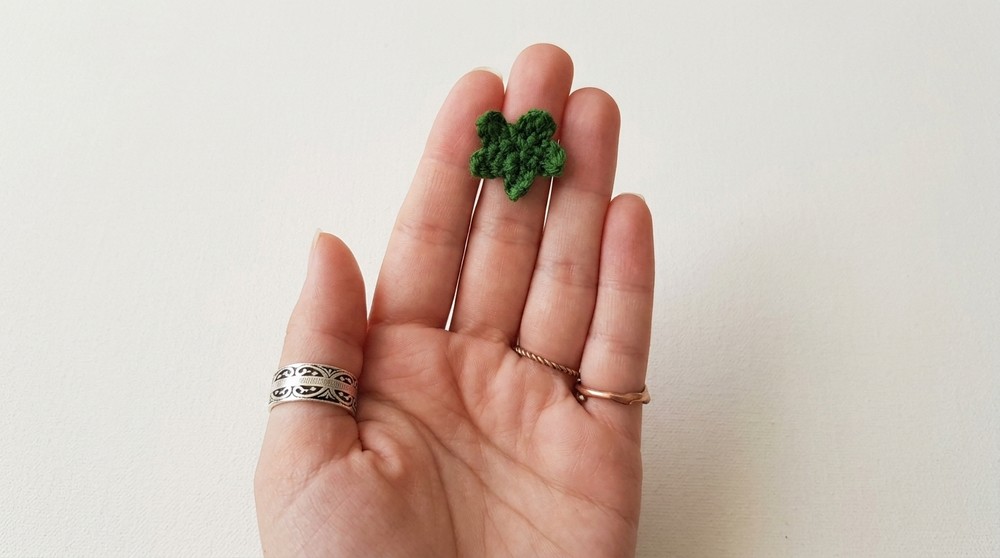
Flower:
- Ch 12 to create the foundation chain.
- Work 2 hdc into every chain, creating a ruffled effect.
- Roll the piece into a flower shape and sew it directly onto the bear.
Work the Leaves
Round 1: First Leaf Branch
- Ch 5 (this forms the first branch).
- Sl st back into the magic ring to anchor the branch.
Round 2: Second Leaf Branch
- Ch 5 again, creating the second leaf branch.
- Sl st into the magic ring to anchor this branch next to the first one.
Repeat:
- Follow the same steps:
- Ch 5, sl st into the magic ring.
- Continue repeating until you’ve created the desired number of leaves (e.g., 6–8 branches for a balanced design). Each chain forms a branch.
Necklace:
- Ch 35 to form the base chain.
- Thread plastic beads onto the chain intermittently.
- Tie the necklace loosely around the bear’s neck.
Final Assembly
Ensure all parts are securely attached and symmetrical. Use silicone glue, if desired, to further reinforce any delicate components. Trim loose ends and shape the keychain for a polished finish.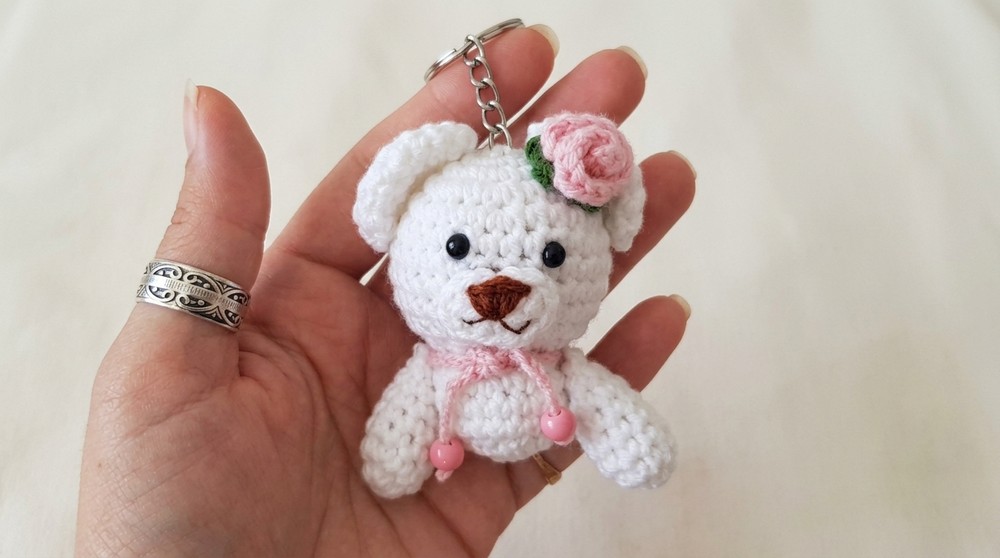
Conclusion
This seamless amigurumi bear keychain is an adorable and versatile project, perfect as a gift or keepsake. With its detailed shaping, decorative embellishments, and sturdy construction, this little bear showcases both craftsmanship and creativity. Modify the pattern with different yarn textures or colors to personalize the design further.