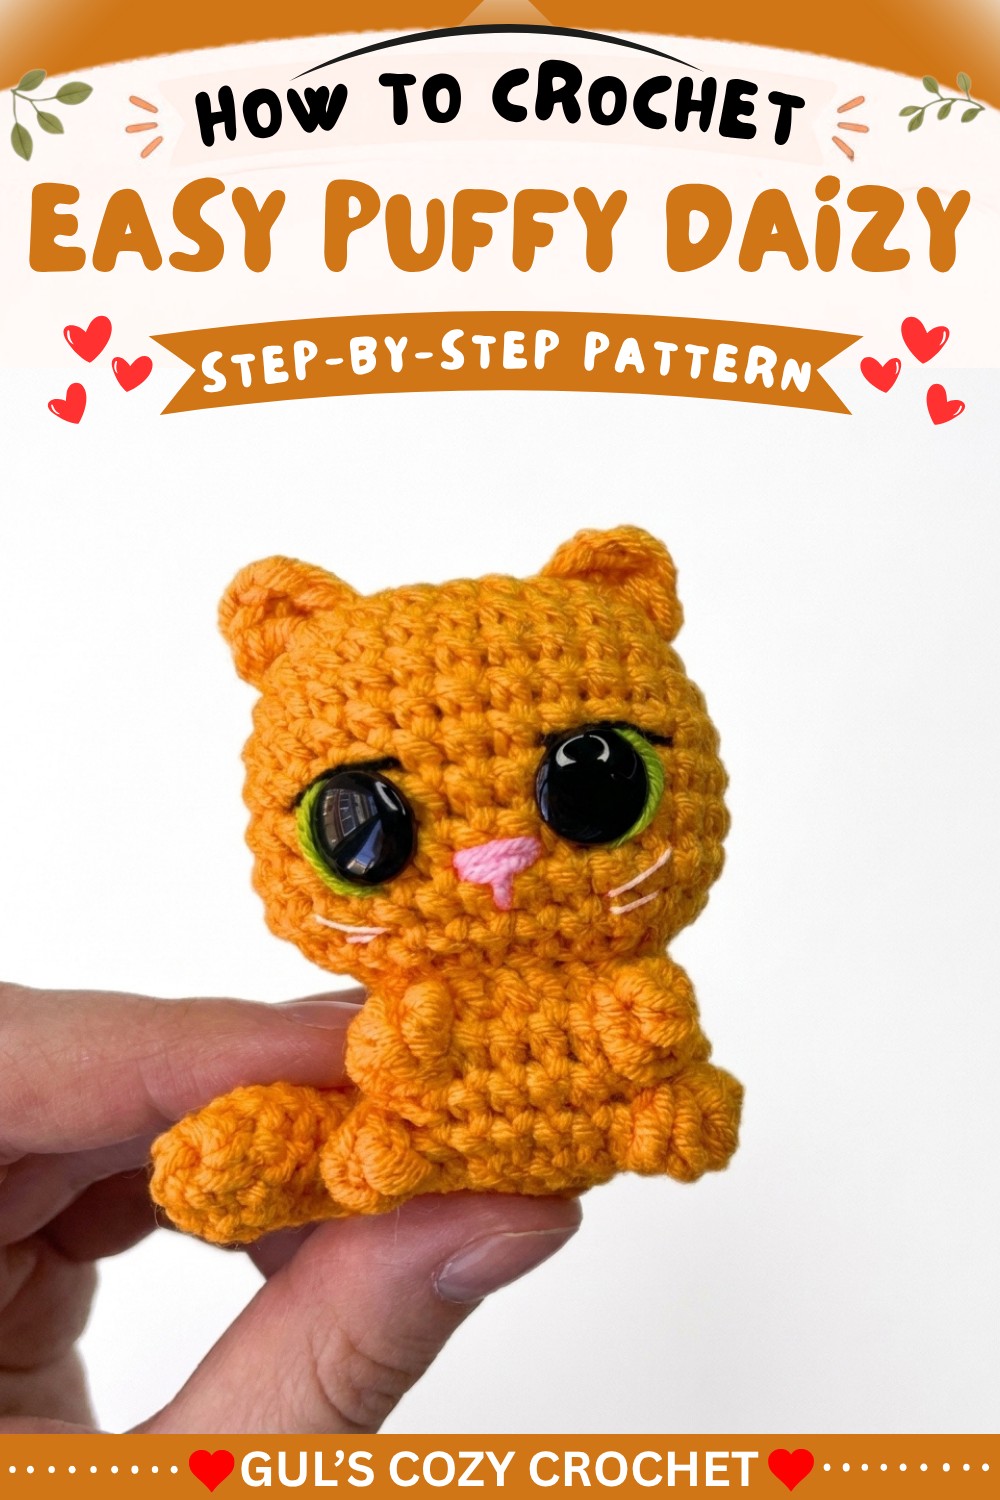
Free Crochet No Sew Cat Pattern For Beginners

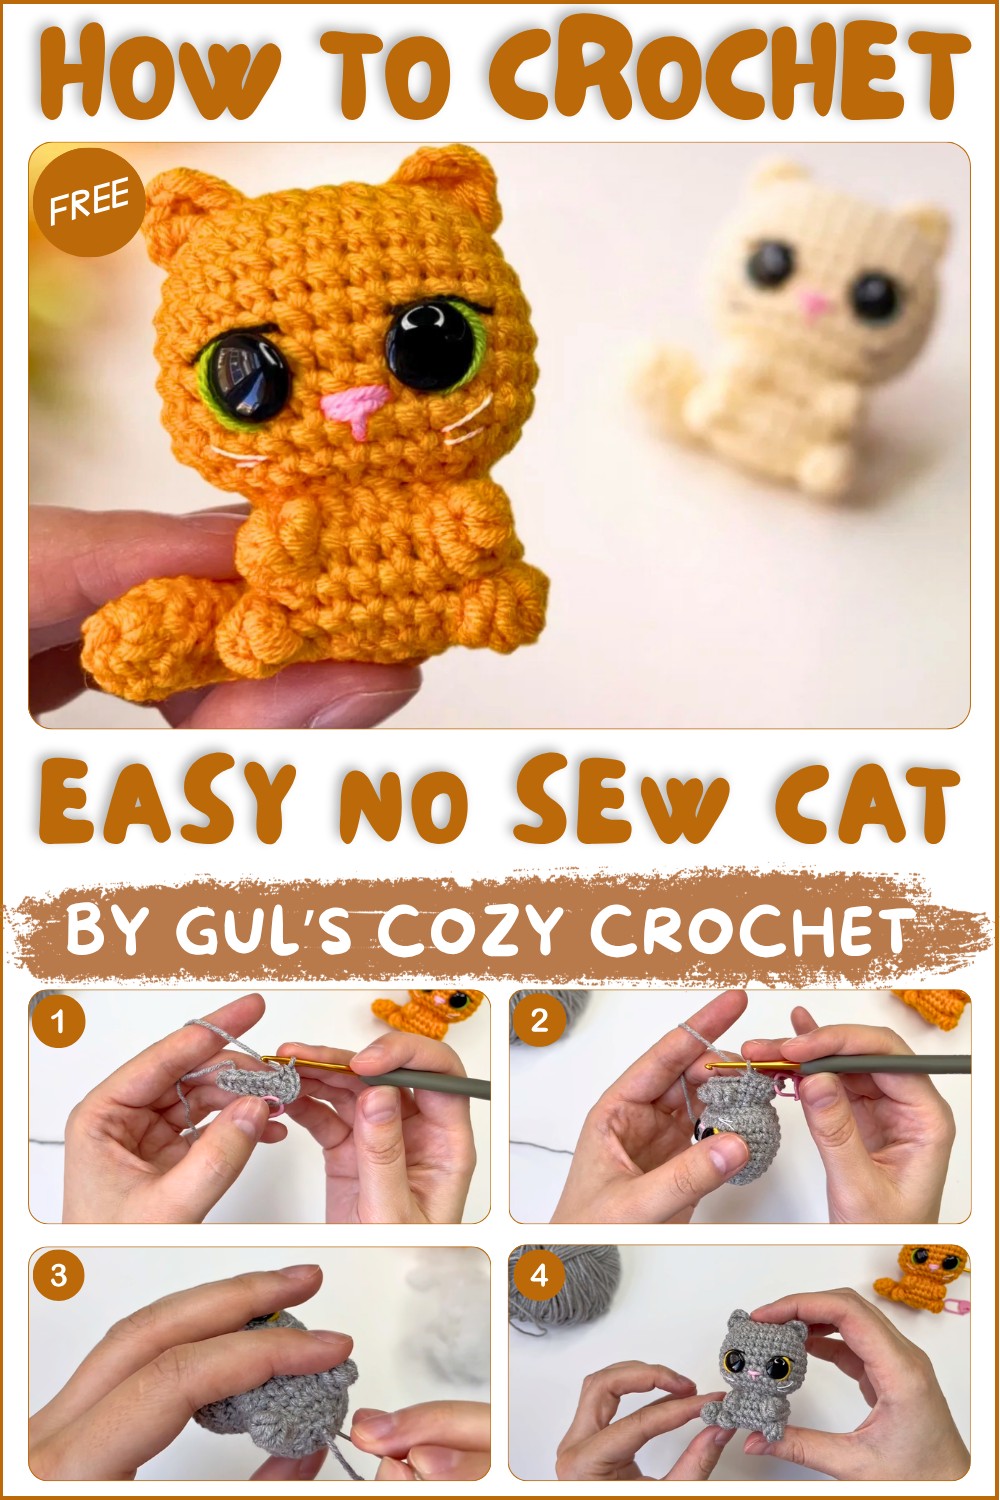
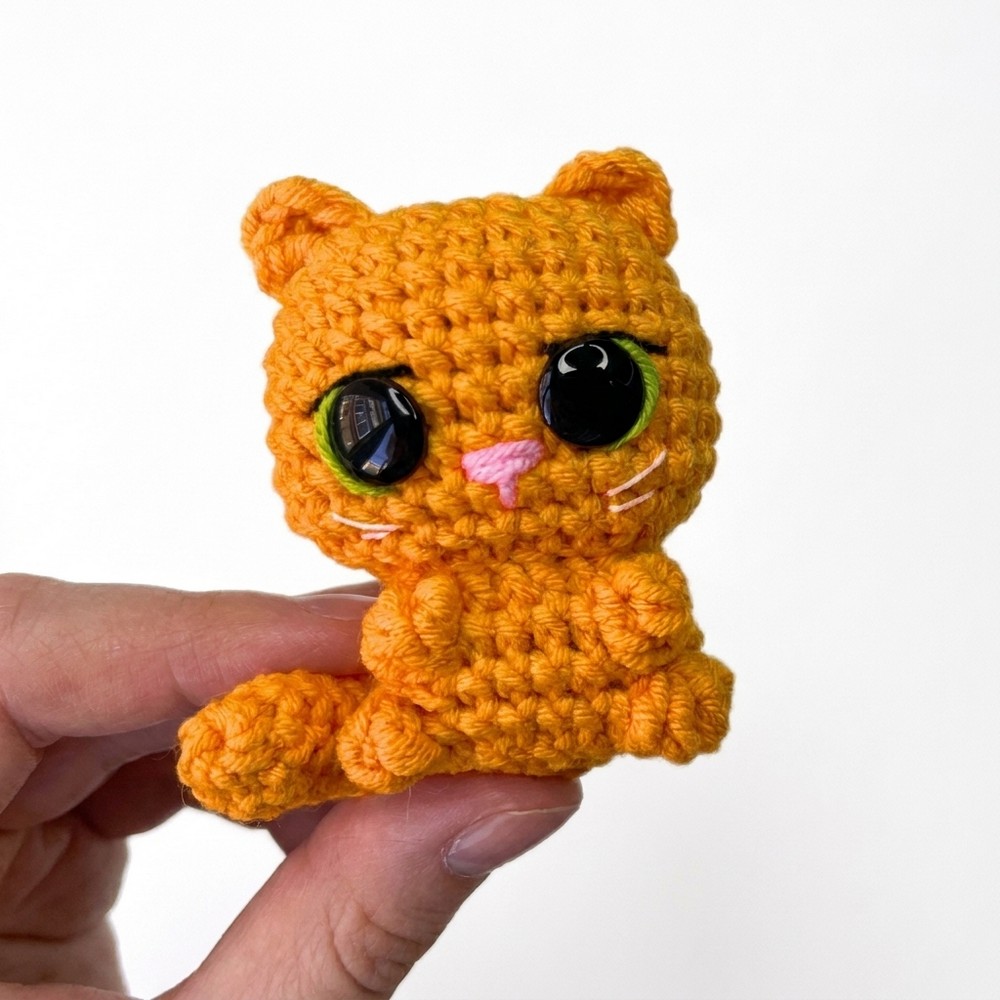
This little cat can fit almost anywhere. Place it on a study desk while doing homework, beside a computer, on a bookshelf, or near your bed. It can also become part of a small amigurumi collection. Making a few cats with different colors can be a fun way to create your own little group of crochet pets.
The design is especially nice for anyone who enjoys small crochet projects. Beginners may like the compact size and simple shape, while more experienced makers can have fun changing the colors or giving each cat its own personality. The no-sew style also makes the finished piece feel simple and neat, which can be helpful for crocheters who prefer projects with fewer separate parts.
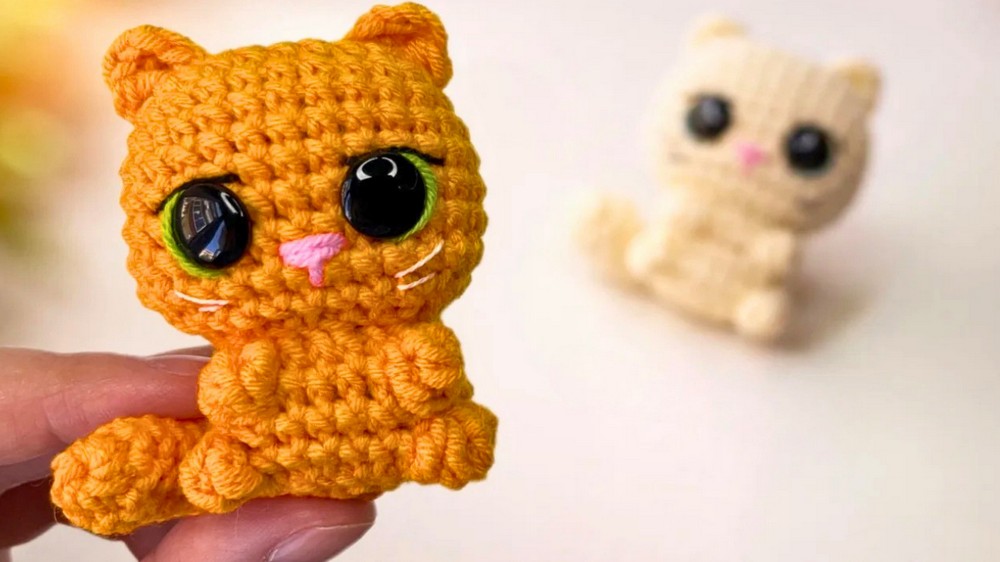
A tiny crochet cat can make a sweet gift for a friend, child, classmate, or cat lover. It is small enough to display almost anywhere and cute enough to become a favorite little keepsake. If soft animals and simple handmade decorations are your kind of project, the Free Crochet No Sew Cat Pattern could be a fun addition to your crochet list.
No-Sew Crochet Cat Amigurumi Pattern
This charming no-sew crochet cat amigurumi project offers an accessible yet detailed way to create a lovable cat figure with minimal sewing: the only sewn part is the tail. Constructed predominantly in rounds of classic crochet stitches, this cat features a well-shaped head, body with front and back legs, expressive embroidered facial details, charming ears, and a supple tail. By following the comprehensive step-by-step instructions, crocheters can skillfully craft an adorable and tactile companion perfect as a gift, décor, or collectible.
Quick Overview of Pattern
- Construction begins with the head worked flat from a foundation chain and builds up with increases and decreases.
- The face is personalized via embroidery including the nose, eyes, lashes, and whiskers.
- The body is crocheted using front loop only stitches and includes shaped legs formed using treble crochet clusters.
- Elegant ears are created with combined half-double and double crochet stitches linked with chains and slip stitches.
- A tail, worked in rounds from a magic ring, concludes the project and is hand-sewn to the body.
- The majority of pieces are crocheted continuously, reducing the need for assembly sewing except for the tail.
Notes
- This pattern constructs the entire body using basic shaping techniques featuring increases, decreases, and front loop-only rounds.
- Safety eyes are inserted after firm stuffing to ensure secure placement.
- Facial embroidery is optional but greatly enhances personality.
- Maintain tight and consistent tension to prevent stuffing from showing and preserve the shape.
- Use stitch markers or count stitches carefully to follow shaping accurately.
- The tail is sewn on post-crochet to facilitate shaping and positioning.
Skill Level
Intermediate. Recommended for crocheters familiar with:
- Basic crochet stitches (sc, hdc, dc, tr)
- Rounds worked in flat and joined formats
- Increases and decreases, including clusters and invisible decreases
- Working in front loops only
- Magic ring
- Surface embroidery on amigurumi
Materials
- Worsted or DK weight yarn in desired cat colors
- Crochet hook matching yarn weight (commonly 3.5 mm to 4.5 mm)
- Pair of safety eyes
- Polyester fiberfill for stuffing
- Yarn needle for embroidery and assembly
- Stitch markers
- Scissors
Measurements / Sizing
- Finished cat measures approximately 15 cm (6 inches) tall when standing.
- Head width peaks at about 10 cm (4 inches).
- Body circumference varies with yarn tension but fits a proportionate amigurumi scale.
Gauge and Stitch Pattern
- Gauge: Not critical but tight enough to keep stuffing hidden (around 20 sc x 20 rows in 10 cm with 3.5 mm hook).
- Stitch pattern is primarily:
- Single crochet (sc)
- Treble crochet (tr) clusters for leg shaping
- Front loop only rounds for body definition
- Chains, slip stitches for ear shaping
Stitch Abbreviations
| Abbreviation | Full Term | Description |
|---|---|---|
| ch | Chain | Yarn over, pull through loop on hook |
| sc | Single Crochet | Insert hook, yarn over, pull through two loops |
| inc | Increase | 2 sc in same stitch |
| dec | Decrease | Crochet two stitches together |
| sl st | Slip Stitch | Insert hook, yarn over, pull through loop |
| tr | Treble Crochet | Yarn over twice, insert hook, pull yarn through loops in increments |
| inv dec | Invisible Decrease | A decrease with minimized visibility (see special stitches) |
Special Stitches
Magic Ring (Magic Circle)
An adjustable starting loop that can be closed tightly to create a neat beginning for working in rounds.
Cluster of Treble Crochets
Multiple treble crochet stitches worked partially then joined together at the top, forming a textured “cluster,” used for shaping legs.
Invisible Decrease
Performed by inserting the hook in the front loops of two stitches and pulling a loop through both, creating a smooth decrease line that’s less visible in the fabric.
The Crochet Pattern!
Head (Rounds 1–11)
Foundation:
- Make a slip knot and chain 8.
Round 1:
2. Beginning in the second chain from the hook, make an increase (2 sc),
- Work 5 sc,
- Then work 3 sc in the last chain (corner),
- Turn and work along the opposite side of the chain: 6 sc.
Total stitches: 16.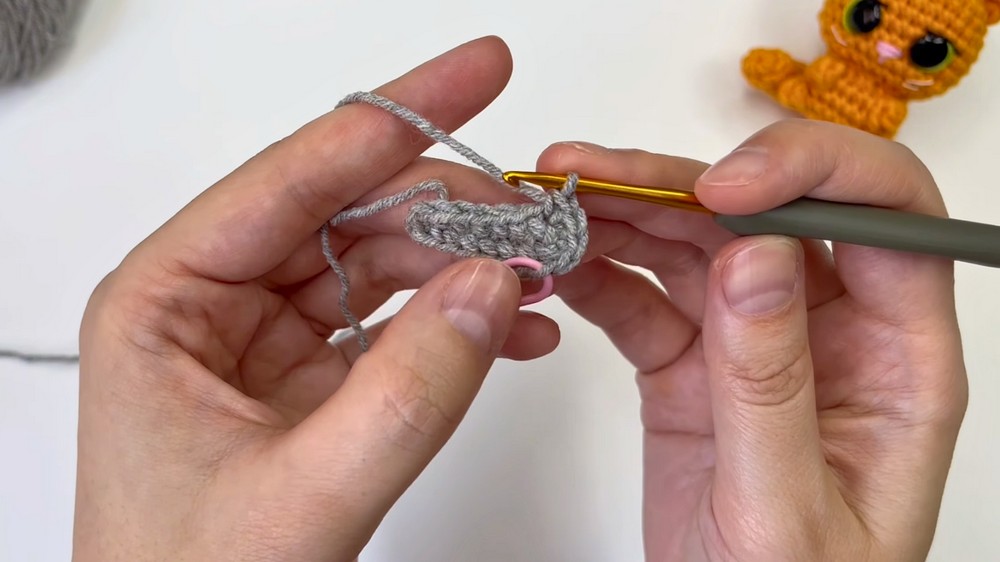
Round 2:
6. Work 2 increases (4 sc),
- Work 5 sc,
- Work 3 increases (6 sc),
- Work 5 sc,
- End with 1 increase (2 sc).
Round 3:
11. Crochet 1 sc into every stitch around, no increases.
Round 4:
12. (1 sc, 1 increase) repeat 2 times,
- 5 sc,
- (1 sc, 1 increase) repeat 3 times,
- 6 sc,
- 1 increase.
Round 5–7:
17. Crochet 1 sc in every stitch around, forming even rounds.
Round 8:
18. 1 sc,
- 1 increase,
- 13 sc,
- 1 increase,
- 12 sc.
Round 9:
23. Crochet 1 sc in every stitch.
Round 10:
24. Work 3 decreases,
- 7 sc,
- Work 3 decreases,
- 11 sc.
Round 11:
28. Work 12 decreases evenly.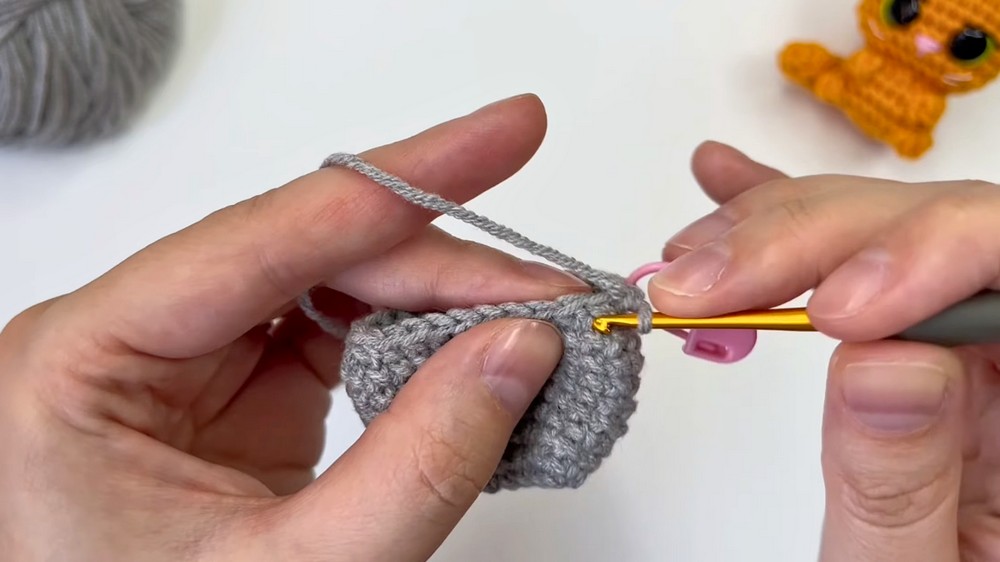
- Stuff the head firmly but gently.
- Insert safety eyes securely.
Face Embroidery (Optional)
- Embroider the nose centrally at the base of the head.
- Add eyelashes around the safety eyes for expression.
- Stitch whiskers on both sides of the face with a contrasting yarn color.
Body (Rounds 12–17)
Round 12:
- Work in front loops only.
- Make 12 increases evenly around.
Round 13 (Front Legs):
3. 4 sc,
- A cluster of 3 treble crochets worked together into one stitch,
- 4 sc,
- Another cluster of 3 treble crochets,
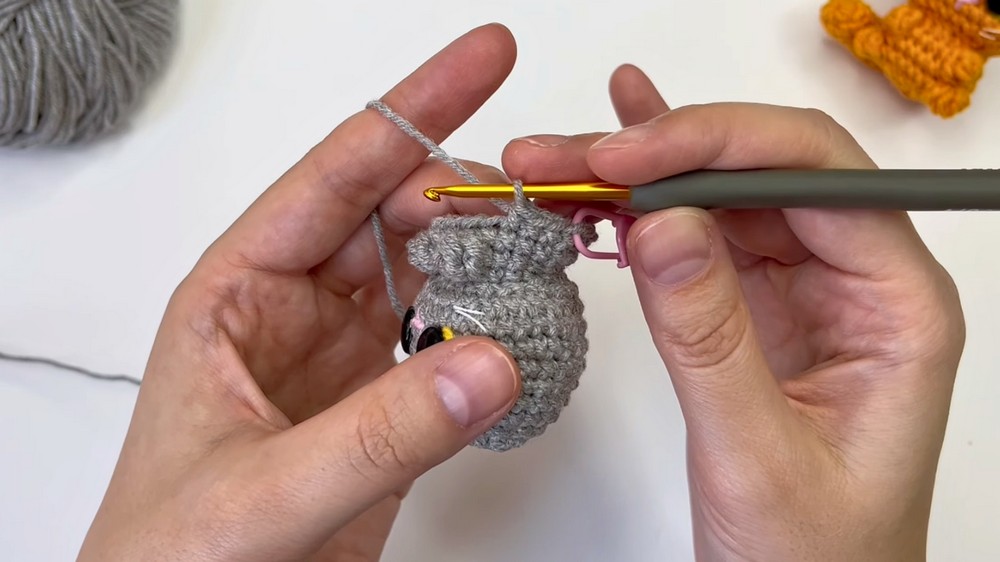
- 14 sc.
Round 14:
8. Crochet 1 sc into every stitch.
Round 15 (Back Legs):
9. 3 sc,
- A cluster of 4 treble crochets in one stitch,
- 6 sc,
- Another cluster of 4 treble crochets,
- 13 sc.
Round 16:
14. Work 12 decreases evenly.
Round 17:
15. Work 6 decreases.
- Slip stitch to close the round neatly.
Ears (Make Two)
- Using stitch markers, mark 4 evenly spaced stitches on the top of the head where the ears will be formed.
- Attach yarn at the first marked stitch,
- Chain 1,
- Make a half-double crochet (hdc) in the next marked stitch,
- Make a double crochet (dc) in the third marked stitch,
- Chain 2,
- Slip stitch into the initial marked stitch to close the ear shape.
- Repeat for the second ear symmetrically on the opposite side.
Tail
Round 1:
- Create a magic ring and work 8 sc into it.
Rounds 2–9:
2. Crochet 1 sc in each stitch around.
Round 10:
3. (1 decrease, 2 sc), repeat twice.
Round 11:
4. Chain 1, then crochet 3 sc over both sides of the stitches to create a flat shape.
Round 12:
5. Chain 1, turn,
- Work 1 decrease,
- Work 1 sc.
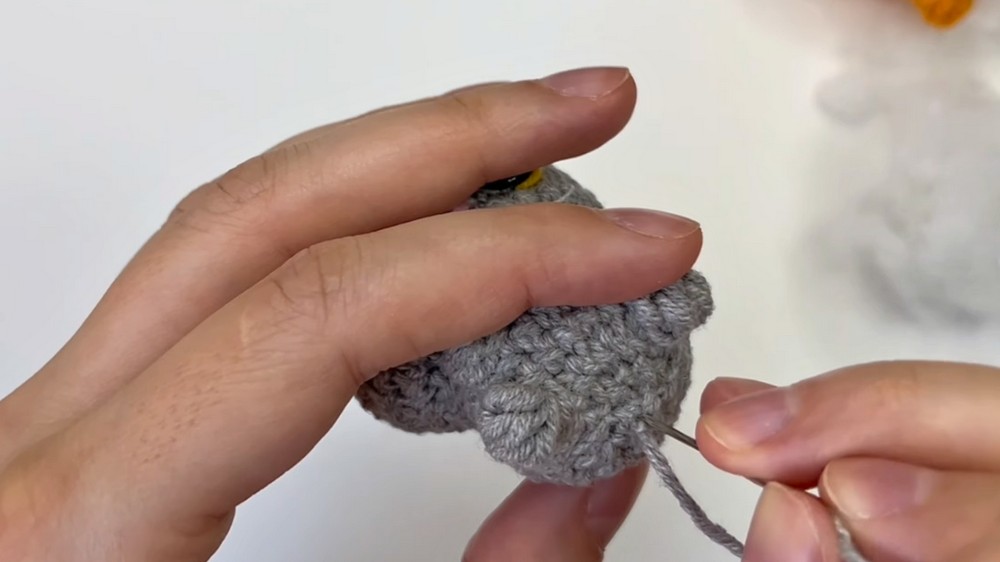
Assembly:
8. Sew the tail securely to the back of the body using the long yarn tail.
Assembly & Finished Size
- After stuffing the head and body firmly, the only sewn attachment is the tail.
- The ears are formed in place during crochet via slip stitches, eliminating the need for sewing.
- Safety eyes are inserted securely before completing final rounds.
- The finished cat stands approximately 15 cm (6 inches) tall and is durable for display or gentle play.
Conclusion
This no-sew crochet cat offers a rewarding experience combining foundational amigurumi shaping with textured detailing such as treble crochet clusters and embroidered features. The minimal sewing enhances ease of assembly without compromising structural integrity or style.
Following the full, clearly defined steps ensures knitters of intermediate skill can reproduce a sturdy, delightful cat figure with personalized expression through embroidery and color choice. The project introduces creative use of front loop rounds and cluster stitches, broadening amigurumi skills through practical application.