Easy Free Star Crochet Pattern for Beginners

Light up cozy spaces through Free Crochet Star Pattern with lovely shape perfect for festive decor playful accents or cheerful home style.
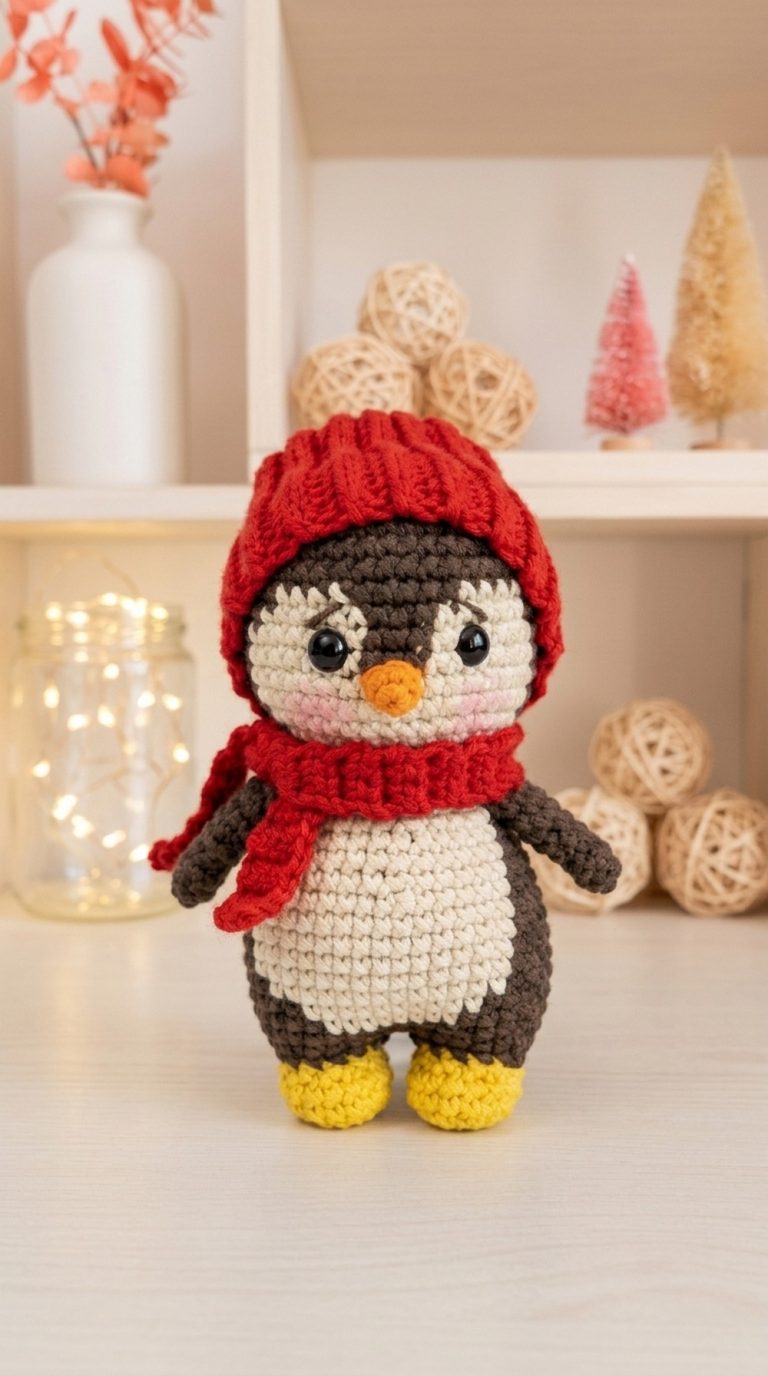
A basket of colorful yarn sat quietly on the shelf until one tiny star changed everything. With just one finished piece, the room suddenly felt warmer, the gift looked more special, and even a simple wall had a cheerful handmade touch. The Free Crochet Star Pattern captures that same feeling by turning a small crochet project into a decoration that can brighten countless moments. Gul’s Cozy Crochet shares this lovely design with a style that feels both classic and playful.
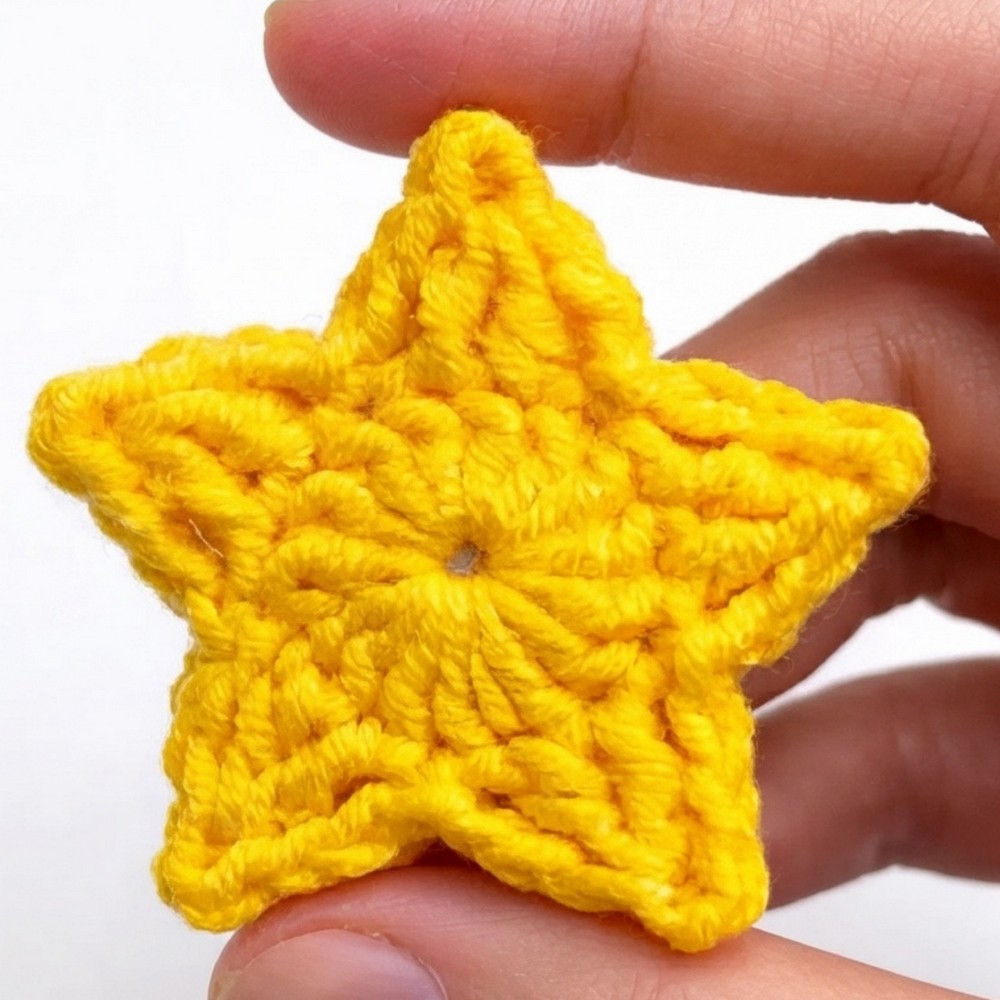
The finished star is simple, yet it catches the eye wherever it is placed. Its crisp points and balanced shape look beautiful on a Christmas tree, hanging from a window, decorating a nursery, or adding a special detail to a wrapped present. Whether made in festive colors, soft pastels, or bright rainbow shades, each star has its own personality while keeping its timeless charm.
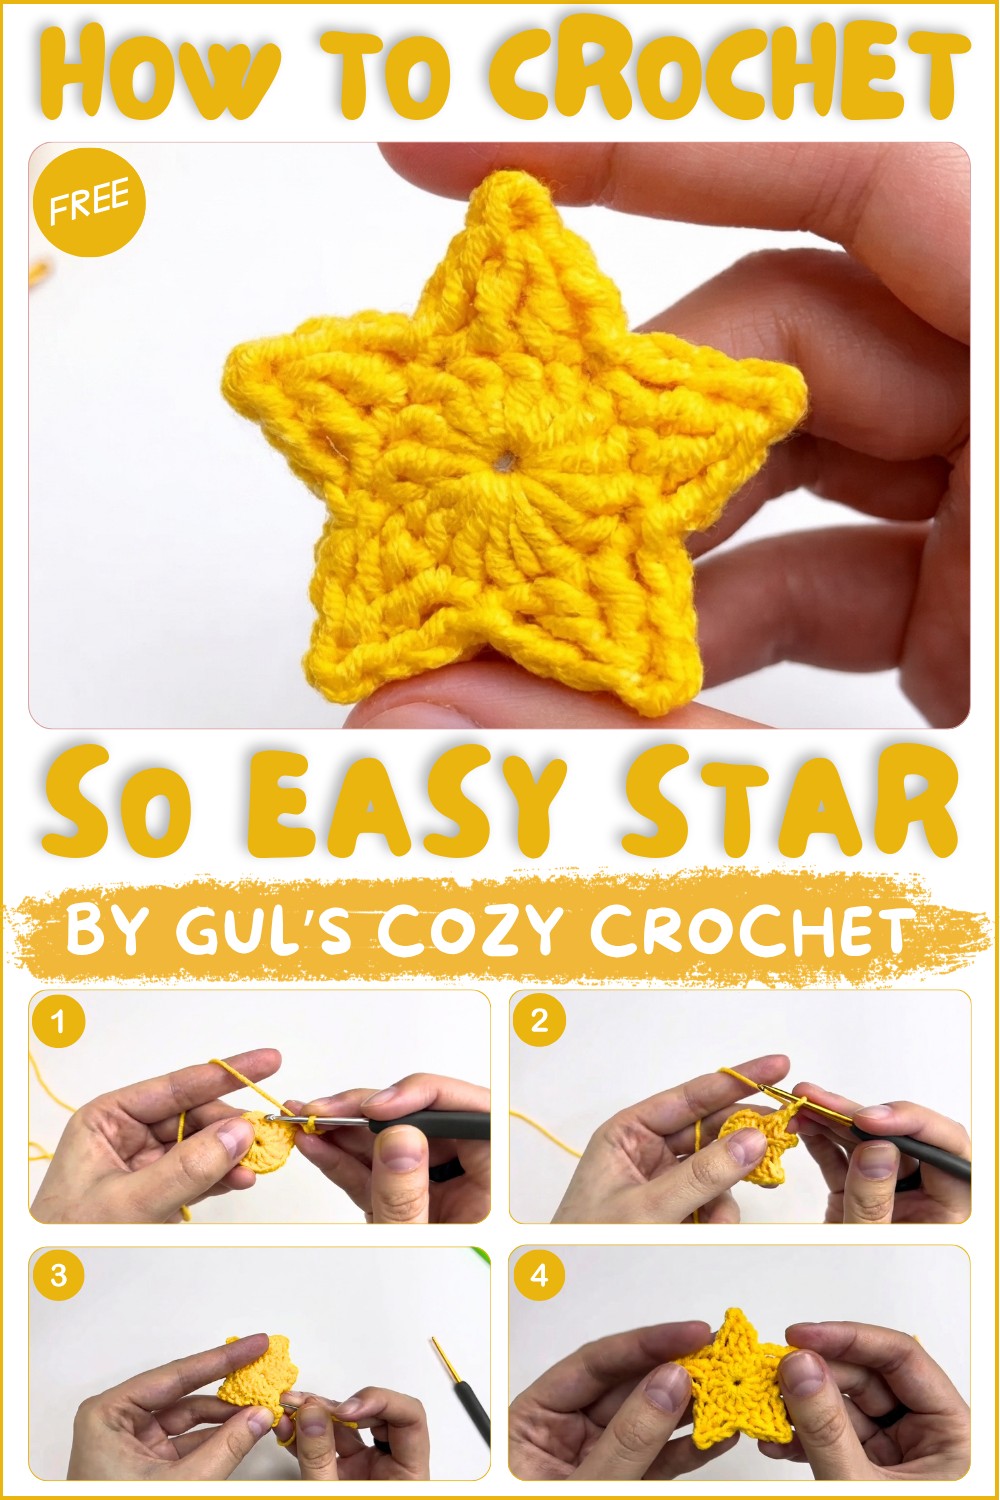
Easy Star Free Crochet Pattern with Step by Step Instructions
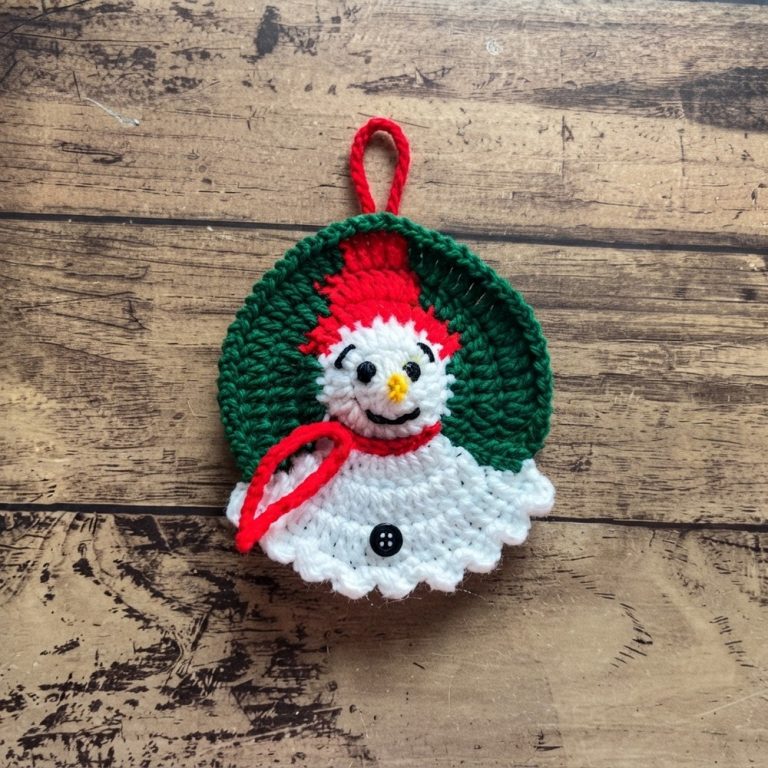
One star is often just the beginning. Before long, a handful of them can become a colorful garland, a sweet party decoration, or a collection of ornaments that return year after year. They also make thoughtful handmade keepsakes for family and friends, showing that even a small crochet project can leave a lasting impression.
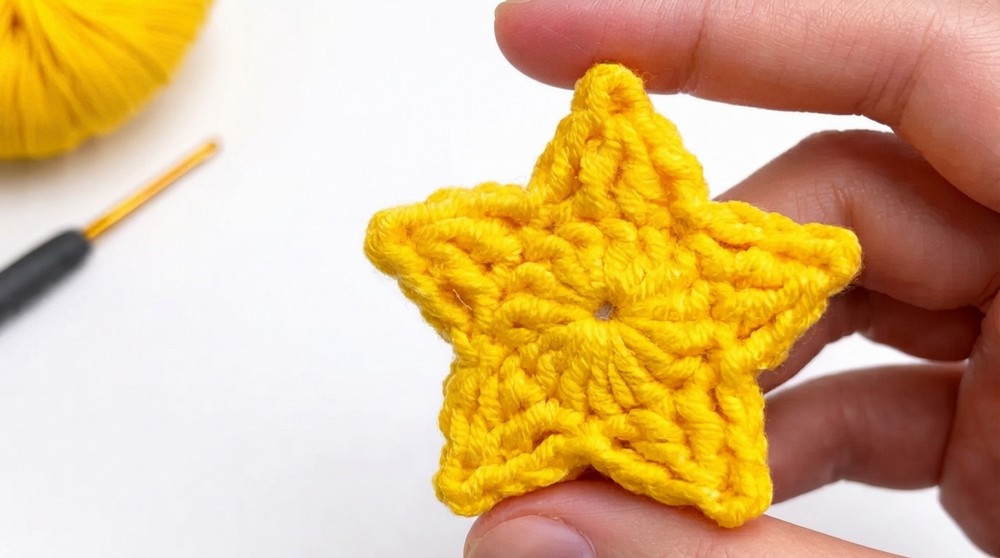
Another reason this design is so enjoyable is its versatility. Different color choices completely change its style, making it easy to match every season or celebration. A set of matching stars creates an elegant display, while mixed colors bring a fun and lively look that children and adults both enjoy.
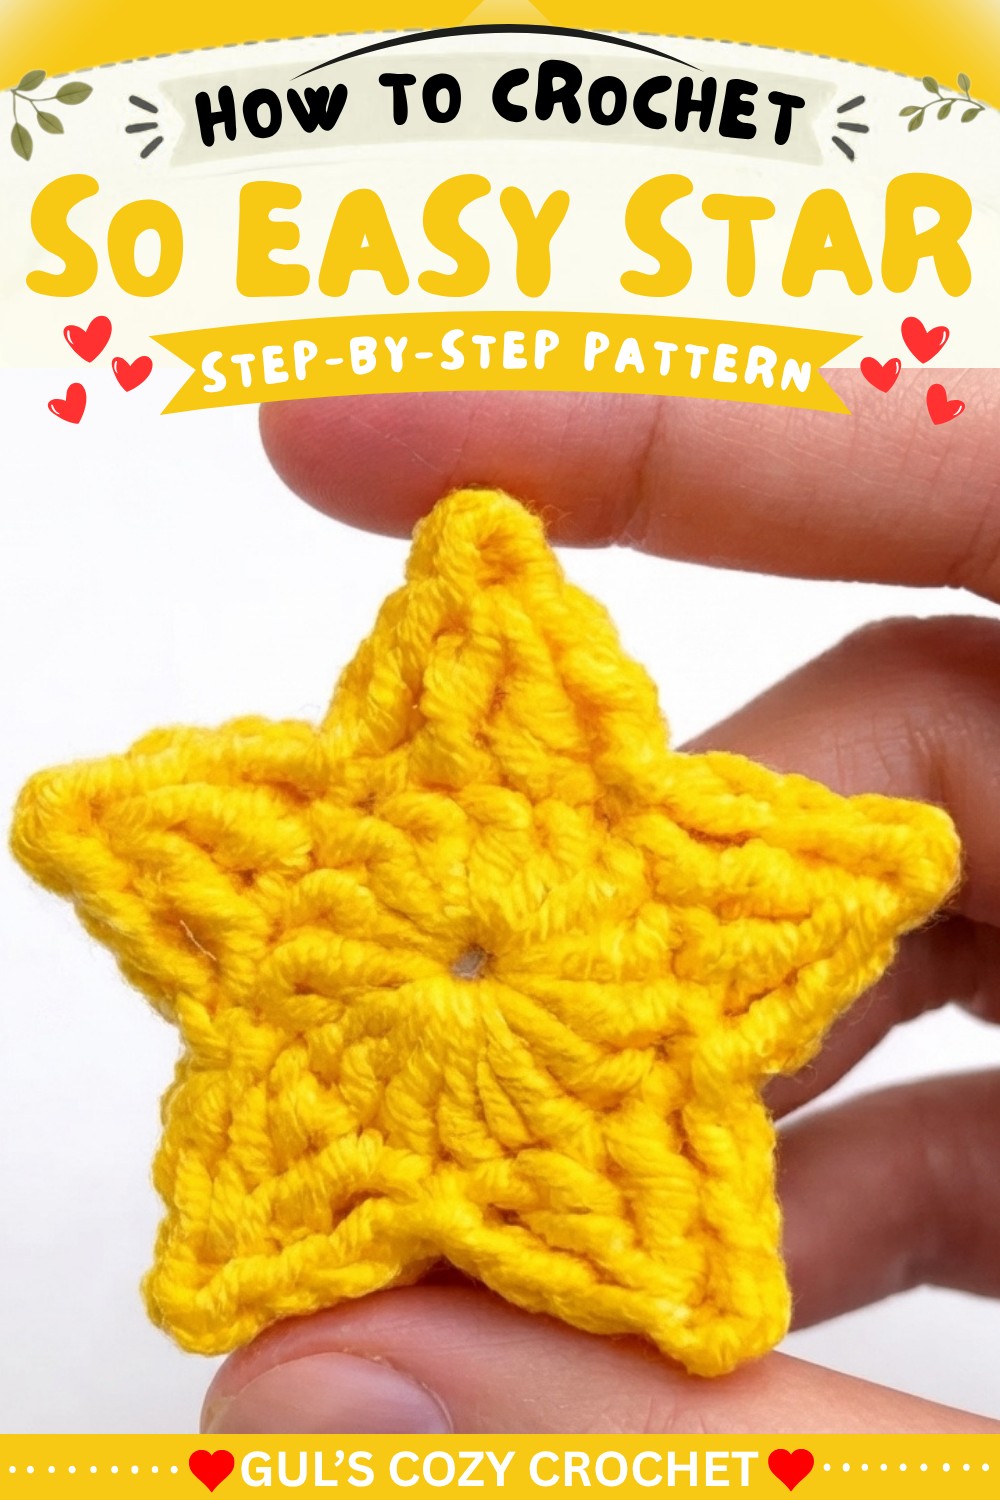
The Free Crochet Star Pattern is perfect for anyone who loves decorating with handmade pieces that never go out of style. Its lovely shape, endless display ideas, and cozy handmade appeal make it a project you’ll reach for again and again. Take a look at the free pattern and enjoy creating stars that can brighten your home throughout the year.
Flat Crochet Star Pattern – Detailed Step-by-Step Instructions
This pattern teaches you how to create a beautiful flat crochet star—a perfect embellishment for decorations, appliqués, or gifts. The design is simple and straightforward, using basic stitches and works in two rounds with clearly defined star points. The finished star is symmetrical and suitable for both beginners and intermediate crocheters aiming to sharpen their stitch control.
Skill Level & Terminology
- Skill Level: Beginner to Intermediate
- Terminology: US crochet terms are used consistently throughout this pattern.
Materials & Tools
- Medium weight (worsted/DK) yarn in your choice of color. Cotton or acrylic yarn recommended.
- Crochet hook size: between 3.5 mm and 4 mm depending on yarn weight for a firm stitch.
- Yarn needle for weaving in ends.
- Scissors.
- Optional: Stitch markers if desired to track rounds.
Gauge
Gauge is not critical for this project since the star shape depends on stitch placement and increases/decreases, not on precise sizing. When using recommended yarn and hook, the finished star will measure approximately 4 to 5 inches (10 to 12.5 cm) across.
Abbreviations List
| Abbreviation | Meaning |
|---|---|
| ch | Chain |
| dc | Double crochet |
| sl st | Slip stitch |
| dc2tog | Double crochet two stitches together (decrease) |
| MR | Magic ring (also called magic loop) |
Special Stitch Instructions
- Magic Ring (MR): An adjustable ring made by looping yarn to start crocheting in rounds without leaving a hole in the center.
- Double Crochet 2 Together (dc2tog): A decrease stitch worked over two stitches. Yarn over, insert in first stitch, pull up a loop, yarn over, pull through two loops; yarn over, insert in next stitch, pull up loop, yarn over, pull through two loops; yarn over, pull through all three loops on the hook.
- Picot Stitch: A small decorative loop made by chaining 2 then slip stitching into the first chain, creating a pointed edge detail.
Finished Size
The completed flat star measures roughly 4 to 5 inches (10 to 12.5 cm) in diameter, perfect for a coaster, ornament, or applique.
The Pattern Itself
Round 1: The Base
Step 1: Create Magic Ring
- Start by making a magic ring (MR) to hold the center tightly and avoid gaps.
Step 2: Chain
- Chain 3 stitches. This chain 3 counts as your first double crochet (dc).
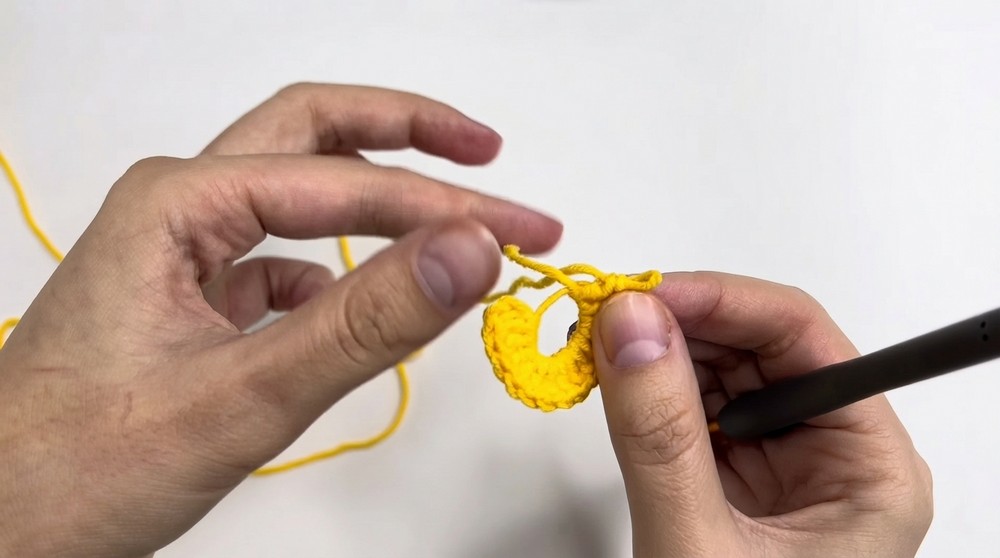
Step 3: Work Foundation Double Crochets
- Work 14 double crochet (dc) stitches directly into the magic ring.
- You will have a total of 15 stitches including the initial chain 3.
Step 4: Join Round
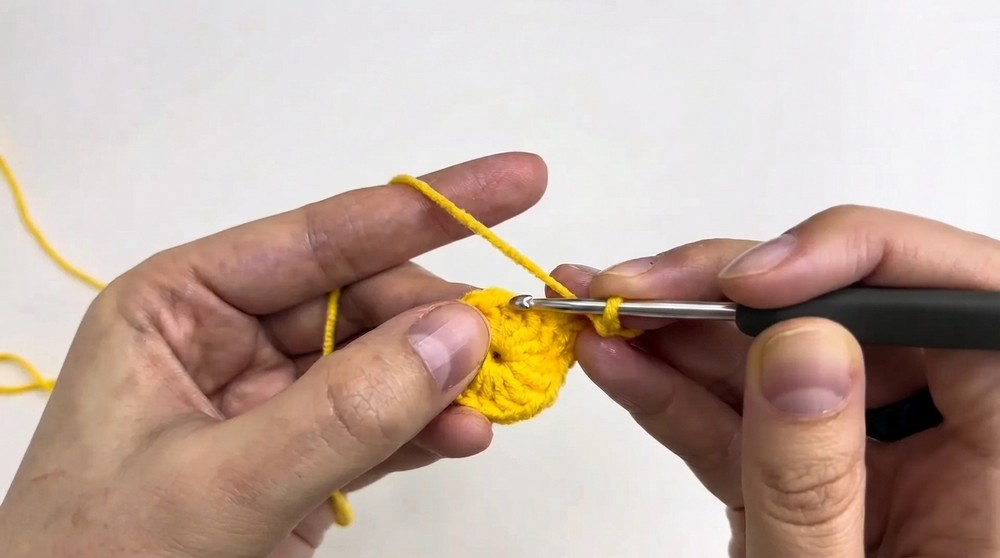
- Join the round by making a slip stitch (sl st) into the top of your starting chain 3 to close the circle neatly.
Completion Note:
You have formed a flat circular base with 15 double crochet stitches perfectly set up for the star points in the next round.
Round 2: Creating the Star Points
Step 1: Chain 2
- Chain 2 to start the round; this does not count as a stitch but creates height for your point work.
Step 2: First Star Point – dc2tog
- Work a dc2tog (double crochet two stitches together):
- Yarn over, insert hook into the first stitch, pull up a loop. Yarn over, pull through two loops.
- Yarn over, insert hook into the next stitch, pull up a loop. Yarn over, pull through two loops.
- Yarn over, pull through all remaining loops on your hook.
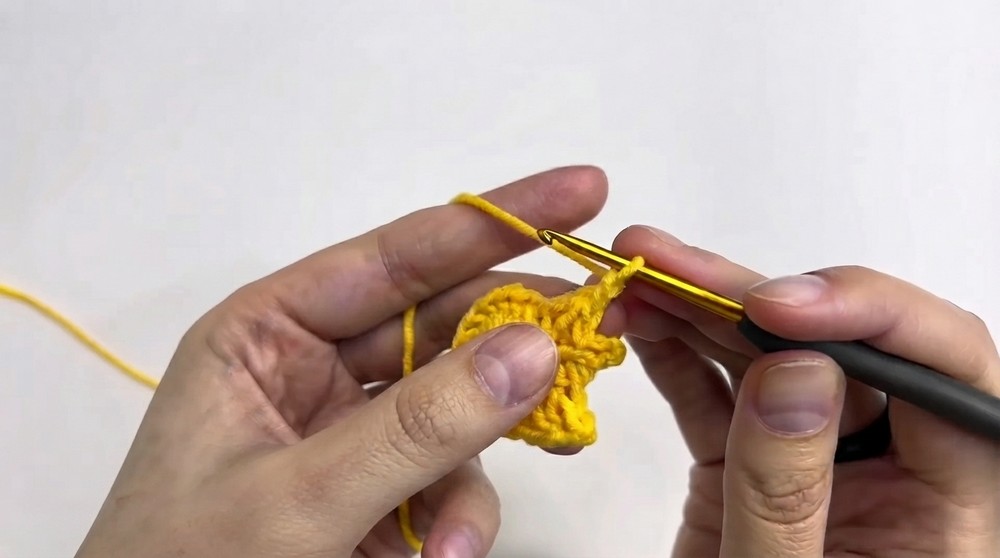
Step 3: Create Picot
- Chain 2, then insert your hook back into the first chain just made and make a slip stitch (sl st) to form the picot, giving a decorative point to the star tip.
Step 4: Finish the Point
- Chain 2 again and make a slip stitch into the next stitch on the base round.
Step 5: Repeat Star Points
- Repeat the sequence (Chain 2, dc2tog, Picot, Chain 2, slip stitch into next stitch) three more times around the base round.
- This will create a total of five star points equally spaced.
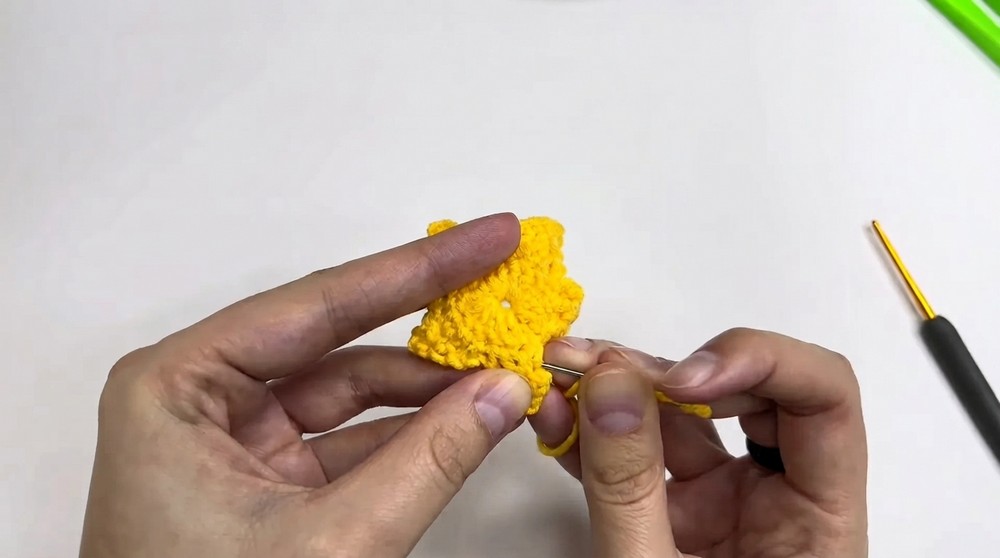
Completion Note:
With Round 2 completed, your star’s distinctive pointed edges are formed with crisp decreases and delicate picots, giving the star a lovely three-dimensional texture.
Finishing
- After completing the last star point, cut your yarn leaving a tail long enough to weave in smoothly.
- Using a yarn needle, weave in all ends securely on the back side of your star to ensure a clean finish.
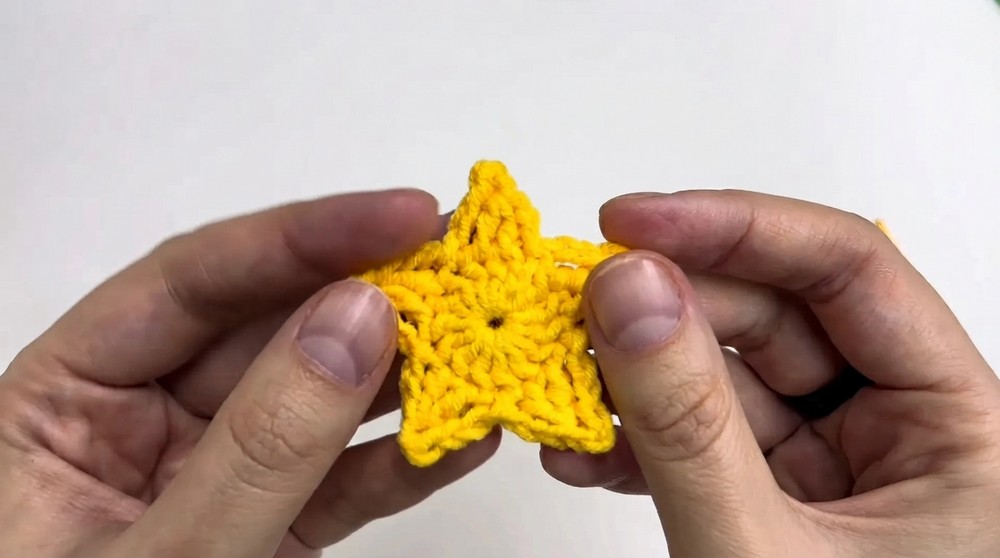
Completion Note:
Your flat crochet star is now complete, ready to decorate or embellish any project. Its well-defined points and even shape showcase your skillful stitch control and neat finishing.
Assembly & Finishing
- No assembly is required for this flat star pattern.
- Blocking your star gently with a damp cloth and pinning it flat may enhance its shape and even out stitches for a polished look.
- Perfect for appliqué, gift tags, ornaments, or part of a larger motif assembly.
Pattern Overview and Usage Tips
To start this pattern, you work in rounds beginning with a magic ring to tightly center your stitches. You use double crochet (dc) stitches as the foundation and create points through strategic decreases via dc2tog and decorate each point tip with a picot stitch, all unified via slip stitches. The pattern’s balance of stitches ensures a crisp, well-shaped flat star.
The stitches used include:
- Chain (ch),
- Double crochet (dc),
- Slip stitch (sl st),
- Double crochet two together (dc2tog), and
- Picot (ch 2, sl st in first chain).
For neat results, maintain consistent tension, especially when working dc2tog decreases and picot points. This star complements various projects where a festive, decorative accent is needed.