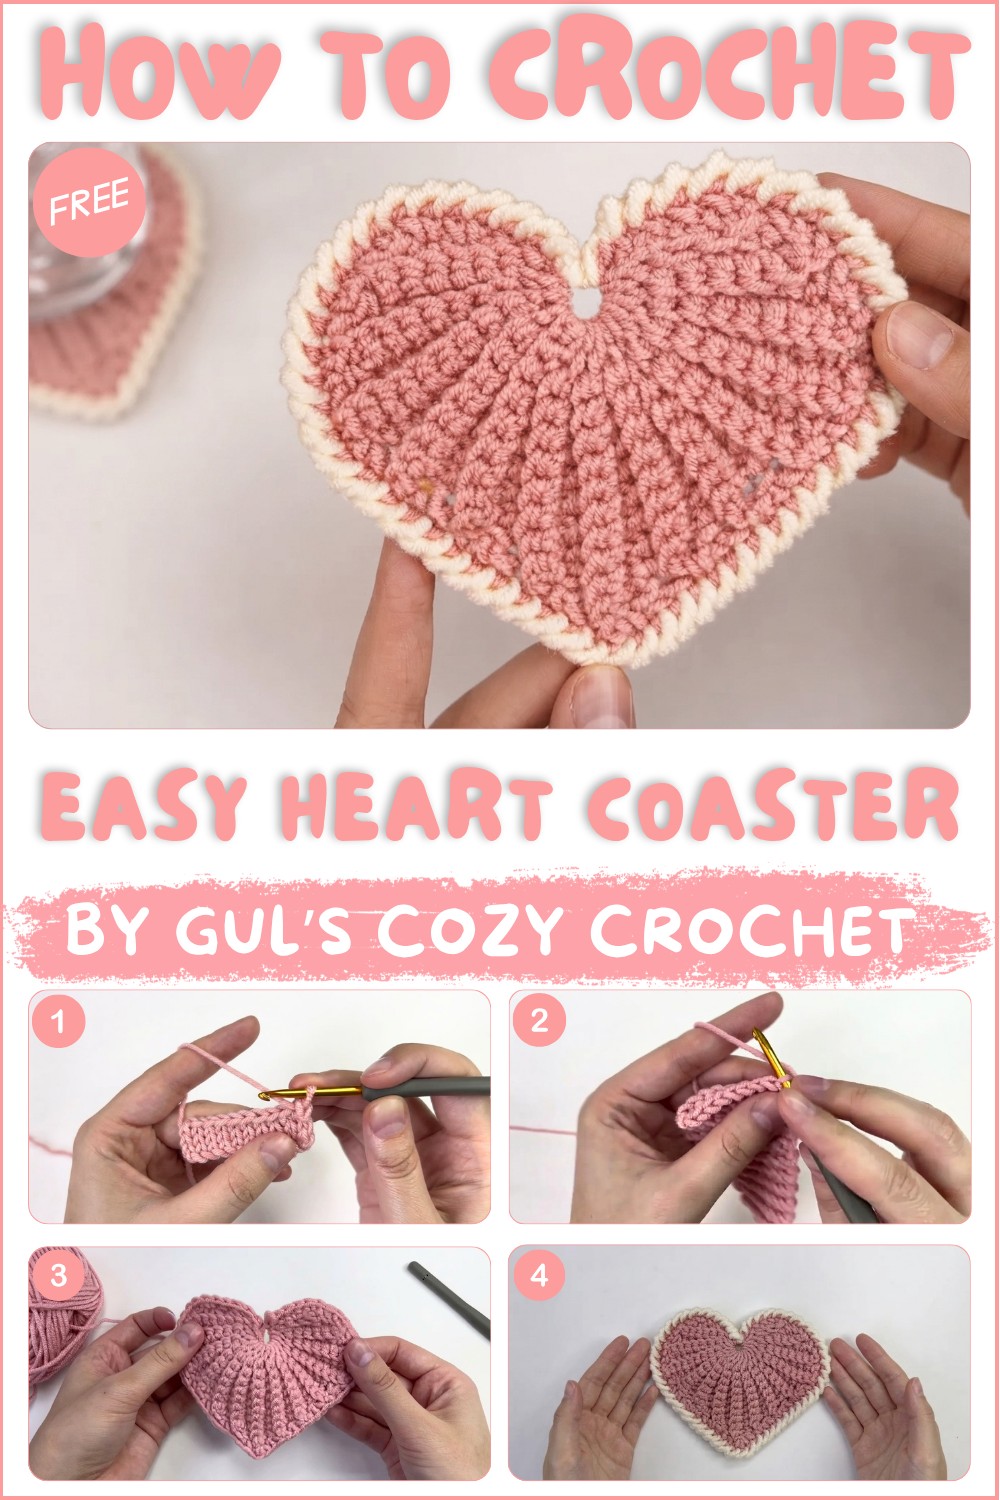
Free Heart Coaster Crochet Pattern for Coffee Mugs

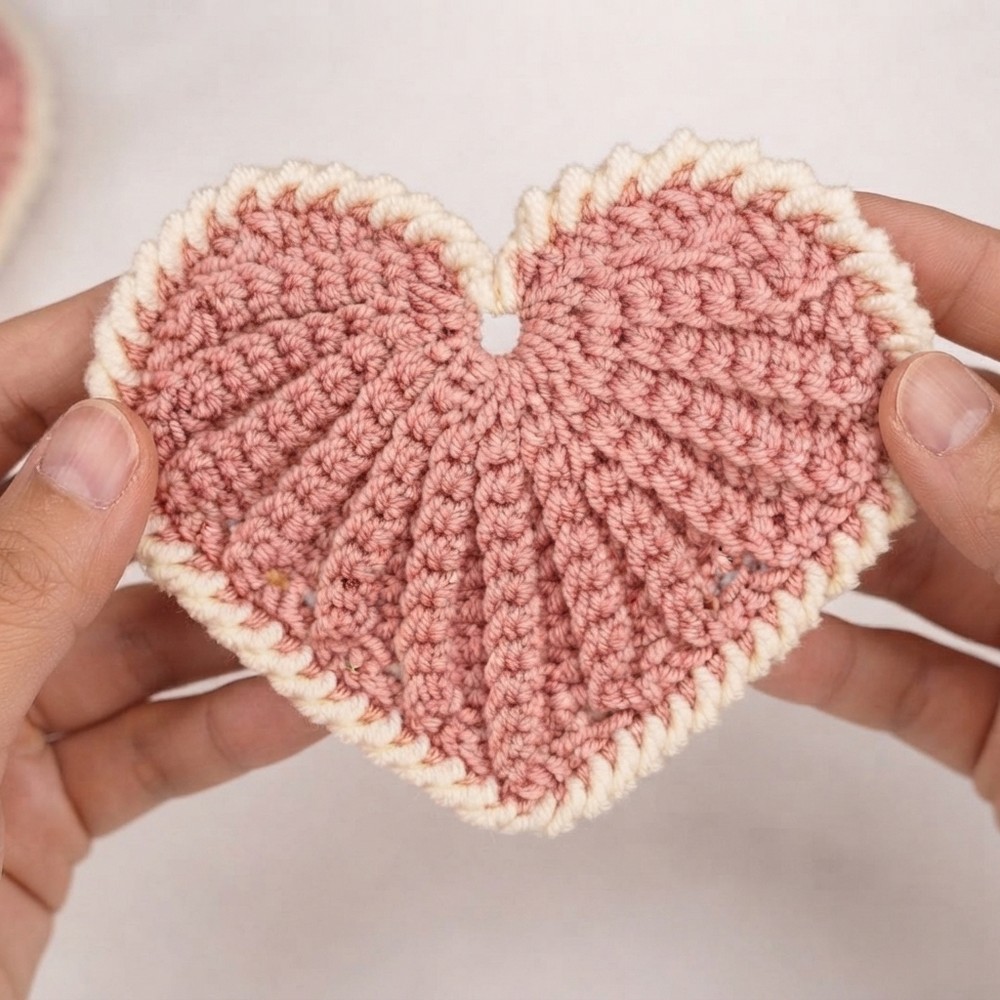
This sweet little coaster is versatile in style, fitting seamlessly with both classic and contemporary décor. Its compact size makes it perfect for everyday use, whether it’s holding your morning coffee mug or serving as a thoughtful handmade gift. The heart motif lends a cheerful, cozy vibe to any room, making it a delightful addition during holidays or anytime you want to add a touch of warmth.
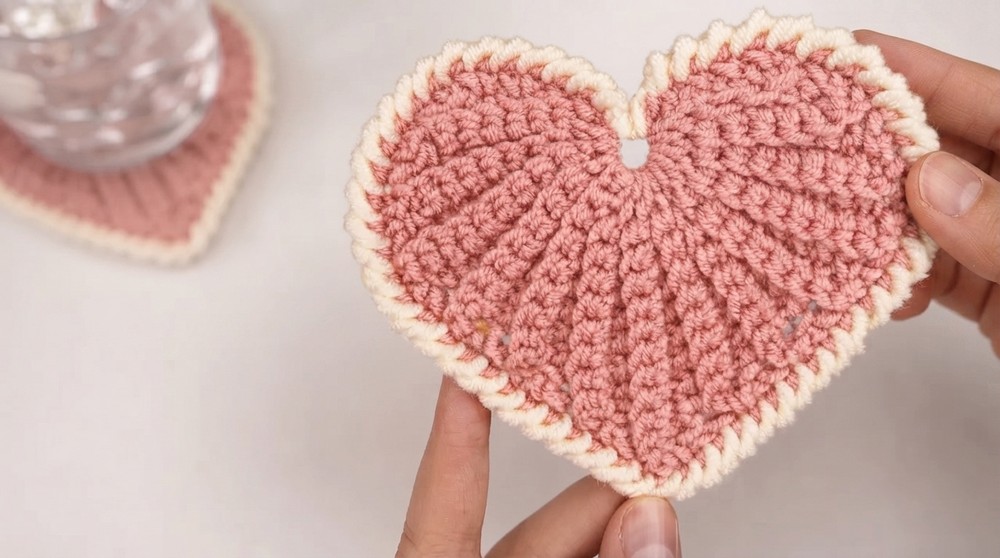
This pattern to be approachable and enjoyable for crocheters of all experience levels. It’s a quick project that yields a beautiful, useful finished piece—great for those moments when you want a satisfying and uncomplicated project. Plus, customizing the color palette allows you to personalize your coaster to suit any mood or décor.
If you appreciate the charm found in small handmade touches, be sure to check out the free crochet Heart Coaster Pattern by Gul’s Cozy Crochet. It’s a lovely way to add some heartfelt style and practicality to your everyday routine.
Crochet Heart Coaster Pattern – Detailed Step-by-Step Instructions
This crochet heart coaster is worked flat in rows using basic stitches with textured shaping for a neat heart design. The pattern includes working through back loops only (BLO) from the second row onward to provide additional texture and structure. The construction progresses with a foundational base, shaped edges, and a crab stitch edging to finish. This versatile coaster can also be used as a decorative motif or gift.
Skill Level & Terminology
- Skill Level: Beginner to Intermediate — Basic crochet stitches (single crochet, slip stitch, increase, decrease) and working in rows with turning.
- Terminology: US crochet terms are used exclusively for stitch instructions.
Materials & Tools
- Medium weight cotton or acrylic yarn (worsted or DK weight recommended).
- Crochet hook size appropriate for chosen yarn (suggested 3.5 mm to 4 mm).
- Yarn needle for sewing and weaving in ends.
- Scissors.
Gauge
Gauge is flexible for this project but for reference:
- About 16 single crochet stitches x 20 rows = 4 inches (10 cm) using the suggested yarn and hook, worked flat.
Abbreviations List
| Abbreviation | Meaning |
|---|---|
| ch | Chain |
| sc | Single crochet |
| sl st | Slip stitch |
| inc | Increase — 2 sc worked in the same stitch |
| dec | Decrease — single crochet 2 stitches together |
| BLO | Back loops only |
| hdc | Half double crochet |
Special Stitch Instructions
- Back loops only (BLO): Insert hook only in the back loop of the stitch, creating a ridge and texture on the fabric.
- Increase (inc): Work two single crochet stitches into one stitch to increase stitch count.
- Decrease (dec): Crochet two stitches together (sc2tog) to decrease stitch count.
- Crab Stitch (reverse single crochet): Crocheted in the opposite direction from normal sc, providing an ornate and textured border.
Finished Size
- The finished heart coaster measures approximately 5 inches (12.5 cm) wide and 5 inches (12.5 cm) tall, ideal for cups or small bowl mats.
The Pattern Itself
Step 1: Base (Turned Rows)
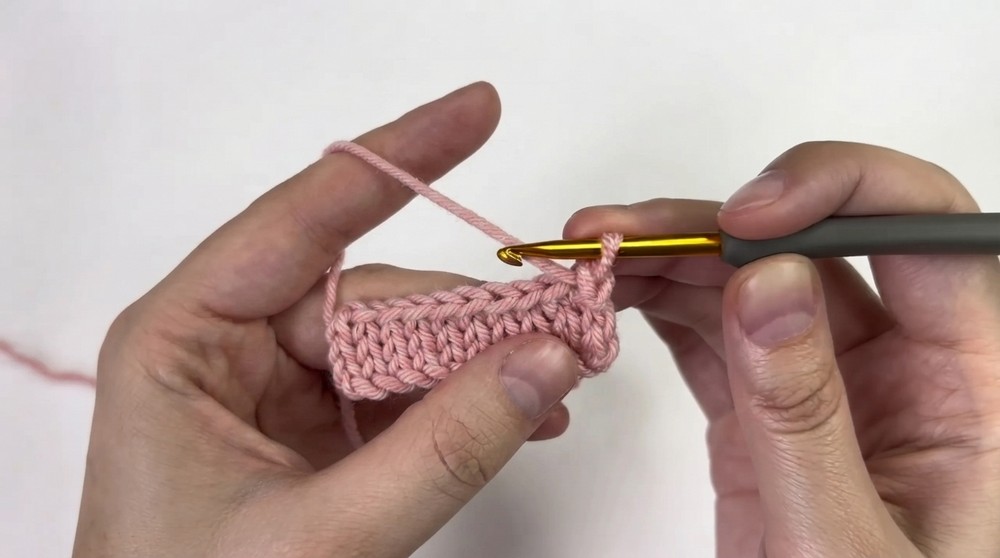
Work through back loops only (BLO) from Row 2 onwards.
Foundation
- Create a slip knot on your hook.
- Chain 5 stitches.
Row 1
- Skip the 1st chain from the hook.
- Single crochet (sc) in the next 3 chains.
- Slip stitch (sl st) in the last chain to complete the row.
Row 2
- Chain 1, turn your work.
- Slip stitch (sl st) into the first stitch.
- Make 3 increases (inc) across the row. (Increase = 2 sc in one stitch)
Row 3
- Chain 1, turn.
- Work 6 sc stitches evenly across.
- Slip stitch (sl st) to finish.
Row 4
- Chain 1, turn.
- Slip stitch (sl st) into the first stitch.
- Work 5 sc stitches.
- Make 1 increase (inc) at the end.
Row 5
- Chain 1, turn.
- Make 1 increase (inc) at the start.
- Work 6 sc stitches.
- Slip stitch (sl st) at the end.
Row 6
- Chain 1, turn.
- Slip stitch (sl st) into the first stitch of row.
- Work 8 sc stitches.
Row 7
- Chain 1, turn.
- Work 8 sc stitches.
- Slip stitch (sl st) to end.
Row 8
- Chain 1, turn.
- Slip stitch (sl st) in first stitch.
- Work 6 sc stitches.
- Make 1 decrease (dec) at end. (Decrease = sc2tog)
Row 9
- Chain 1, turn.
- Work 7 sc stitches.
- Slip stitch (sl st) at the end.
Row 10
- Chain 1, turn.
- Slip stitch (sl st) at first stitch.
- Work 7 sc stitches.
Row 11
- Chain 1, turn.
- Make 1 increase (inc) at beginning.
- Work 6 sc stitches.
- Slip stitch (sl st) last stitch.
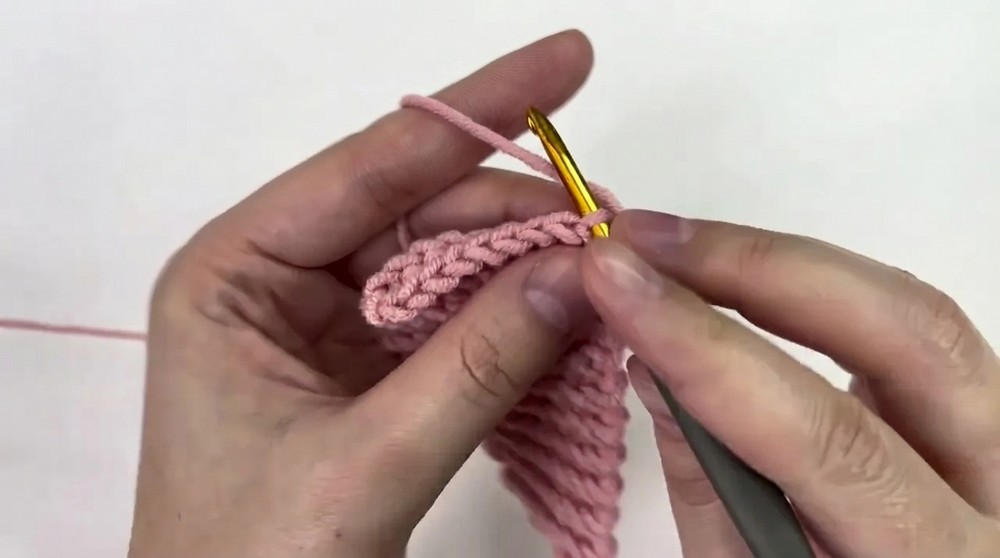
Row 12
- Chain 1, turn.
- Slip stitch (sl st) first stitch.
- Work 8 sc stitches.
Row 13
- Chain 1, turn.
- Make 1 increase (inc) at beginning.
- Work 7 sc stitches.
- Slip stitch (sl st) last stitch.
Row 14
- Chain 1, turn.
- Slip stitch (sl st) into first stitch.
- Work 8 sc stitches.
- Make 1 increase (inc) at the end.
Row 15
- Chain 1, turn.
- Work 10 sc stitches.
- Slip stitch (sl st) last stitch.
Row 16
- Chain 1, turn.
- Slip stitch (sl st) at first stitch.
- Work 8 sc stitches.
- Make 1 decrease (dec) at end.
Row 17
- Chain 1, turn.
- Make 1 decrease (dec) at beginning.
- Work 7 sc stitches.
- Slip stitch (sl st) last stitch.
Row 18
- Chain 1, turn.
- Slip stitch (sl st) first stitch.
- Work 8 sc stitches.
Row 19
- Chain 1, turn.
- Make 1 decrease (dec) at beginning.
- Work 6 sc stitches.
- Slip stitch (sl st) last stitch.
Row 20
- Chain 1, turn.
- Slip stitch (sl st) first stitch.
- Work 7 sc stitches.
Row 21
- Chain 1, turn.
- Work 7 sc stitches.
- Slip stitch (sl st) last stitch.
Row 22
- Chain 1, turn.
- Slip stitch (sl st) in first stitch.
- Work 6 sc stitches.
- Make 1 increase (inc) at end.
Row 23
- Chain 1, turn.
- Work 8 sc stitches.
- Slip stitch (sl st) to end.
Row 24
- Chain 1, turn.
- Slip stitch (sl st) at first stitch.
- Work 8 sc stitches.
Row 25
- Chain 1, turn.
- Make 1 decrease (dec) at beginning.
- Work 6 sc stitches.
- Slip stitch (sl st) end stitch.
Row 26
- Chain 1, turn.
- Slip stitch (sl st) first stitch.
- Work 5 sc stitches.
- Make 1 decrease (dec) at end.
Row 27
- Chain 1, turn.
- Work 6 sc stitches.
- Slip stitch (sl st) last stitch.
Row 28
- Chain 1, turn.
- Slip stitch (sl st) in first stitch.
- Make 3 decreases (dec) across row.
- Fasten off yarn securely.
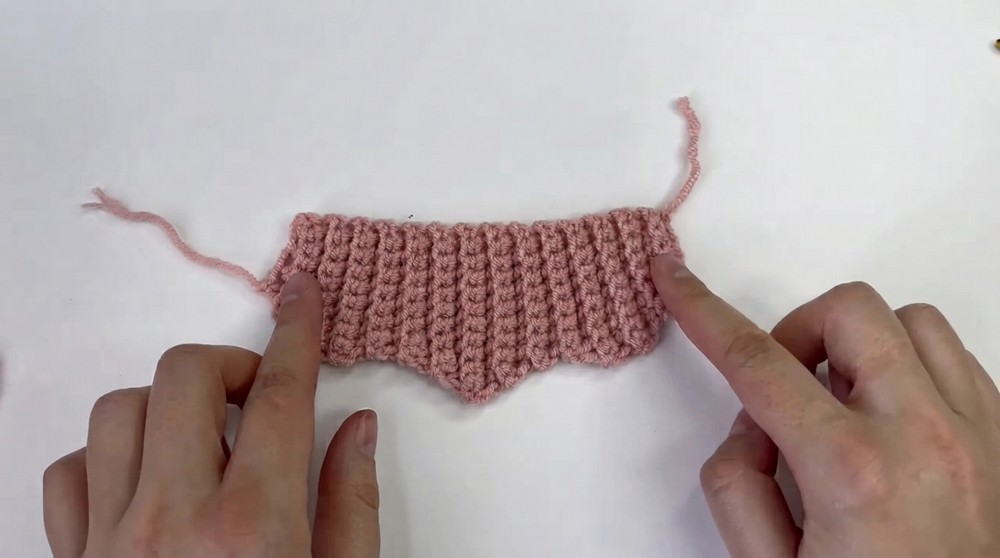
Completion Note:
The base forms a flat heart shape with textured ridges due to working through the back loops only (BLO) from Row 2. The slip stitches create a crisp edge, while increases and decreases shape the curves and the pointed tip, preparing it for folding and assembly.
Step 2: Shaping the Heart
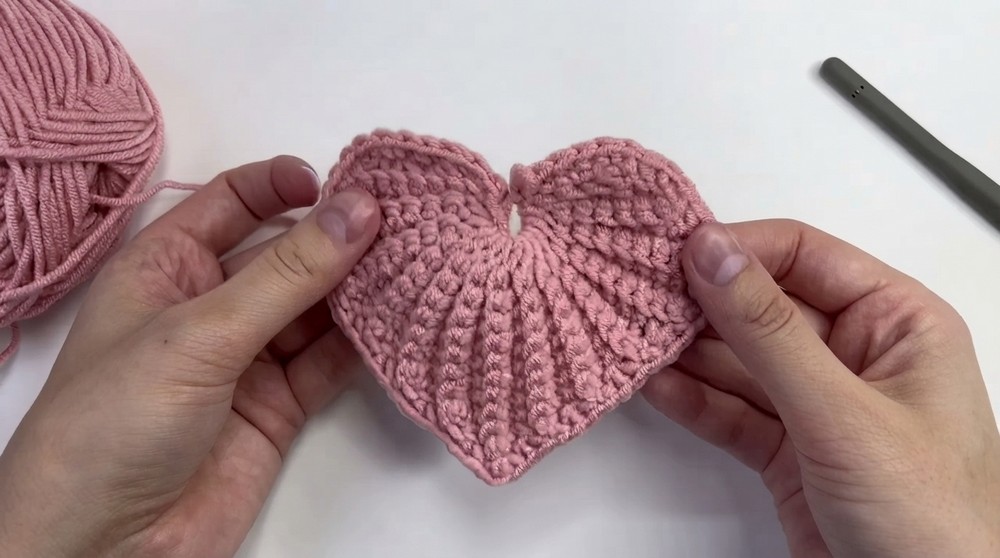
Fold & Sew Edge
- Thread your yarn tail on a yarn needle.
- Fold the piece along the straight edge that has the slip stitches.
- Sew this edge closed carefully to create the heart’s shape.
Mark Bottom Point
- Mark the row with 10 stitches as the bottom point of the heart for reference.
Add Border
- Insert crochet hook in the center of the heart’s top edge and chain 1.
- Work 3 single crochets (sc), followed by 1 increase (inc).
- Continue working around the heart’s edge with the following sequence repeated 6 times: 1 increase (inc), 1 single crochet (sc).
Bottom Point Stitching
- At the marked bottom stitch, work 1 single crochet (sc), 1 half double crochet (hdc), and 1 single crochet (sc) to shape the point.
Complete Second Side
- Repeat the border sequence: (1 inc, 1 sc) repeated 6 times.
- Work 1 increase (inc) in the corner stitch.
- Work 3 single crochets (sc).
- Join with a slip stitch (sl st) to the center to complete the border round.
Completion Note:
The folding and sewing give the shape definition, forming a plush heart shape, while the border round of increases and single crochets smooth and round the edges, balanced by the special stitch at the bottom tip to sharpen the heart point.
Step 3: Edging
Crab Stitch Edging
- Work reverse single crochet (crab stitch) in each stitch along the entire edge of the heart, including chain-one spaces.
- Join with a slip stitch (sl st) to the first crab stitch.
Finishing
- Fasten off yarn securely.
- Weave in any remaining ends neatly for a polished finish.
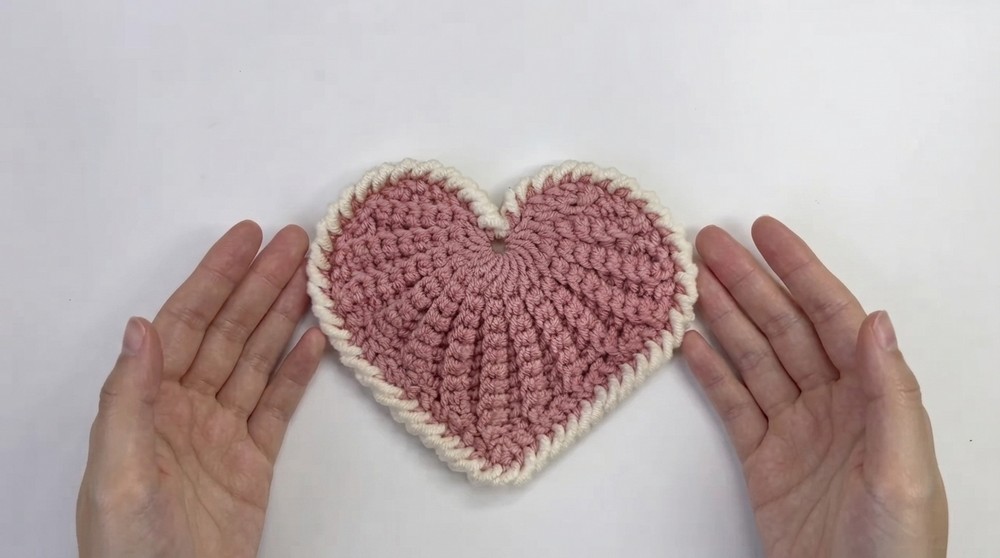
Completion Note:
The crab stitch edging adds a decorative and firm finish to the coaster, giving a subtle rope-like border that enhances the heart shape and ensures durability.
Assembly & Finishing Summary
- The coaster is worked in rows flat with textured sculpting via back loop stitches, increases, and decreases.
- Folding and sewing the slip-stitched edge form the three-dimensional heart shape.
- Borders are added with increases and single crochet for shaping, and the crab stitch completes the finishing touch.
Pattern Overview and Usage Tips
To start this heart coaster, you create a short foundation chain, work single crochets and slip stitches in rows, shaping with increases and decreases while using back loops only from Row 2 for texture. Consistency in stitch tension, careful counting, and turning your work at every row ensures the piece grows evenly and the shaping remains clean.
The pattern exclusively uses single crochet (sc), slip stitch (sl st), increase (inc), decrease (dec), half double crochet (hdc), and back loop only (BLO) techniques, finishing with the reverse single crochet (crab stitch) for edging.
This heart coaster is a great project for crocheters eager to develop precision and shaping skills while creating a charming and practical item.