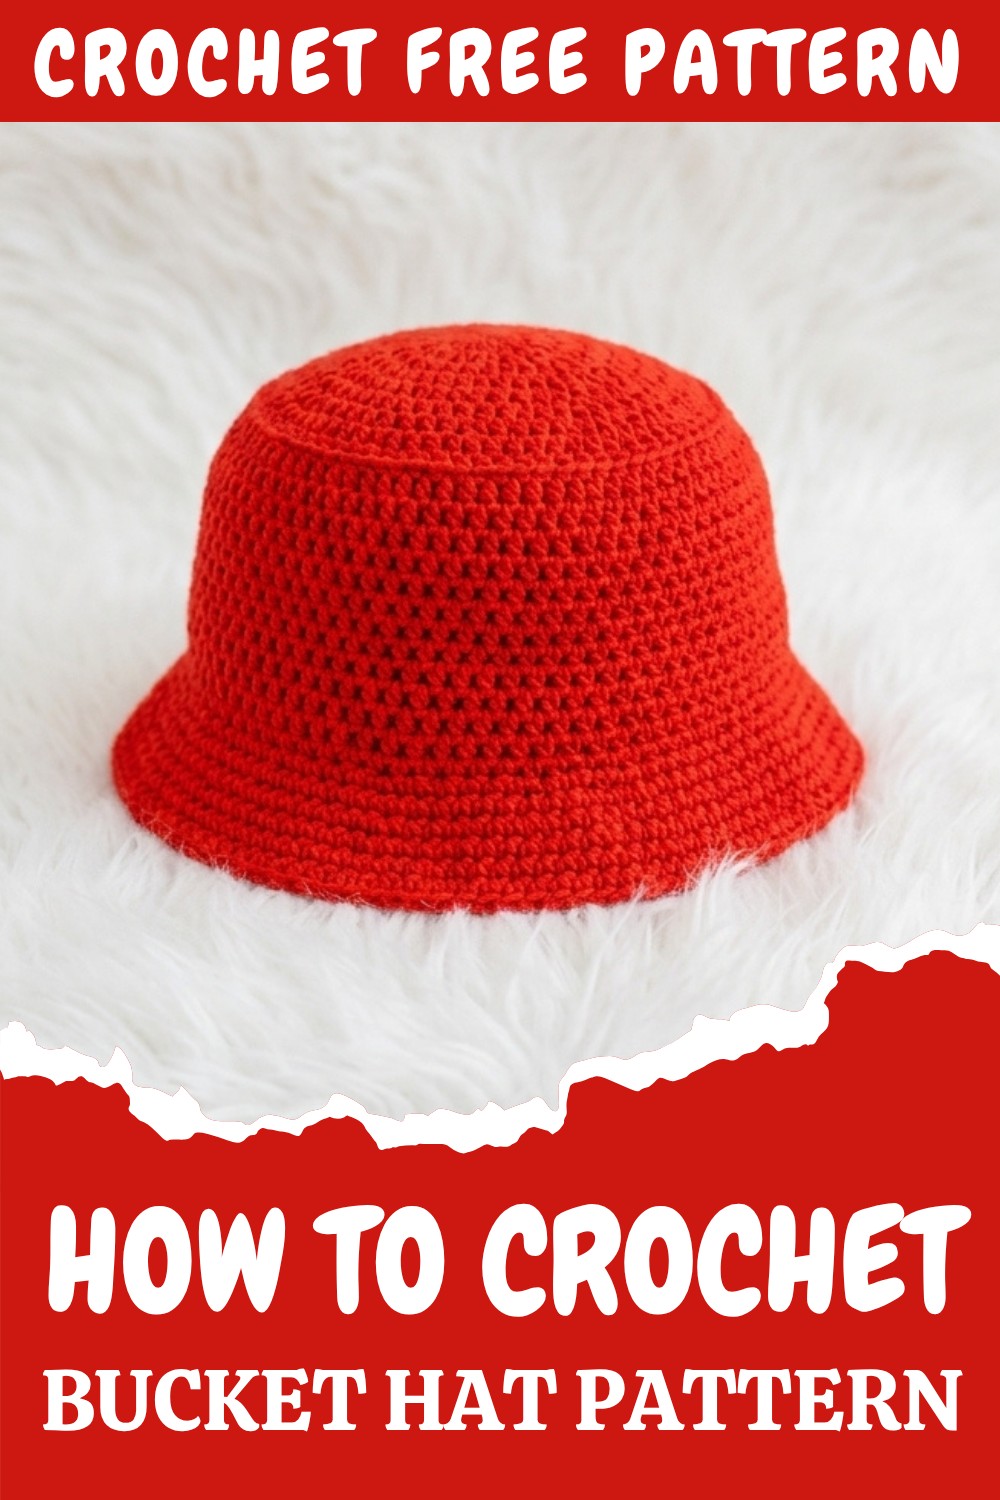
Modern Crochet Bucket Hat Pattern You’ll Love (Free)
Not every afternoon feels inspiring or productive, and sometimes it can seem hard to find a practical way to relax. On a day like that, picking up a crochet hook and following directions for a simple bucket hat can bring a sense of calm and accomplishment. Step by step, the yarn takes shape with basic half double crochet stitches, forming the crown at the top, sides in the middle, and a brim at the edge. Even for those feeling uncertain, it quickly feels satisfying as the hat takes form with patience and steady progress.
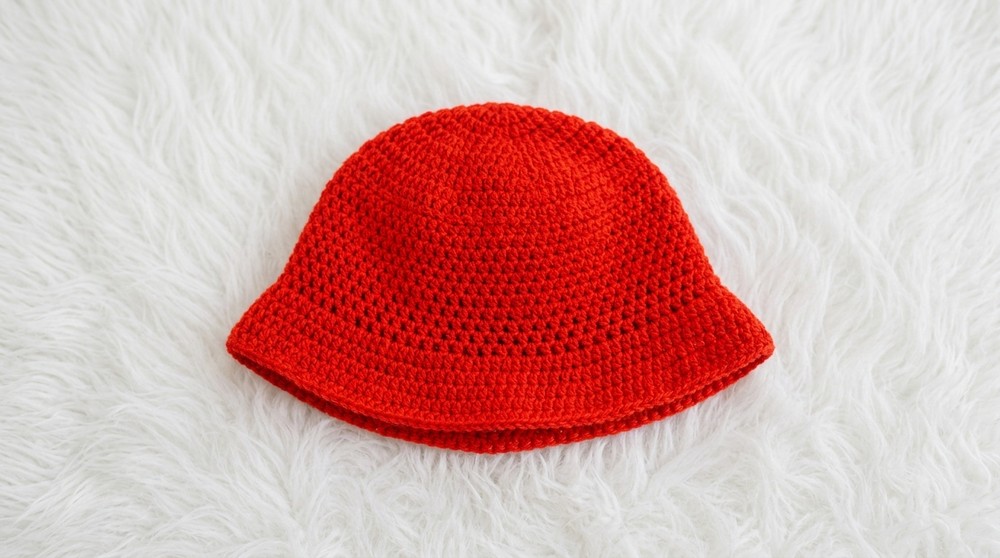
Handmade Elegance: Crochet Bucket Hat Pattern for Summer
Choosing colors whether soft, bright, or striped brings a personal touch. Working through each stage makes the process clear and manageable, and the result is a cozy and stylish piece that is easy to wear.
Now and then, a row may look uneven or the brim may not lie flat. This is usually fixed by recounting and correcting any stitch mistakes. Checking the width of the crown, aiming for five and a half to six inches, helps with sizing changing the number of rounds can adjust it for a smaller or larger head.

Once the last stitch is finished, there is a feeling of quiet achievement, and a new bucket hat ready for everyday use. What started as an ordinary moment now ends with a one-of-a-kind, comfortable accessory for any day out.
 Crochet Bucket Hat Pattern
Skill Level
Intermediate to Advanced
Materials List
- Acrylic yarn (or any yarn of your choice; medium/worsted weight recommended)
- 3.0 mm crochet hook
- Stitch markers (helpful for marking rounds)
- Measuring tape
- Scissors
- Tapestry needle for weaving in ends
Key Abbreviations & Terms (US Terms)
- ch: chain
- sl st: slip stitch
- hdc: half double crochet
- BLO: back loop only
- FLO: front loop only
- inc: increase (2 hdc in the same stitch)
- st(s): stitch(es)
- rnd: round
Special Notes:
- The hat is constructed in three parts: crown (top), body (sides), and brim.
- Always join each round with a slip stitch, and start each round with a chain 1 (does not count as a stitch).
- Use a stitch marker at the beginning of each round to help keep your place and stitch count.
Pattern Instructions
1. Crown (Top)
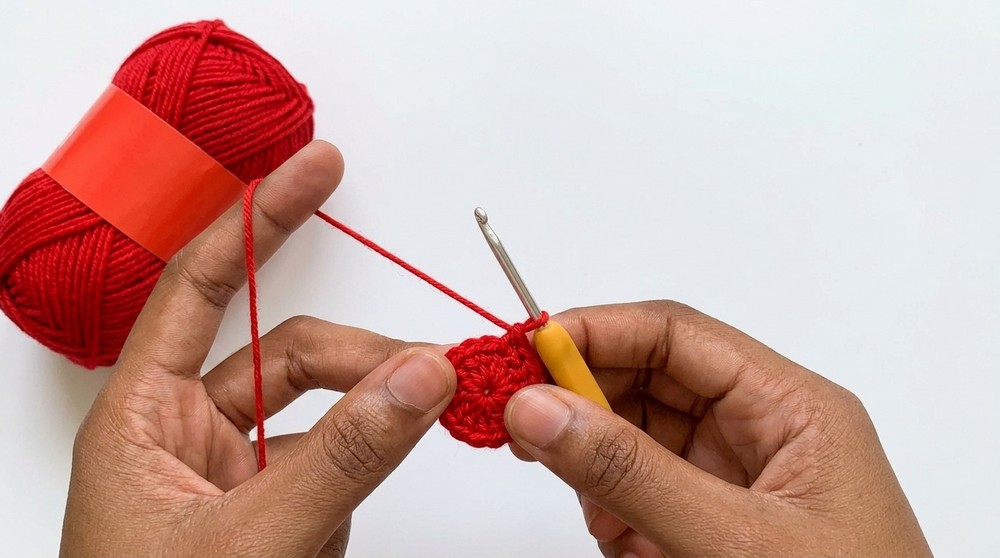
Step 1: Make the Magic Ring
- Chain 4 and join with a slip stitch to form a ring.
This forms the very center of your hat’s top. Your stitches for the first round will go into this ring.
Step 2: Round 1
- Chain 1, make 8 half double crochets (hdc) into the ring. Join with a slip stitch.
- Mark the first stitch with a stitch marker.
You should now have 8 stitches in your ring. The stitch marker helps you keep track of where each new round begins.
Step 3: Round 2
- Chain 1, work 2 hdc into each stitch around (you should have 16 hdc). Join with a slip stitch.
Each stitch from last round now gets two hdc. You have doubled your stitch count.
Step 4: Round 3
- Chain 1, (2 hdc in first stitch, 1 hdc in next stitch) – repeat this pattern around. Join (24 hdc).
Do one increase (2 hdc in one stitch) followed by one normal hdc in the next. Repeat this sequence.
Step 5: Round 4
- Chain 1, (1 hdc in next 2 stitches, 2 hdc in next stitch) – repeat around. Join.
Do one hdc in each of the next two stitches, then two hdc in the third stitch. Keep repeating across the round.
Step 6: Round 5
- Chain 1, (2 hdc in first stitch, 1 hdc in next 3 stitches) — repeat around. Join.
Start with an increase, then make one hdc in three separate stitches. Repeat throughout.
Step 7: Round 6
- Chain 1, (1 hdc in next 4 stitches, 2 hdc in next stitch) — repeat around. Join.
Now you’re doing four regular stitches, then an increase, repeated to the end.
Step 8: Round 7
- Chain 1, (2 hdc in first stitch, 1 hdc in next 5 stitches) — repeat around. Join.
Every new round increases the number of single hdc between your increases. This keeps the crown expanding outward so it stays flat.
Step 9: Round 8
- Chain 1, (1 hdc in next 6 stitches, 2 hdc in next stitch) — repeat around. Join.
You are now increasing after every six hdc. Repeat until you finish the round.
Step 10: Finish Crown (Rounds 9 & 10)
- Round 9: (2 hdc in first stitch, 1 hdc in next 7 stitches) — repeat around.
- Round 10: (1 hdc in next 8 stitches, 2 hdc in next stitch) — repeat around.
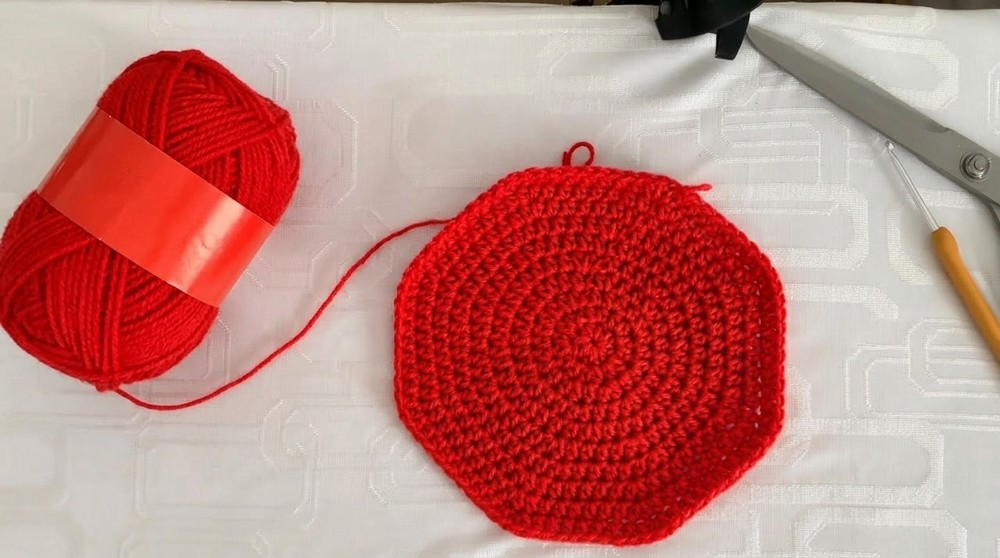
This sets your final crown diameter. Your flat disc should measure about 5.5 to 6 inches across by now (measure to check).
2. Body (Sides)
Step 11: Start Sides/Body
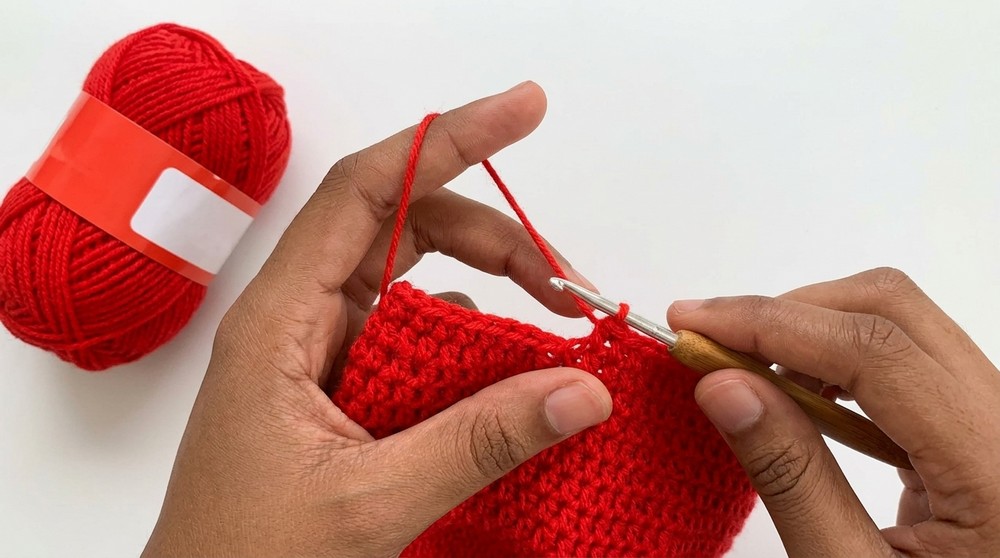
- Chain 1, work 1 hdc in back loop only (BLO) in every stitch around. Join with a slip stitch.
This makes the sides “turn down” and creates the hat’s classic shape. Only insert your hook into the back loop of each stitch in this round.
Step 12: Body Rows
- Chain 1, hdc in each stitch of both loops (normal hdc) — join with a slip stitch at the end of each round.
- Repeat until you have 13 rows of hdc for the body.
Just work normally, no increases. Do a hdc in each stitch, round after round for 13 rounds. Measure to about 3 to 3.5 inches for the body’s height.
3. Brim
Step 13: Start Brim
- Chain 1, work 1 hdc in front loop only (FLO) in each stitch around.
- For this round, do (4 hdc, then inc in next stitch) — repeat around.
Only work under the front loop now. Four regular stitches, then make two hdc in the next stitch (increase). This makes the brim flare out.
Step 14: Brim Row 2
- Chain 1, hdc in each stitch (both loops; no increases) around. Join.
Just even stitches to firm up the shape. No increases in this round.
Step 15: Brim Row 3
- Chain 1, (inc in first stitch, 8 hdc) — repeat around. Join.
This round makes the brim bigger. An increase, then eight regular stitches – repeat.
Step 16: Brim Row 4
- Chain 1, hdc in each stitch around (no increases). Join.
Repeat the previous method, working regularly to strengthen the brim.
Step 17: Brim Row 5
- Chain 1, (10 hdc, inc in next stitch) — repeat around. Join.
Make ten hdc, then increase — this helps the brim grow evenly. Repeat till the end of the round.
Step 18: Final Brim Rows (Rows 6–9)
- Chain 1, hdc in each stitch around (no increases), join at the end of each round.
- Work for 4 more rounds.
These rows finish the brim, making it wider and more stable.
Finishing
Step 19: Finish Off
- Cut yarn, fasten off, and use tapestry needle to neatly weave in all yarn ends.
Securely tie off, pull your yarn through the loop, and weave in any loose yarn so your work looks neat and professional.
Conclusion
You’ve completed your stylish crochet bucket hat! This pattern uses increases in the crown, back- and front-loop variations for the body and brim, and steady hdc stitch work. Blocking your hat can help it look even more polished.
Pattern Corrections & Tips
- Correction: If your hat’s crown puckers or curls at the edges, check your stitch count and try working with more relaxed tension.
- Tip 1: Use stitch markers to prevent losing your starting place.
- Tip 2: Adjust the number of repeats for crown or body to make your hat larger or smaller as needed.
- Tip 3: Use a larger hook for the brim part if you want a looser, more floppy brim.