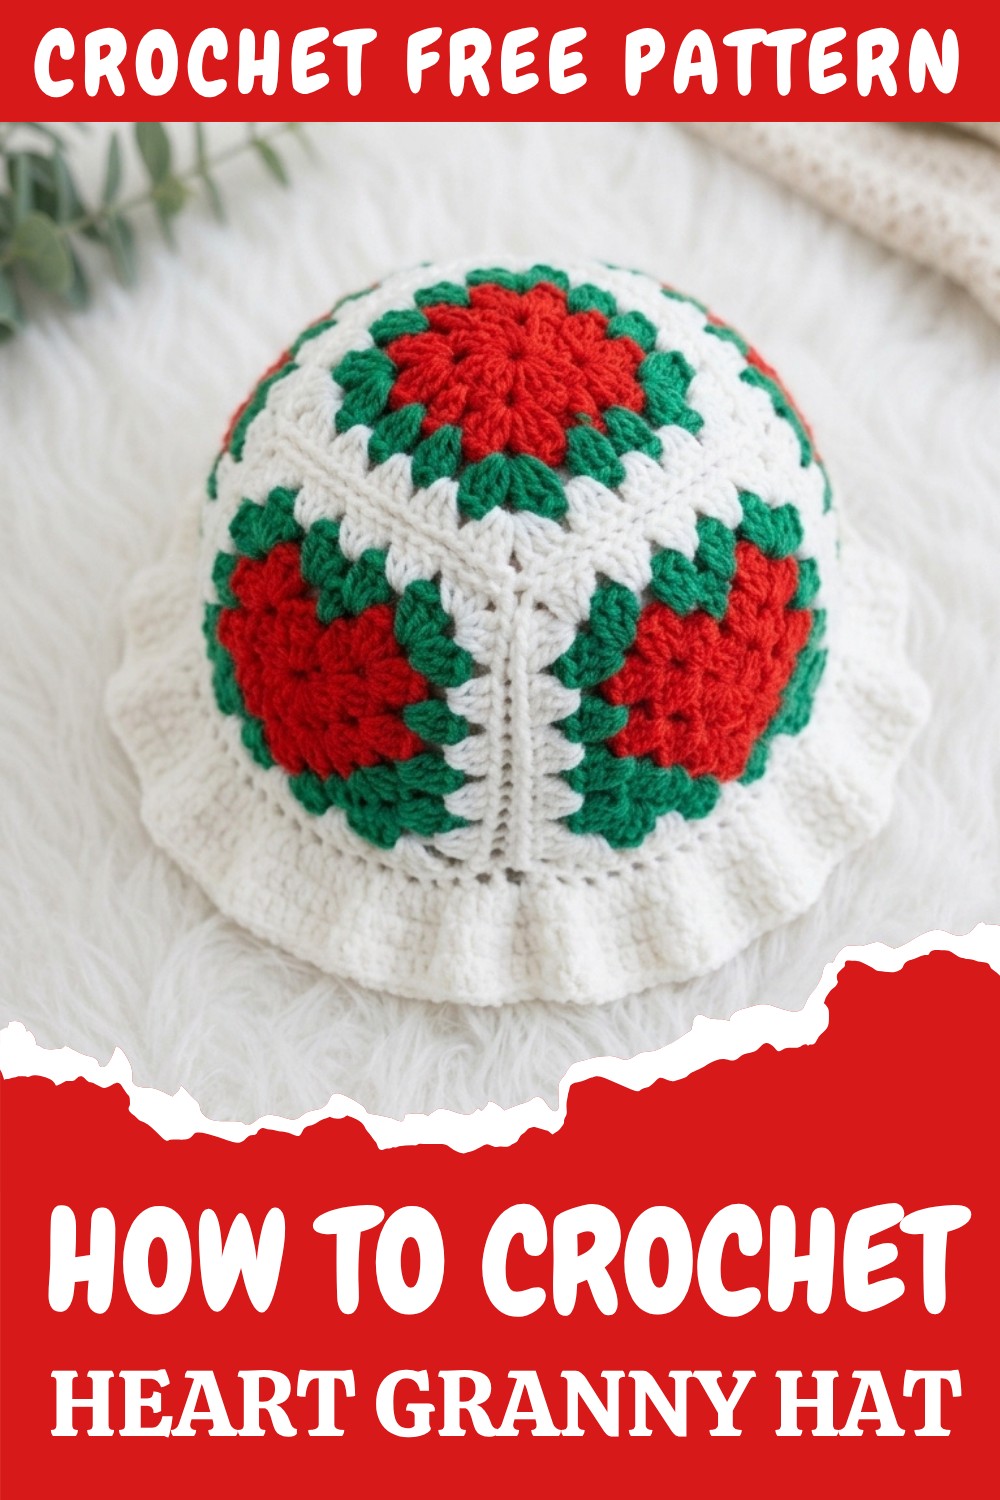
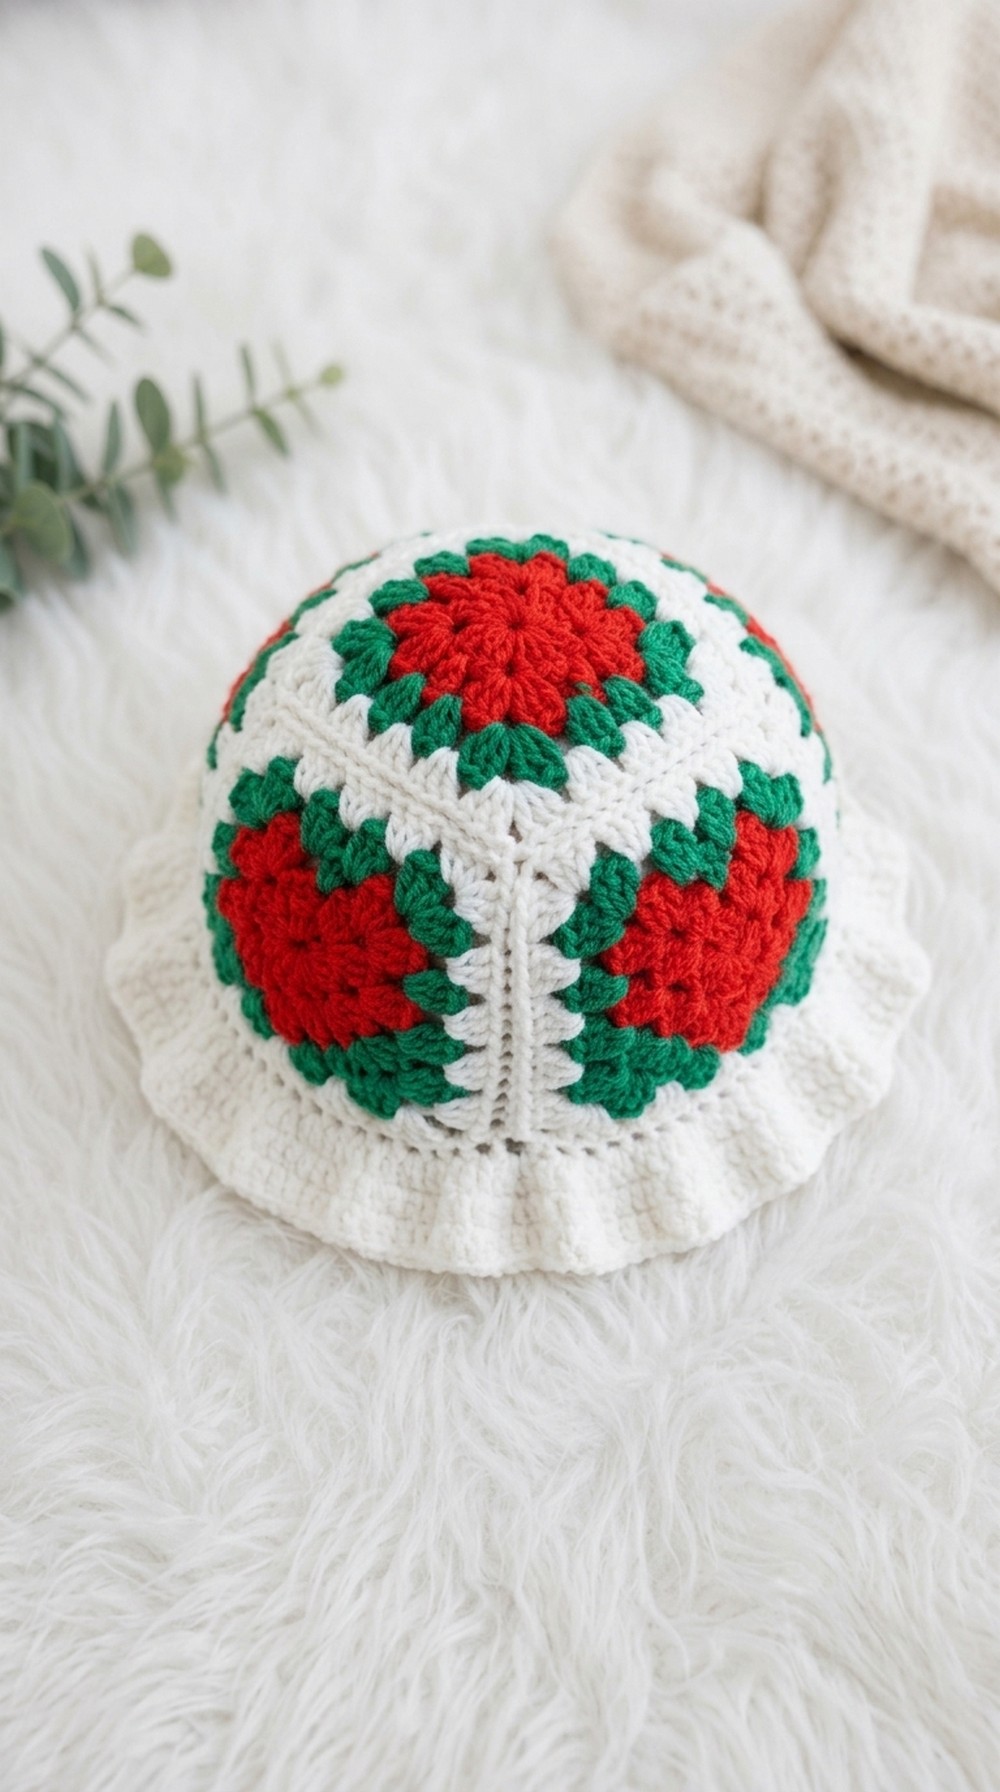
Free Crochet Heart Granny Hat Pattern for All Skill Levels
Ever wondered how to crochet a hat that’s not only warm and comfy, but also bursting with personality? Trying out the Free Crochet Heart Granny Hat Pattern might be the perfect project for you! Whether you’re just starting with crochet or looking for something colorful and fun, this pattern makes it easy to create a hat that stands out. Imagine wearing a handmade accessory that you crafted yourself—a feeling that’s both exciting and rewarding.
Charming Crochet Heart Granny Hat Pattern for Summer Styling
What makes the heart granny hat so special? This pattern features adorable granny squares, each with a vibrant heart at the center. Bright pinks, reds, purples, or even a mix of rainbow colors can be used for the heart, while the squares themselves can be joined in a matching or contrasting shade. Stitches involved in this pattern are mostly double crochet and single crochet, simple enough for beginners but interesting enough for anyone with more experience. By making small changes, like switching up colors or adjusting the squares, you could also create matching scarves, stylish tote bags, or even heart-themed blankets, all from this one versatile pattern.
Key steps you must remember:
- Crochet each granny square to the same measurements for a perfect fit.
- Join the squares neatly using slip stitching or sewing for a smooth finish.
- Use stitch markers to keep track of your starting point.
- Keep your crochet tension even across all pieces.
- Finish the hat with a clean border and neatly weave in ends.
Issues you might face and simple fixes:
- If granny squares come out uneven, try changing your hook size or adjusting your tension.
- When the hat fits too tightly or loosely, measure the circumference of your head and adjust the number of squares. Usually, five to six squares create a standard size.
- If your heart designs don’t pop, choose yarn colors that contrast against your main hat color.
Complete your hat by joining the squares, shaping the crown, and adding your finishing touches. Measuring your head and choosing the right number of squares (about 4 inches each) will help you achieve a comfy, custom fit. By the end, you’ll call this vibrant, heart-filled hat your own creative success—at home, at school, or as a heartfelt gift.
Heart Granny Square Hat Crochet Pattern
Materials
- Yarn: Worsted weight, at least three colors (Heart, Background, Brim)
- Hook: 3.5 mm crochet hook (or size to match yarn)
- Scissors
- Stitch marker
- Yarn needle (for weaving in ends)
Key Abbreviations
- ch = chain
- dc = double crochet
- sl st = slip stitch
- st = stitch
- yo = yarn over
Special Notes
- Five heart granny squares are required for the hat.
- Color-changing technique is used for the heart motif.
- Brim is worked in rounds after squares are joined.
- Be attentive to granny square orientation when joining.
- You may add extra rows to the brim for customization.
Pattern
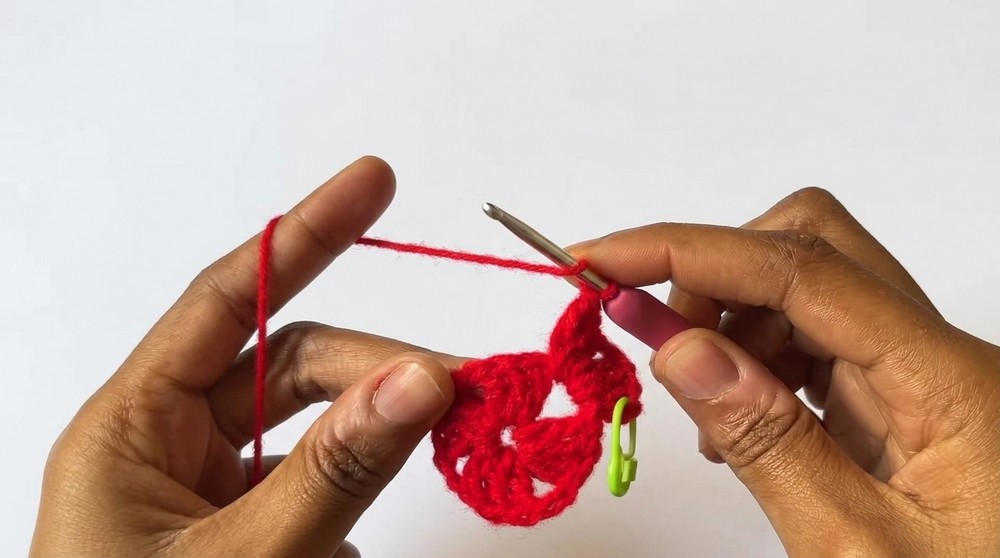
Step 1: Make Heart Granny Square (Make 5)
Round 1 (Heart center with main color):
- Make a magic ring.
- Ch 1 to secure.
- Ch 2 (counts as first dc); place stitch marker.
- 2 dc in ring (3 dc total).
- Ch 2.
- 3 dc in ring. Ch 2.
- Repeat: 3 dc, ch 2 in ring two more times (total of 4 corners).
- After last corner, ch 2 and sl st to first dc (where marker is).
- Fasten off or continue as needed.
In this round, you work 4 clusters of 3 double crochets separated by chain-2 spaces, creating 4 corners. It forms the base of your granny square around the heart color. Always use a marker to find your first stitch.
Round 2: Granny Square Build
- Slip stitch across to the next ch-2 corner space.
- In corner space: ch 2, 3 dc (counts as corner cluster).
- Ch 2, 3 dc in same space.
- In each next corner space: 3 dc, ch 2, 3 dc.
- Continue for all corners.
- At end, sl st to first dc of round.
This round builds up the size of your square. You always work 6 dc into each corner (in two clusters), with chain-2 between them, and just 3 dc in the spaces between corners. Slip stitch to move to the next corner as needed.
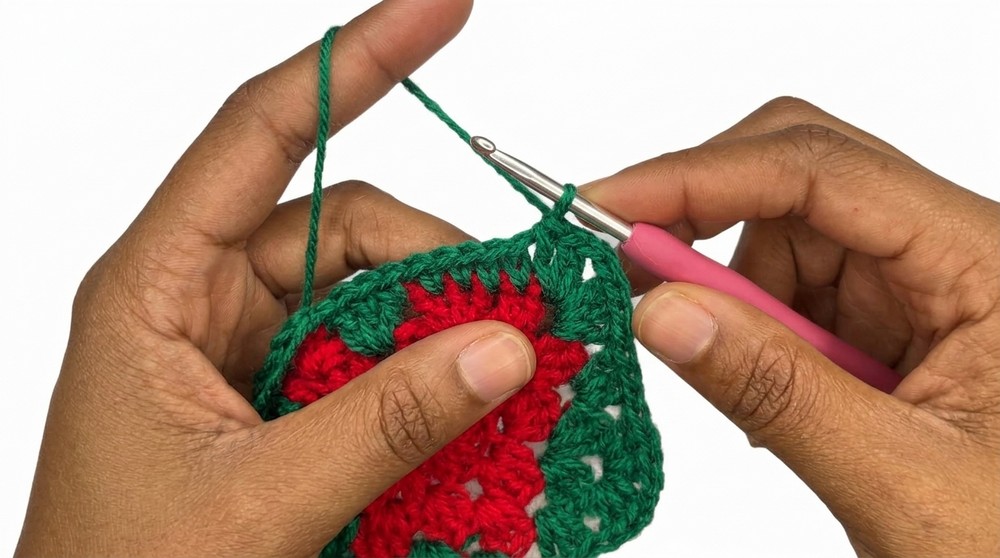
Round 3: Heart Color Change
- Slip stitch to next corner space as before.
- In corner: ch 2, 3 dc; ch 2, 3 dc.
- In next side space, make 2 dc in heart color, before finishing 3rd dc, join the contrast color (background/green). Use this to close the stitch.
- In next corner, use new color: 3 dc, ch 2, 3 dc.
- Switch between colors on final step of the 3rd dc as needed to shape the heart motif.
- Continue as established: always work corners as 3 dc, ch 2, 3 dc.
- Finish round, sl st to first dc.
Here you introduce the background color (created with careful color changes at the end of cluster stitches), forming the shape of the heart in the square. Carry yarn along the inside or change colors cleanly as needed.
Round 4 and Beyond: Border Rows
- Fasten off or slip stitch to next corner as needed. Join next color (background).
- In every corner: 3 dc, ch 2, 3 dc.
- In every side space: 3 dc.
- Continue around, sl st to first dc.
- Repeat as desired for size.
These rounds make your squares larger and match the other squares. All corners remain consistent, and sides are just 3 dc clusters. You may add extra rounds for a bigger hat.
Step 2: Make 4 Additional Heart Granny Squares
- Repeat above instructions until you have 5 identical squares.
- Weave in ends and block if necessary.
By making all squares the same, your hat will fit together perfectly, and the hearts will all face the same way. Blocking helps keep squares flat.
Step 3: Arrange and Join Granny Squares
- Arrange squares in a cross formation: center square is “crown,” others form body of hat.
- Make sure hearts on side squares face outward (not upside-down).
- Place RS (right side) facing up.
- Join squares by slip stitch or single crochet:
- Align edge stitches, join through one part of the “V” of each square, not deep into the space.
- Work joins between adjoining squares around the crown and body, then join side squares.
Take care with orientation for the hearts. Use stitch marker to keep joins straight and neat.
Step 4: Joining Sides to Form Hat
- After joining the center square to all sides, join adjacent side edges (body squares).
- Work slip stitch or single crochet seam to form the shape of a hat.
- Fasten off and weave in ends.
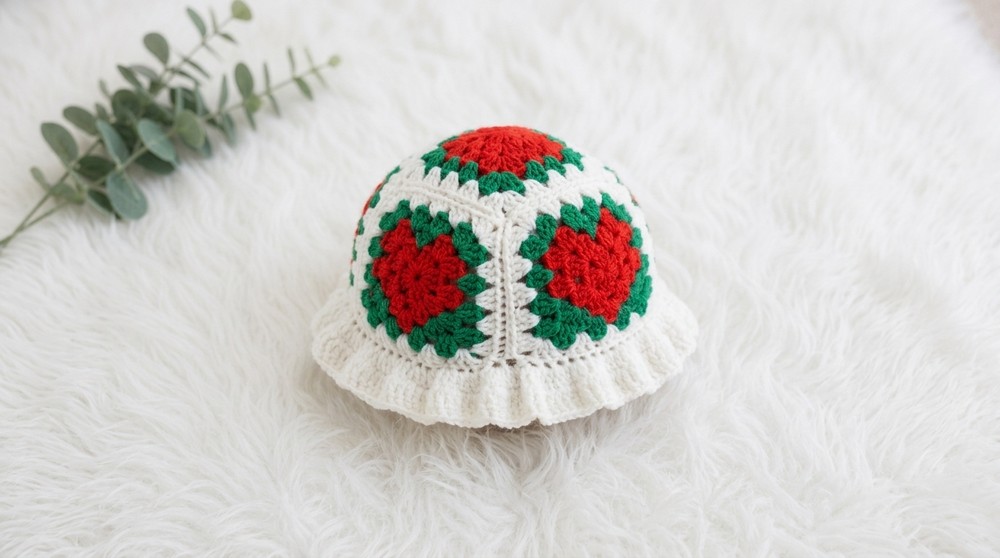
Now your joined squares should have a hat shape! If you joined carefully, the hearts will be visible and neatly arranged.
Step 5: Work Brim
Row 1 (Brim foundation):
- Attach brim yarn (e.g. white) to any edge.
- Ch 2 to secure.
- Work 1 dc in each stitch around the hat brim.
- Join with sl st to beginning dc.
This foundation row gives your hat edge a neat base and prepares for increases. Work evenly in every stitch for best results.
Row 2 (Brim increase):
- Ch 2.
- In every stitch made in previous row, work 3 dc in each stitch.
- Join with sl st to first dc.
This round increases the brim, creating a ruffled effect. Place 3 double crochets into each stitch around the brim.
Rows 3 & 4 (Brim smoothing):
- Ch 2.
- Work 1 dc in each stitch around brim.
- Join with sl st.
- Repeat for another row as desired.
These rounds keep the brim from becoming too frilly and give it a smooth finish. You can add more rows for a wider brim.
Step 6: Finishing Touches
- Fasten off, weave in ends neatly with yarn needle.
- Block if desired for best shape.
Finishing your ends prevents fraying and makes your hat look professional. Blocking allows the squares and brim to lay flat.
Conclusion
You have created a delightful heart-themed granny square hat! This project uses classic and colorwork granny square techniques with careful joining and a charming ruffled brim. Customization is possible with your choice of colors and brim size.
Pattern Corrections & Tips
- Correction: Ensure all granny squares are the same size before joining for neat results.
- Tip: Color changes can be tricky—always change yarn at the last pull-through of the final dc. Carry unused yarn inside stitches where possible for clean work.
- For extra structure, block squares before assembly.
- Use a stitch marker when joining and working initial stitches of each round for consistent round count and placement.
Special Notes:
- This pattern can be adapted for a larger or smaller hat by increasing or decreasing granny squares or rounds.
- Mix and match colors for different heart effects!