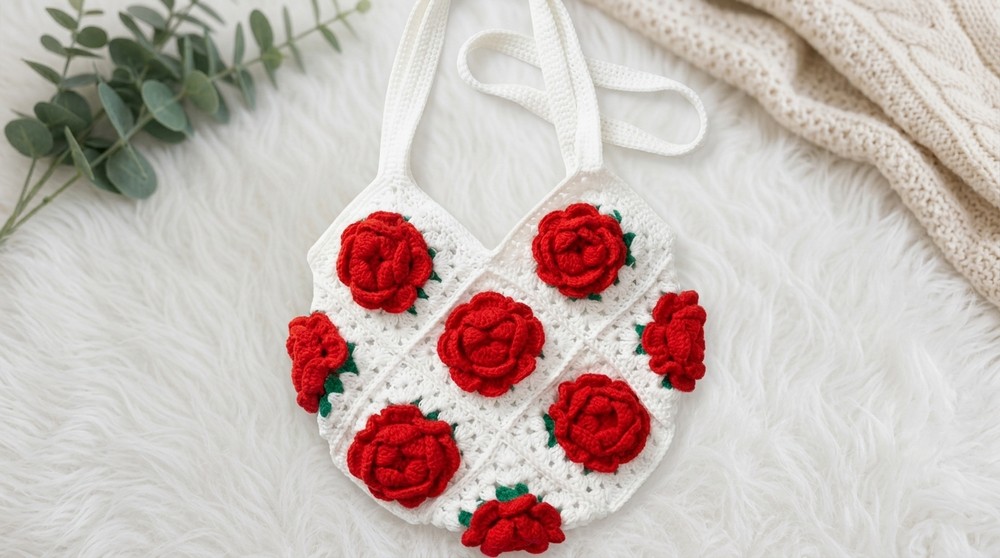
Free Crochet Granny Rose Bag Pattern To Carry Your Essentials
When I first tried the Free Crochet Granny Rose Bag Pattern, I was simply looking for a fun and creative way to make a beautiful accessory by hand. As someone who loves projects that mix creativity with usability, I found crochet the perfect hobby, you can relax, work at your own pace, and end up with a lovely bag you’ll be proud to use or gift. This pattern is beginner-friendly, so even if you’re new to crochet, you’ll feel right at home following the step-by-step instructions.
Crochet Granny Rose Bag Pattern for Beginners and Experts
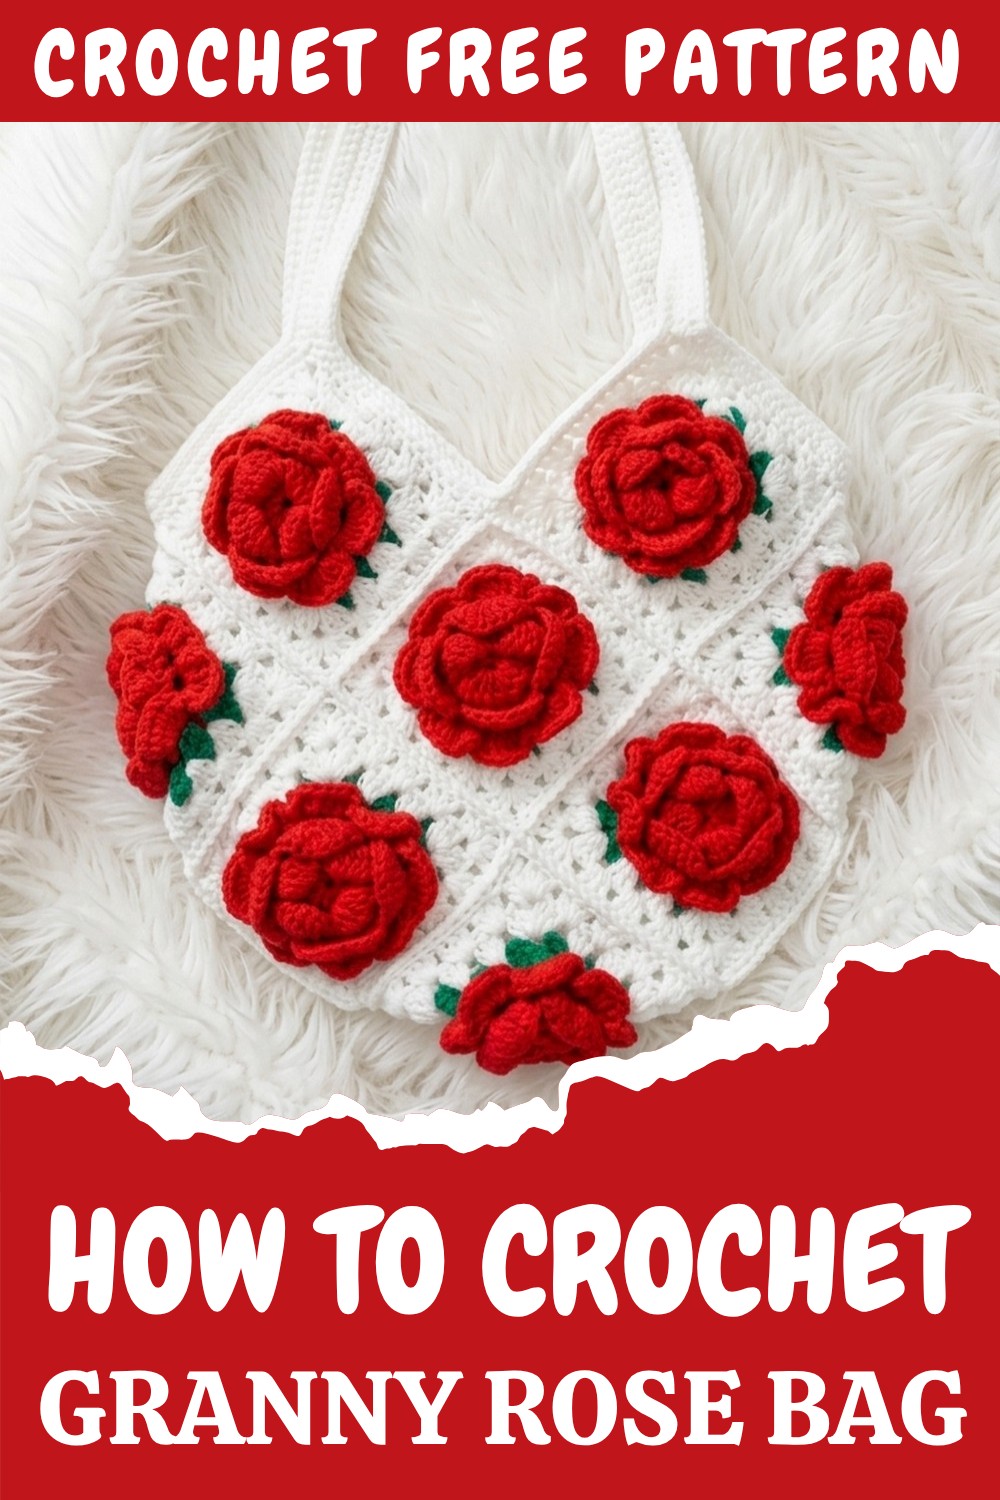
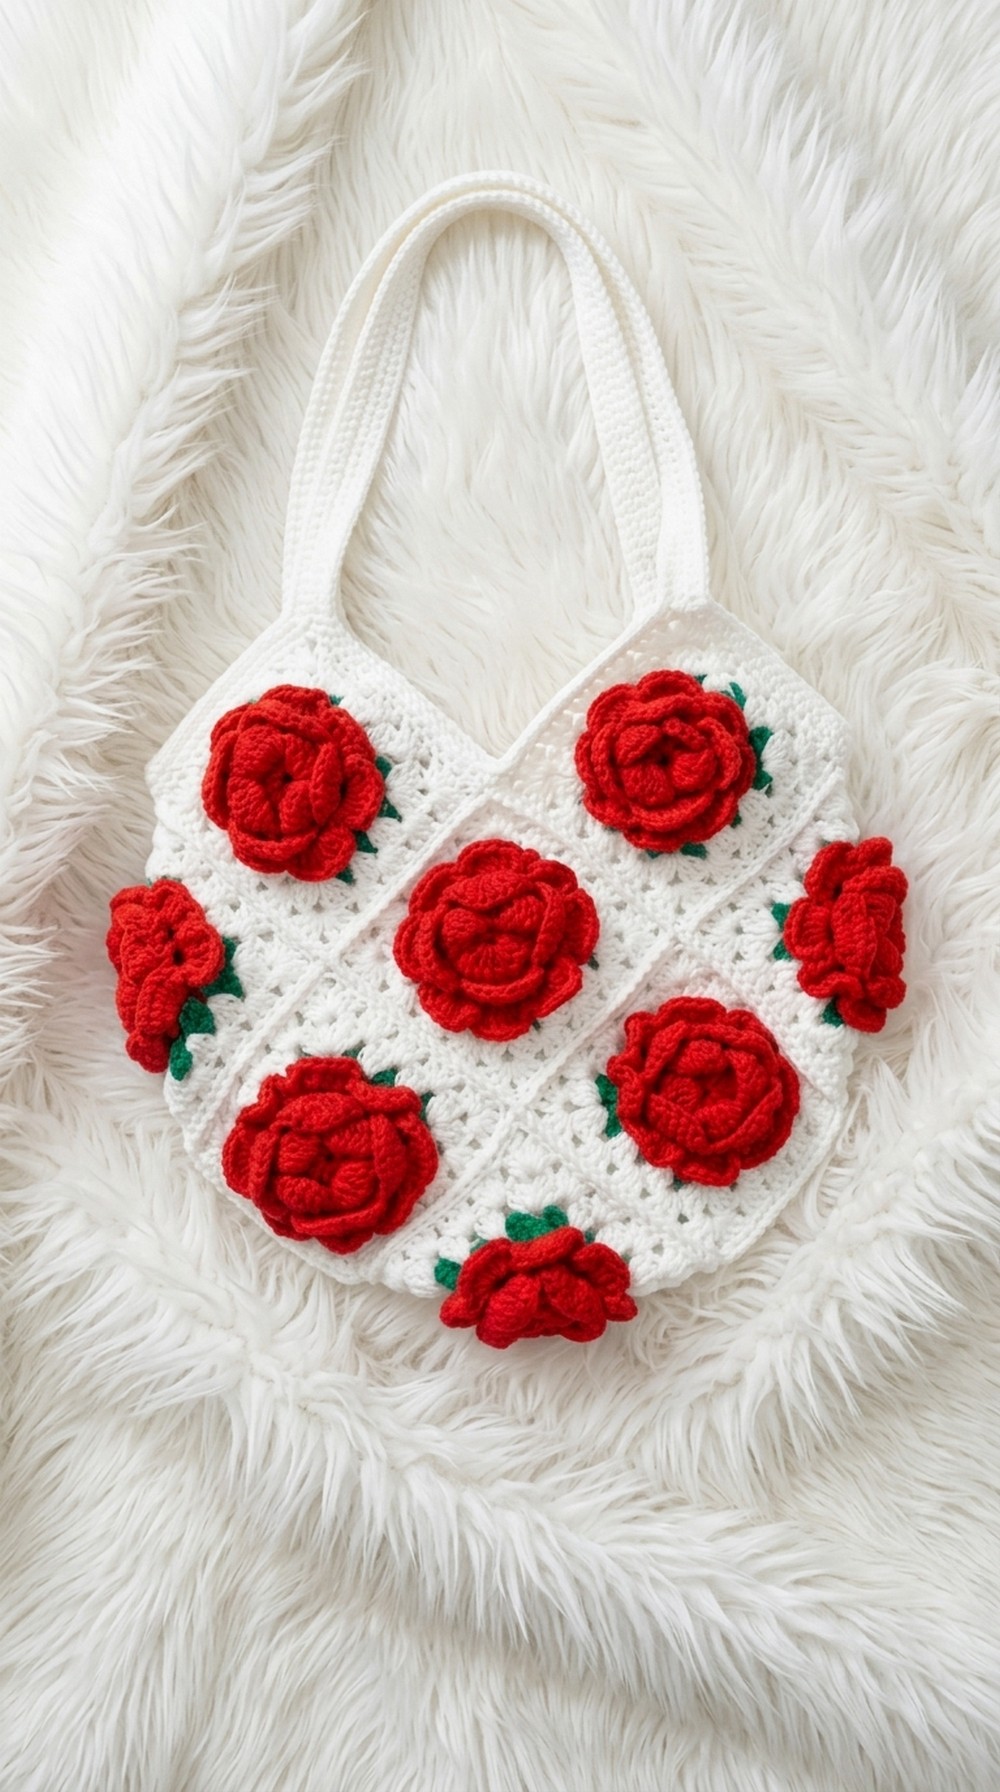
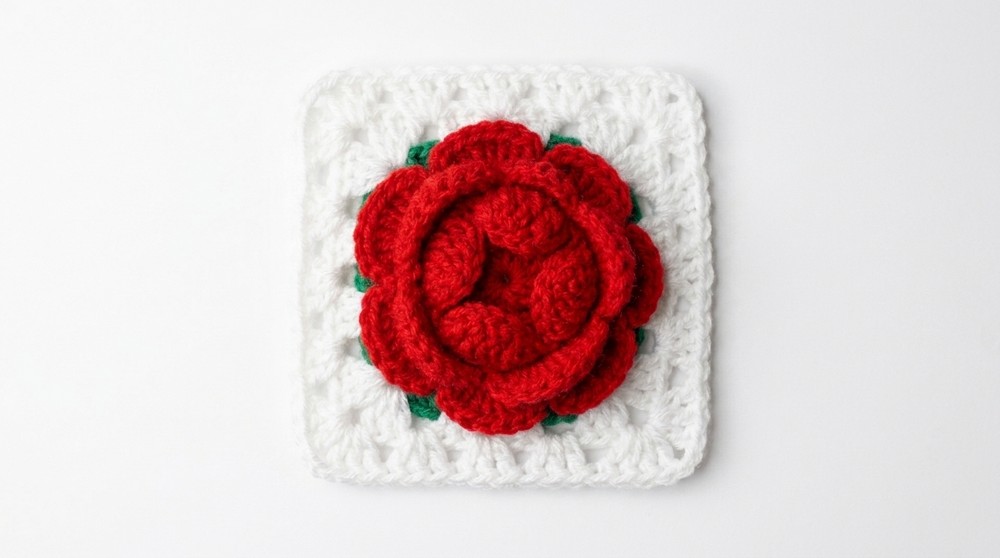
What makes this Granny Rose Bag really stand out are its stunning features. The bag is made up of thirteen unique granny squares, each with a pretty rose at the center. You can pick any colors you like for the flowers and borders, for example, bold pink or classic white roses with fresh green leaves and a neutral outer edge. The main stitch in this project is the double crochet, which helps the bag keep its shape and showcases each rose beautifully. One of the best parts about this pattern is its versatility—by making some small changes, you can use the same rose granny square design to create items like cushion covers, blankets, scarves, or even cute hats.
Common Challenges & How To Fix Them:
- Loose or tight squares: If your squares aren’t the same size, check your tension and use a ruler (the recommended square is about 4.5 inches wide).
- Unbalanced handles: Make sure to match the number of chains on each handle so the bag hangs straight.
- Joining squares confusion: Refer to a diagram or lay your squares out first to see the shape before joining.
You’ll know you’ve reached the end when your bag is joined, turned inside out for neat seams, and finished with strong, comfy handles. The final size is just right for daily items—about 4.5 inches per square, so with 13, you get a roomy, stylish tote. If you love handmade gifts or want to try your first big crochet project, this bag pattern is a wonderful place to begin.
Granny Square Rose Bag Crochet Pattern
Skill Level
Intermediate to Advanced
Materials
- Worsted weight yarn in at least two colors (rose motif, background, plus optional accent)
- 3.5mm – 4.5mm crochet hook
- Stitch markers
- Scissors
- Yarn needle
- Measuring tape
- Blocking board and pins (optional, for blocking squares)
Key Abbreviations
- ch = chain
- st = stitch
- sc = single crochet
- dc = double crochet
- sl st = slip stitch
- yo = yarn over
Special Notes
- The bag is constructed from thirteen rose granny squares, joined according to a specific diagram for unique shaping.
- Handles are worked in single crochet and reinforced with additional rows.
- Pattern assumes you are comfortable with granny squares, color changes, and joining techniques.
Pattern
Step 1: Make Granny Square Rose Motifs
(Rose motif is made separately—video tutorial suggested for rose center. Once roses are made, continue as follows:)
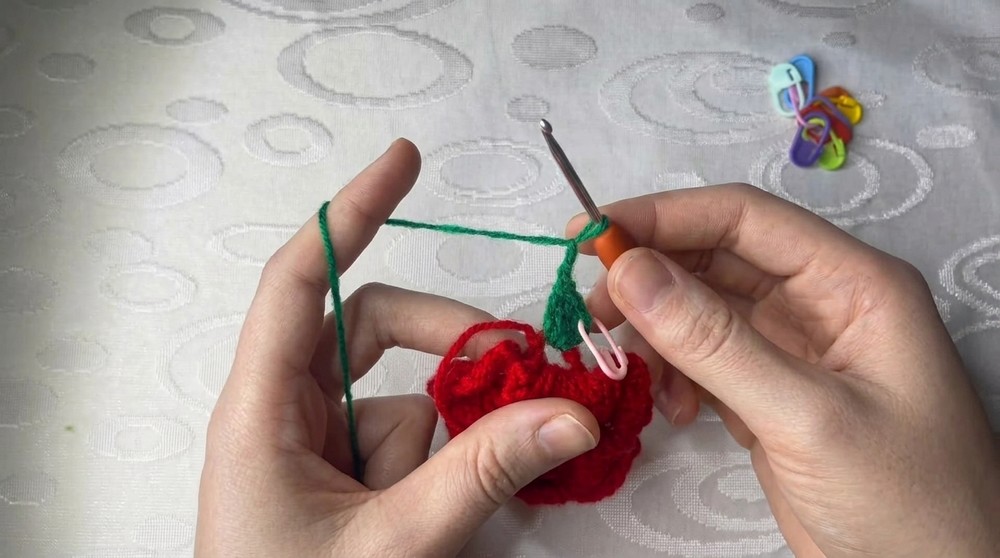
Round 1: Form Granny Square Around Rose
- With green yarn, make a slip knot and attach to one of the chain spaces at the back of your rose motif.
- Ch 2 (counts as first dc).
- 3 dc into same space (corner cluster).
- Ch 2, 3 dc in same space.
- (Move to next chain space): 3 dc in next space.
- Next corner: 3 dc, ch 2, 3 dc in same space.
- Continue with 3 dc in next space, then on next corner repeat: 3 dc, ch 2, 3 dc.
- Final space: 3 dc.
- Last corner: 3 dc, ch 2, 3 dc.
- Final space: 3 dc.
- Sl st to join to first dc. Ch 1, cut yarn.
This round creates the classic granny square shape around your rose. Place clusters in each space, and corners have extra dc and chain 2 for shaping.
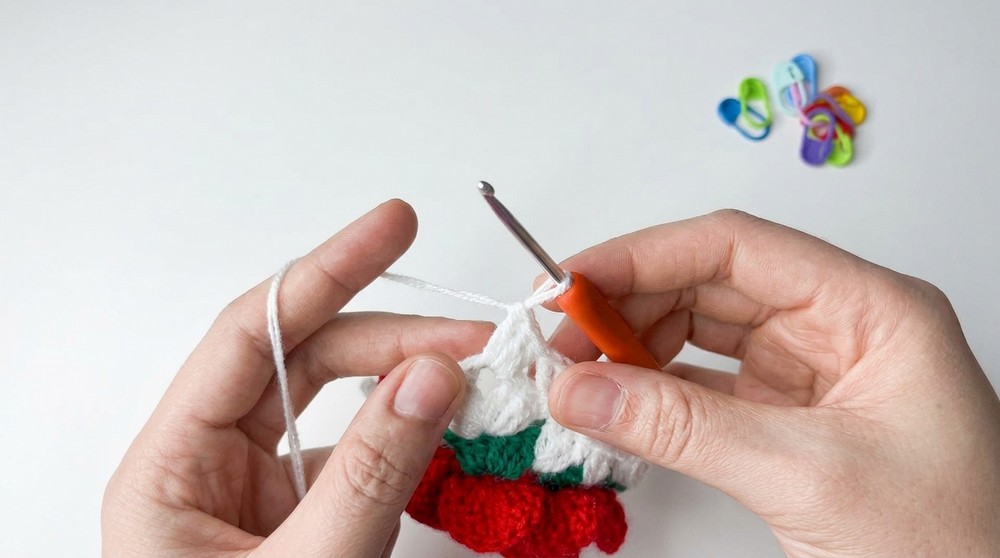
Round 2: Add Background & Define Corners
- With background color (white), attach yarn to any corner space.
- Ch 2, 3 dc in same corner, ch 2, 3 dc in same corner.
- (In next space): 3 dc.
- Repeat for each space and each corner:
- On corners: 3 dc, ch 2, 3 dc in same space.
- On sides: 3 dc.
- On corners: 3 dc, ch 2, 3 dc in same space.
- Sl st to join, ch 1 (do not cut yarn if continuing next round).
This round emphasizes corners and fills out sides, making your granny square larger and more robust. Clusters and corners repeat for a square shape.
Round 3: Increase Square Size
- Staying with same color, ch 2, 3 dc in next space.
- Repeat pattern:
- On corners: 3 dc, ch 2, 3 dc in same corner space.
- On sides: 3 dc in each space.
- Continue until round is complete.
- Sl st to join, ch 1, cut yarn.
Repeat the clusters for each side, focusing corner clusters for shaping. This builds the required size for the bag s assembly. Make sure your corners are consistent for a flat square.
Step 2: Create 12 More Granny Squares (Total 13)
- Repeat the motif and granny square instructions for a total of thirteen squares.
Making all squares the same size and shape is important for neat assembly. If you notice differences in size, blocking can help.
Step 3: Block Squares (Optional)
- Pin squares to blocking board, use steamer or damp towel to shape, allow to dry flat.
Blocked squares are easier to join and look professional. If you skip blocking, your bag may appear “bumpy” or uneven.
Step 4: Join Squares per Diagram
- Arrange squares as follows:
- Row 1: 1 square
- Row 2: 3 squares
- Row 3: 4 squares
- Row 4: 3 squares
- Row 5: 2 squares
- Use diagram for orientation. Join squares:
- Join with slip stitch or sc seam: Place right sides facing up, corners aligned.
- Insert hook into corner ch-2 space of two squares, sl st or sc to join.
- Work along edges, joining as per diagram.
Proper joining is key for creating the correct bag shape. Follow diagram carefully, attaching corners and sides for stability. Mark joined edges with stitch markers for reference.
Step 5: Finish Joining and Form Bag Shape
- After joining all squares as per diagram, turn project inside out.
- Line up squares for bag assembly, matching edges, and corners.
- Join sides—use slip stitch or sc as above—to form main bag body.
Turning inside out ensures that all seams are neat and on the correct side. Double check placement before sewing sides together.
Step 6: Add Top Edge & Handles
Top Edge
- Attach yarn to corner at top of bag.
- Ch 1, sc in each stitch across top edge.
- Mark first sc with stitch marker. Continue sc across until you reach handle placement.
Single crochet along top provides a good base for the handles and stabilizes the top edge. Work evenly for best results.
Handles
- At handle position, ch desired length for each handle (e.g., 100 ch for shoulder strap).
- Attach to opposite corner with sc. Continue sc across remaining edge.
- To reinforce, sc along handle chain in subsequent rounds (2–3 rows total).
- Continue for second handle as above.
Handles are made by chaining and reinforcing with several rows of sc. You can add more rows for thicker handles or fewer for a lighter look. Make sure both handles match in length.
Step 7: Weave in Ends
- Use yarn needle to weave in all ends securely.
- If desired, add lining for stability.
Finishing touches make the bag polished and ready for use. Lining (fabric) can add durability, though optional for most crocheted bags.
Conclusion
You have completed a stylish rose granny square bag, perfect for everyday use or as a statement accessory. This design uses classic granny square techniques, creative joining, and sturdy single crochet handles for a practical and beautiful bag. Blocking and careful joining help ensure the final shape is neat and durable.
Pattern Corrections & Tips
- Correction: Ensure all corners align exactly when seaming; mismatched corners may cause the bag to “pull” or warp.
- Tip:
- Use stitch markers liberally to keep track of beginnings and joins.
- Reinforce handles with extra rows for durability.
- Block squares before assembly for best results.
Special Notes:
- Lining can be added for strength.
- Customize size by making larger or smaller granny squares.
- Join with your preferred method—slip stitch, whip stitch, or single crochet.