Unique Free Crochet Wrap Shorts Pattern for Everyday Style
Slip into summer style with this Free Crochet Wrap Shorts Pattern as you stitch comfy shorts that add handmade charm to your wardrobe.
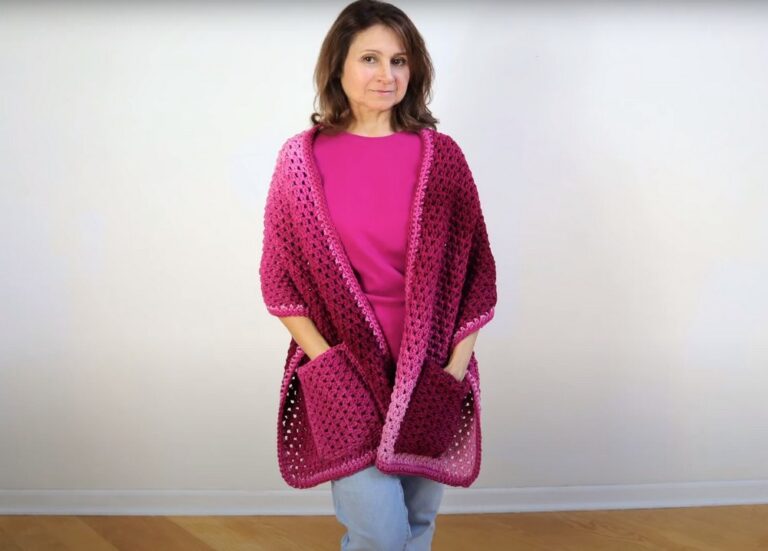
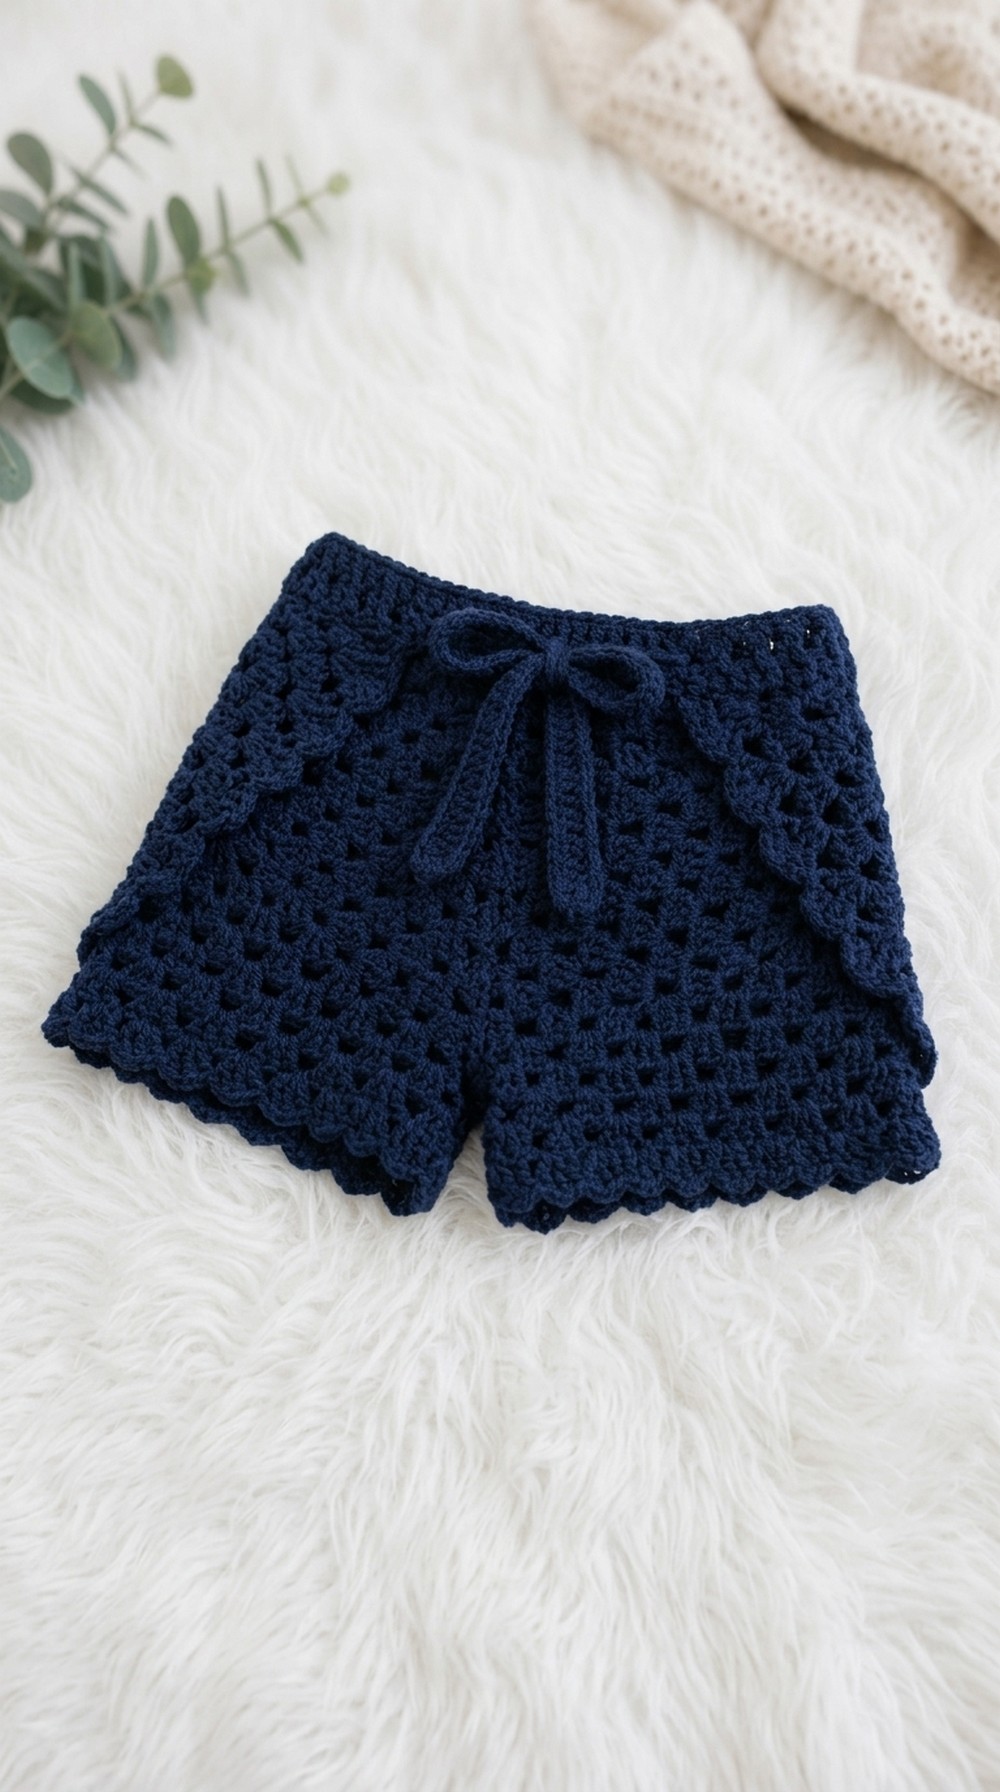
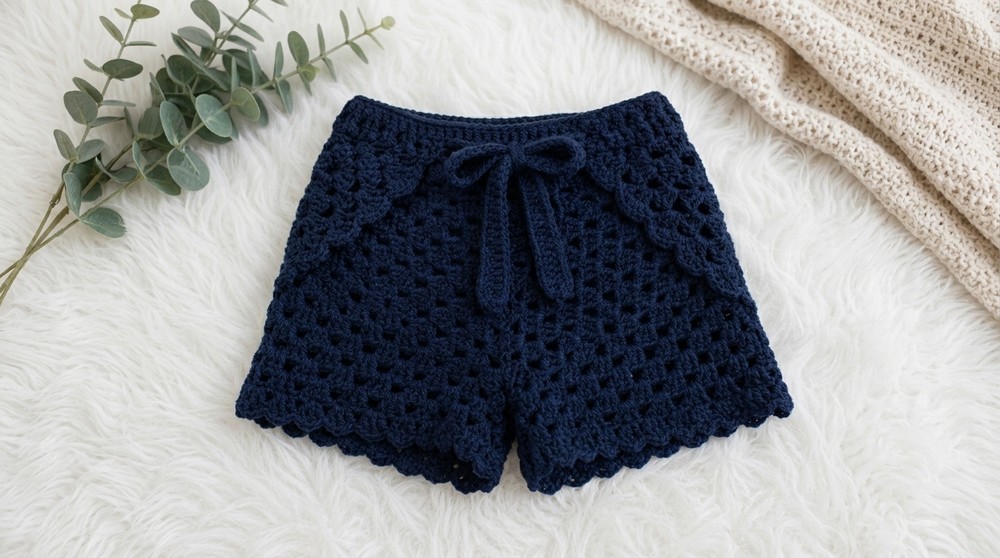
Looking for something fun and stylish to crochet? This free pattern is a fantastic choice for your next project. The crochet wrap shorts are truly one-of-a-kind, with a charming design that stands out from regular shorts. They feature a clever wrap style around the hips, and the ties on each side let you adjust the fit exactly how you like it. Straps can be tied at the side or in the front, letting you show off your own fashion sense.
Free Crochet Wrap Shorts Pattern
The texture of these shorts feels soft and flexible, thanks to the Alize Cotton Gold yarn and a 3 mm hook. Each piece is created using neat granny squares, and the carefully crafted edges give the shorts a playful and ruffled look. The cute frills along the sides and bottom add an extra touch of handmade beauty.

This pattern brings a lot of joy to crocheters because it’s simple to follow, yet the finished result looks special and stylish. Small changes, like using different colors, lengthening the straps, or adjusting the granny square sizes, can easily transform the pattern. With just a few tweaks, you can also turn this style into a short skirt or a cute wrap for wearing at the pool or beach.
Great for warm days, family outings, and casual gatherings, these shorts are as practical as they are eye-catching. They also make a thoughtful, handmade gift for someone special. When you want to create unique fashion pieces, this free crochet wrap shorts pattern deserves a spot on your to-make list.
Crochet Wrap-Around Granny Square Skirt/Short Pattern
This project is not only a statement piece but also practical, as the wrap design, adjustable waist, and creative construction allow for customization for all ages. Even if you’re a beginner, the instructions below will guide you through every step – from making your granny squares, adding decorative edges, to assembling and finishing with a beautiful, sturdy belt.
Skill Level & Terminology
Skill Level: Confident Beginner to Intermediate
Terminology: US Crochet Terms
You should be comfortable with the basic stitches (chain, single crochet, double crochet, half-double crochet, treble/triple crochet, slip stitch) before starting, along with working in rounds and sewing panels together.
Materials & Tools
- Yarn: Alize Cotton Gold (or similar DK/light worsted weight; 100g/330m per ball)
- Hook Size: 3 mm crochet hook (choose a size for your yarn and desired drape)
- Extras: Scissors, yarn needle, measuring tape, stitch markers (optional)
- Notions: Optional buttons or beads for embellishment
Gauge
- 1 granny square should measure between 6-8 inches (15-20 cm) per your calculated measurements (see Sizing section).
- Work and block one square before beginning final project; adjust hook/yarn as needed.
Abbreviations List
| Abbreviation | Meaning |
|---|---|
| ch | Chain |
| sc | Single Crochet |
| dc | Double Crochet |
| hdc | Half Double Crochet |
| tr | Treble/Triple Crochet |
| sl st | Slip Stitch |
| fpdc | Front Post Double Crochet |
| bpdc | Back Post Double Crochet |
| st(s) | Stitch(es) |
| YO | Yarn Over |
Special Stitch Instructions
- Treble Crochet (tr): YO twice, insert hook, YO, pull up a loop, (YO, pull through two loops) repeat 3 times.
- Granny Square “Cluster”: 3 dc worked into the same space.
- Front/Back Post Double Crochet: Used for belt texture; work dc around post of previous row stitch from front or back as indicated.
Finished Size
- Children’s Skirt (e.g., 3yrs, hips ~23”): Each square about 7” (18 cm) after edging.
- For adults: See the Sizing Notes below to calculate your square sizes based on your hip measurement.
Sizing Notes:
Square size = (Hip measurement in inches – 10”) ÷ 2.
Number of squares: 4 (two full, two half/small for sides/center panel).
Getting Started: Begin with four granny squares made to the size calculated for your body. Decorate, assemble, seam, and finish off with a belt according to your needs.
Main Stitches Used: Chain, single crochet, double crochet, half-double crochet, treble crochet, slip stitch, front/back post dc.
Pattern Texture: Granny clusters, frilled shell/edge, textured belt, and neat inner-loop seams for durability and comfort.
The Pattern Itself
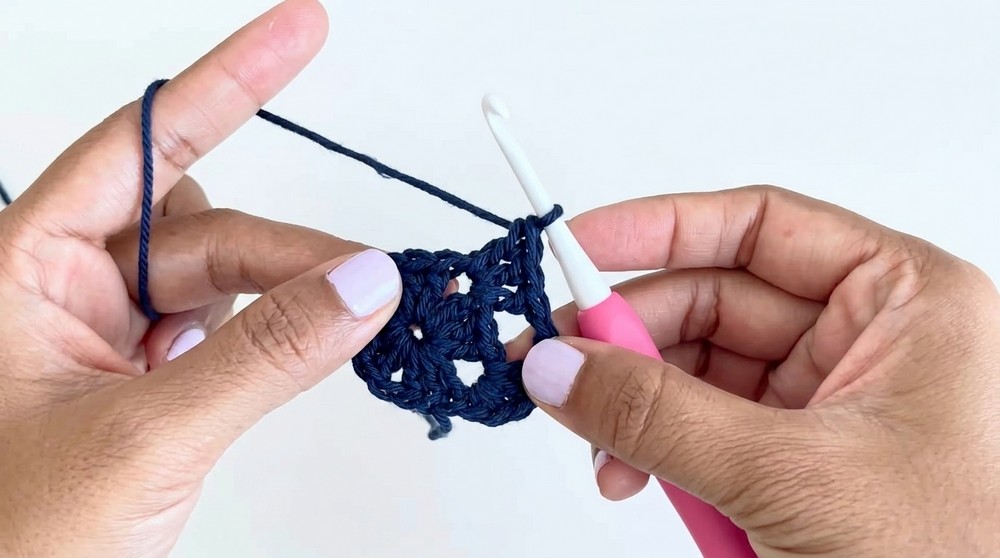
1. Making the Granny Squares
- Start with a Magic Ring:
- Ch 2 (counts as first dc).
- [3 dc, ch 2] three times into the ring.
- 3 dc, ch 2.
- Join with sl st to top of starting ch 2 (4 clusters, separated by ch-2 spaces).
- Tighten ring.
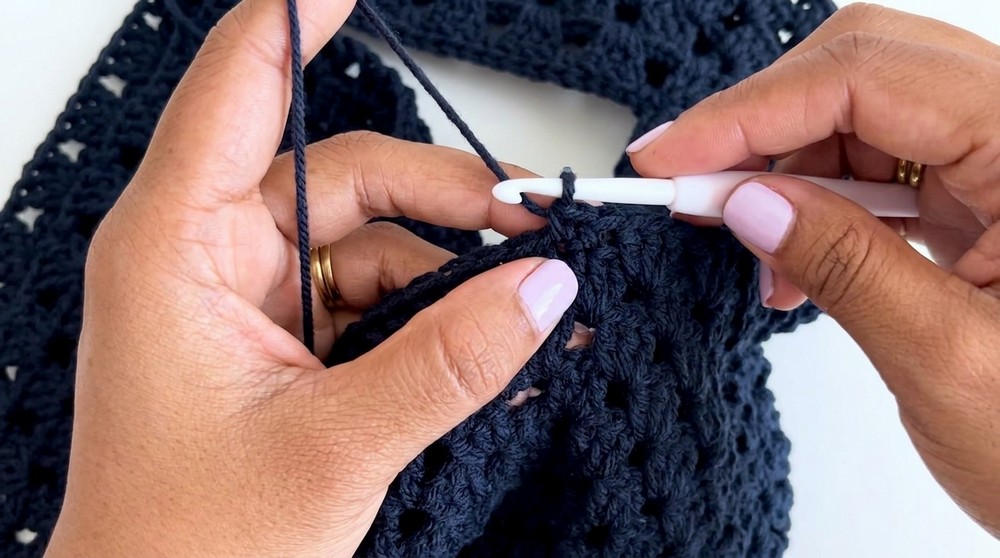
- Subsequent Rounds:
- Turn work. Sl st to corner.
- In each corner: (3 dc, ch 2, 3 dc), ch 1 between clusters.
- In each side space: 3 dc, ch 1.
- Join each round with sl st to top of 2nd ch of starting ch 2.
Continue granny rounds until your square is slightly smaller than your target size (before edge/frill).
If you’re new: Each square is a simple repeating pattern; increase by making clusters/corners in each corner space, and clusters along each side with ch-1 spaces in between for expansion.
2. Measuring & Sizing Your Squares
- Calculate the needed square size by the formula above.
- For a child’s skirt, each square is often 6–7” after adding decorative edging.
- Make four squares (two for sides, two smaller for center panels if making shorts/extra curvature).
Customization is easy – just check your measurements and adjust rows to reach target size.
3. Decorative Edging on Squares
For two squares (Side Panels), add frill on side, then edging at base. For the other two squares (Center/Small Panels), reverse the order.
Side Frill:
- In middle stitch of side edge, work 5 dc, sc into next space; continue along the side.
- Finish with sc in the next space.

Bottom Frill:
- At base edge, work: 2 dc in first st, ch 3, skip 1 st, 2 dc in next st. Repeat across.
- End with 2 dc in last st, ch 3, sc in corner.
This creates a wavy, shell-like frill on the edges and base. Always fasten off and weave in ends.
4. Joining the Panels
- Assemble the squares in a cross, with full/side squares at ends and small squares in the center.
- With a yarn needle and matching yarn, whip stitch or slip stitch the squares together at the edges, aligning the frills at the “bottom” of each square, and the plainer edges at the “sides”.
Make sure you’re working on the right side for all front panels. Take your time matching corners and edges.
5. Seaming the Sides
- Fold the piece so that the right sides face each other, wrong side out.
- Slip stitch (or sew) from the inner corners outward, through inner loops only, to create a neat seam with minimal bulk.
- Seam both sides and corners; turn right side out.
Seaming through inner loops keeps joins flat and decorative.
6. Making and Attaching the Belt/Straps
- For each side, ch 35 (for children—or longer for adult/wrap styles), sl st to attach at corner.
- Row 1: In starting chain, dc across; in skirt join space, continue dc across top edge, across the join and to the next corner, ch 35, attach with sc.
- Row 2: Ch 1, turn, work hdc into each chain back bump on both belts.
- Row 3: Ch 1, turn, alternate dc, bpdc for textured finish, across the entire length.
- Row 4: Ch 1, turn, hdc across (or sl st for firm finish).
Fasten off, weave in ends.
The belt is wide, soft, and sturdy for tying the wrap. You can adjust the chain for longer or shorter ties.
Assembly & Finishing
- Weave in all ends neatly.
- Steam block or gently wash and shape all squares and the assembled skirt for crisp edges.
- Experiment with ways to wrap and tie: both ends in front, or one in back, for either a wrap-skirt or wrap-shorts effect.
- Try on (or gift!) and adjust as needed for fit.
Take your time with assembly: smoothed seams and well-finished edges keep the skirt looking polished and professional.
Conclusion
You’ve made a wrap-around granny square skirt or shorts that’s playful, practical, and endlessly customizable! The clever combination of classic granny motifs, frilled edge detailing, and a textured belt lets you exercise creativity on every level. Suitable for children or adults, you can adapt the size and embellish as you wish.