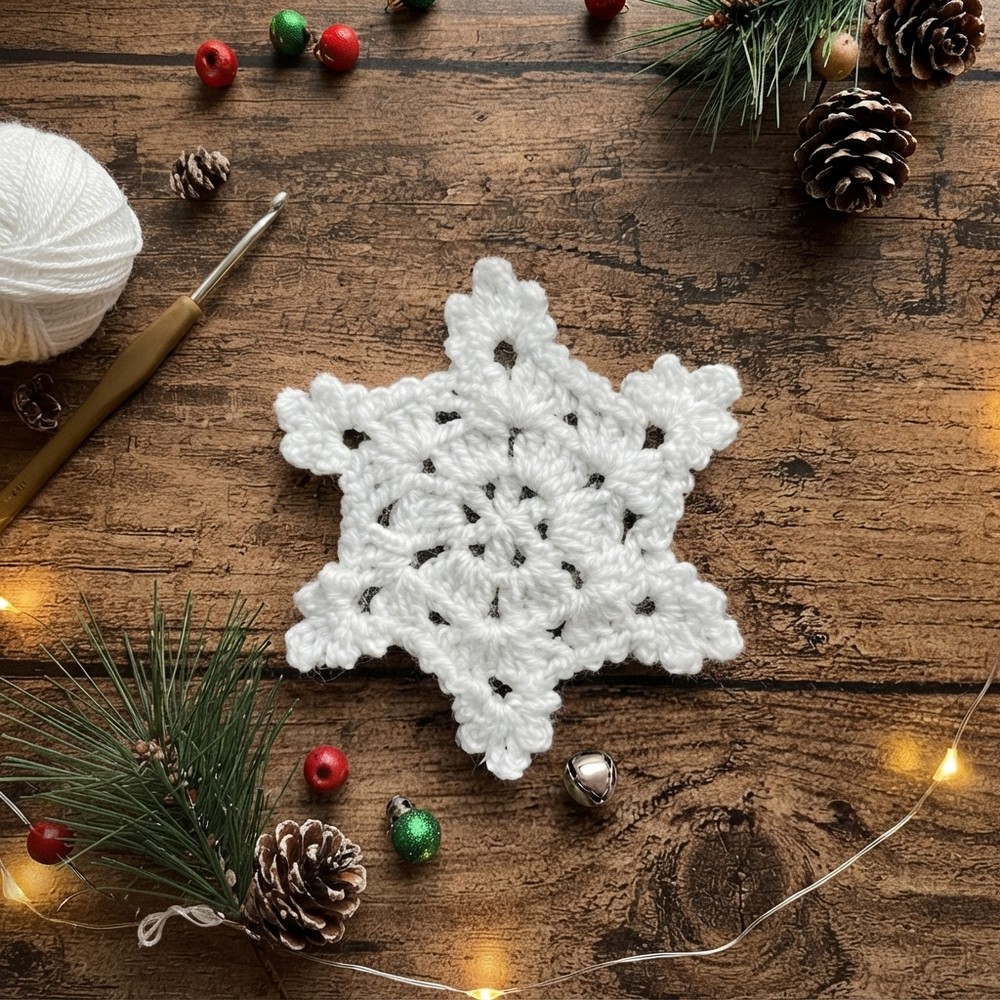
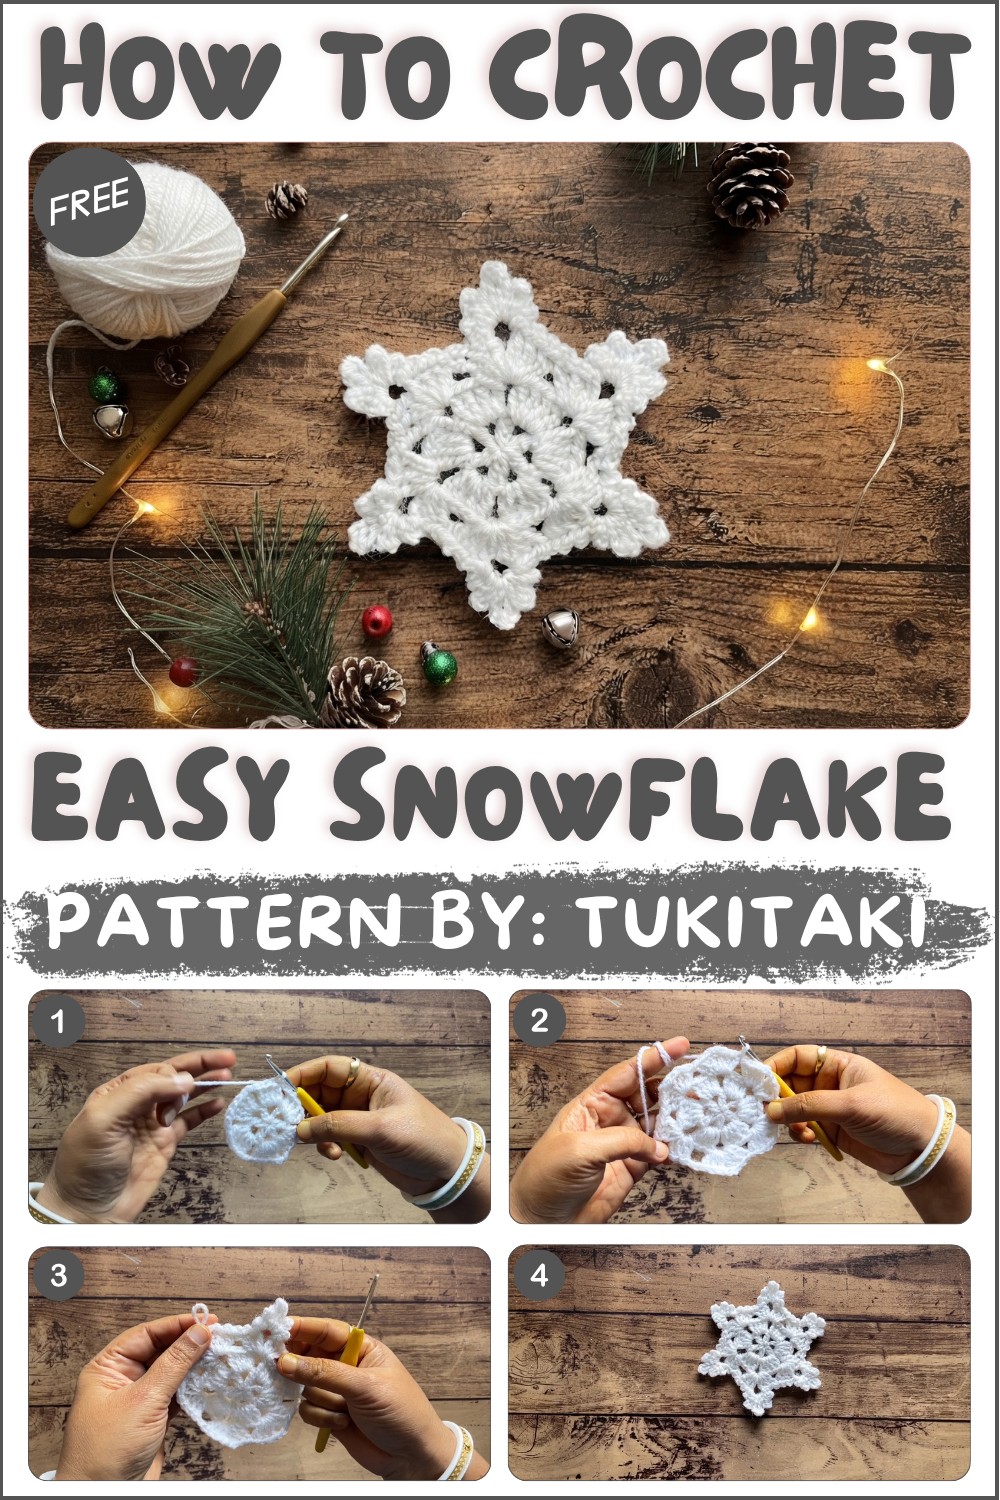
How to Crochet Snowflake Ornament Pattern | Easy Christmas Tutorial

Spread holiday cheer with the Free Crochet Snowflake Ornament Pattern that transforms your decorations into a delightful display of seasonal charm.
Adding a handmade sparkle to your holiday décor is easy with the Free crochet Snowflake Ornament Pattern. This delicate and elegant project, thoughtfully shared by Tukitaki, offers a beautiful way to bring a personal touch to your festive decorations. It shows how simple yarn and creativity can turn into stunning seasonal accents.
Free Crochet Snowflake Ornament Pattern for Holiday Decor
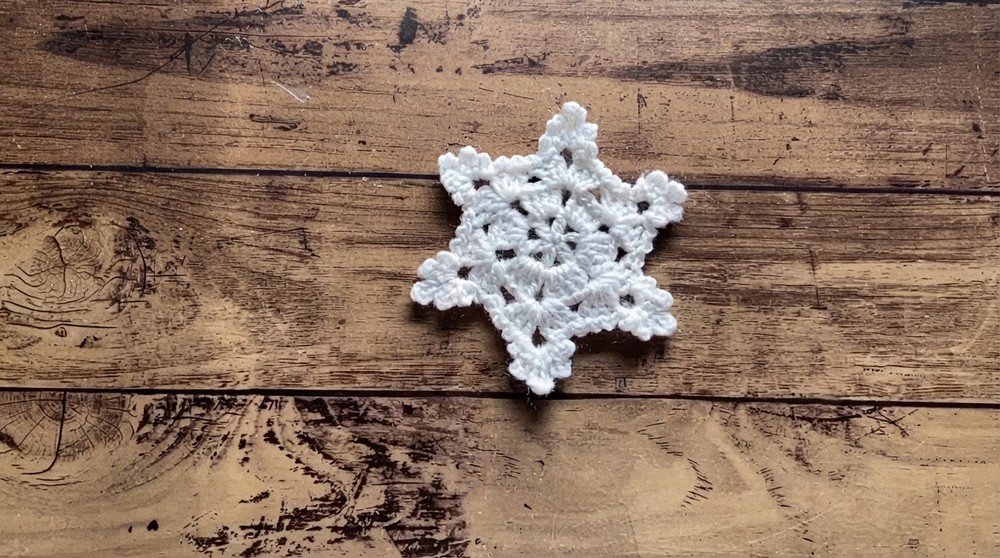
The snowflake ornament has a detailed, symmetrical shape that captures the beauty of real snowflakes with graceful points and open, lace-like spaces. The fine crochet work gives it a light, airy feel, perfect for hanging on Christmas trees, windows, wreaths, or even as unique gift tags. Its crisp white color enhances the frosty, wintery look, adding a timeless charm to any space.
Suitable for beginners and experienced makers alike, this pattern introduces gentle stitch techniques that make the final piece both delicate and rewarding. Its small size and elegant form make it an excellent gift, especially for those who appreciate thoughtful, handmade touches. Beyond decorating your home, these snowflakes can be used as special presents or to add flair to wrapped gifts.
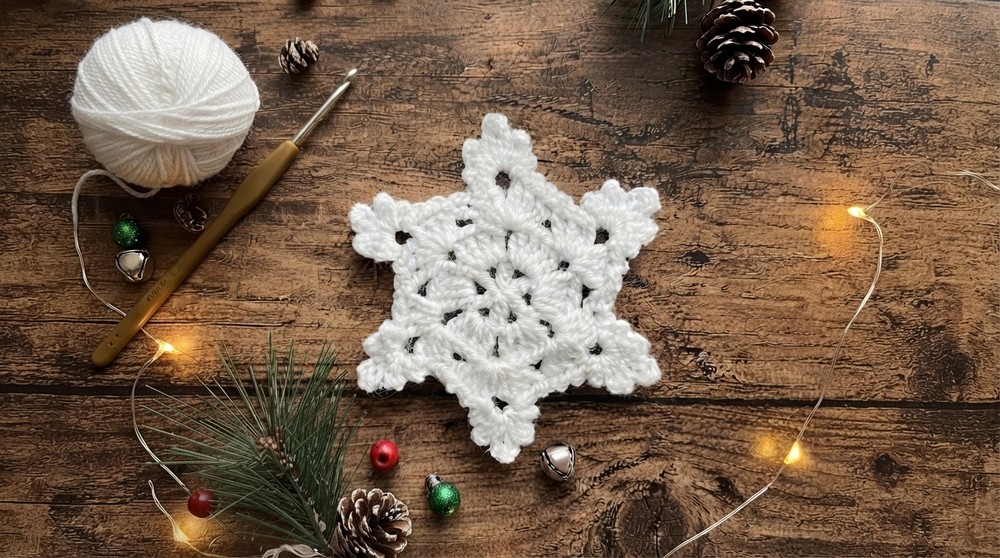
Notable features include the carefully arranged points, which create pretty spaces that allow light to pass through, giving the ornament a shimmering effect. The sturdy yarn work ensures the snowflake keeps its shape well, even when moved or handled. This mix of fine detail and firm structure makes it a lasting holiday favorite. 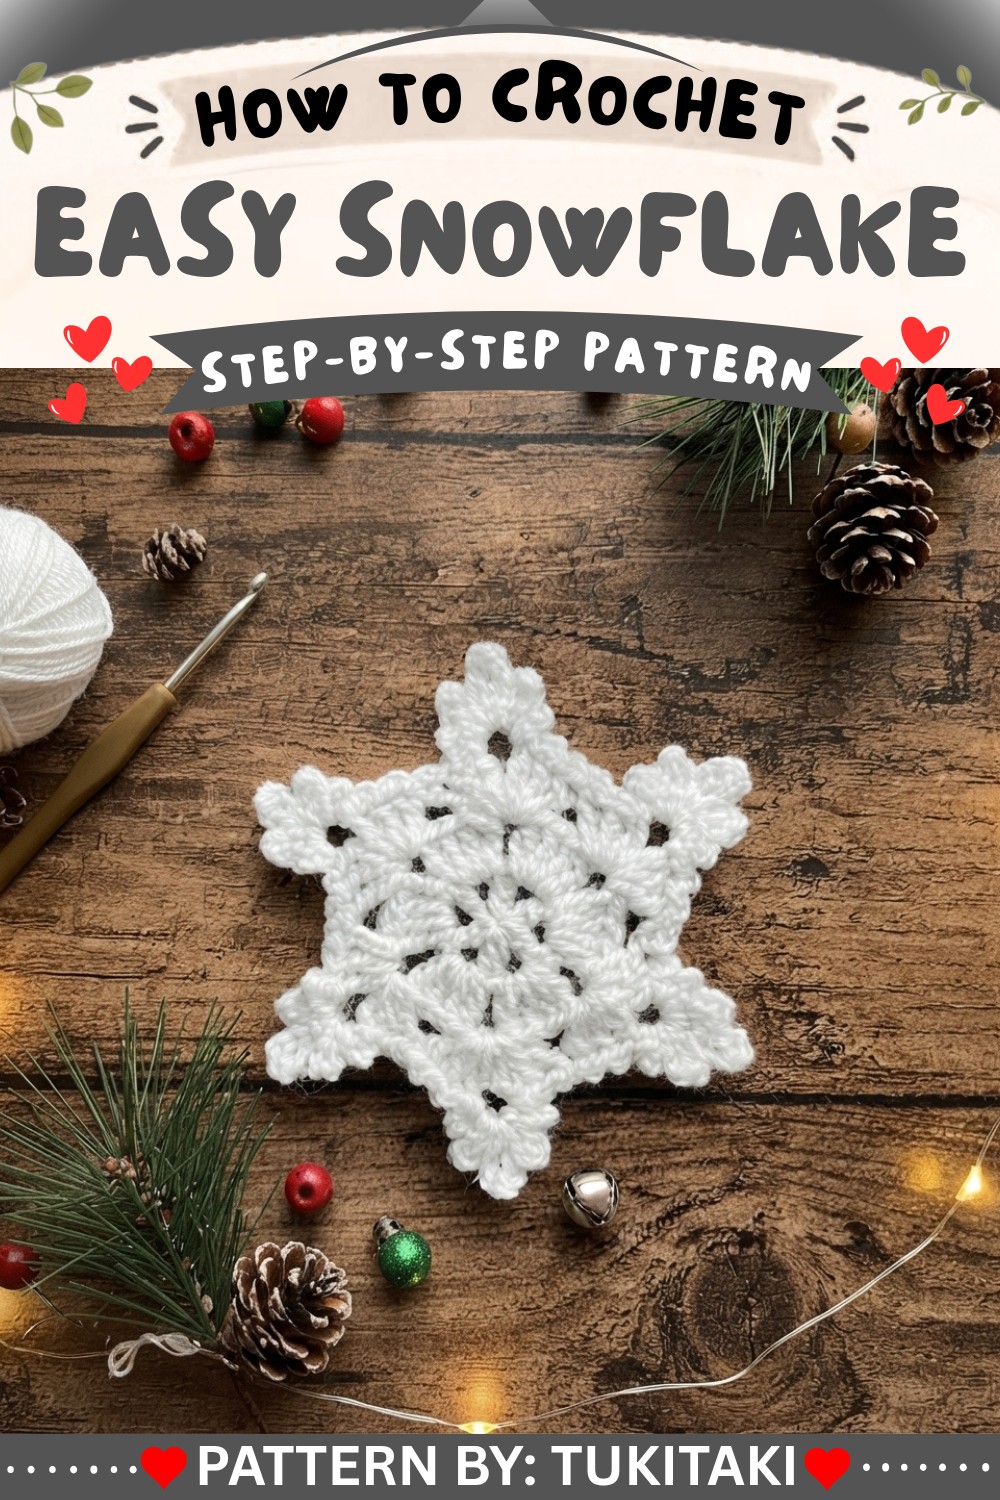
Crochet Snowflake for Beginners – Step-by-Step Pattern
This elegant crochet snowflake project is designed specifically with beginners in mind. Crocheting a snowflake with classic picot-style points is a wonderful way to practice essential techniques, including the magic ring, double crochet, chaining, and creating lacy, openwork motifs. Snowflakes evoke the beauty of winter and can be used as holiday ornaments, gift toppers, or festive home décor.
Pattern Basic Points
Construction Overview
- Worked in the round from the center outward to form a lacy, six-point snowflake.
- Use of chain spaces: Creates openness and the foundation for each snowflake point.
- Four main rounds: Build shape, points, and final detailing.
- Slip stitches for joining and moving between spaces maintain a seamless, clean effect.
- Chain-based point construction: For realistic, dimensional snowflake arms.
Main Techniques
- Magic Ring for starting cleanly and tightly in the center.
- Chaining and Double Crochet as primary methods for structure and texture.
- Repeating point pattern: Ensures the consistency and symmetry of each snowflake arm.
- Simple finishing: Hides tails for a polished, professional motif.
Special Notes
- Stiffen for extra structure: Optional, but highly recommended for lasting, crisp snowflakes. Block and starch after completion.
- Use bright white yarn: Classic, but colored or sparkly yarns work for creative decor.
- Crochet loosely and evenly for draping effect; tight tension yields a small, sturdy motif.
- Picot-style points can be customized: Change chain lengths on outer round for a different look.
Skill Level
Beginner
No prior lace experience required—basic double crochet, chaining, and slip stitching only.
Materials
- Yarn: 4-ply (sport/DK) cotton or acrylic in white (approx. 5 grams per snowflake)
- Crochet Hook: 3.5 mm
- Scissors
- Tapestry needle for weaving ends and finishing
- Optional: Block board and pins, spray starch for stiffening
Measurements / Sizing
- Completed size: about 8–10 cm (3–4 inches) across from point to point (depending on yarn and tension)
- Flat and lacy, ideal for ornaments or applique
Gauge
- Gauge is not critical.
- Sample: After Round 2, motif should measure 3.5–4 cm across (unstretched).
Stitch Abbreviations
- MR – Magic ring
- ch – chain
- dc – double crochet
- sl st – slip stitch
- sp – space
Special Stitches
- Magic Ring (MR): Make an adjustable loop, work stitches into the ring, and pull tight.
- Chain-2 space (ch-2 sp): The open area made by chaining 2, used for building points.
- Picot/Arm: Multiple chain lengths in final round mimic snowflake arm detail.
Crochet Pattern
1st Row: Center Foundation
- Create a magic ring (MR).
- Ch 5 (counts as dc + ch 2 at the beginning).
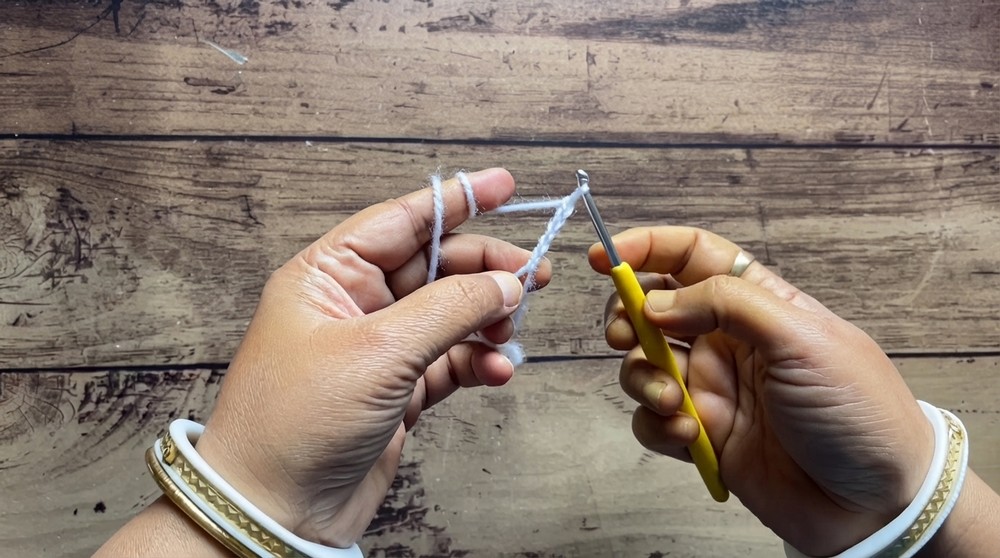
- Work 1 dc into the ring.
- Repeat: (ch 2, 1 dc) five more times—giving six segments total (including the starting ch 3/dc).
- Close the ring by pulling tightly.
- Join with a sl st to the 3rd chain of the initial ch 5.
2nd Row: Creating Openwork Segments
- Sl st into the next ch-2 space.
- Ch 3 (counts as 1 dc).
- Work 3 dc into the same ch-2 space (total 4 dc).
- Repeat for each space: (ch 2, work 4 dc into next ch-2 space), all the way around.
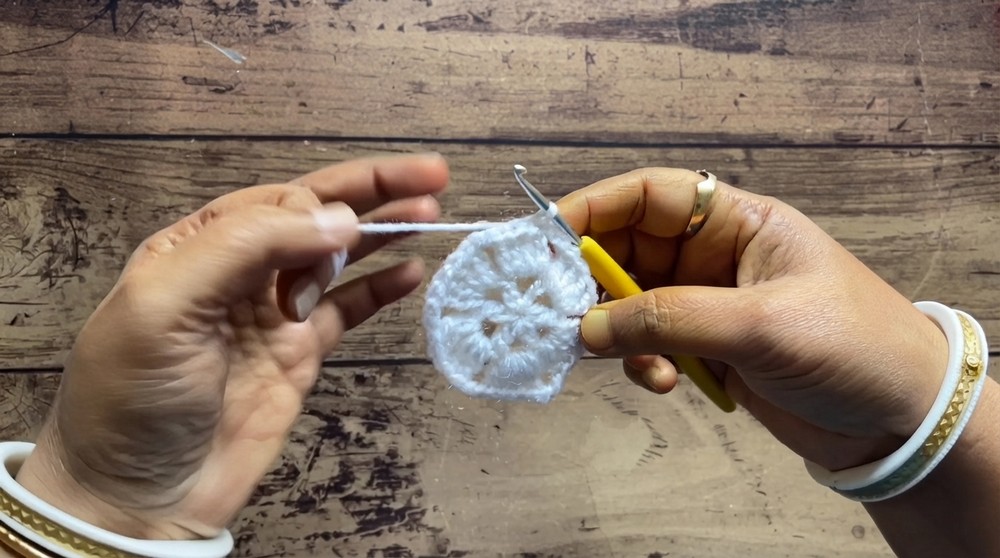
- At the end, you’ll have six clusters of 4 dc, each separated by ch-2.
- Sl st into the 3rd chain of the starting ch-3 to finish the round.
3rd Row: Lacy Arms and Expansion
- Work 4 sl st to move to the next ch-2 space (from the last dc cluster).
- Ch 3, then 2 dc, ch 2, and 3 dc—all into the same ch-2 space.
- You have created a (3 dc, ch 2, 3 dc) shell.
- Repeat (for each ch-2 space): (3 dc, ch 2, 3 dc) in each ch-2 space.
- Repeat for all six chain-2 spaces.
- Sl st into the 3rd ch of your initial ch-3 to complete the round.
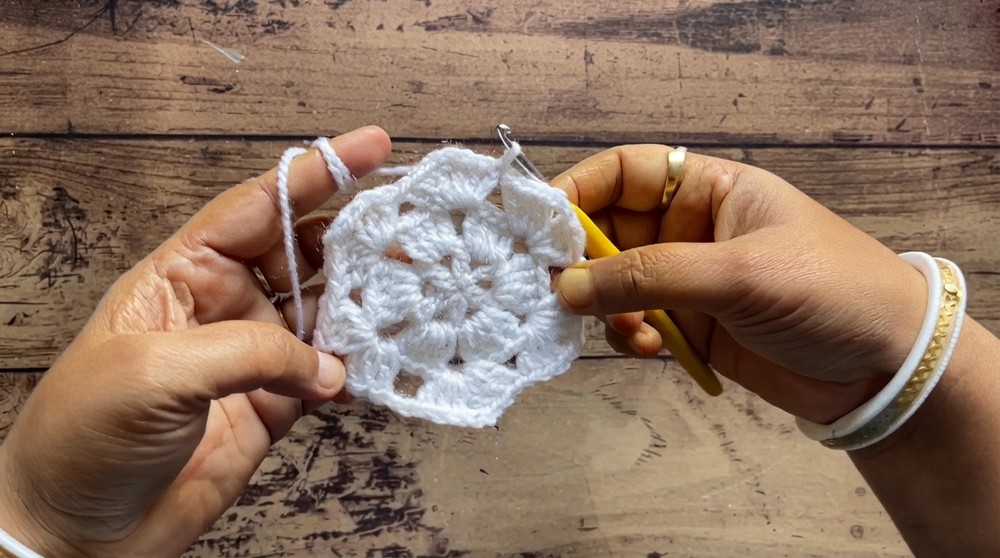
4th Row: Detailing Snowflake Points
- Sl st to the nearest ch-2 space (the center of any shell from previous round).
- For each of the six chain-2 spaces (snowflake arms):
- Ch 3, sl st into same space.
- Ch 5, sl st into same space.
- Ch 7, sl st into same space.
- Ch 5, sl st into same space.
- Ch 3, sl st into same space.
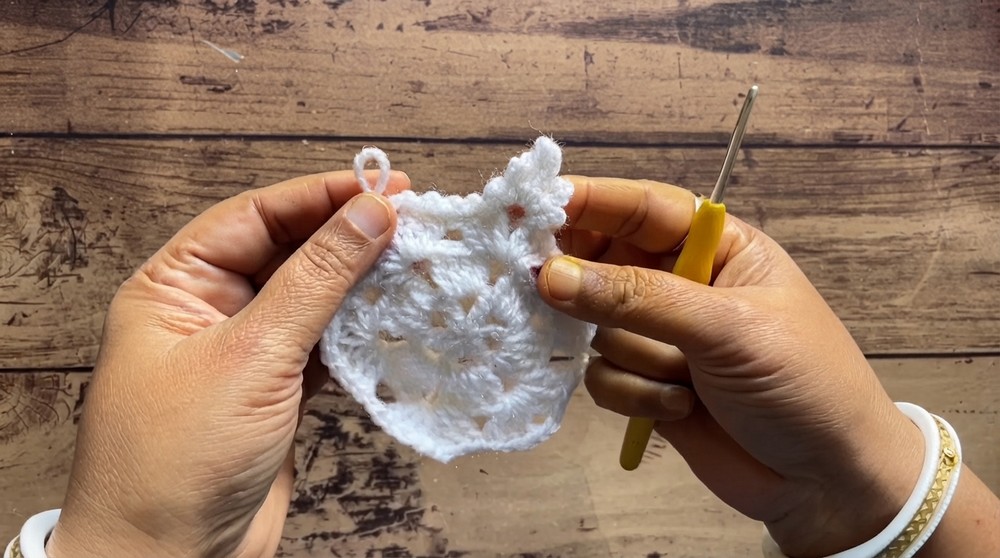
- To move between points: Sl st along the dc stitches from previous round and, if needed, (sl st, ch 1) as you progress to the next chain-2 space.
- After all six arms are finished, sl st into the base and fasten off.
- Use a tapestry needle to hide the beginning and ending yarn tails for a neat finish.
Assembly & Finished Size
- Weave in all ends with a tapestry needle on the back side.
- Block if desired—use damp blocking, or spray with starch and let dry flat, to emphasize the delicate “arms” and keep the snowflake crisp and open.
- Final size: 8–10 cm across (about 3–4 inches).
Conclusion
With clear, repetitive rounds and an easy arm construction, you’ve made a timeless winter decoration perfect as an ornament, coaster, or elegant embellishment. This project is excellent for practicing foundational stitches while giving quick, gratifying results, whether as holiday décor, a unique gift, or a garland component.

![[NO-SEW] Mini Crochet Duck Keychain Easy Amigurumi Tutorial (9)](https://claireabellemakes.com/wp-content/uploads/2026/07/NO-SEW-Mini-Crochet-Duck-Keychain-Easy-Amigurumi-Tutorial-9-768x768.jpg)
![How to Crochet Eleven (Stranger Things) Amigurumi Tutorial [EN, ES, DE Sub] 13](https://claireabellemakes.com/wp-content/uploads/2026/07/How-to-Crochet-Eleven-Stranger-Things-Amigurumi-Tutorial-EN-ES-DE-Sub-13-768x768.jpg)