Free Crochet a Spooky Cute Bat Pattern + Easy Step-by-Step Tutorial

Add a fun twist to your crochet collection by making this free spooky cute bat pattern that blends eerie and sweet in every stitch.
Bringing playful decorations to life can brighten up any space during festive seasons. The Free crochet Spooky Cute Bat Pattern is a wonderful example shared by yarnish\_love, offering a charming and approachable project. This little bat serves as a perfect gift or a unique decoration that captures the fun spirit of Halloween.
How to Crochet a Spooky Yet Cute Bat – Free Pattern and Tutorial
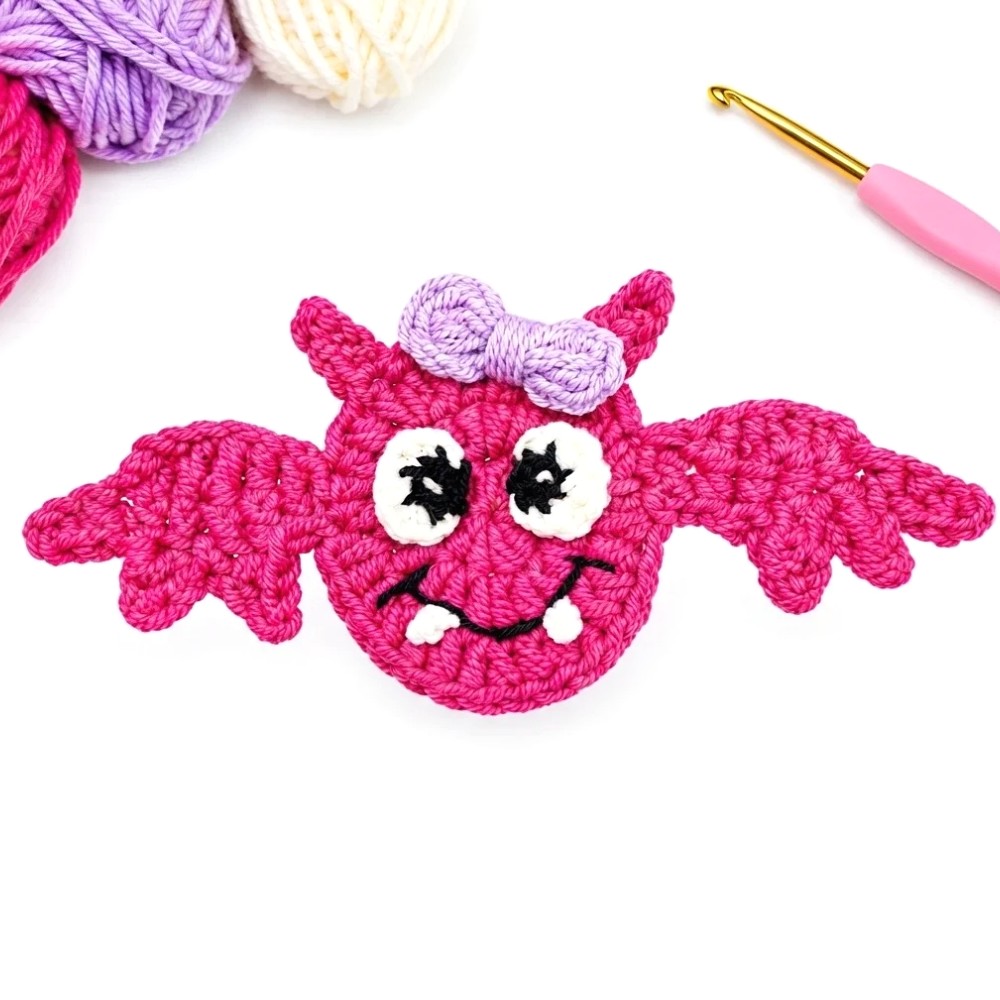
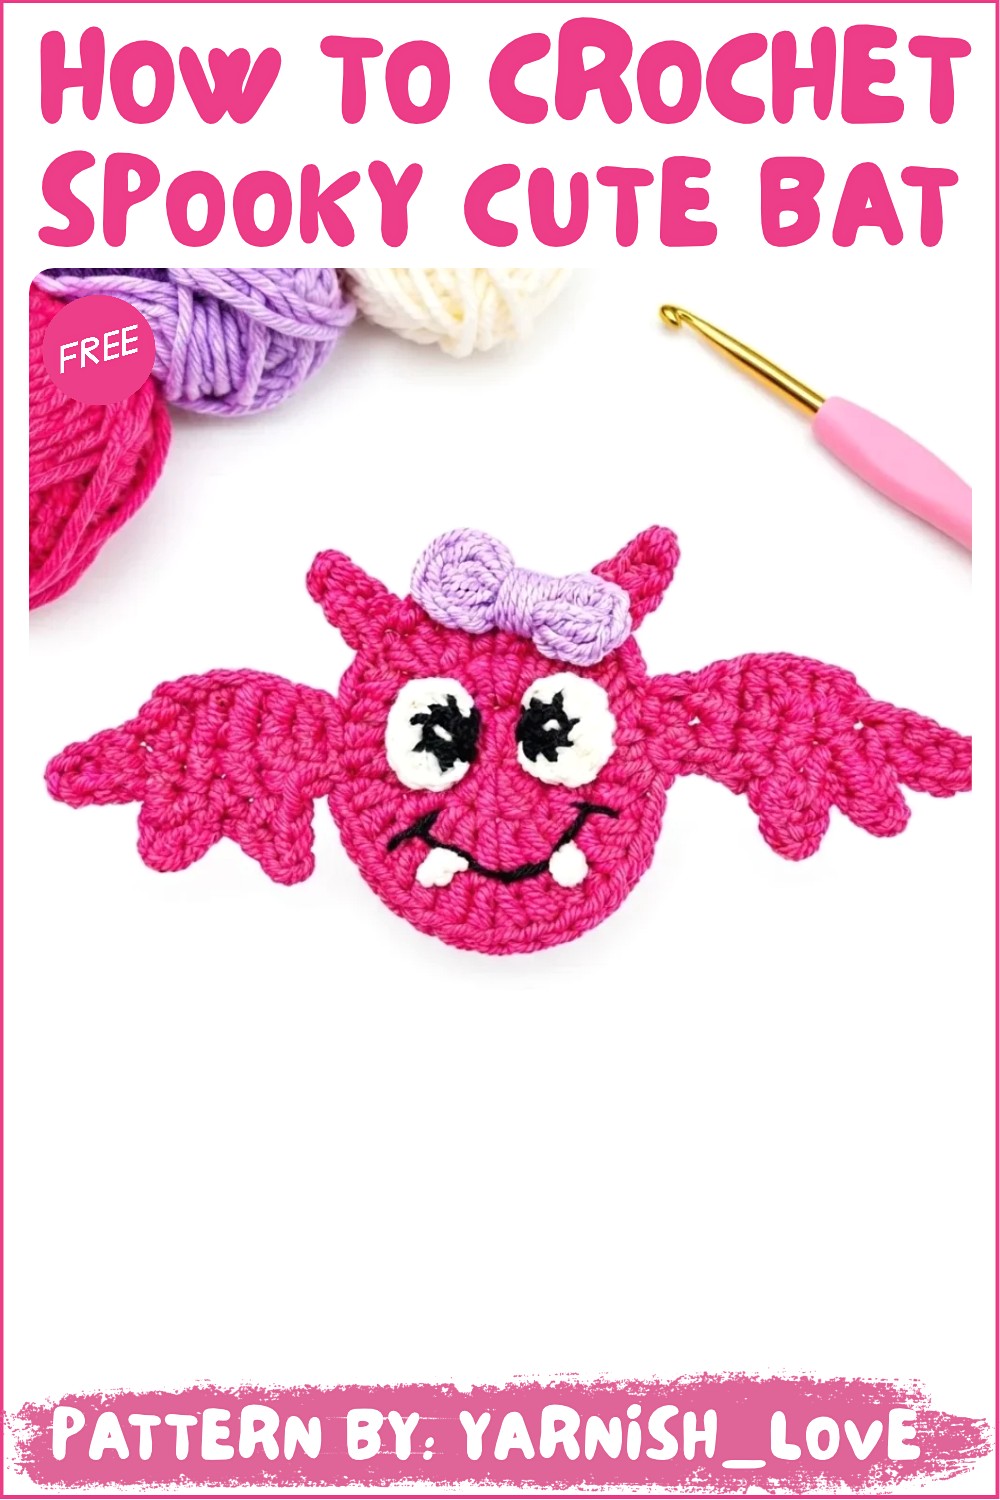
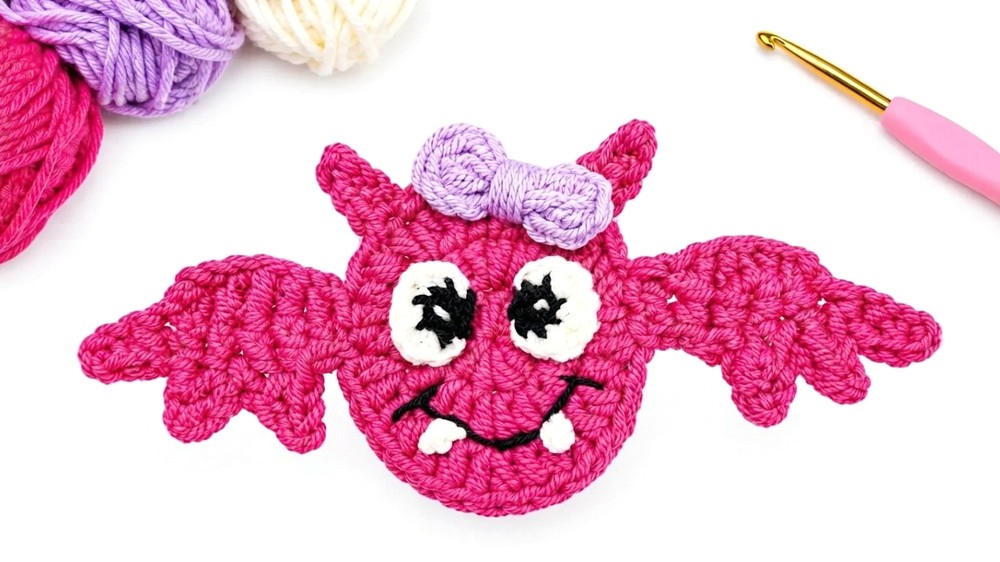
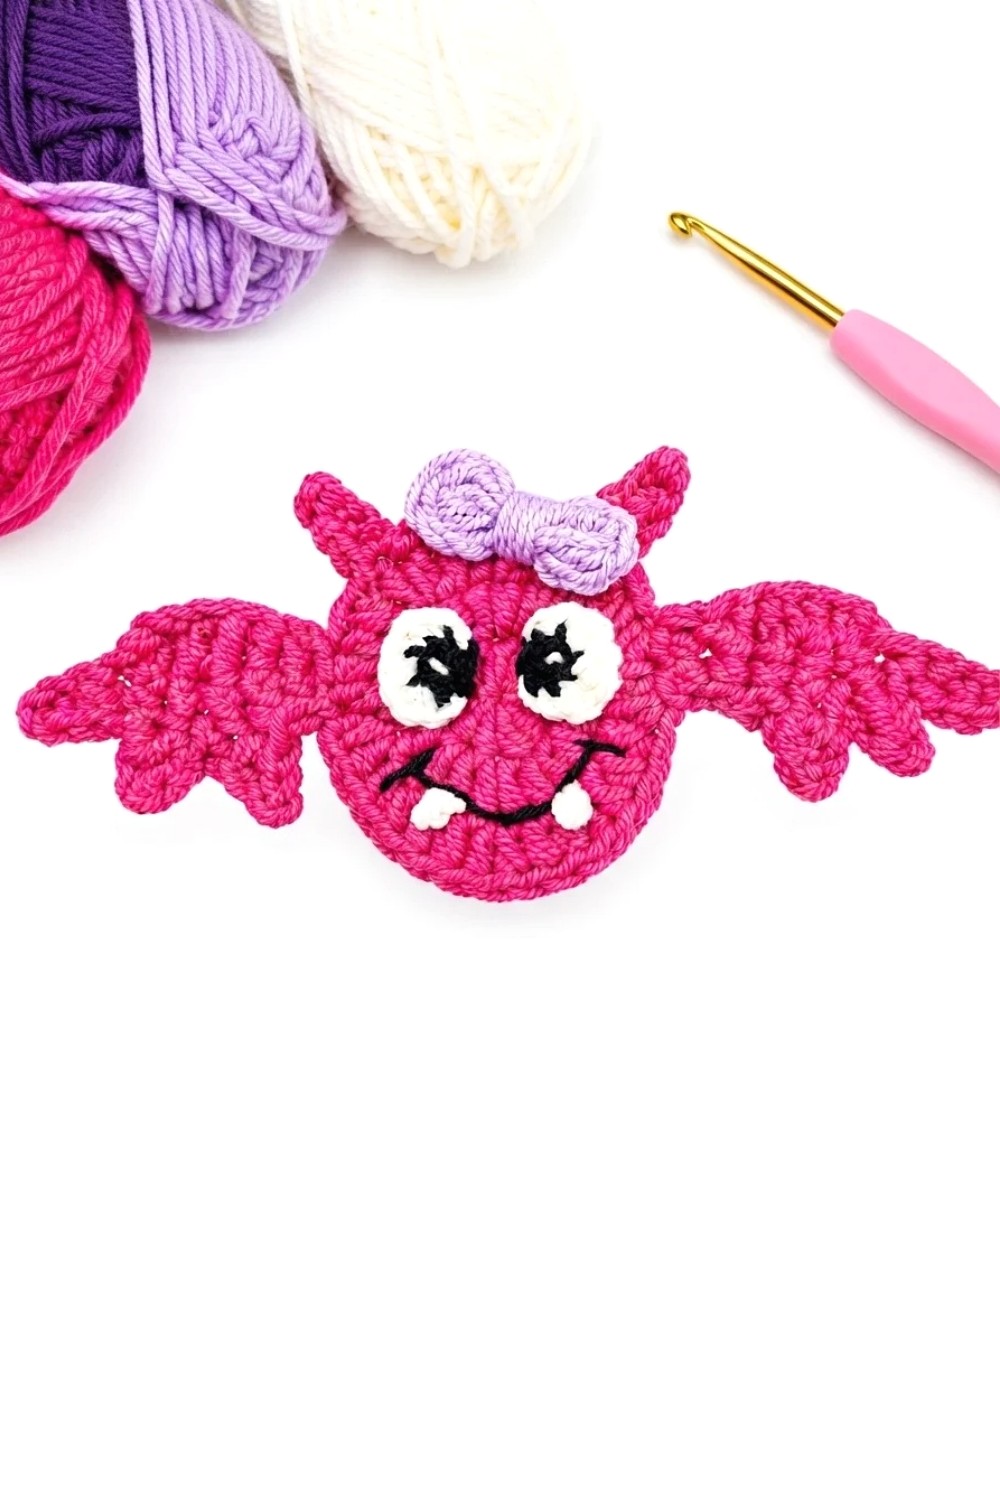
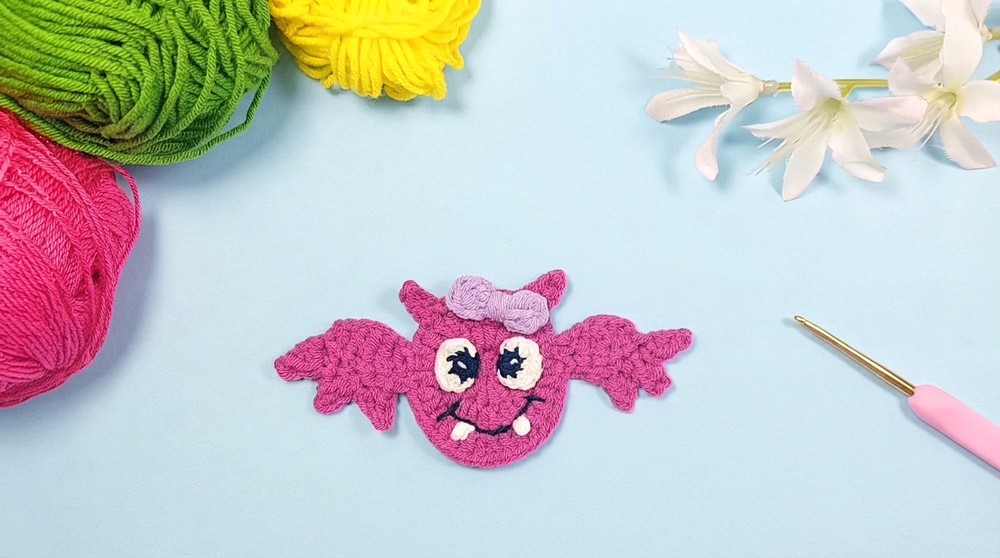
The design features a round, soft body with textured stitches that create a cozy feel. Its wings are shaped with a mix of crochet techniques, giving them a delicate yet structured look. Tiny ears, expressive eyes, and a small fang give the bat a spunky personality that balances spooky and cute perfectly.
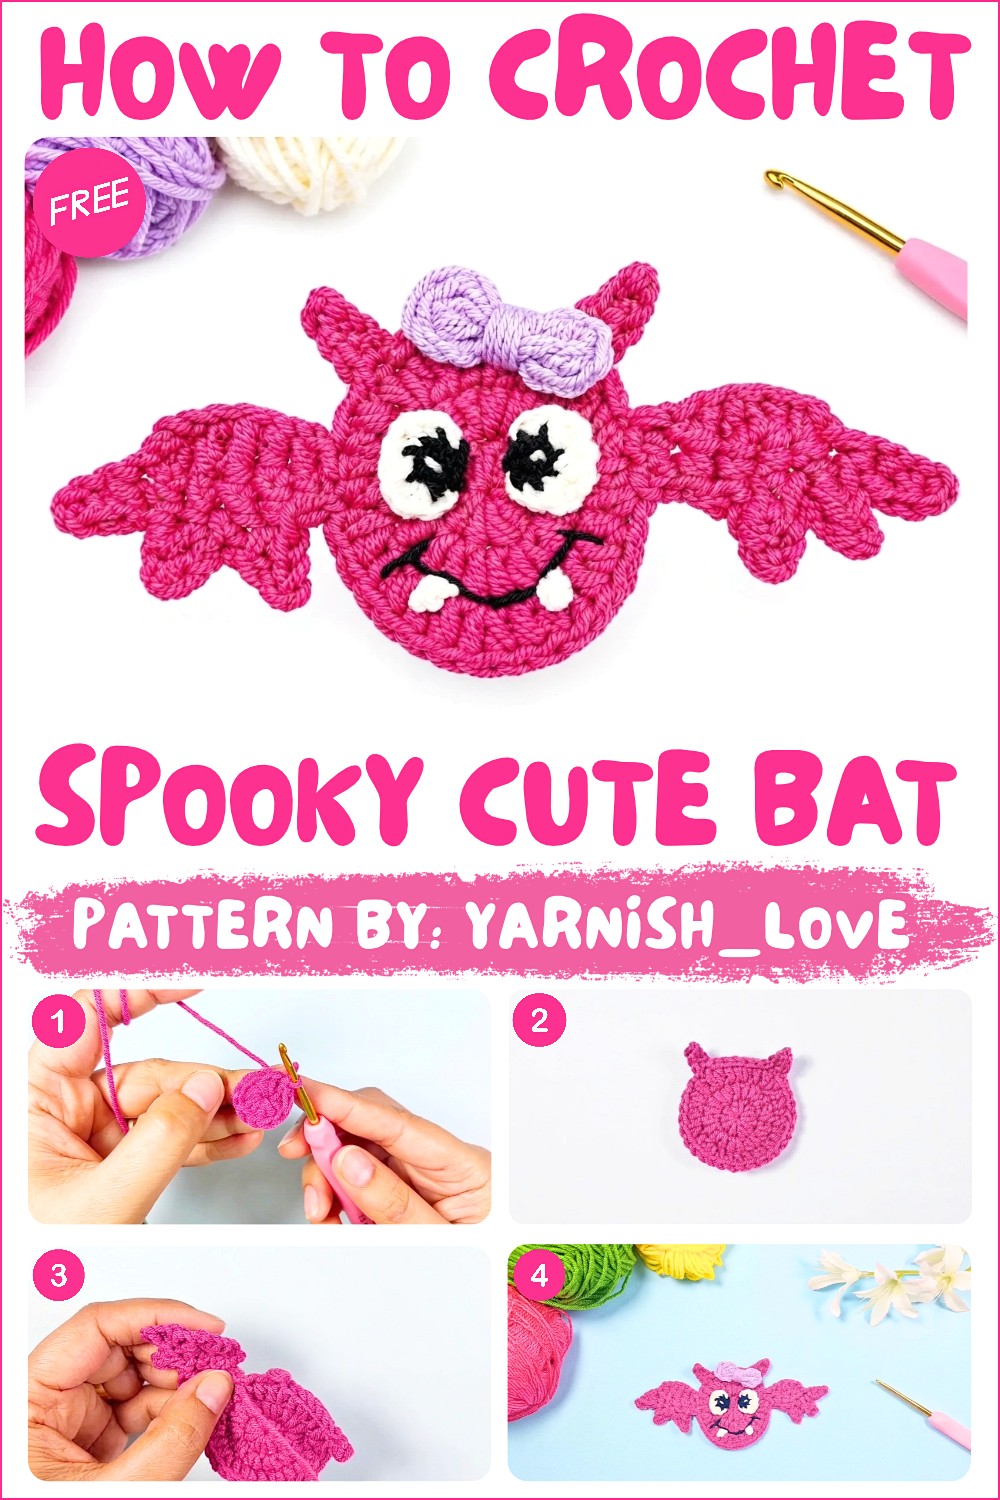
This bat is ideal for hanging on walls, enhancing wreaths, or elevating a festive table display. Its compact size makes it easy to include in gift packages or seasonal baskets, offering a handmade touch full of character. The pattern’s thoughtful details, like layered eyes using finer yarn and well-shaped ears, highlight its standout design.
With clear guidance from the video tutorial, beginners and experienced makers alike will find it enjoyable to bring this spooky yet adorable bat to life. The combination of soft texture, appealing shapes, and playful style makes this piece a delightful addition to fall decorations and a memorable gift choice.
Crochet Halloween Bat Pattern
This Crochet Halloween Bat is a delightful and spooky addition to your seasonal decorations. The crochet bat features a charming face, detailed wings, a tiny bow, and creepy fangs, making it perfect for Halloween-themed projects such as garlands, keychains, or accent pieces for decor. With its adorable charm and intricate design, it’s sure to become a Halloween favorite.
Skill Level
Intermediate
Materials
- Yarn:
- Main Color (black): For the bat body, wings, and fangs.
- Contrast Color (white): For eyes and detailing.
- Accent Color (your choice, e.g., orange): For the decorative bow.
- Hook:
- 2.5 mm crochet hook for most of the project.
- 1.5 mm crochet hook for finer details such as the eyes.
- Additional Supplies:
- Scissors
- Tapestry needle (optional, for assembly).
Special Stitches
Magic Ring (MR):
Create a loop with your yarn, insert the hook into the loop, yarn over, pull through, and chain 1 to secure. Crochet directly into the ring, pulling the tail tightly to close the center.
Single Crochet (SC):
Insert the hook into the stitch, yarn over, pull up a loop (2 loops on hook), yarn over, and pull through both loops.
Half Double Crochet (HDC):
Yarn over, insert the hook into the stitch, yarn over, pull up a loop (3 loops on hook), yarn over, and pull through all three loops on the hook.
Double Crochet (DC):
Yarn over, insert the hook into the stitch, yarn over, pull up a loop (3 loops on hook), yarn over, pull through the first 2 loops, yarn over, pull through the remaining 2 loops.
Slip Stitch (SL ST):
Insert the hook into the stitch, yarn over, and pull through both the stitch and the loop on the hook.
Stitch Abbreviations
- ch = Chain
- sc = Single Crochet
- hdc = Half Double Crochet
- dc = Double Crochet
- sl st = Slip Stitch
Useful Tips
- Tension: Aim for consistent tension to ensure even shape and neat edges for your bat.
- Magic Ring Security: Pull your magic ring tightly and weave in the tail securely to prevent unraveling.
- Fine Details: When working elements like eyes and fangs, use thinner yarn (or strands separated from a 4-ply) with a smaller hook for precision.
- Customization: Feel free to experiment with different colors for the bow or fangs for a unique look.
Detailed Pattern Instructions
Bat Head (Circle)
Round 1:
- Begin with a magic ring.
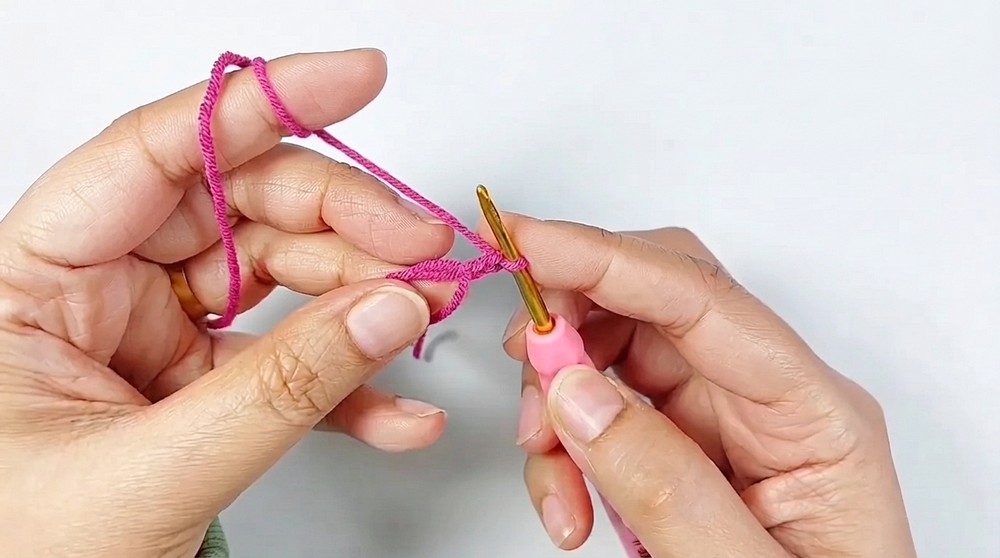 Chain 2 ch and work 10 hdc into the ring.
- For hdc: Yarn over, insert hook into the ring, yarn over, pull up a loop (3 loops on hook), yarn over, pull through all three loops.
- Close the ring tightly. Skip the chain-2 and slip stitch into the first hdc.
Round 2:
- Chain 1 ch and work 1 sc into the same stitch.
- Chain 1 ch and work 1 hdc into the same stitch.
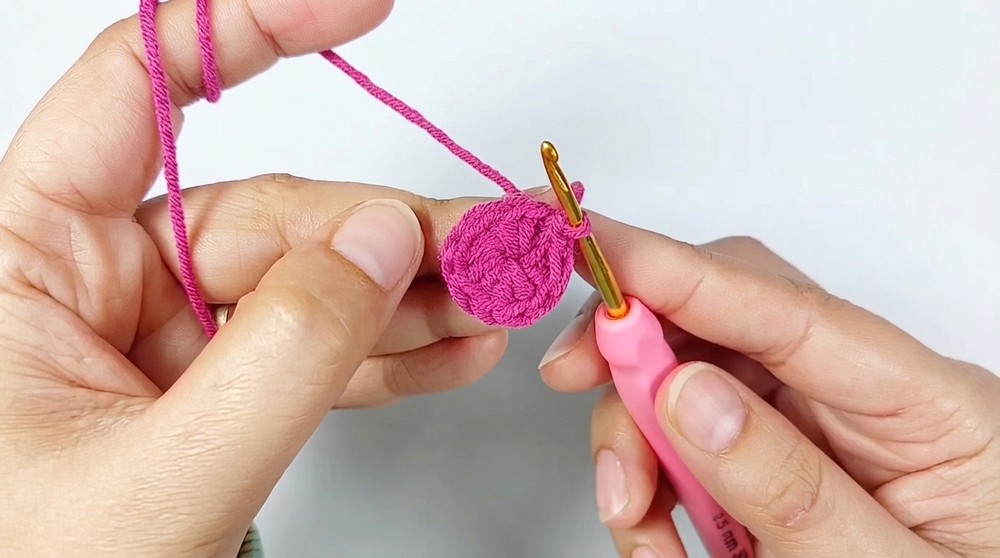
- Work 2 hdc in each stitch around.
- You will have 20 hdc at the end of this round.
- Slip stitch into the first hdc to join.
Round 3:
- Chain 1 ch and work 1 sc into the same stitch.
- Chain 1 ch and work 1 hdc into the same stitch.
- Follow the pattern:
- 1 hdc in next stitch, 2 hdc in next stitch.
- Repeat the sequence around the circle.
- At the end of this round, you will have 30 hdc.
- Slip stitch into the first hdc and fasten off.
Bat Ears
First Ear:
- Step 1: Chain 4 ch.
- Step 2: Skip the first chain, slip stitch into the second chain.
- Step 3: Work 1 sc into the next chain, followed by another 1 sc into the next chain.
- Step 4: Slip stitch into the next stitch on the bat’s head.
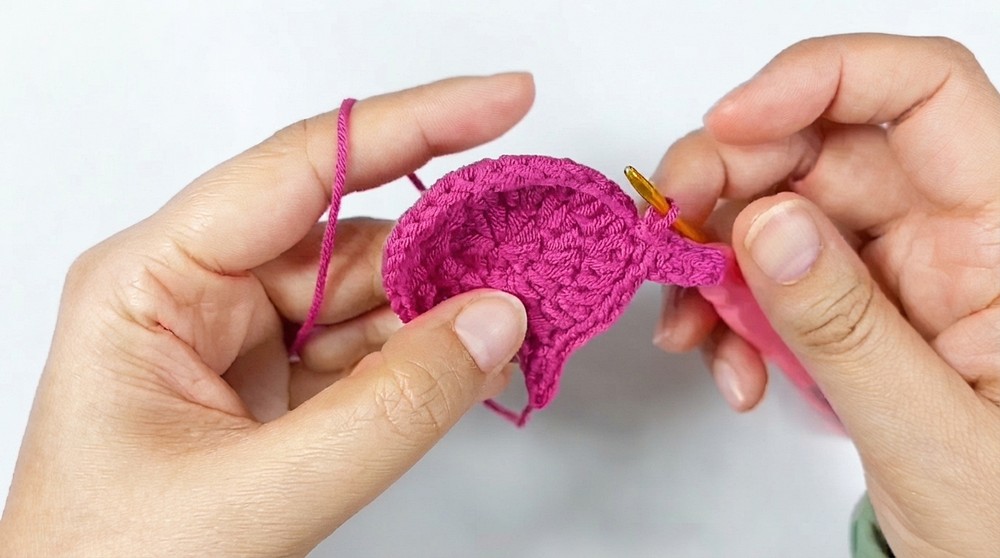
Second Ear:
- Step 1: Skip 5 stitches from the first ear.
- Step 2: Repeat the steps to create a second ear:
- Chain 4 ch, skip 1, slip stitch into the second chain, work 1 sc into the next 2 chains, and slip stitch into the next stitch on the bat head.
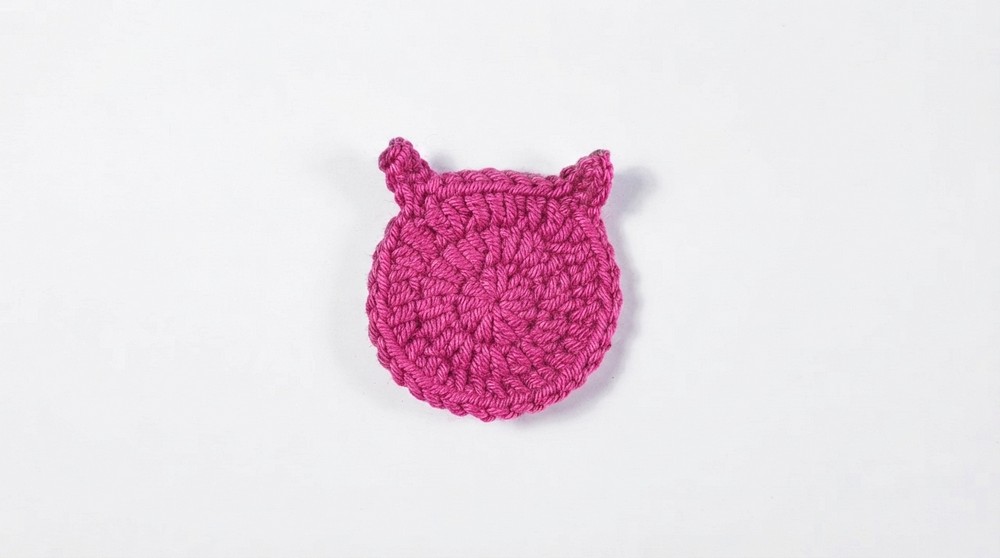
- Chain 4 ch, skip 1, slip stitch into the second chain, work 1 sc into the next 2 chains, and slip stitch into the next stitch on the bat head.
Bat Wings
Wing (make 2):
- Create a slip knot and chain 6 ch.
- Step 1: Skip the first chain, and work:
- 1 sc into the second chain.
- 1 hdc into the next chain.
- 1 dc into the next chain.
- 1 hdc into the next chain.
- 1 sc into the last chain.
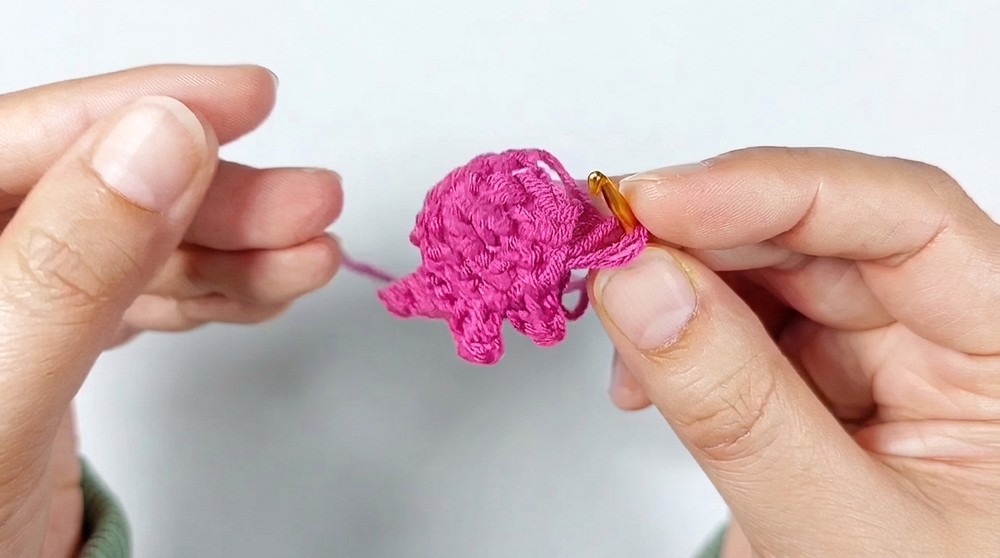
- Step 2: Chain 1 ch and turn your work.
- Work 1 sc in each stitch (5 stitches total).
Round 3: Create the jagged wing edges:
- Step 1: Chain 3 ch, turn, and work the following:
- Skip the first chain, slip stitch into the second chain, work 1 hdc into the next chain, then slip stitch into the stitches of the wing edge.
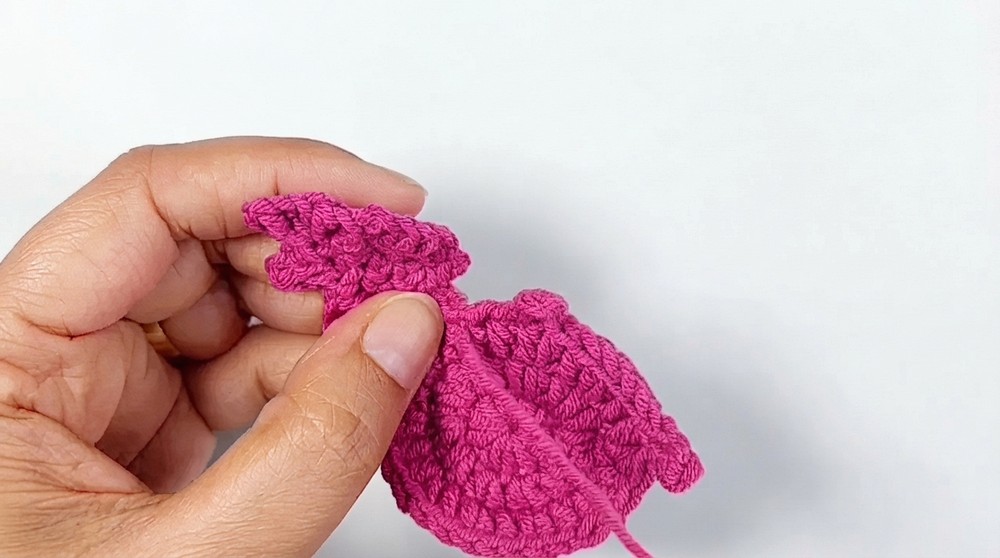
- Skip the first chain, slip stitch into the second chain, work 1 hdc into the next chain, then slip stitch into the stitches of the wing edge.
- Step 2: Repeat: Chain 3 ch, skip 1 chain, slip stitch into second chain, hdc in the next chain, and sl st into the wing edge.
- Repeat this jagged edge pattern until the wing is complete.
Fasten off and weave in ends.
Decorative Bow
Step 1 (Both Sides):
- Create a magic ring.
- Chain 2 ch, then work 2 dc into the ring.
- Chain 2 ch and slip stitch into the ring.
Step 2 (Repeat for Second Side):
- Chain 2 ch, then work 2 dc into the ring again.
- Chain 2 ch and slip stitch into the ring.
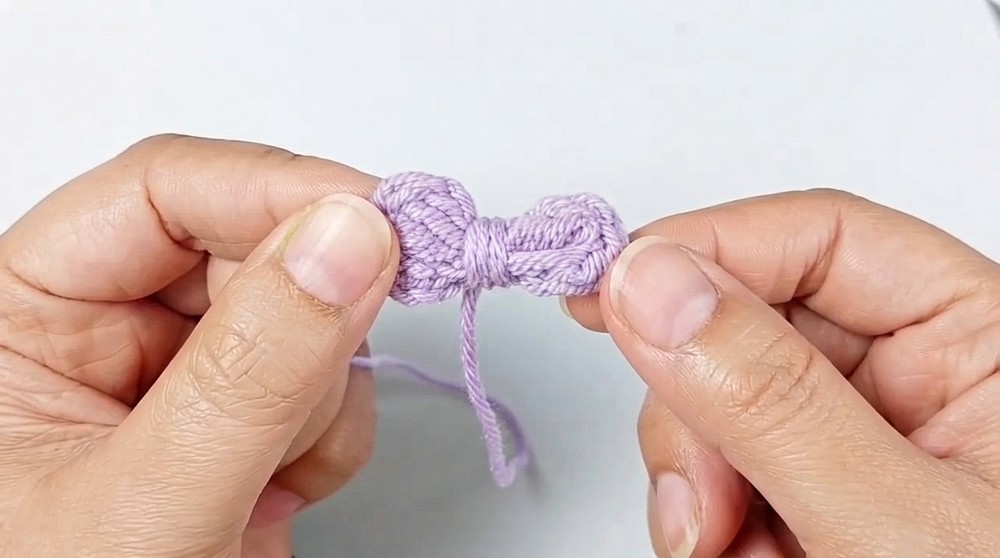
Step 3:
- Pull the ring closed tightly, leaving a long tail. Wrap the tail around the center of the bow several times, then fasten off.
Eyes and Fangs
Eyes (Make 2):
- Use thin black yarn or separate 2 strands from your plies.
- Create a magic ring with black yarn. Chain 1 ch, then work 6 sc into the ring.
- Pull the magic ring closed and slip stitch to join.
- Attach white yarn:
- Chain 1 ch and work:
- 1 sc in next stitch, 2 hdc in next stitch (repeat twice).
- Finish with 1 sc and sl st to join white yarn.
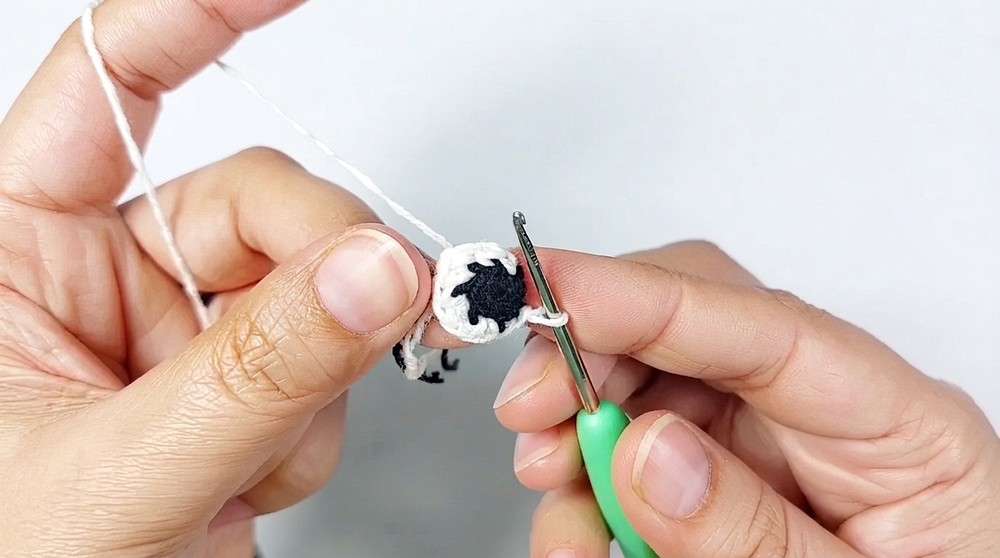
- Chain 1 ch and work:
Fangs (Make 2):
- Chain 3 ch, skip the first 2 chains, and slip stitch into the last one. Fasten off, leaving a long tail.
Assembly
- Attach Wings: Position the wings on either side of the bat head. Sew or attach securely.
- Attach Eyes: Place the black centers first, then sew down the white parts of the eyes slightly overlapping the black sections.
- Attach Fangs: Position and sew the tiny fangs below the eyes.
- Add Bow: Secure the bow at the center of the bat’s head or base.
Conclusion
This Halloween Bat Pattern offers a unique and whimsical decoration for festive projects. Its customizable features, including the bow, eyes, and wings, make it an engaging project perfect for Halloween or themed baby accessories. Experiment with colors and embellishments to add your creative flair!