Crochet Owl Amigurumi Pattern & Free Tutorial for Beginners

Bring adorable charm to your collection with this free crochet owl amigurumi pattern perfect for beginners and fun crafting sessions at home.
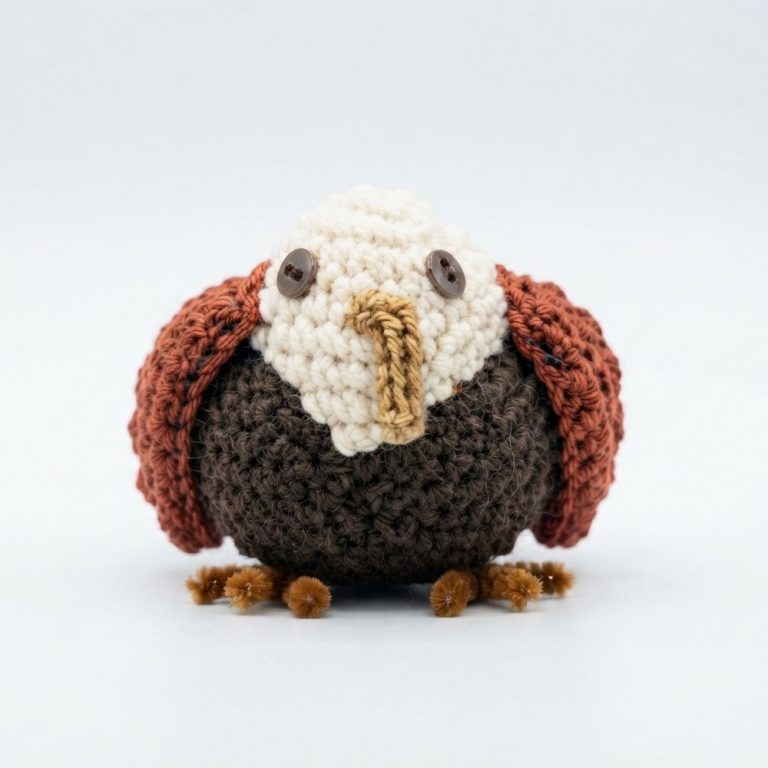
For anyone seeking a delightful and manageable project, the cute owl design from the Crochetki 88 YouTube channel is a wonderful option. This pattern is presented in a step-by-step format, making it simple to follow for all skill levels. The owl itself stands out with its charming, round shape and detailed features, such as wide eyes and tiny wings. It is perfect for use as a decorative piece, a unique keychain, a playful bag accessory, or even as a thoughtful gift for children and loved ones.
Free Crochet Owl Amigurumi Pattern & Tutorial for Gifts
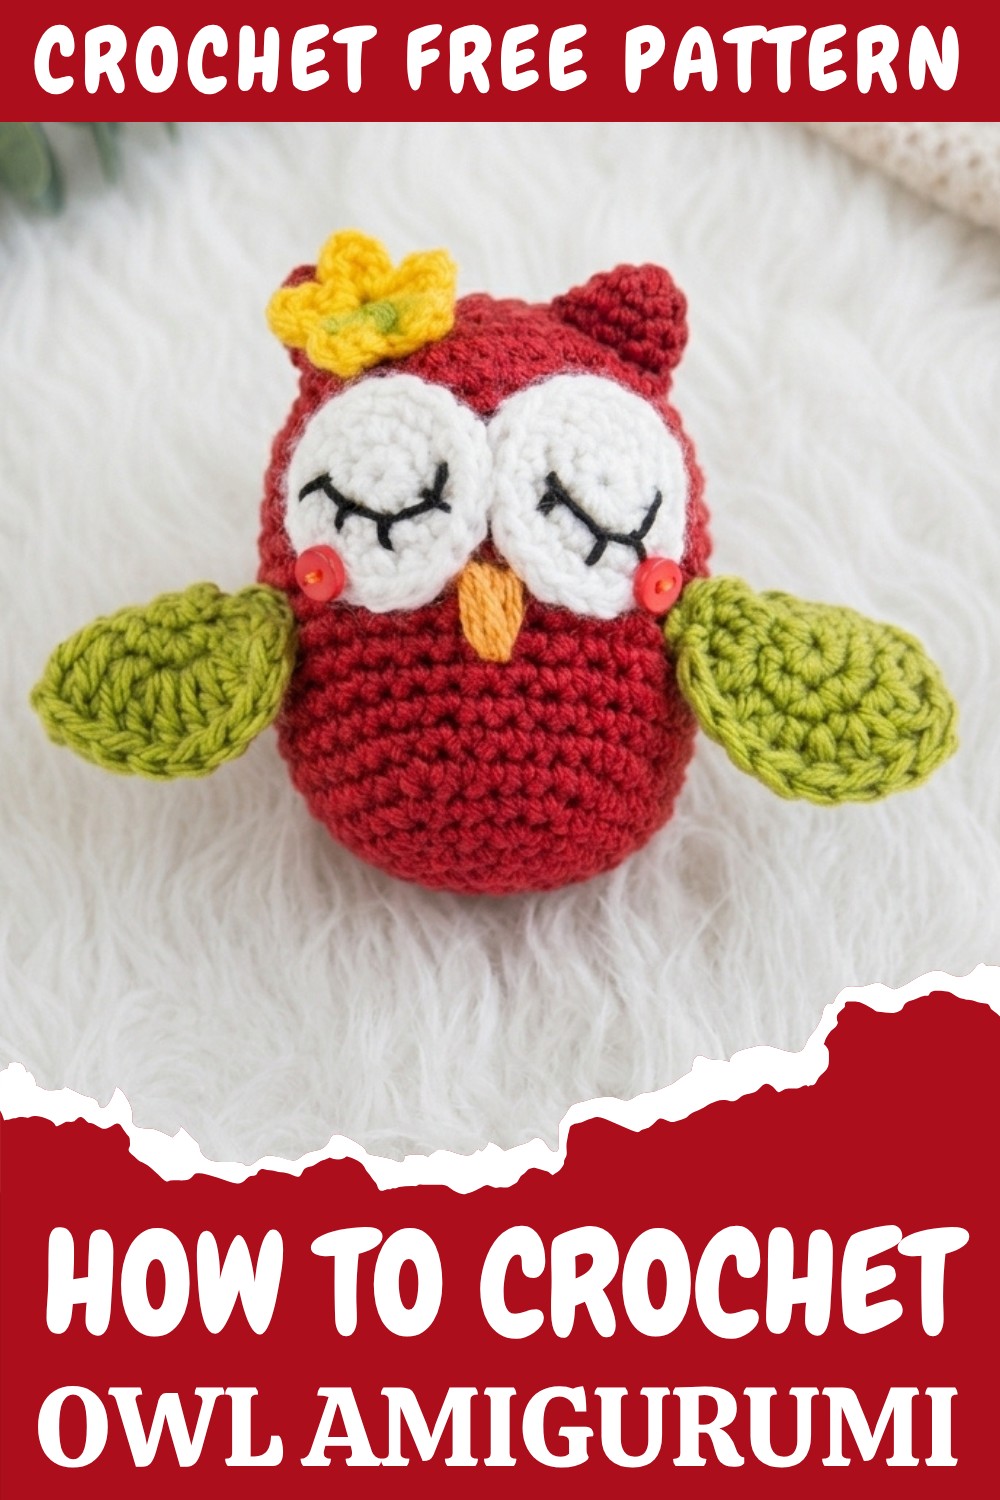
This pattern is designed in a way that allows the owl to be created piece by piece. Starting with the body, you gradually add features like the wings, beak, and large expressive eyes. This method gives creators the opportunity to see the owl take shape one step at a time, making the process enjoyable and rewarding.
What makes this owl design special is its eye-catching details and compact size, making it both functional and aesthetic. The balance between its soft, rounded body and playful character ensures it stands out wherever it’s placed. Lightweight yet durable, it’s easy to carry around or add to your holiday decorations or personal items.
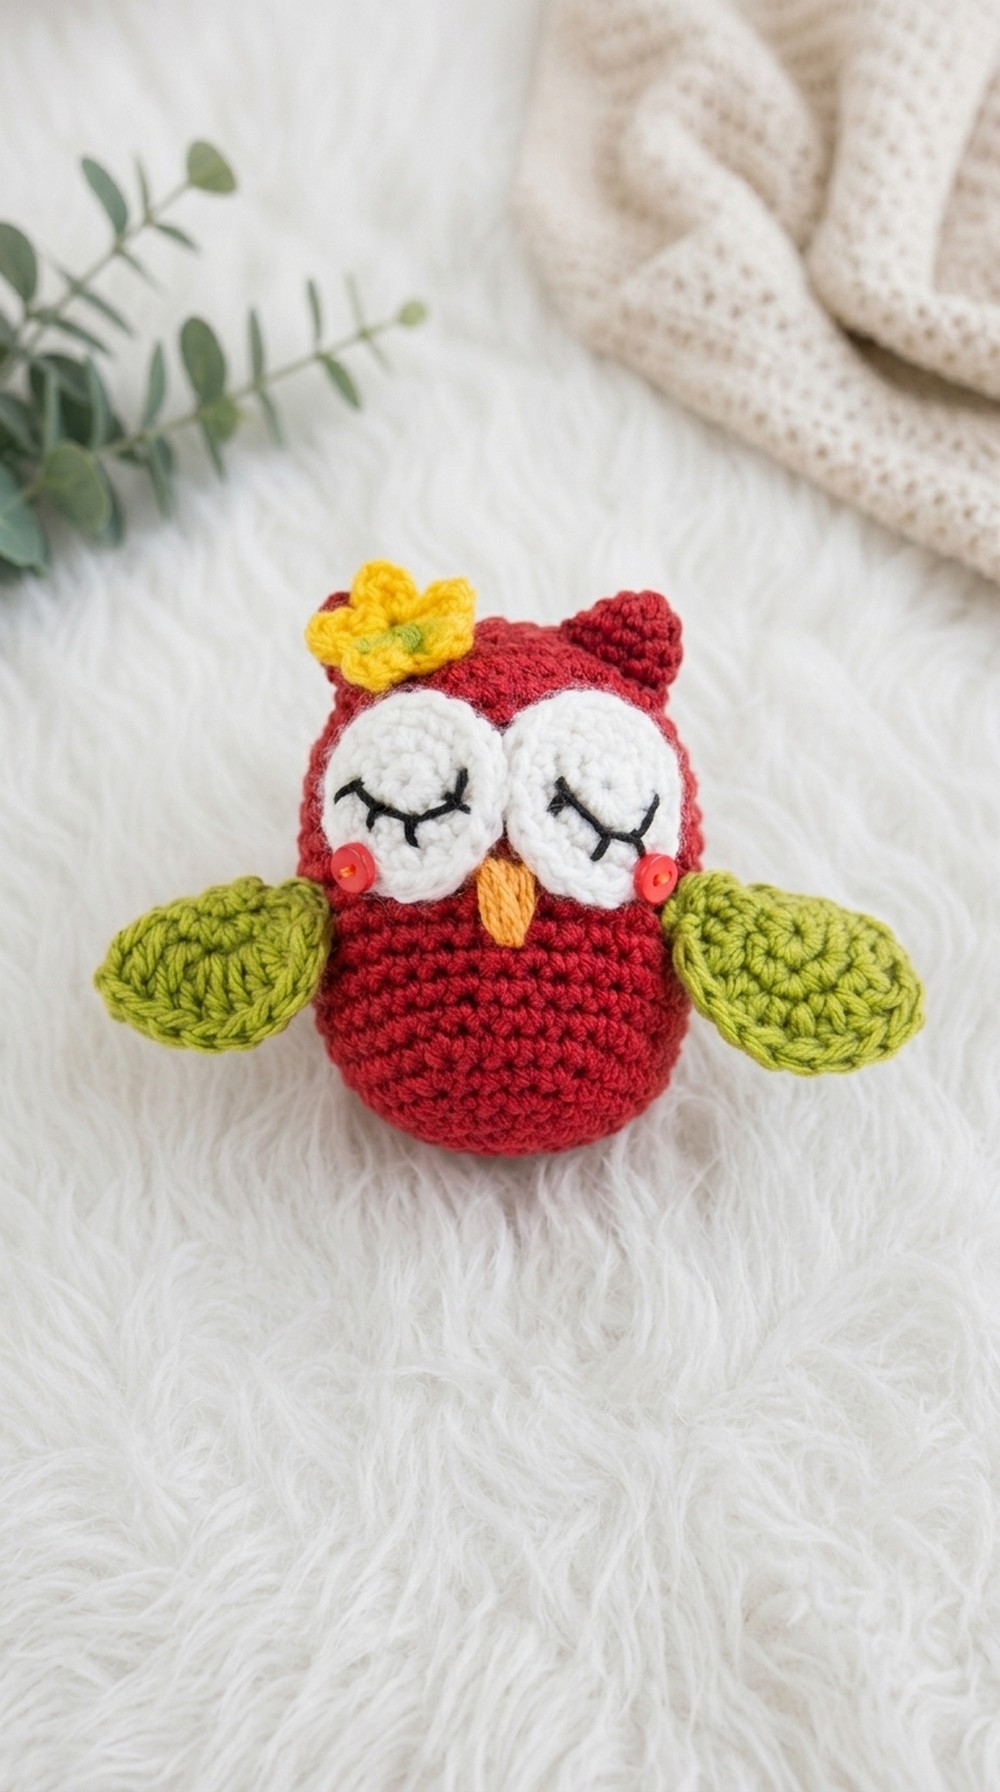
3D Crochet Owl Keychain Pattern
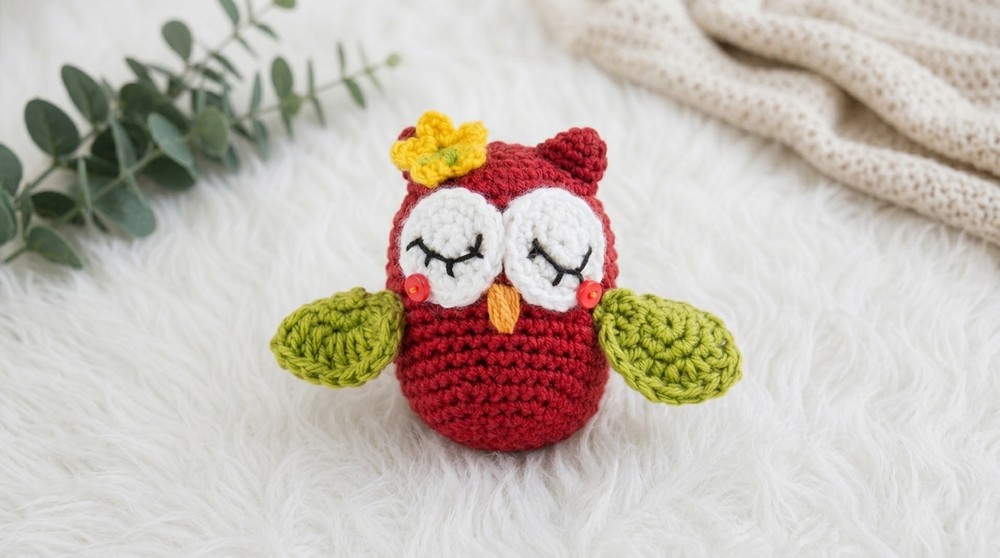
This 3D crochet owl keychain pattern provides detailed instructions for creating a charming miniature owl that can be attached to a keychain ring for decorative purposes. With its cute and sturdy design, this project is great as an accessory or a thoughtful gift. This owl features distinct elements such as ears, wings, eyes, and decorative details—all crocheted separately before assembly.
Skill Level
This pattern is suitable for intermediate crocheters. The project involves techniques such as working in rounds, shaping through increases and decreases, and assembling small parts.
Materials
You will need the following materials:
- Crochet Hook: 3 mm size.
- Yarn: Acrylic yarn in four colors (e.g., Dora Madame Tricote or similar).
- Polyester Fiberfill: For stuffing the body of the owl.
- Needle and Scissors: For sewing and trimming yarn edges.
- Decoration: Buttons for the eyes.
- Keychain Ring: Attach to your completed owl for functionality.
Special Stitches
- Magic Ring (MR): A circular foundation technique that allows stitches to be worked into an adjustable loop.
- Single Crochet (sc): Insert the hook into the stitch, yarn over, pull up a loop, yarn over again, pull through both loops.
- Double Crochet (dc): Yarn over, insert the hook into the stitch, yarn over once more, and pull up a loop. Yarn over again, pull through two loops, yarn over, pull through remaining two loops.
- Invisible Decrease: Insert the hook through the front loops of two consecutive stitches, yarn over and pull through both loops, yarn over and draw through two remaining loops on the hook.
Stitch Abbreviations
- MR: Magic Ring
- ch: Chain
- sc: Single Crochet
- dc: Double Crochet
- inc: Increase (2 single crochets in the same stitch)
- dec: Decrease (crochet two stitches together invisibly)
- sl st: Slip Stitch
Useful Tips
- Tension Control: Keep an even tension while working to ensure the owl maintains its shape and does not have loose gaps between stitches.
- Stuff Gradually: Stuff the owl firmly enough to maintain its 3D shape, but avoid overstuffing as this may distort the form.
- Use Stitch Markers: Place a marker at the start of each round, particularly while working in continuous rounds.
- Color Choices: Incorporate contrasting yarn colors for eyes, wings, and accessories to make the owl more visually appealing.
Pattern Instructions
Body
- Rnd 1: Create a MR and work 6 sc into the ring. Tighten the ring (6 sc).
- Rnd 2: Work 2 sc in each stitch around (12 sc).
- Rnd 3: Alternate [2 sc in one stitch, 1 sc in the next stitch] (18 sc).
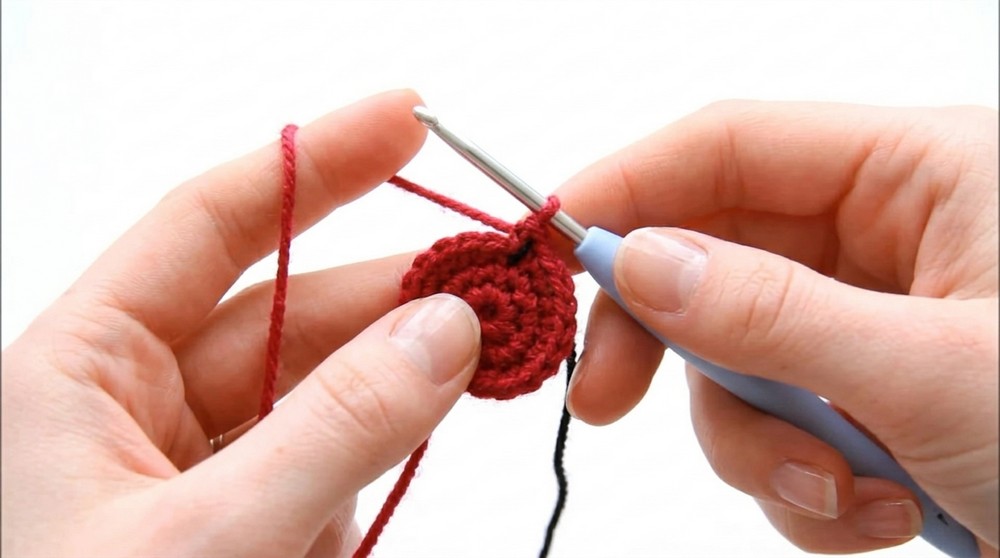
- Rnd 4: Alternate [2 sc in one stitch, 1 sc, 1 sc in the next stitches] (24 sc).
- Rnd 5: Alternate [2 sc in one stitch, 1 sc in next three stitches] (30 sc).
- Rnd 6: Alternate [2 sc in one stitch, 1 sc in next four stitches] (36 sc).
- Rnd 7–18: Work 1 sc in each stitch around for 12 rounds (36 sc per round).
- Rnd 19: Work a dec (2 sc together invisibly), 4 sc; Repeat [dec, 4 sc] (30 sc).
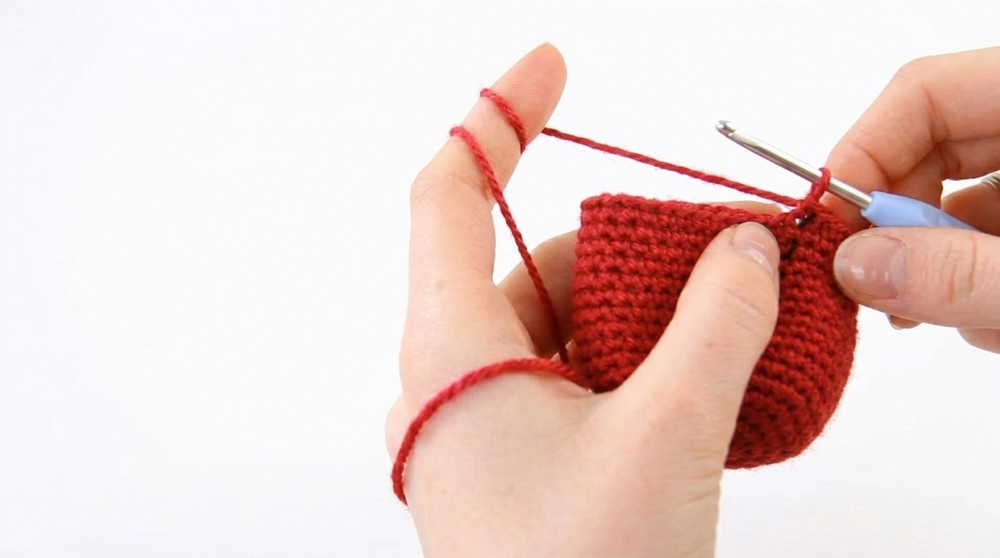
- Rnd 20: Work a dec, 3 sc; Repeat [dec, 3 sc] (24 sc).
- Rnd 21: Work a dec, 2 sc; Repeat [dec, 2 sc] (18 sc).
- Rnd 22: Work a dec, 1 sc; Repeat [dec, 1 sc] (12 sc). Stuff the body firmly with polyester fiberfill.
- Rnd 23: Work dec in every stitch around (6 sc). Fasten off and weave in the yarn ends.
Ears
- Rnd 1: Create a MR and work 3 sc into the ring (3 sc).
- Rnd 2: Work 2 sc in each stitch (6 sc).
Fasten off, leaving a tail for sewing. Sew the ears onto the top corners of the owl’s head, ensuring they are positioned symmetrically.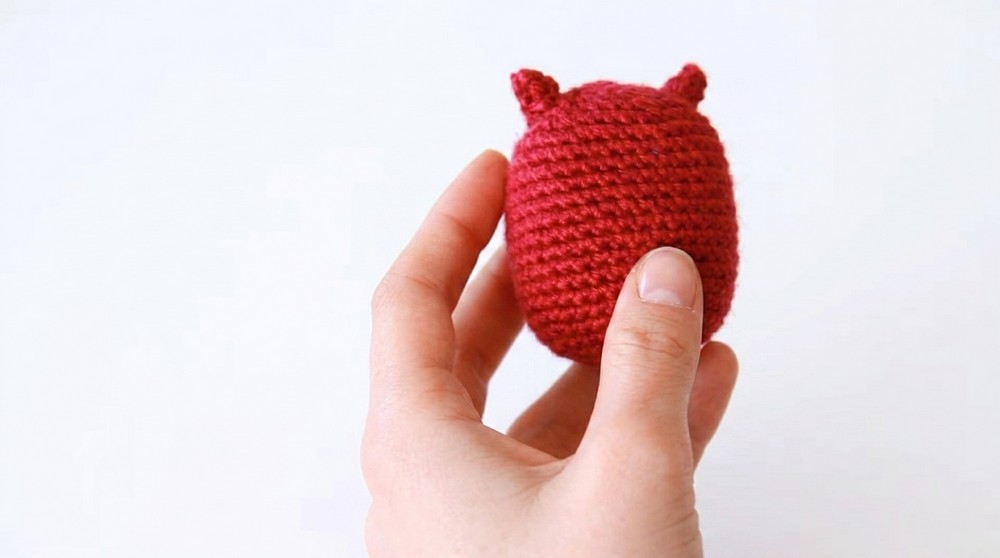
Eyes
- Rnd 1: Create a MR and work 6 sc into the ring (6 sc).
- Rnd 2: Work 2 sc in each stitch (12 sc).
- Rnd 3: Alternate [2 sc in one stitch, 1 sc in the next stitch] (18 sc).
Fasten off, leaving a tail for sewing. Attach the eyes to the front of the owl’s face using a needle and matching yarn, making sure to place them evenly. Add buttons to the center of each eye for decoration.
Wings
- Rnd 1: Create a MR and work 6 sc into the ring (6 sc).
- Rnd 2: Work 2 sc in each stitch (12 sc).
- Rnd 3: Work dc in sequence: [2 dc in one stitch, 1 dc in next stitch]. After completing the round, finish with a sl st into the next stitch and fasten off.
Sew the wings securely to the sides of the owl’s body.
Flower Decoration (Optional)
- Create a small decorative flower using a MR:
- Chain 2 ch, work 1 dc, chain 2 ch, and complete with a sl st into the magic ring’s base.
Finishing
- Sew all elements (ears, eyes, wings) securely to the owl, ensuring symmetry and proper alignment.
- Attach the decorative flower and buttons as embellishments, if desired.
- Finally, attach a keychain ring securely to the top of the owl using a stitch or strong thread.
Assembly and Sizing
- Final Dimensions: The completed owl will measure approximately 7–8 cm tall.
- Keychain Integration: Attach a keychain ring at the top of the owl via the back of its head or near an ear for a functional and secure loop.
Conclusion
This crochet 3D owl keychain pattern is a versatile and charming project perfect for practicing key crochet techniques like shaping with increases and decreases. The ability to customize colors and embellishments makes this owl keychain suitable for gifting, and its compact size ensures portability and practicality.

![[NO-SEW] Mini Crochet Duck Keychain Easy Amigurumi Tutorial (9)](https://claireabellemakes.com/wp-content/uploads/2026/07/NO-SEW-Mini-Crochet-Duck-Keychain-Easy-Amigurumi-Tutorial-9-768x768.jpg)