Unique Free Crochet Funko Pop Style Head Pattern + Video

Create adorable collectibles with this Free Crochet Funko Pop Style Head Pattern, featuring simple instructions to personalize and unique designs.
One rainy afternoon, I was looking for a new crochet project to try when I found a fun video by Loopa Crochets on YouTube. The video showed how to make a Free Crochet Funko Pop Style Head Pattern. I was excited to make something different and cute, so I decided to give it a go.
Free Crochet Funko Pop Style Head Pattern for Amigurumi Fans
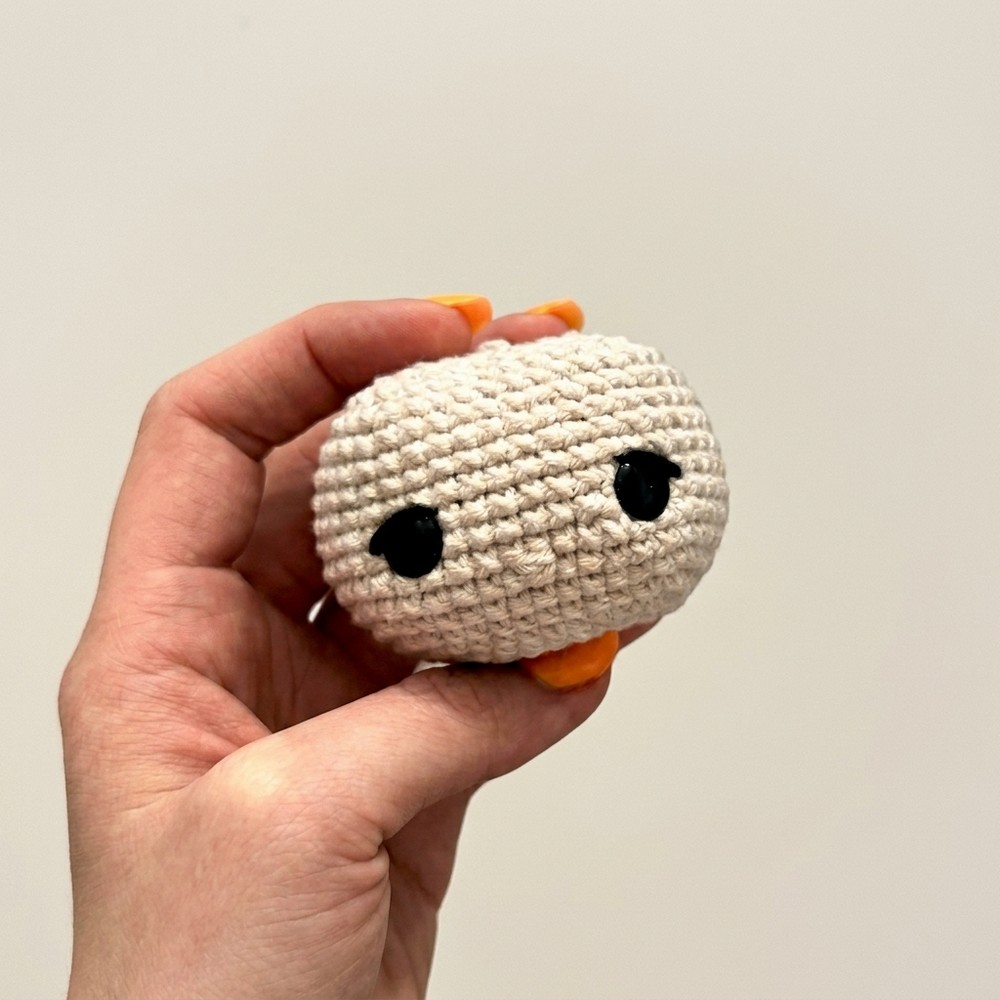
The finished head looks really sweet and simple. It has a big round shape, with two big eyes and little details like eyelashes and a nose that make it look friendly. The yarn feels soft and smooth, so it’s nice to hold or display anywhere at home. It adds a warm and fun feeling to your room, whether on a shelf or your desk.
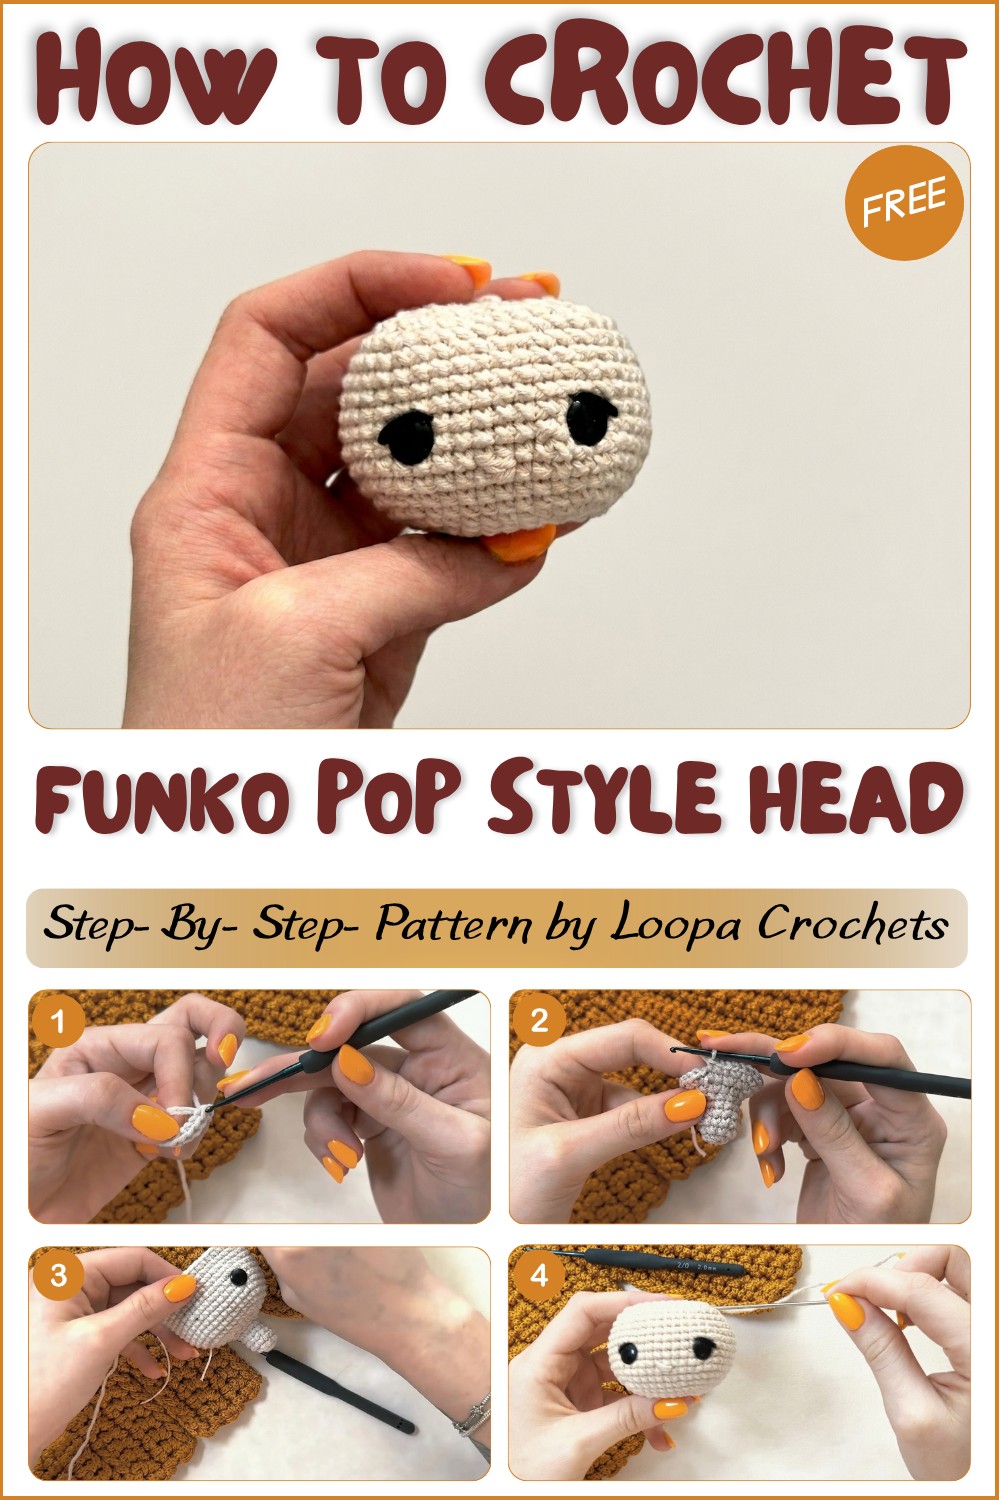
You can make this head all year long, but it feels especially cozy in cooler seasons when soft crochet things help make your space feel warm. The pattern is easy to follow with common crochet stitches like single crochet and magic ring, and some shaping with increases and decreases. The head is tightly made, so it holds the stuffing well and stays round.
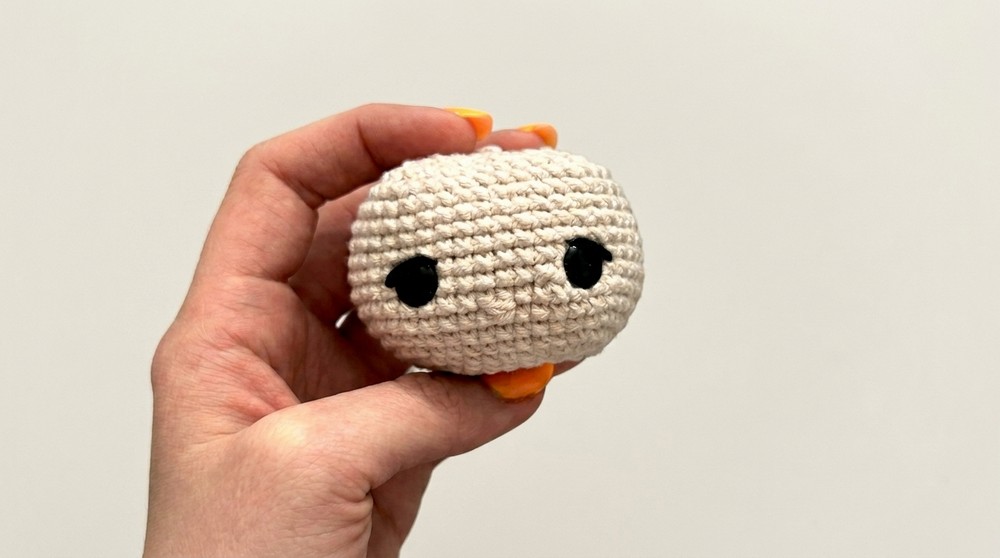
This project is perfect for anyone who loves amigurumi or just wants a cute crochet item. It also makes a lovely gift for friends and family. I’m thankful to Loopa Crochets for sharing this simple, free pattern with clear steps to help everyone make their own Funko Pop style head.
About Creator Channel!
The creator behind Loopa Crochets is known for producing instructional crochet content that emphasizes clarity and modern, functional design. By focusing on wearable and useful items like small bags and pouches, they have cultivated a style that blends traditional crochet techniques with contemporary, “beginner-friendly” aesthetics. Their approach is designed to demystify complex projects, making them approachable for hobbyists who want to create professional-looking items without needing advanced expertise.
Amigurumi Head Pattern (Harry Potter Doll)
In this section, we will crochet the head for your doll using the magic ring method. Each round and stitch count is explained in detail. We will add facial features including eyes, nose, and eyelashes as described, and shape the head for a professional amigurumi finish. Follow step by step for best results.
Quick Overview Of Pattern
- Start with a magic ring, using single crochet increases.
- Gradually shape the head by increasing stitch count across multiple rounds.
- Maintain head circumference with straight rounds.
- Insert safety eyes and embroider nose and eyelashes.
- Decrease in later rounds to close the head, stuffing as you go.
- Finish with a neat closure, leaving a tail for attaching the head to the body.
Notes
- Each round is worked in a continuous spiral; use a stitch marker to keep track of the first stitch.
- Numbers in brackets indicate the number of stitches at the end of each round.
- Color changes and embroidery should be done as described for best accuracy.
- Placement of safety eyes and nose follows a specific row count for symmetry.
- Counting carefully is essential for shaping.
Skill Level
Advanced Beginner / Intermediate
Skills: Magic ring, single crochet, increasing, decreasing, embroidery, basic amigurumi shaping.
Materials
- Skin-colored yarn (Beige or desired tone)
- 2 mm or 2.5 mm crochet hook
- 8 mm safety eyes (flat)
- Black yarn for eyelashes
- Cut of yarn for nose embroidery
- Yarn needle
- Polyester fiberfill for stuffing
- Scissors
- Stitch marker
Measurements / Sizing
- Finished head: Approximately 4.5–5 cm (1.7–2 in) tall, 4.5–5 cm wide depending on yarn and tension.
Gauge
- Gauge is not critical, but stitches should be tight enough that stuffing does not show through.
- Approximate: 24–28 sc / 10 cm.
Stitch Abbreviations
- MR = Magic Ring
- sc = single crochet
- inc = increase (2 sc in same stitch)
- dec = decrease (single crochet 2 together)
- sl st = slip stitch
- ch = chain
- st = stitch
- sts = stitches
Special Stitches
- Invisible decrease: Insert hook into the front loop of each of the next two stitches, yarn over and pull through both loops, yarn over and pull through two loops on the hook.
The Crochet Pattern
Head
Round 1:
Make a MR. 8 sc into ring. (8 sts)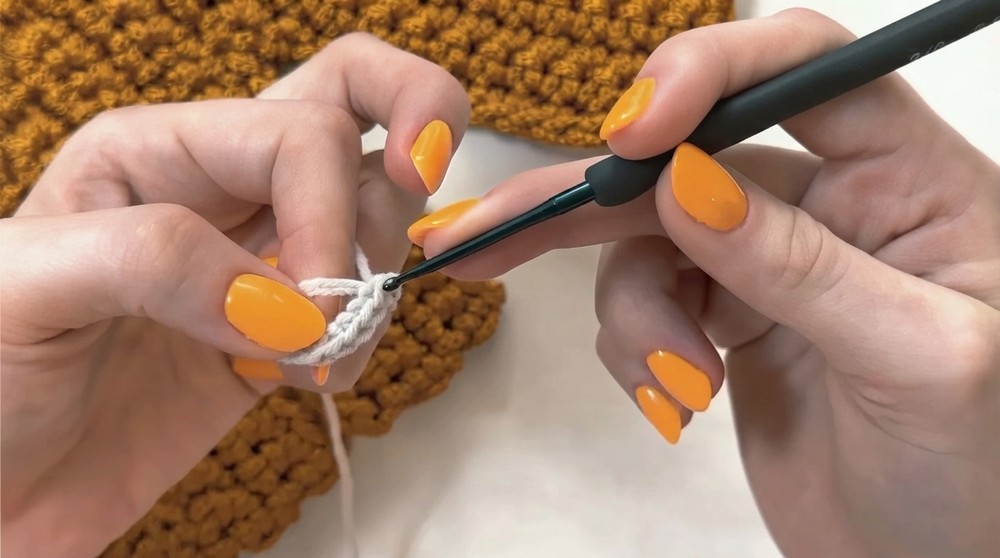
(Tip: Count each sc out loud; pull tail tight to close the ring.)
Round 2:
(sc, inc) repeat 4 times. (12 sts)
- 1st sc, inc in next st
- 1 sc, inc in next st
- Repeat 2 more times
(Follow the sequence exactly as described; increases in 2nd, 4th, 6th, 8th stitches.)
Rounds 3–6:
12 sc each round. (12 sts x 4 rounds)
Round 7:
(2 sc, inc) repeat 4 times. (16 sts)
[sc, sc, inc] 4x
Round 8:
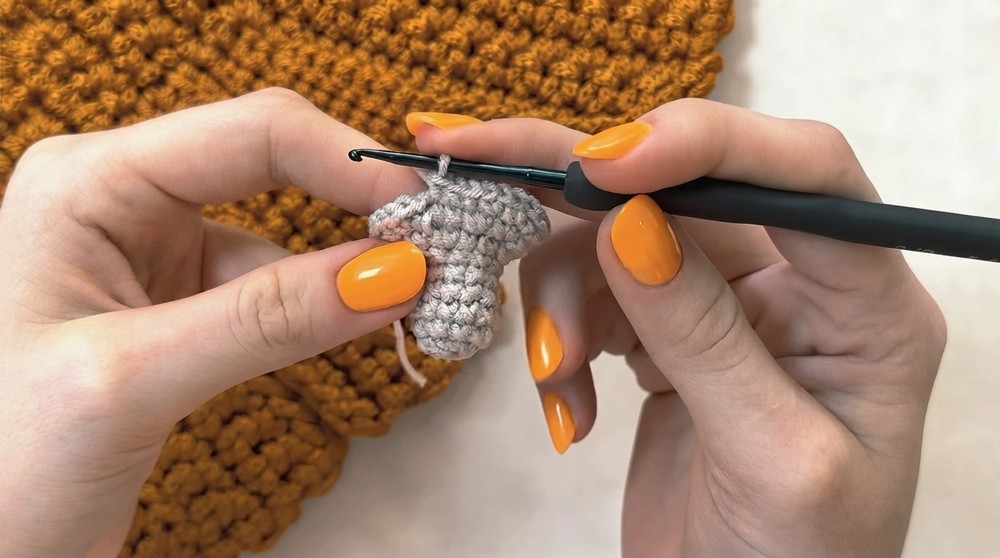
(2 inc, 2 sc) repeat 4 times. (24 sts)
- inc, inc, sc, sc
- repeat 4 times total
Round 9:
1 sc, 2 inc, (4 sc, 2 inc) x3, 4 sc, 2 inc, 3 sc (32 sts)
To clarify:
- 1 sc, 2 inc,
- 4 sc, 2 inc (repeat 3 times),
- 4 sc, 2 inc, 3 sc.
Round 10:
2 sc, 2 inc, (6 sc, 2 inc) x3, 4 sc (40 sts)
- 2 sc, 2 inc
- 6 sc, 2 inc (repeat 3 times),
- 4 sc
Round 11:
3 sc, 2 inc, (8 sc, 2 inc) x3, 5 sc (48 sts)
- 3 sc, 2 inc
- 8 sc, 2 inc (repeat 3 times),
- 5 sc.
Rounds 12–21:
48 sc each round. (48 sts per round, total of 10 rounds)
Continue spiraling; keep your tension even.
Insert Eyes and Embroider Features:
- Insert safety eyes between rounds 15 and 16.
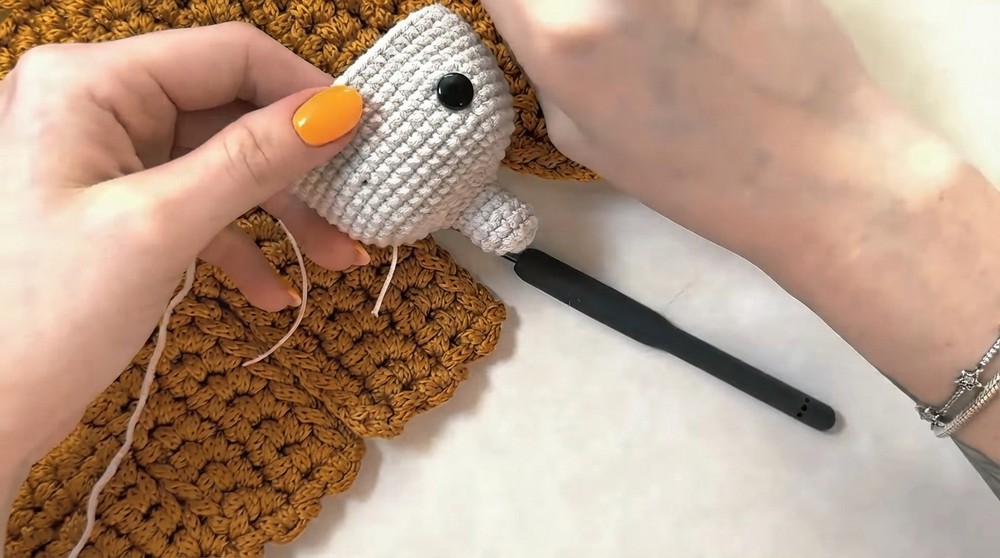
- Leave 7 sc between the eyes.
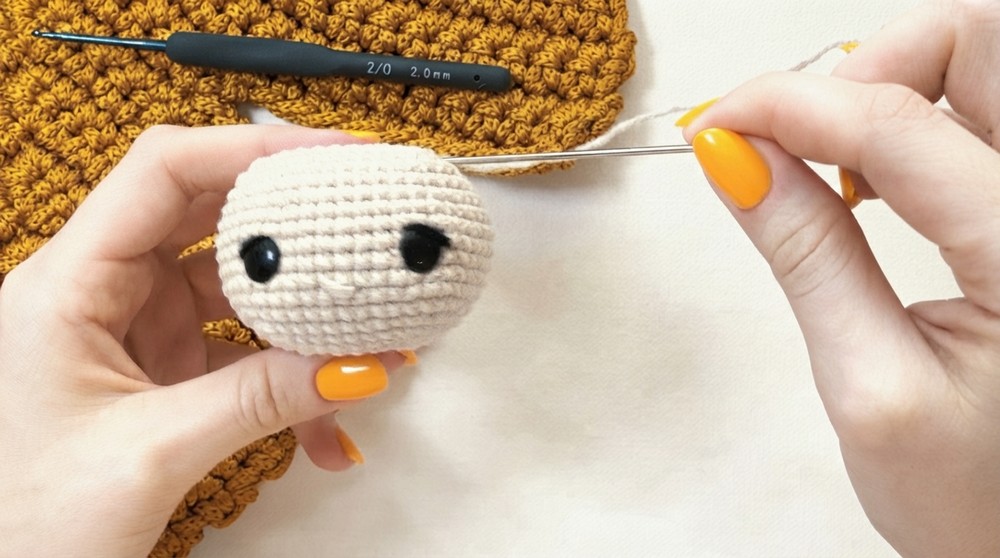
- Cut a length of yarn (25–30 cm) to embroider the nose: Place nose one round below the eyes, width about one sc.
- Make 3–4 passes for fullness; tie off inside and trim.
- Embroider eyelashes with black yarn as preferred.
Round 22:
3 sc, 2 dec, (8 sc, 2 dec) x3, 5 sc (40 sts)
- 3 sc, dec, dec
- 8 sc, dec, dec (repeat 3 times),
- 5 sc at end.
Round 23:
2 sc, 2 dec, (6 sc, 2 dec) x3, 4 sc (32 sts)
- 2 sc, dec, dec
- 6 sc, dec, dec (repeat 3 times),
- 4 sc.
Round 24:
1 sc, 2 dec, (4 sc, 2 dec) x3, 3 sc (24 sts)
- 1 sc, dec, dec
- 4 sc, dec, dec (repeat 3 times),
- 3 sc.
Round 25:
(2 dec, 2 sc) repeat 4 times. (16 sts)
- dec, dec, 2 sc (repeat 4 times)
Stuff Head Firmly:
- Begin stuffing, making sure little starting yarn tail stays inside, and add more as opening closes.
Round 26:
8 dec. (8 sts)
- dec x8
To Close:
- Sl st into next st, ch 1, cut yarn leaving a small tail.
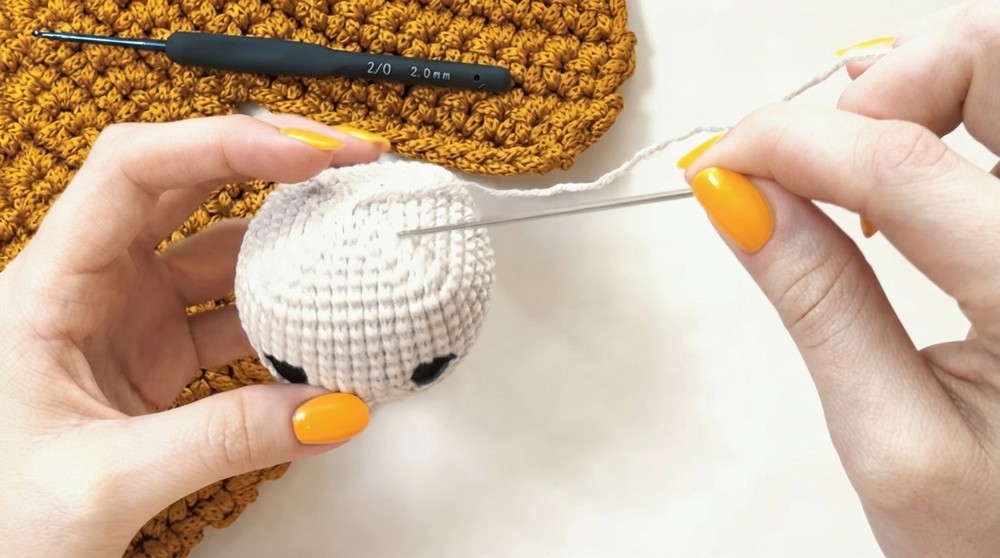
- With needle, thread through front loops of all 8 sts, pull tight to close hole.
- Leave this yarn tail for later—use it to attach the head to the body.
Assembly & Finished Size
- The completed head should be round, firm, and proportionate (approximately 4.5–5 cm wide and tall).
- If you’re attaching to a doll, use the remaining yarn tail to sew the head securely onto the neck.
- Weave in and hide any remaining ends after assembly.
Conclusion and ending words
Your amigurumi head is now complete, featuring carefully measured increases and decreases for smooth shaping. The eye placement, embroidered nose, and eyelashes add personality to your doll, and your neat decreases provide a tidy finish. With this pattern section complete, your amigurumi project is well on its way—keep following the steps to complete your magical Harry Potter creation.