Cute Free Crochet Flower Pattern That Brightens Any Project

Brighten your projects with this free crochet flower pattern that has easy steps anyone can follow to make beautiful flowers quickly and simply.
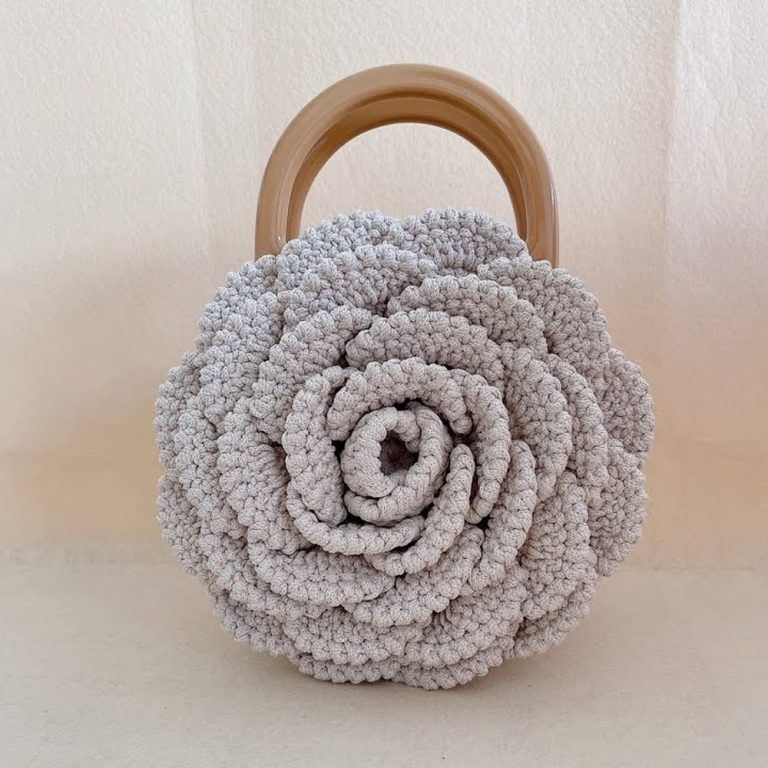
Making beautiful flowers can be simple and fun. A free crochet flower pattern shows how to create soft, round petals that look natural and cheerful. These flowers add a nice touch to hats, scarves, bags, or home decorations.
Simple Free Crochet Flower Pattern Inspired by Blooming Gardens
Colors play an important role in how these flowers look. Bright shades like red, yellow, and pink bring energy and liveliness, while pastel colors such as light blue or lavender give a calm and gentle feel. Since you select the yarn color, each flower feels special and personal.
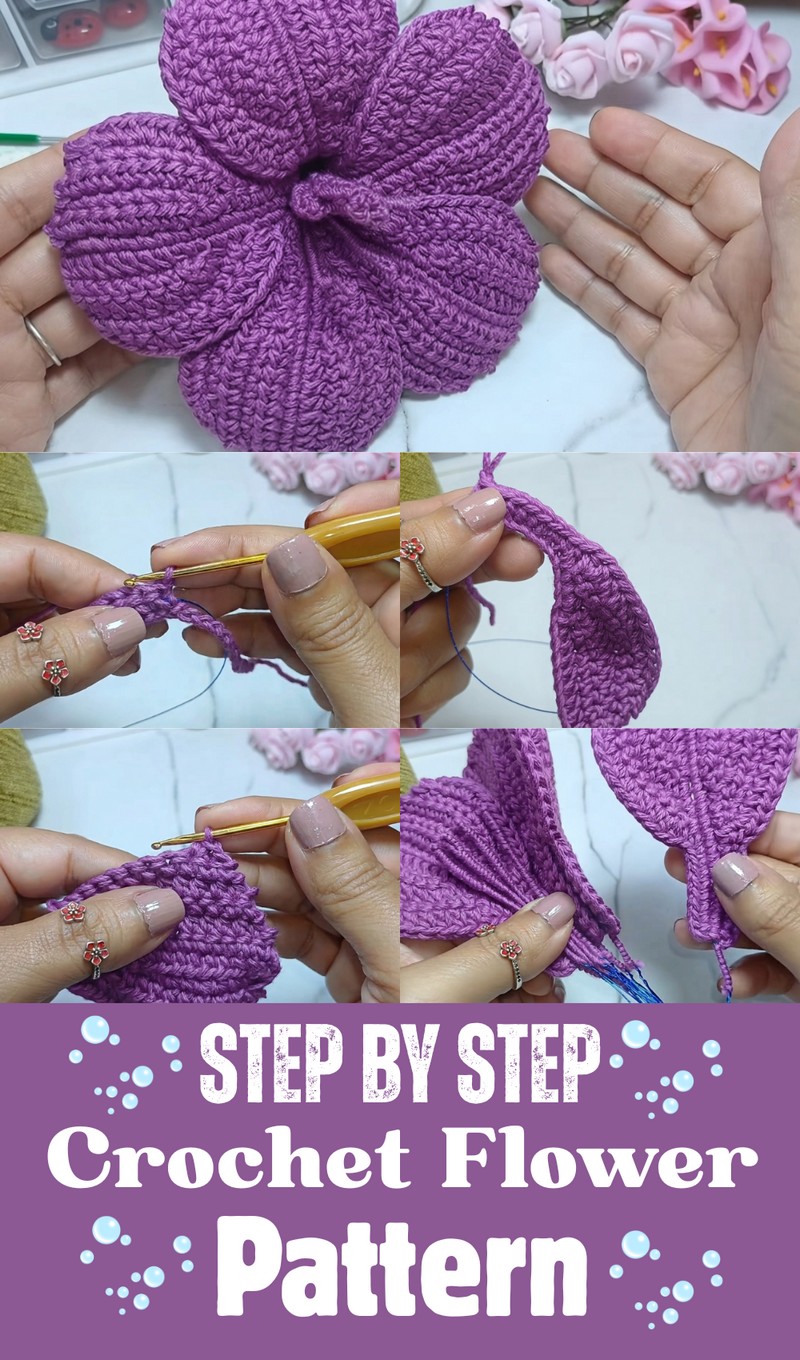
Their appearance, these flowers are light and can last a long time. They do not take much time to finish, making it easy to add small details to many items. The process also helps relax the mind and pass time pleasantly.
Another good point is that you only need basic materials. Simple yarn leftovers and a basic crochet hook are enough to work on these flowers. This makes the pattern friendly for beginners and affordable.
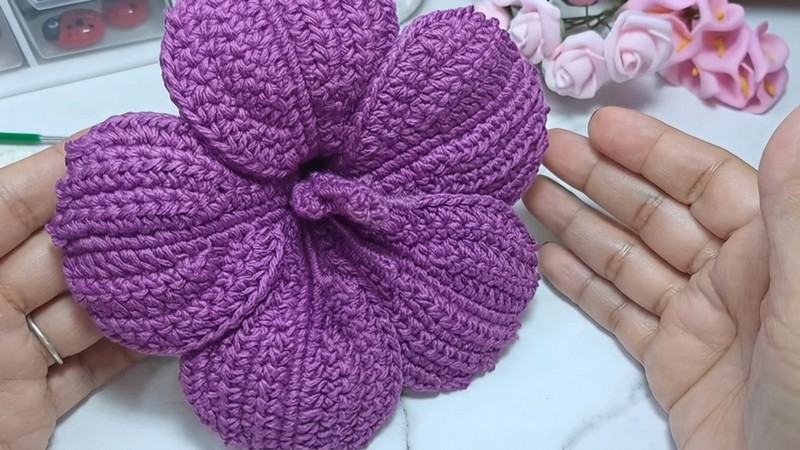
They bring small moments of happiness and warmth through easy and quick work. Trying them gives a nice feeling of accomplishment and brightens your day.
Crochet Flower Pattern with Wire Petals and Pistils
Pattern Notes
- This pattern uses standard US crochet terms.
- Wire is incorporated inside the crochet fabric to shape petals and pistils.
- Work stitches tightly for a firm fabric that will hold the wire well.
- The flower is assembled without using glue; petals are secured by wrapping the wire ends.
- Adjust wire thickness for sturdiness depending on your needs but roughly 10 mm gauge is recommended for petals.
- Use colors that suit your style—for petals and pistils—feel free to experiment.
Skill Level
Beginner to Intermediate
This pattern is manageable for beginners comfortable with basic stitches and following step-by-step instructions. Wire handling requires minimal skill but care should be taken.
Materials
- 100% cotton yarn (approx. fingering weight or similar), about 30-50 grams
Example used: Grandma’s brand 100% cotton - Crochet hook size 2.5 mm
- Wire (recommended 10 mm thick for petals; thinner wire for pistils)
- Scissors
- Floral thread or embroidery floss for wrapping
- Optional: Hot glue for reinforcing petal assembly (not necessary)
- Needle for sewing / finishing ends
Measurements / Sizing
- Finished flower diameter approximately 12-15 cm (4.7-6 inches)
- Petal length: About 10 cm (4 inches)
- Pistils length: 10 cm folded, 20 cm unfolded wire length
Size can be adjusted by increasing or reducing the number of chains and stitches.
Gauge
No strict gauge is required. However, working tightly will help hold shape around the wire.
Stitch Abbreviations
- ch — chain
- sc — single crochet
- dc — double crochet (referred as midpoint in transcription)
- sl st — slip stitch
- st(s) — stitch(es)
Special Stitches
- Midpoint: double crochet stitch creating the “raised” texture on petals.
- Reinforced knot: secure starting knot for durability.
The Crochet Pattern
Making the Petals (Make 5 petals total)
Part 1 — Foundation Chain & Base:
- Start with a reinforced knot.
- Ch 24 – make a total of 24 chains.
- Place the wire (~10 mm thick) in the center along the chains; do not crochet around the wire yet.
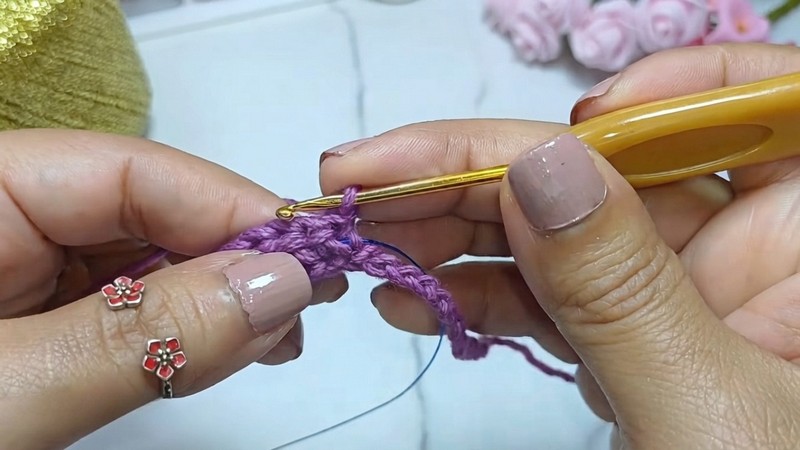
- Skip the first chain after the knot and work single crochet (sc) into the second chain from the hook.
- Continue making 8 sc stitches across the next 8 chains (8 sc total).
- Turn your work; now working from the back side, skip the first chain space and crochet 8 sc over the next 8 available spaces.
- Slip stitch (sl st) your way at the last chain space to finish the row.
Part 2 — Building Petal Width
- Turn the fabric again to the front side. Skip the first stitch, then sc in the second stitch.
- Work 7 double crochets (dc) (midpoints) — one in each stitch over the next 7 stitches.
- Make 2 more dc stitches, spaced to fill in the petal width on small spaces near the base.
- Finish with 3 single crochet stitches across the next three chain spaces.
Part 3 — Second Row for Petal
- Turn your work to the backside again; skip the first chain space and sc in the second.
- Work 10 sc stitches across the chain spaces.
- Slip stitch (sl st) in the last space.
Part 4 — Shaping the Petal Tip
- Turn to the right side; skip the first stitch.
- Make a slip stitch in the second stitch.
- In the next space, make a single crochet.
- Follow by making a double crochet (dc).
- Do an increase by making 2 double crochet stitches in the same space.
- Continue making 6 double crochet stitches, one in each space.
- Finish with two more double crochet stitches in small spaces near the base.
Part 5 — Completing Part One of Petal
- Work a double crochet in the next chain space.
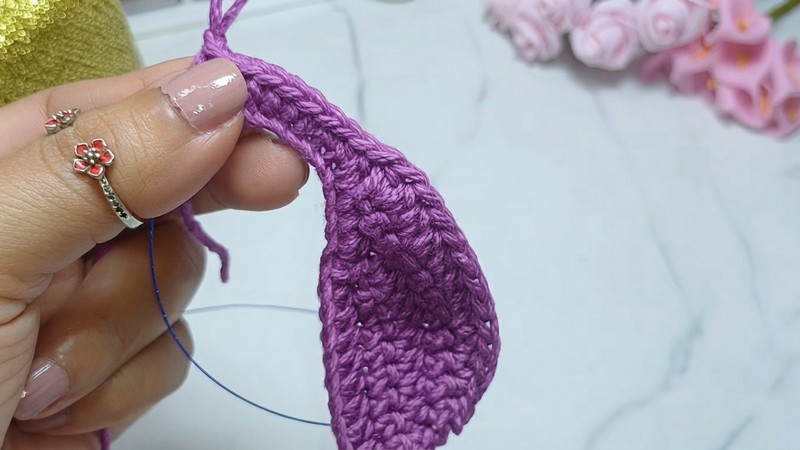
- Make 8 single crochet stitches along the spaces.
Part 6 — Part Two of Petal
- Chain 1 to hold. This chain will be undone after cutting the wire (used as temporary holder).
- Cut the wire to length ensuring the wire end is manageable for assembling.
- Undo the temporary chain, turn fabric.
- Hide excess yarn strand inside or at the edge.
- Slip stitch into the first single crochet of this row.
- Chain 1, then work 23 single crochet stitches over the chain spaces, guiding the wire to shape the other half of the petal.
- At the end, turn over; on the backside skip the first chain space, single crochet in the second.
- Make 8 double crochet stitches across the chain spaces.
- Make 2 single crochet stitches.
Part 7 — Final Petal Stitches
- Turn right side; skip the first stitch.
- Make 8 single crochet stitches.
- Slip stitch at the last chain space to finish.
- Skip first chain space on back side; single crochet in second.
- Make 7 double crochet stitches, one per stitch.
- Make 2 double crochet stitches as before (one on small space and one at base).
- Make 3 single crochet stitches to complete the petal.
Wire Wrapping and Petal Formation
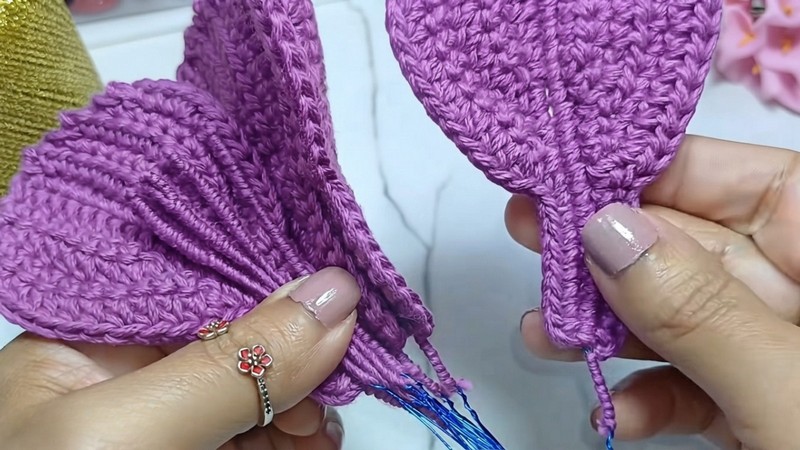
- After completing each petal, roll a small piece of wire without glue to wrap the strands neatly and tuck ends inside the fabric.
- Form petals as shown in photos (not included here) with right side facing outward.
- Repeat the above steps to complete all 5 petals.
Making the Pistils (Make 6 pistils)
- Cut thin wire pieces 20 cm long; fold in half to form 10 cm lengths.
- Crochet simple stems onto the wire by weaving thread or yarn using single crochet stitches.
- Group 6 pistils together for the flower center.
- Adjust lengths and bending for desired effect.
Assembly
- Arrange the 5 petals around the pistils, aligning wire stems in the center.
- Use floral green thread or yarn to tightly wrap and bind wires together forming the flower stem.
- Optionally add green crochet leaves (larger than usual) if desired to complete the flower bouquet.
- Secure wire ends by twisting or gluing if necessary.
Assembly & Finished Size
- Five petals with wire internally supporting shape.
- Six pistils grouped at the center.
- Entire flower approximately 12-15 cm (4.7-6 inches) across.
- Stem made from thicker wire wrapped in green thread, about 15-20 cm long.
- Optional leaves sized proportionately to flower (~5-8 cm).
Summary
This crochet flower features beautiful, sturdy petals shaped using wire supports, perfect for home decor, bouquets, accessories, or gifts. The petals’ structure comes from combining traditional crochet stitches with wire weaving, giving the flower a flexible yet stable form. The design includes five petals and central pistils, wrapped in floral thread to create a realistic and charming bloom.
For more help Watch this video