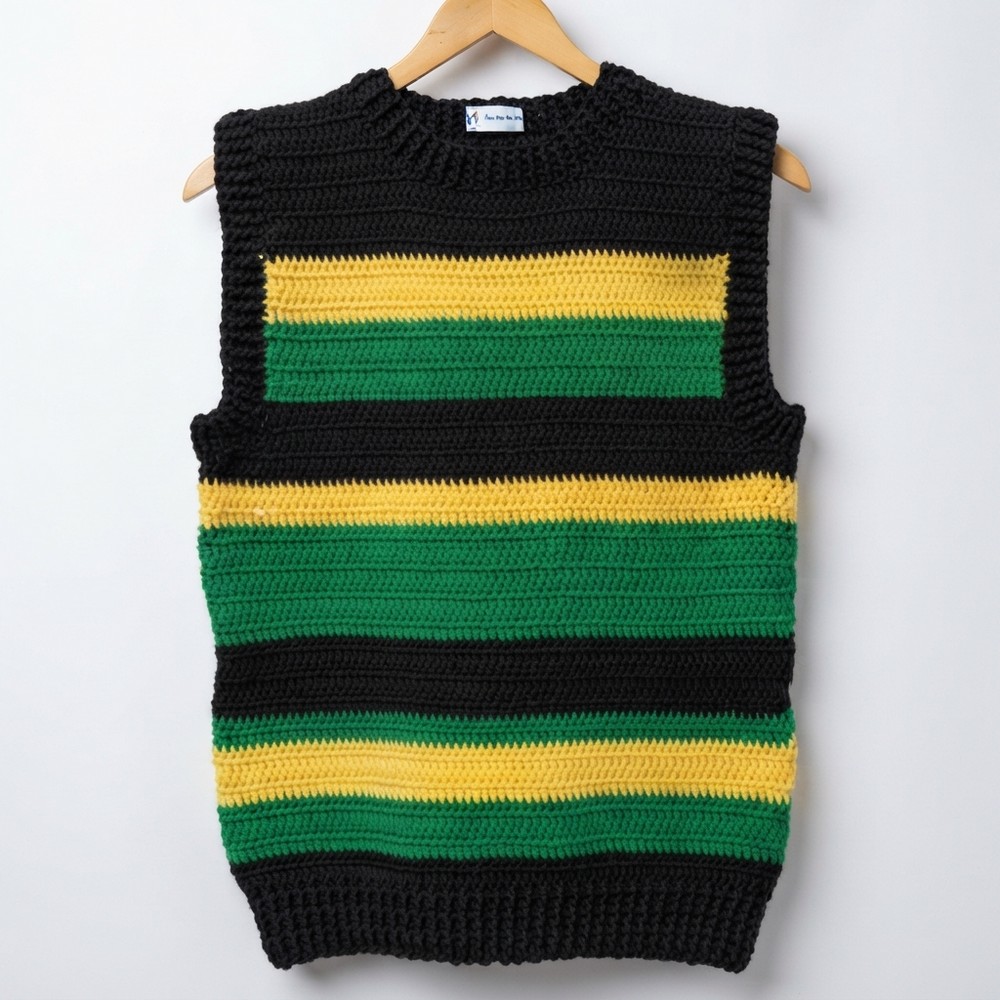
How To Crochet Roundneck Vest Sweater Pattern For Beginners

Refresh your wardrobe with this free crochet roundneck vest sweater pattern and make a cozy piece for any season.
One day, I was looking for a new crochet project that would be both pretty and useful. That’s when I found a great video on the CBH Academy channel about a lovely vest sweater with a round neckline. This vest quickly became one of my favorite handmade pieces because it is simple but looks special.
Easy Crochet Roundneck Vest Sweater Pattern – Free Tutorial
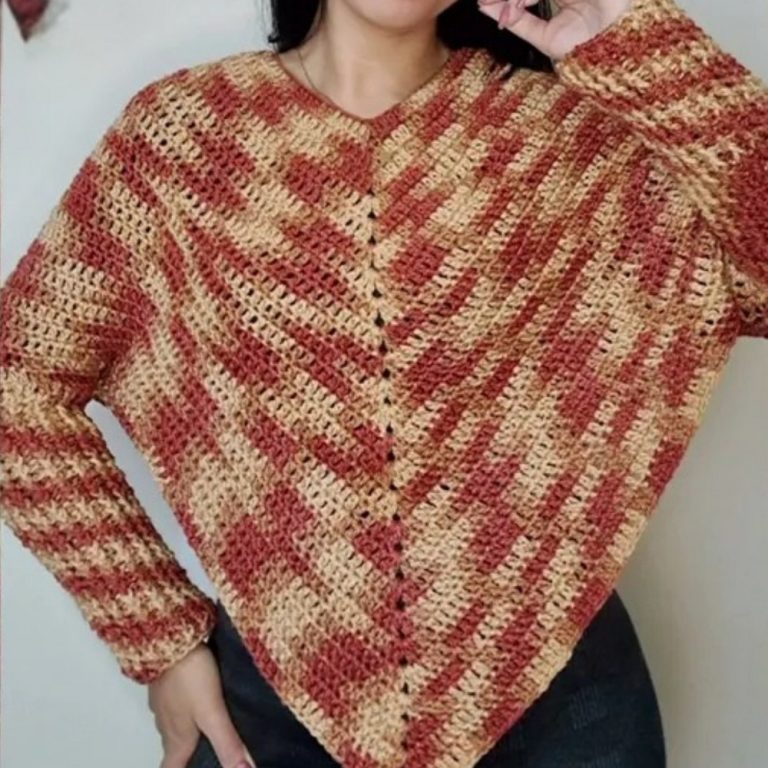
The vest has a clean and neat shape, with soft ribbing around the edges. The round neckline is comfortable and easy to wear with different clothes. The open stitch pattern makes the vest light and not too thick, so it works well for layering when the weather is cool.
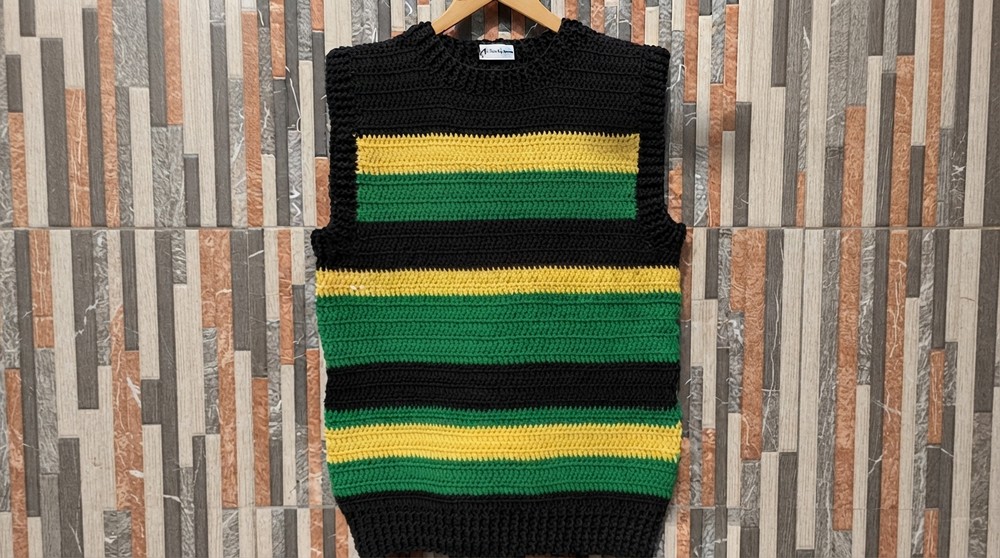
What makes this stand out is the ribbed design near the neckline and armholes. These raised lines add a nice texture and help the vest keep its shape over time. It fits a bit loose, giving a relaxed and comfortable look.
The way to make the sweater is simple. Most of the stitches are double crochet, with some special stitches to create the ribbing. The pattern carefully shapes the armholes and neckline, so everything looks smooth and tidy.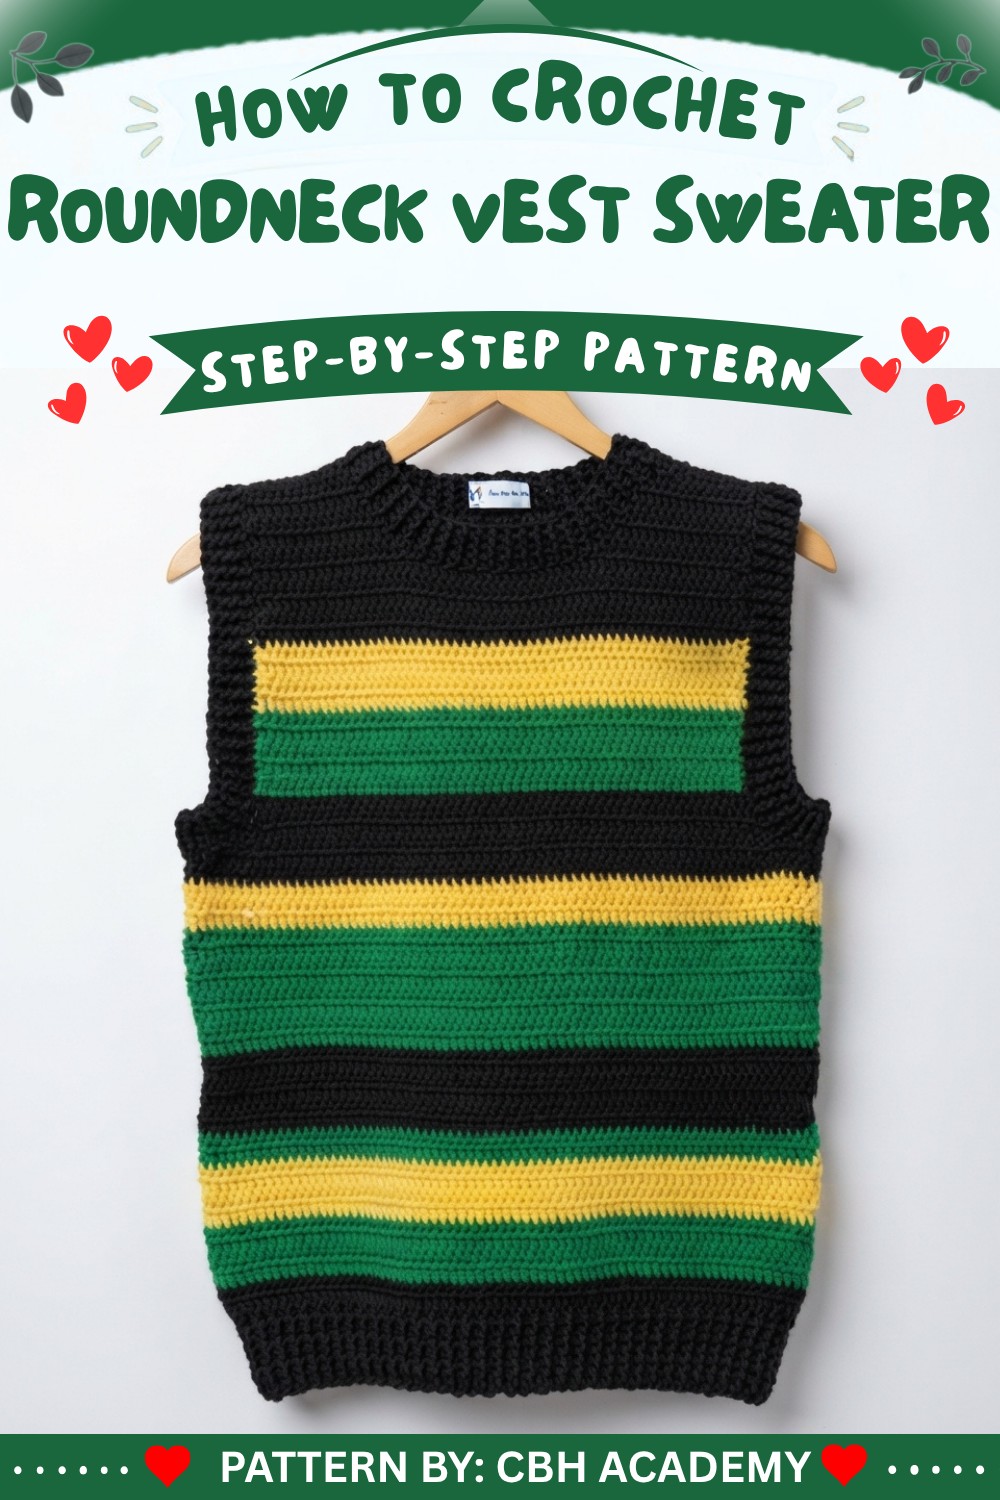
Jamaican Themed Crochet Vest Pattern
This vibrant vest is inspired by the Jamaican flag, featuring bold stripes of yellow, green, and black. Designed for a relaxed fit, it is constructed with double crochet and ribbed edging, making it suitable for many skill levels. The pattern walks through the ribbing, main body, armhole and neckline shaping, color changes, and assembly for a polished and colorful garment.
Pattern Important Tips
Gauge & Fit
- For a relaxed vest, chain enough to exceed your chest measurement slightly. The ribbing stretches—measure after chaining and adjust accordingly.
- Use stitch markers for armhole and neckline placements to keep shaping even on both sides.
Color Placement
- Follow the example for Jamaican flag colors or customise stripes to your preference.
- When joining and edging, use corresponding colors for a clean finish.
Seaming
- Single crochet seams are recommended for clarity and strength.
Starting and Ending Stitches
- Count your stitches and rows; keep your edges neat, especially during color changes.
- Standing double crochet can be used for neat, gap-free stitches when you are not counting chain 3 as a stitch.
Skill Level
Beginner to Intermediate
This pattern involves basic stitches, post stitches, and simple decreases. It also covers color changes and ribbing techniques.
Materials
- Yarn: Worsted weight; approximately 600g in total (100g balls: 3 black, 2 green, 1 yellow).
- Hooks: 4.5 mm (ribbing), 4.0 mm (body and finishing)
- Scissors
- Stitch Markers
- Darning Needle
- Measuring Tape
Gauge & Stitch Pattern
- Gauge: Chain sufficient to slightly exceed half the chest measurement. Example: For 40″ chest, chain for 20–22″.
- Main Stitch: Double crochet throughout body; ribbing with front post/back post double crochet.
Stitch Abbreviations
- ch: chain
- dc: double crochet
- sc: single crochet
- sl st: slip stitch
- fpdc: front post double crochet
- bpdc: back post double crochet
- tog: together
Special Stitches
- Front Post Double Crochet (fpdc): Yarn over, insert hook around the post from front to back, complete dc.
- Back Post Double Crochet (bpdc): Yarn over, insert hook around the post from back to front, complete dc.
- Standing Double Crochet: Begin with sc, then work into side of sc to heighten to dc.
- Double Crochet Decrease (dc2tog): Work two dc to last step, yarn over, pull through all loops.
Notes for Starting the Pattern
- Consider yarn elasticity when chaining for the ribbing; measure after working a few rows.
- When changing colors, weave in the previous color as you crochet for a smooth transition.
- Switch hook sizes after ribbing for a neat, non-curling garment.
Detailed Pattern
Ribbing
Use 4.5 mm Hook
Round 1:
- Chain 74 for relaxed 40″ chest (adjust to size; chain to half chest measurement and check stretch).
- Chain 3 extra for turning; counts as a dc.
- Work 1 dc in each chain (starting in back bump for neat edge).
- After finishing, check your measurement (should stretch to half chest + extra).
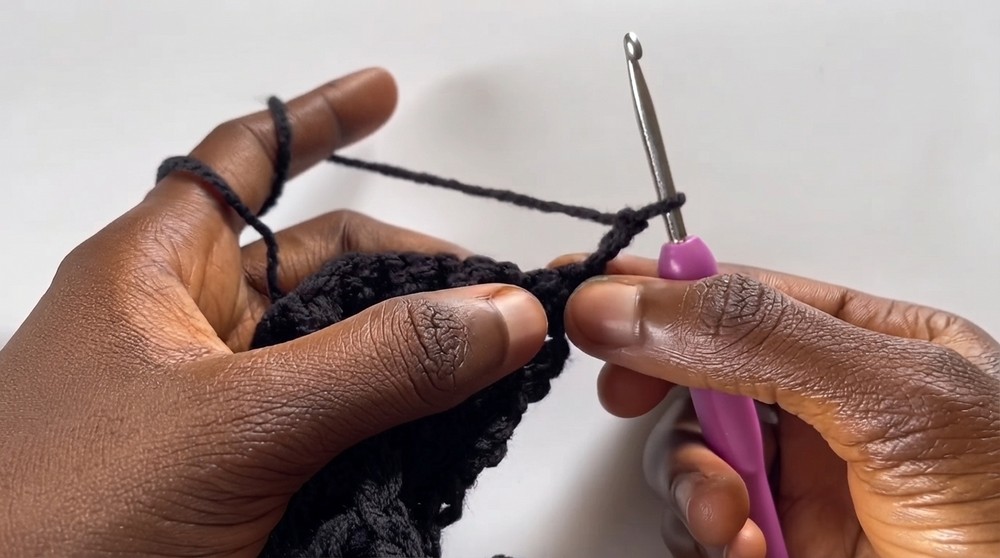
Round 2:
- Chain 3 (counts as a stitch), turn.
- Alternate fpdc in next stitch, bpdc in next. Continue across row.
- Last stitch: work 1 dc in top of the turning chain.
Rounds 3–7:
- Repeat round 2, always matching post placement to previous row.
- Finish ribbing at 3″ height (add/subtract rounds to taste).
Main Body
Switch to 4.0 mm Hook
Row 1 (Body Start):
- Chain 3 (counts as dc), turn.
- Work 1 dc in each stitch across, including turning chain at end.
- At end, you should have same stitch count as your ribbing (75 dc in this example).
Rows 2–30:
- Repeat: Chain 3 (counts as dc), turn, work 1 dc in each stitch across.
- Follow color changes as desired. Example:
- Rows 1–2: Black
- Next 4: Green
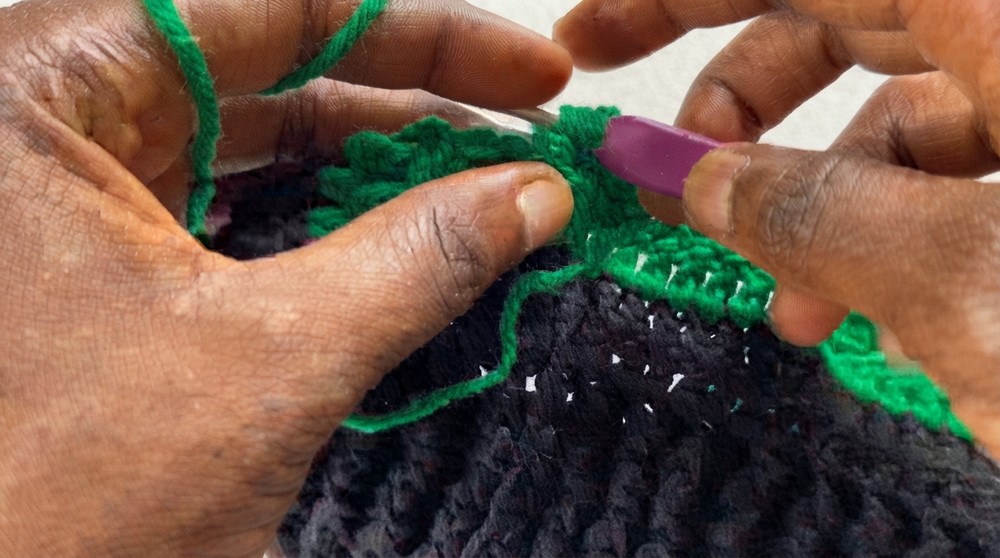
- Next 4: Yellow
- Next 2: Green
- Next 6: Black
- Next 8: Green
- Next 3: Yellow
- Next 1: Black
- Continue to 16″ from ribbing up (for underarm-to-hem measurement).
Armhole Shaping
Row 31 (Right Armhole, Start Decreases):
- Skip 4 sts on each edge, mark them with stitch markers.
- To start, attach yarn in the 5th stitch from marker.
- Chain 1 (turn), work standing dc2tog twice (decrease first four stitches to two).
- Work 1 dc in each stitch across until 4 sts remain before marker; work two dc2tog to decrease remaining four stitches.
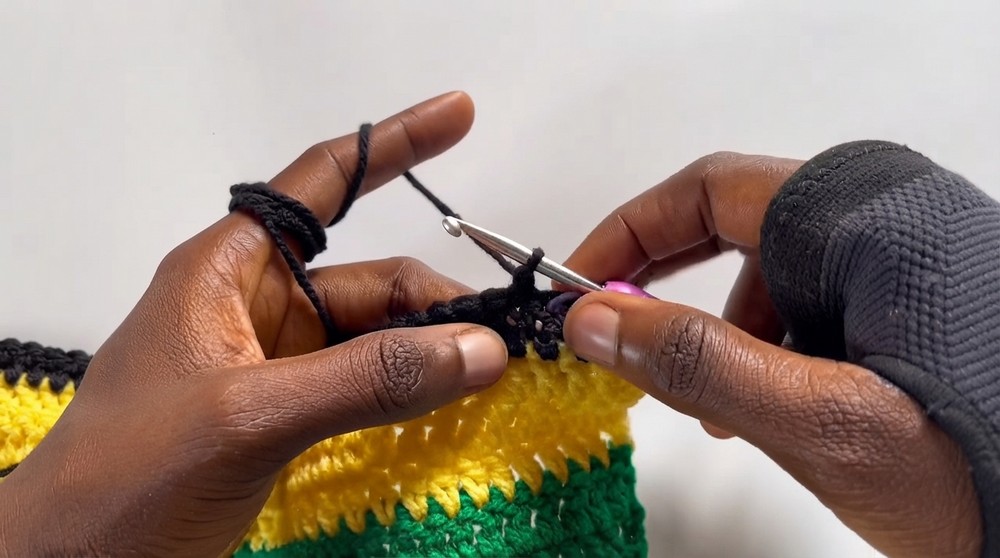
Row 32 (Repeat Decreases):
- Chain 1 (turn), repeat: start with two dc2tog; work 1 dc across, then finish with two dc2tog near end.
Row 33–34 (Single Decreases):
- Chain 1, start with one dc2tog; 1 dc in each stitch, finish with one dc2tog at end.
- These rounds reduce shaping for armhole curves.
Row 35–49:
- Chain 1, standing dc in first stitch, 1 dc in each stitch across—no decreases. (Change color as in sample: 5 black, 5 green, 4 yellow, 5 black, rest black.)
Neckline Shaping (Front Panel)
Rows 50–55 (Each Side):
- Place stitch markers for neckline width (suggested: 7″).
- On each neck portion, work six rows:
- Row 50: Chain 1, standing dc in first stitch, 1 dc in each stitch to marker (count: 17 stitches).
- Row 51: Chain 1, slip st into second stitch, chain 3 (counts as dc); work 1 dc in each stitch (count: 16).
- Row 52: Chain 1, standing dc in first stitch, 1 dc across, stop before last stitch (count: 15).
- Rows 53–55: Repeat decreases as above, ending with 12 dc in row 55.
- Repeat for both neck portions.
Back Panel
- Identical to front panel up to armhole, except work 52 rows from ribbing before neckline shaping.
- Neck shaping: work three rows on each side, starting at center (mirroring front panel decrease counts). End with 12 dc in last row.
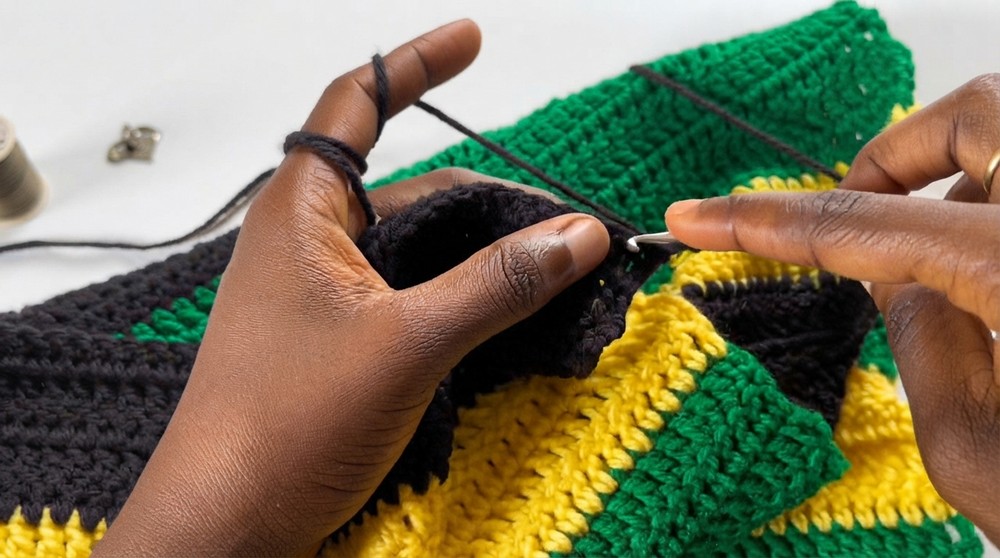
Assembly and Sizing
- Join shoulders (front and back panels) using single crochet seam, matching edge stitches.
- Join sides from underarm marker to ribbing, using single crochet. Change yarn color to match color stripes for a clean finish. Work two sc per dc row (one in stitch, one in body).
- Finished vest measures approx. 27″ long, 40″ chest, neckline width 7″, armhole ribbing/neck ribbing 1.5″.
Edging Ribbing
Armhole Ribbing (Worked in rounds):
- Attach yarn at underarm, sc evenly around (two sc per dc row, one in body, one in stitch).
- Work subtle decreases at armhole curve for fit.
- Change yarn color as needed for first round.
- End with count equal for both armholes (example: 107 sc).
- Row 2: sl st to first sc, chain 3, work dc around; decrease at armhole points.
- Row 3: Chain 3, alternate fpdc and bpdc around.
- Rows 4–5: Work fpdc/bpdc in corresponding stitch. Fasten off.
Neckline Ribbing:
- Attach yarn at back center, chain 3, work dc in each stitch around (two dc per shoulder seam row).
- Rows 2–4: Alternate fpdc and bpdc; row 3, decrease at shoulder seams (making three stitches into one back post dc).
- Row 4: Work fpdc/bpdc as established. Fasten off.
Conclusion
This Jamaican themed vest combines bold colorwork, clean ribbing, and classic shaping for a standout wearable. The pattern includes guidance for color placement, decreasing techniques, and neat joining, ensuring a well-finished garment. Adjust measurements and colors as desired for a personalized fit. Maintain stitch counts throughout for accuracy and share your finished project for inspiration. For modifications or troubleshooting, refer back to stitch tutorials or community forums.