Crochet Sweater Vest Free Pattern To Boost Your Wardrobe

Experience cozy warmth with this Crochet Sweater Vest Pattern, perfect for layering style and adding timeless charm to your wardrobe with ease.
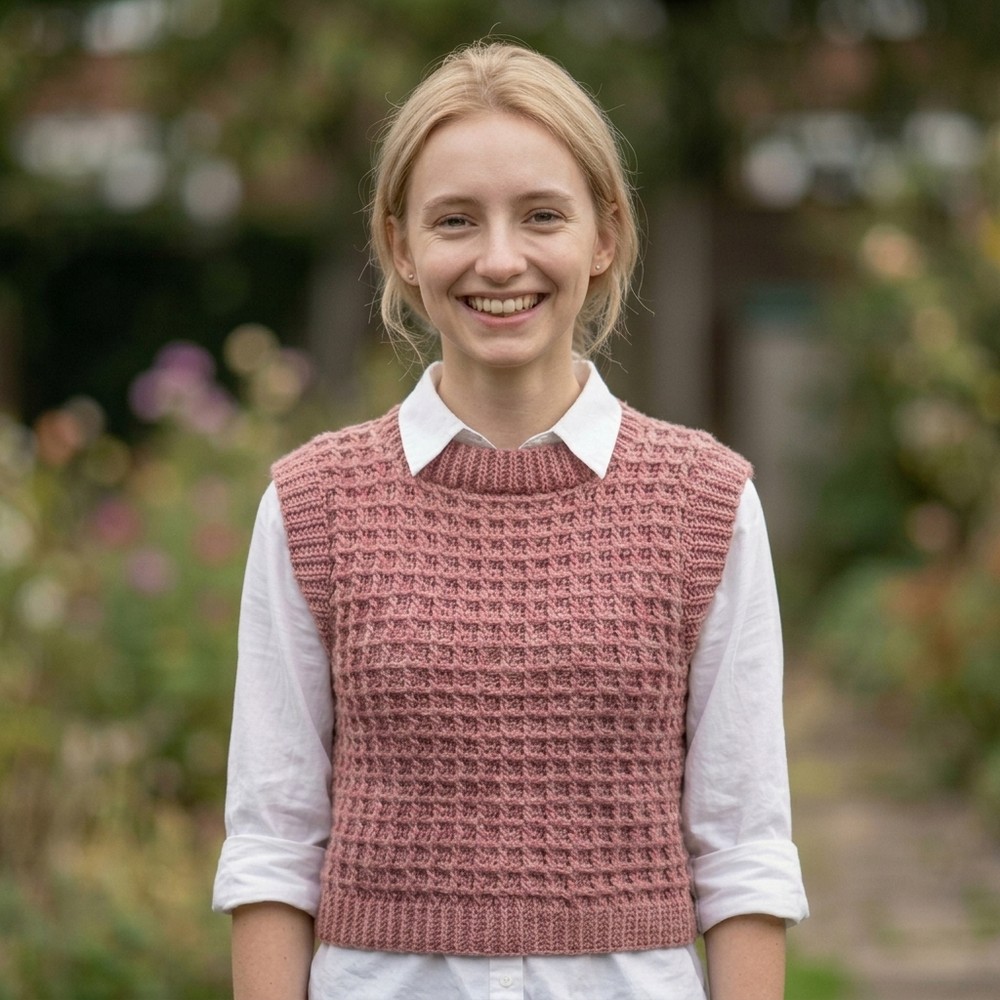
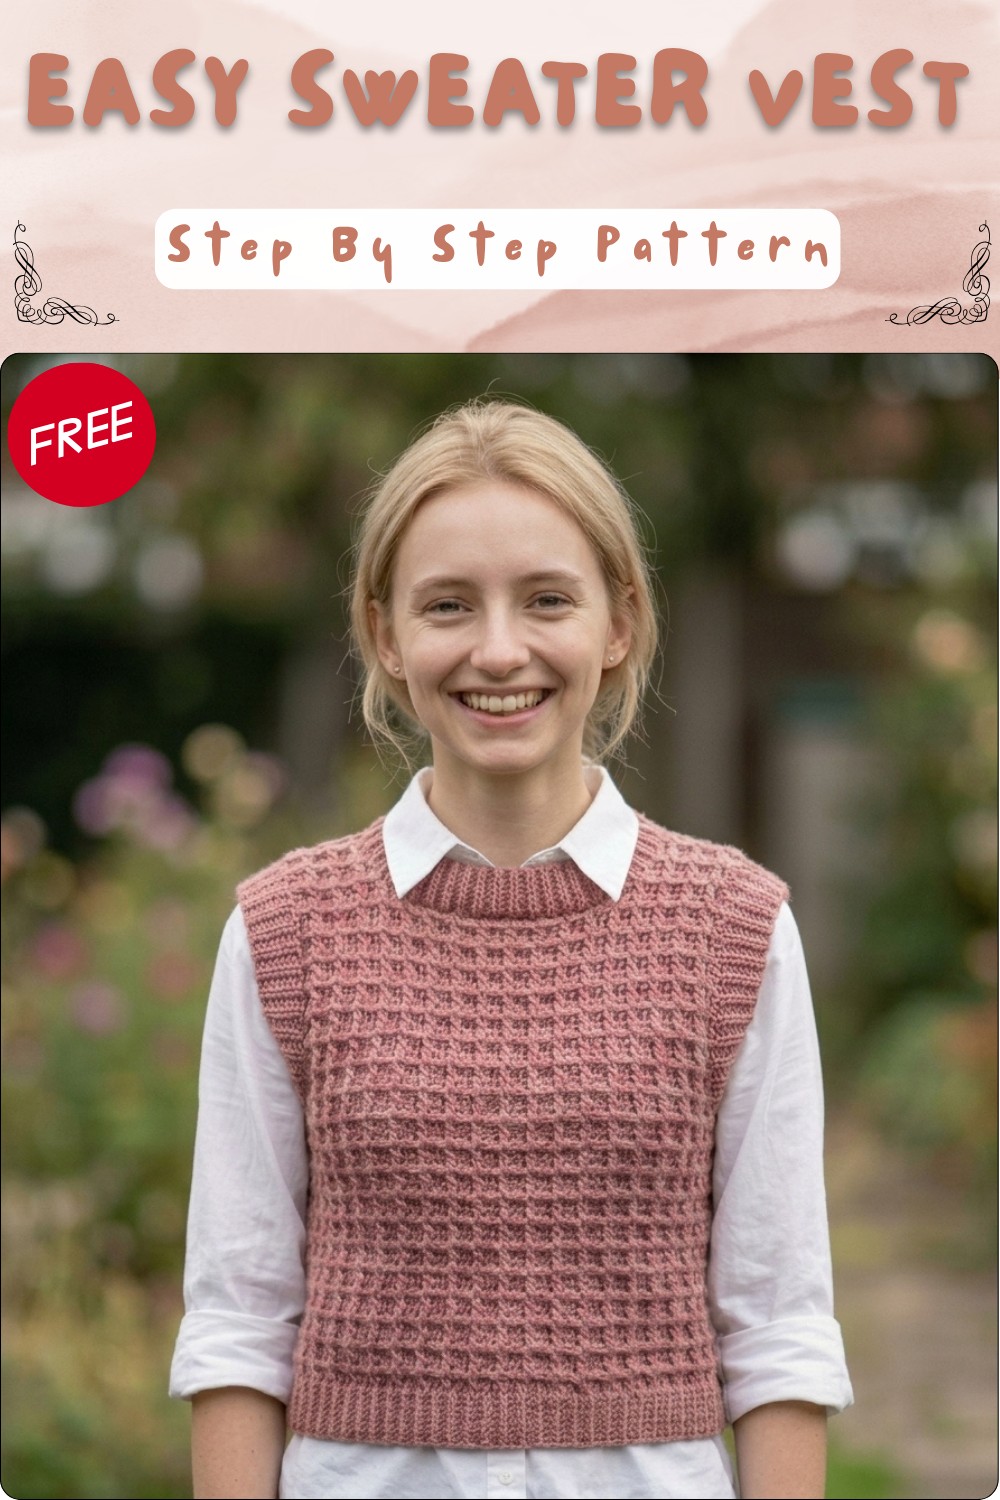
If you’re on the hunt for a cozy yet stylish layering piece, this free crochet sweater vest pattern might just be your new favorite project. This versatile vest combines classic charm with a modern twist, featuring a textured stitch that adds dimension and warmth without bulk. Its slightly boxy shape makes it perfect for layering over shirts or dresses, giving you a chic look that effortlessly transitions from casual days to more polished occasions.
Stylish Crochet Sweater Vest Pattern for Cool Weather
Designed for crocheters who have some basic experience, this pattern offers multiple size options to fit a range of body types. You can customize the vest’s fit and length by adjusting your yarn choice and hook size, tailoring it exactly to your style and comfort. Constructed mainly in pieces that are then seamed together, the vest requires some simple shaping, making it a satisfying project that balances structure and ease.
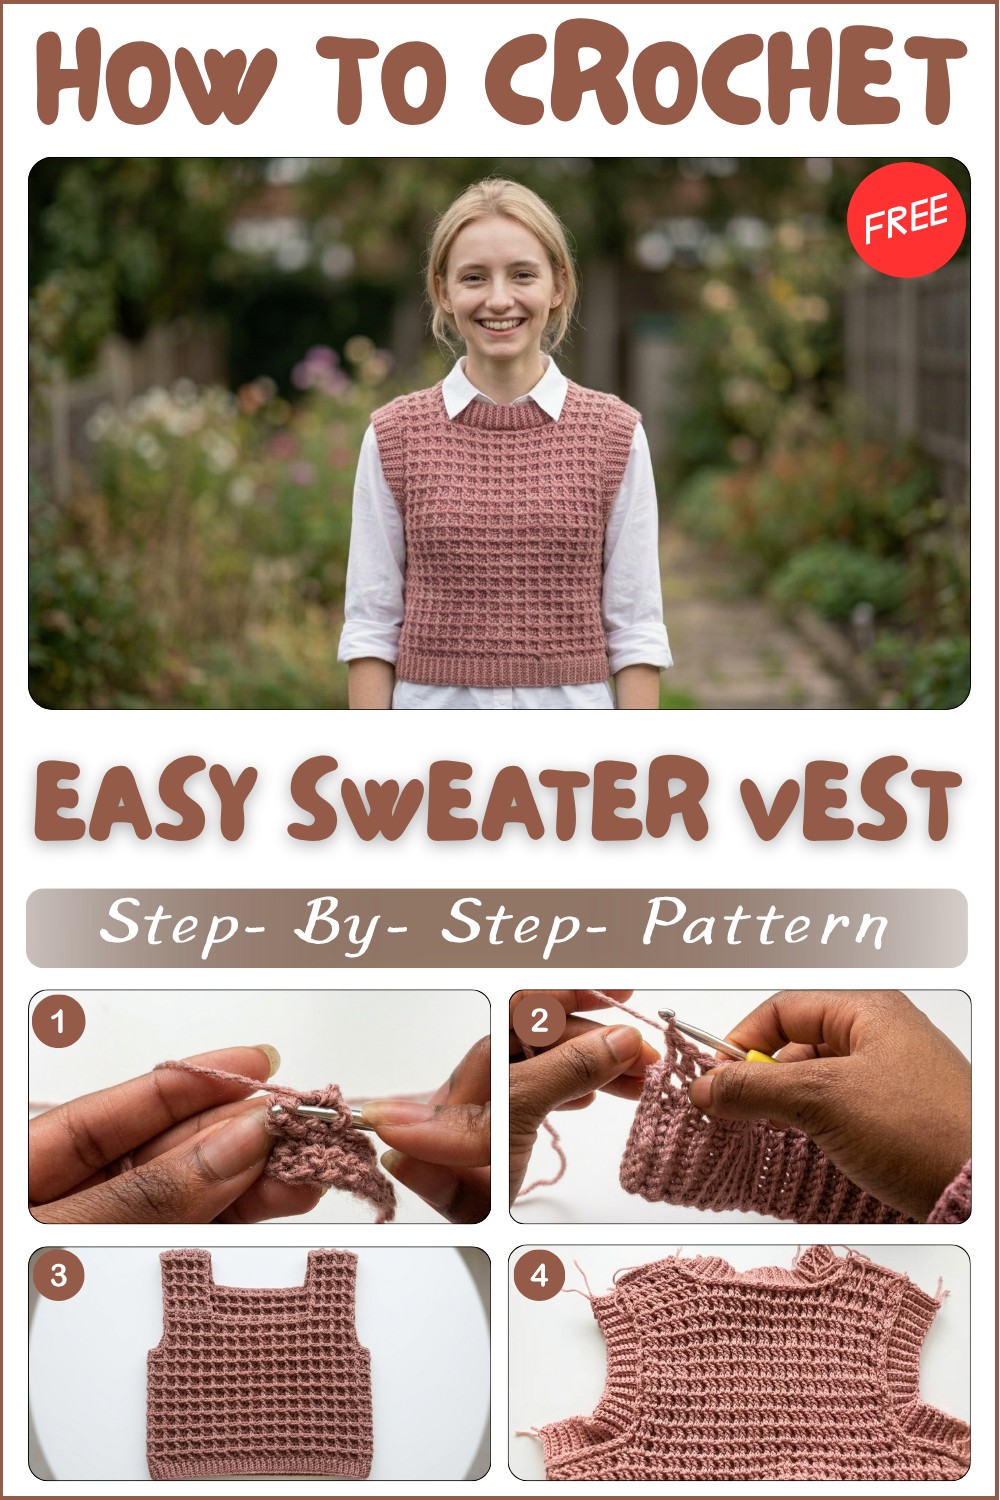
When choosing yarn, I recommend a soft, medium-weight fiber like a wool blend or acrylic for warmth and stitch definition. These yarn types complement the textured stitch beautifully and ensure the vest holds its shape over time. The inspiration behind this design comes from my love for timeless wardrobe staples that feel handmade yet sophisticated.
This sweater vest makes a thoughtful gift, especially for those who appreciate unique, personalized fashion. Don’t be afraid to experiment with colors or add your own flair, crochet is all about creativity and making pieces that reflect your personality.
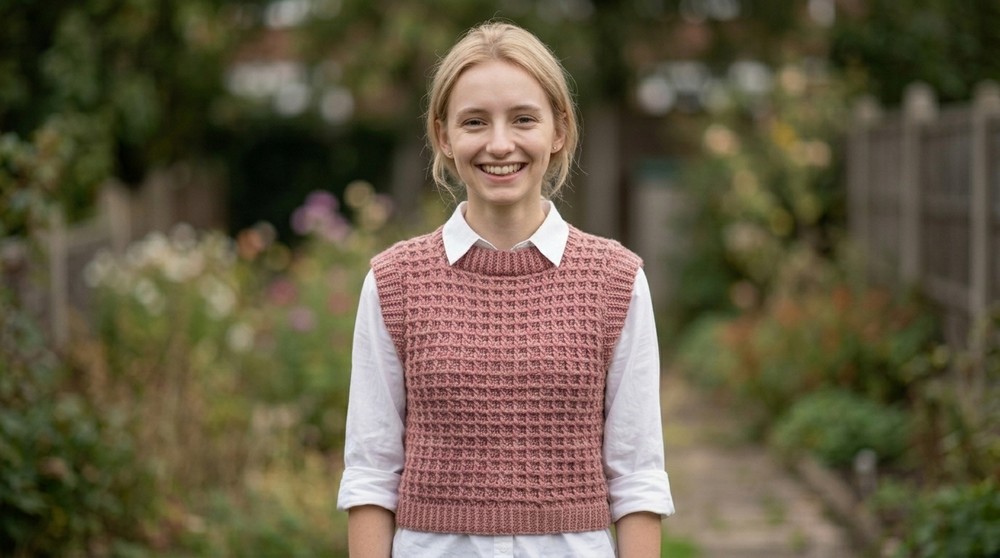
Ribbed Sweater Vest Crochet Pattern
A classic ribbed sweater vest, constructed with front post stitches for rich texture and professional finish. Panel-based for easy assembly, this vest features ribbed edgings for the neck and arms—perfect for layering during chilly days. Instructions include thorough row counts, stitch marker placements, and assembly for both the front and back panels.
Materials
- Yarn: Worsted weight yarn (amount varies by size)
- Crochet Hook: 4.5 mm
- Stitch markers
- Scissors
- Yarn needle (for weaving in ends)
Pattern Notes
- The vest is worked in panels, first establishing ribbed edgings before moving into body panels with alternating post and regular stitches.
- All edgings (armhole and neck) use back loop only single crochets; body ribbing uses front post single crochet.
- Row counts and panel measurements are given for medium size; adjust as needed for desired fit.
- Slip stitches are used for seaming. Placement of stitch markers ensures accurate neck and armhole shaping.
- Endings of panels may have “invisible stitches”—take care not to drop or miss them during finishing.
Skill Level
Easy – Advanced Beginner:
Requires comfort with post stitches, back loop techniques, basic shaping, and slip stitch seaming.
Measurements / Sizing (Optional Schematic)
- Ribbing: Each ribbing strip (front and back) = approx. 16″ long after 80 rows.
- Body panels: 21 rows to 19″, then split for armhole and shoulder shaping.
- Armhole ribbing: 40 rows; Neck ribbing: 48 rows.
- Each neck hole side should have 14 stitches; front panel in total = 26 rows after neck split, back panel = 26 rows.
- Adjust row counts and panel length as required for your measurements.
Gauge (and Stitch Pattern)
- Gauge: 10 rows x 10 sts (post stitch pattern) = approx. 4×4″.
- Stitch Pattern:
- Front Post Single Crochet Ribbing: creates pronounced rib texture.
- Alternating Front Post/Regular Double Crochet: creates vertical striping and structural body fabric.
- Back Loop Single Crochet: flexible rib for edgings.
Stitch Abbreviations
- ch = chain
- sc = single crochet
- dc = double crochet
- fpdc = front post double crochet
- fpsc = front post single crochet
- blo = back loop only
- sl st = slip stitch
- rep = repeat
- st(s) = stitch(es)
- beg = beginning
Special Stitches
Front Post Single Crochet (fpsc):
Insert hook around post of stitch from front to back, yarn over, pull up loop, yarn over, pull through two.
Front Post Double Crochet (fpdc):
Yarn over, insert hook around post (front to back), yarn over, pull up loop, yarn over, pull through two, yarn over, pull through two (as you would for any double crochet).
Back Loop Single Crochet (blo sc):
Work single crochet in back loop only for stretchy ribbing.
The Crochet Pattern
Ribbing (Edge for Panels—Make 2)
- With 4.5 mm hook, make a slip knot, ch 10.
- Starting in second ch from hook, sc in each ch across (9 sc).
- Ch 1, turn.
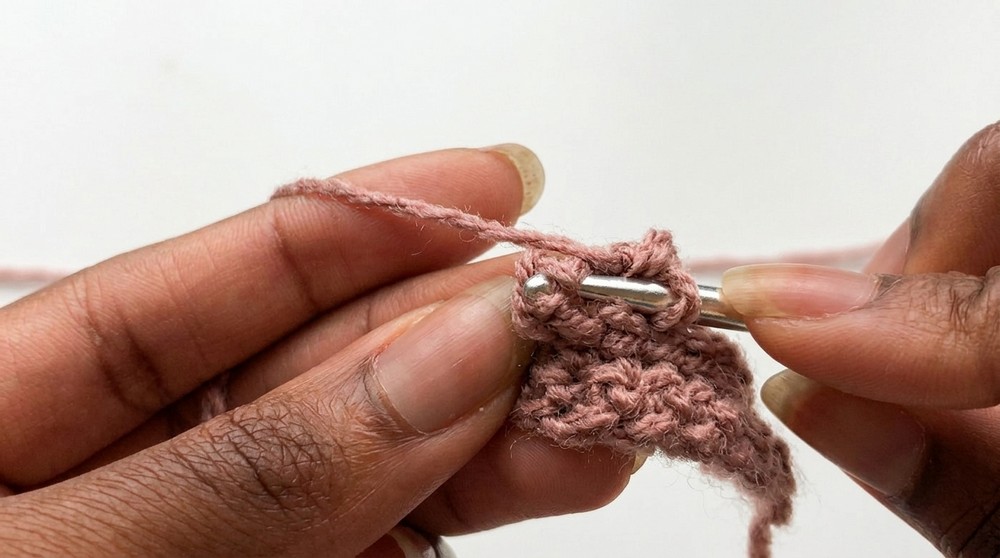
- Work fpsc across—insert hook from front to back around previous row’s sc; complete sc as usual.
- At row end, work a regular sc in final st (sometimes not visible; ensure every row has 9 sc).
- Repeat Steps 3–5 for 80 rows (approx. 16″ length).
- Do not fasten off after ribbing—continue to body.
Body Panel (Front & Back; Work as Below)
- Ch 2, turn.
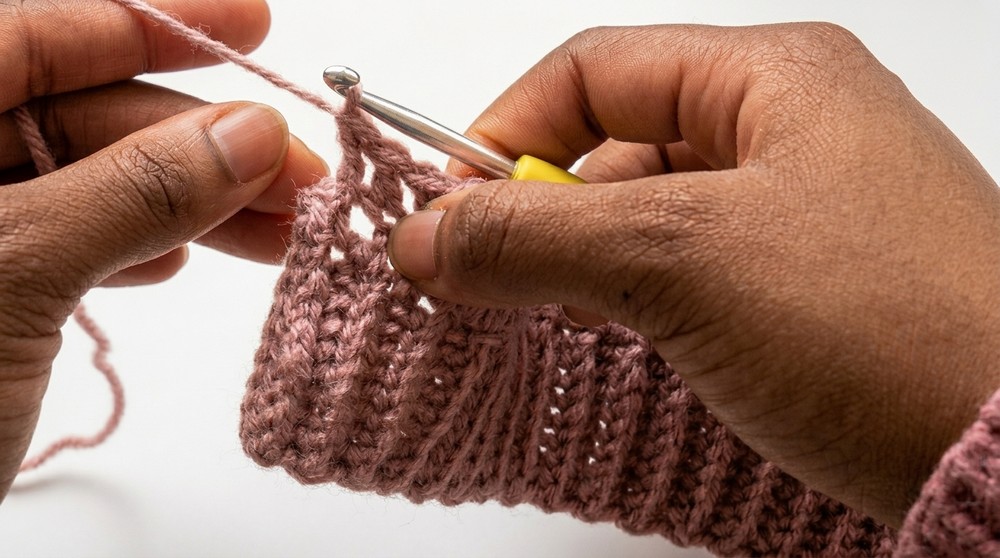
- Place first dc in space/hole at top of rib strip; continue dc in each space across ribbing for entire row.
- Ch 2, turn.
- Next row: Work fpdc in first space (not stitch), then 2 dc in each st, alternate fpdc and dc across row.
- Repeat pattern:
- Next row: Regular dc, then fpdc, and so on; alternate fpdc and dc across.
- Every row begins with either dc or fpdc depending if the stitch is coming forward/back from previous row.
- Continue for 21 rows or until panel measures 19″ from edge.
Armhole & Shoulder Shaping
- Mark armhole placement at 10” (from hem up) with stitch markers.
- At desired armhole height (10”), ch 1, cut yarn.
- Reattach yarn on left edge (for shoulder/neck shaping).
- Ch 2; work pattern (fpdc and dc alternation) between stitch markers for shoulder strip (14 sts).
- Continue, turning at markers for 4” shoulder strip (about 17 additional rows in front, 5 in back).
- Each shoulder should have 14 sts; for front panel, make 26 rows from armhole to top; for back panel, 26 rows, but neck hole is shallower (shorter split).
Panel Notes
- Front Panel: Neck split is deeper, with 17 rows one side and 9 on other, total 26 rows.
- Back Panel: Neck hole split is shallower, with 21 rows prior split and 5 after, total 26 rows.
- Place markers and adjust rows as needed for fit.
Ribbing for Armhole (make 2)
- With 4.5 mm hook, make slip knot, ch 10.
- Skip one, sc in each ch across (9 sc).
- Ch 1, turn.
- Work blo sc across the row; continue for 40 rows.
- Attach ribbing to armhole edge via slip stitch in each hole (aligning with panel’s edge).
- Repeat for other armhole.
Ribbing for Neckline
- Count total neck hole stitches (front 48, back 34).
- With slip knot, ch 10, sc in each ch (9 sc); ch 1, turn.
- Work blo sc for number of rows = neck edge stitches (48 for front, 34 for back).
- Attach ribbing to neckline via slip stitch in each hole/space.
- Repeat for other neck side, ensuring even alignment.
Assembly & Finished Size
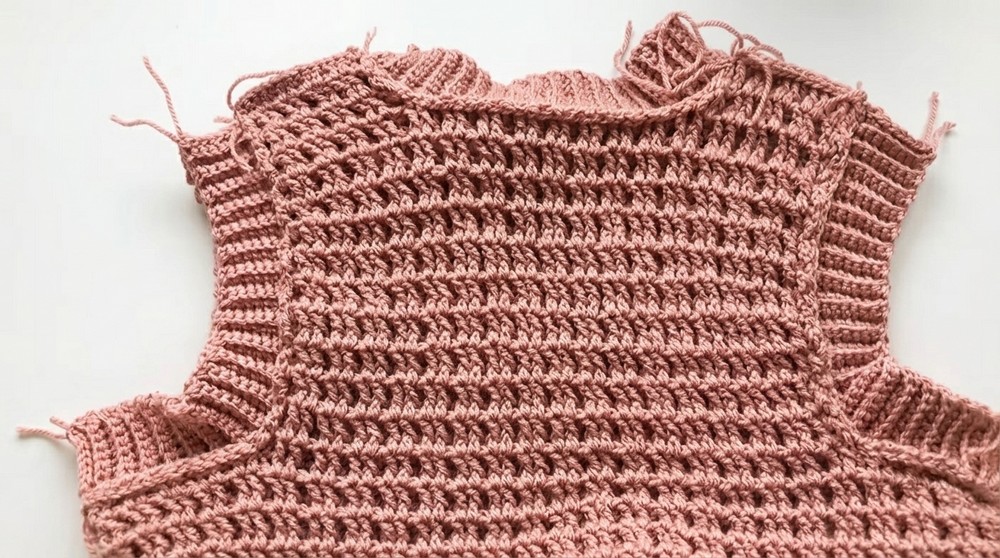
- Slip stitch top and bottom of front and back panels together along sides.
- Seam shoulders at top and neck edge; use slip stitch for strong, neat finish.
- Attach ribbing via slip stitches along armhole edges and neckline.
- Ensure neck hole sides have 14 stitches for symmetry.
- Weave in ends securely for polished finish.
- Check fit; adjust row counts as needed for personal size.
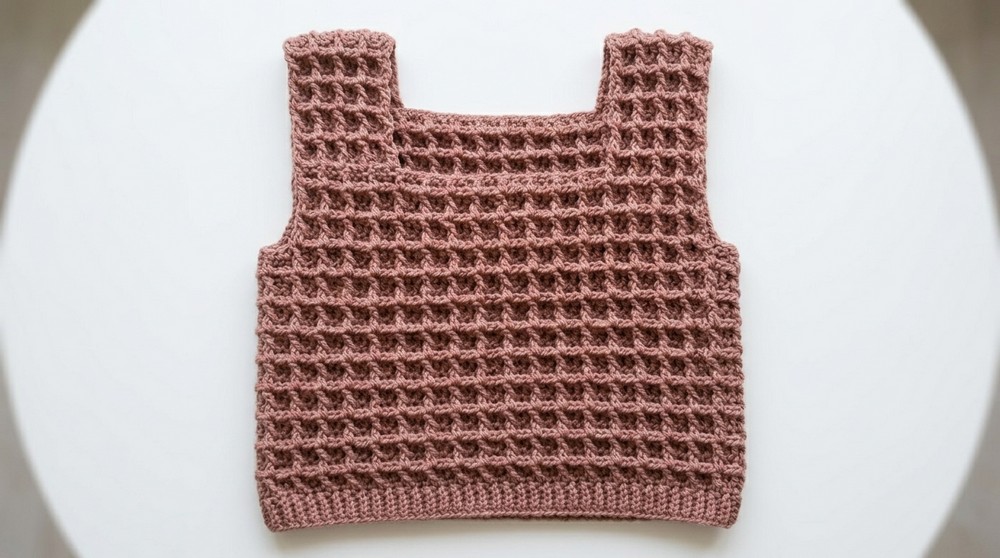
Congrats! Your ribbed sweater vest is ready. The vest’s neat rib side panels, tailored armholes, and neckline create a modern silhouette perfect for layering. Adjust yarn weights and hook sizes for your preferred fit.