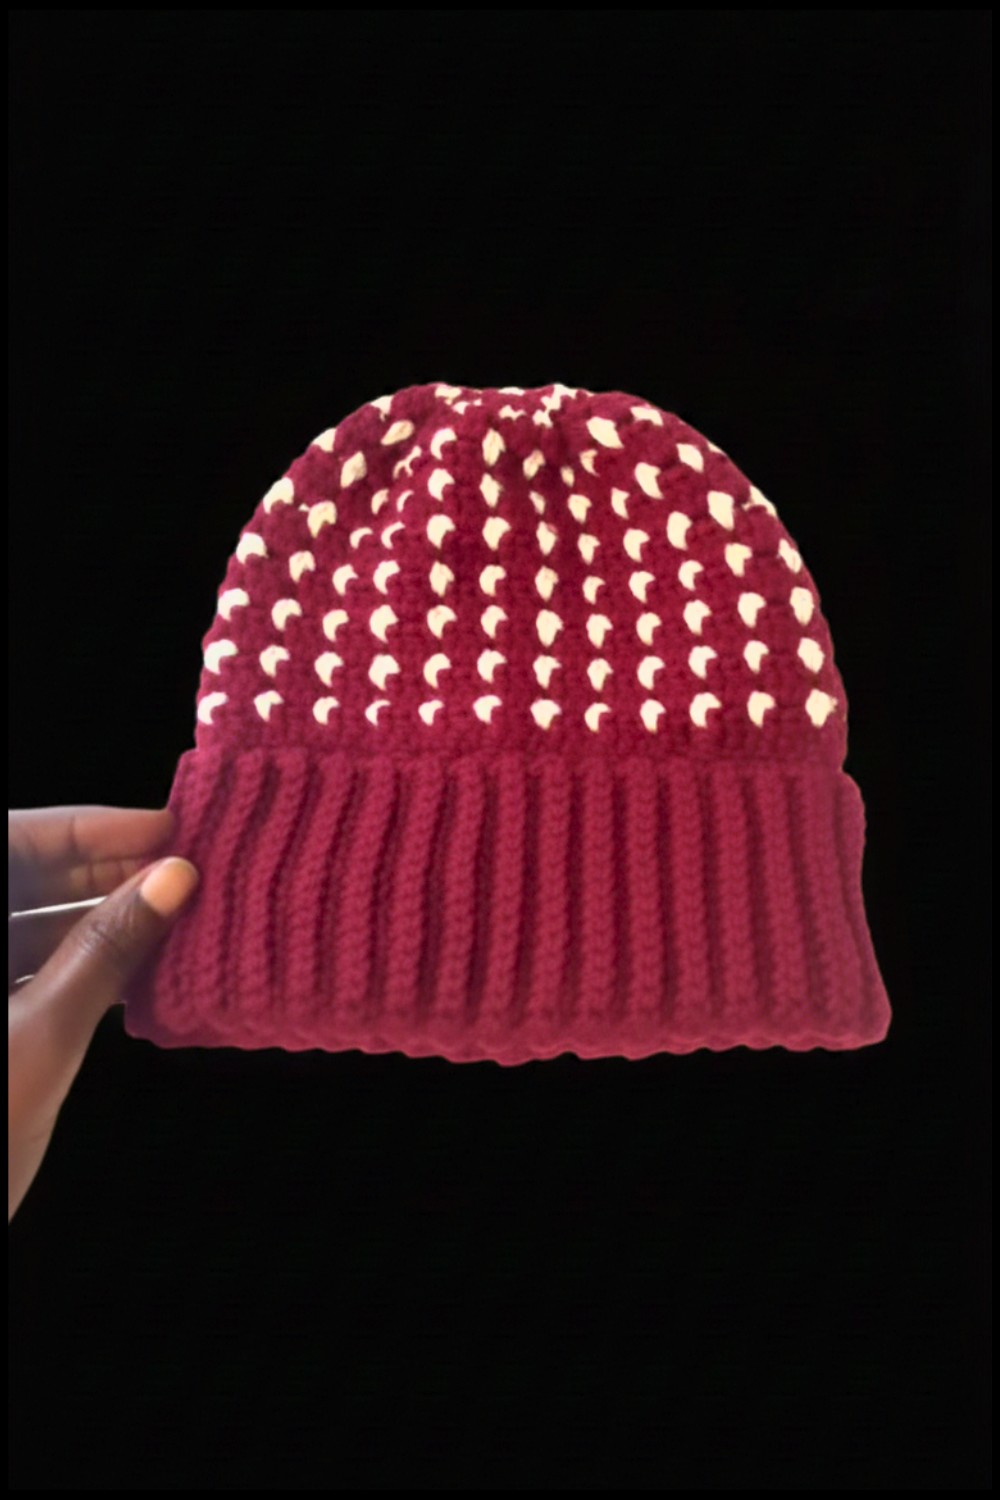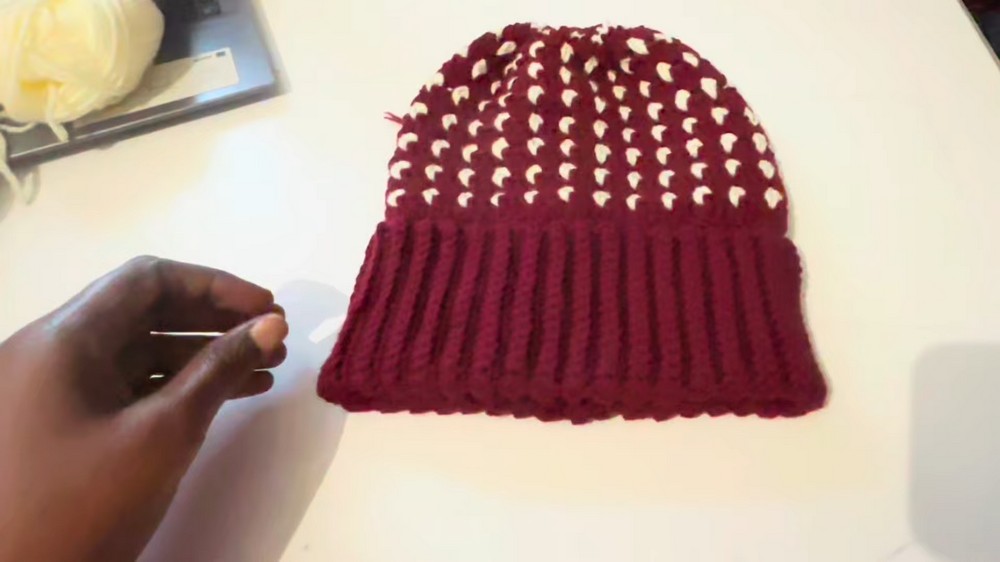
Cozy Hat Free Crochet Pattern for Daily Wear
Stay warm in style with this free crochet hat pattern, that’s provide cozy comfort adds a neat finish and fits perfectly for everyday wear.
Soft yarn forms a gentle cover for the head that brings happiness and warmth. Using a crochet hat pattern helps make a one-of-a-kind hat filled with your chosen colors and styles. It fits snugly, wraps the head and ears, and is a simple way to add beauty to any outfit. Choosing bright or quiet colors changes the look for each person. The instructions are easy to follow, so anyone can make one without worries.
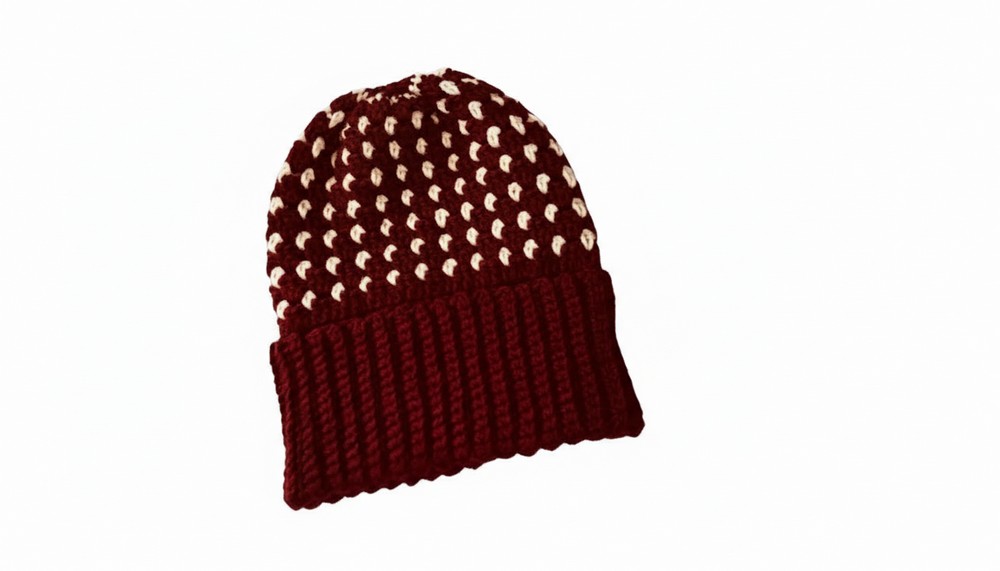
Free Crochet Hat Pattern for a Stylish Everyday Look
This kind of hat uses only basic yarn and turns it into something practical for all seasons. It can be made quickly and given as a thoughtful gift, showing kindness and care. Giving this handmade hat brings comfort and cheer, making life just a bit more pleasant for you or someone special.
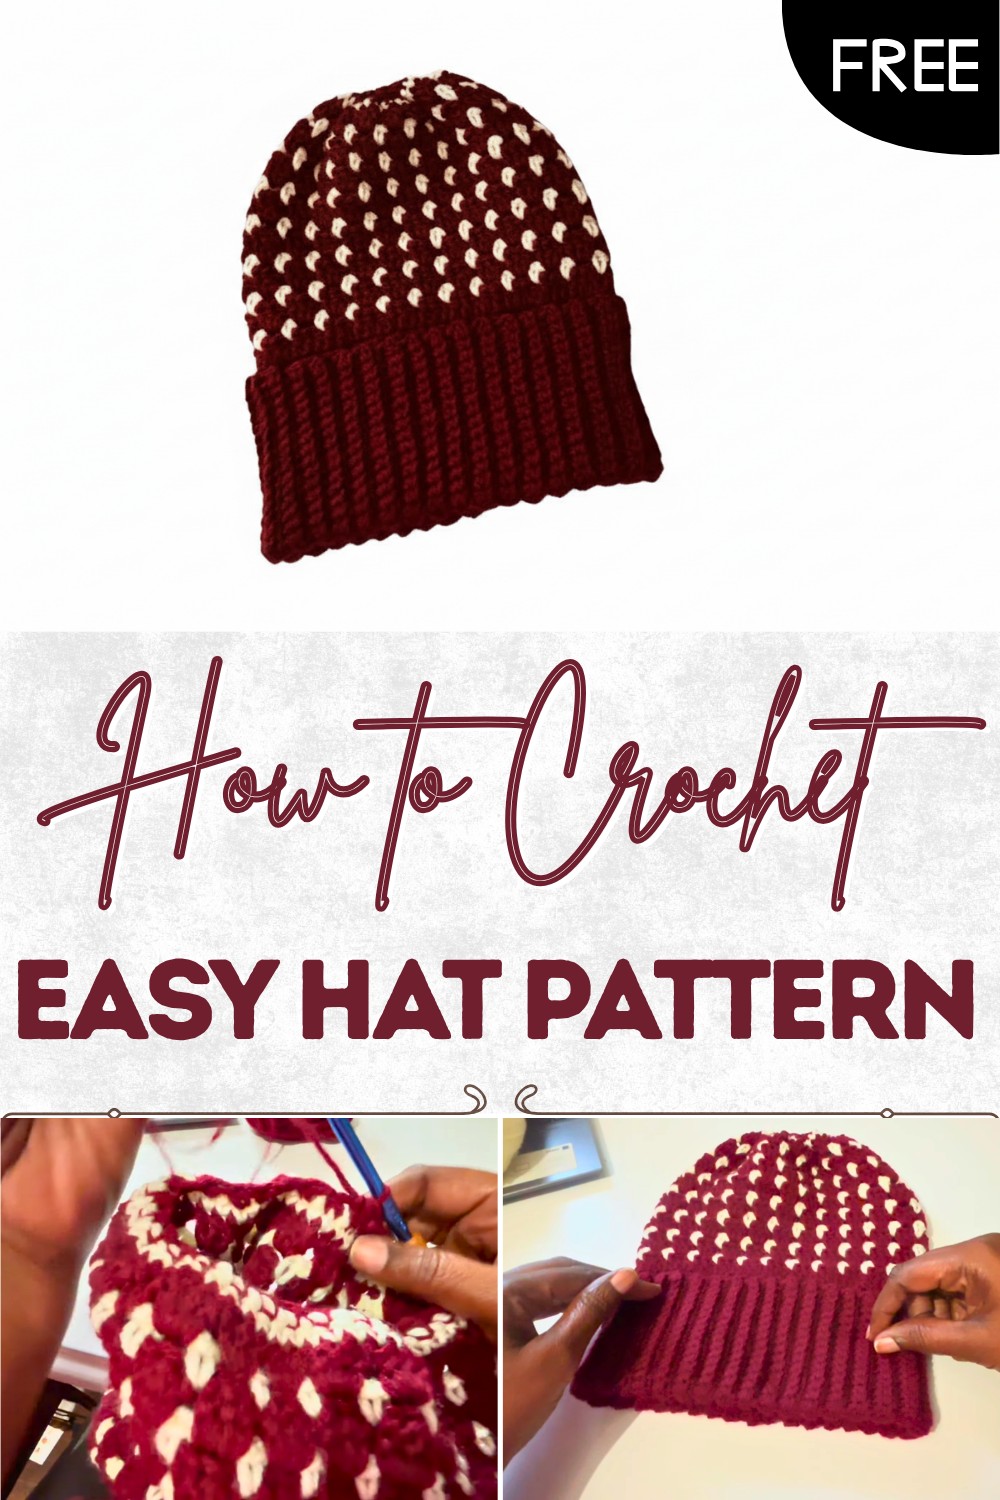
Beginner-Friendly Two-Color Textured Hat
Materials List
- Yarn: Worsted weight (#4) acrylic yarn in two colors (Color A and Color B)
- Hook Sizes: 5.0 mm for the brim, 6.0 mm for the body of the hat
- Notions: Yarn needle (for weaving ends), scissors, stitch markers (optional)
Key Abbreviations (US Terms)
- ch – chain
- sc – single crochet
- dc – double crochet
- sl st – slip stitch
- st(s) – stitch(es)
- BLO – back loop only
Special Notes
- Hat is worked flat for the brim and then in the round for the body.
- Brim is worked in single crochet through the back loop only for ribbing.
- Pattern uses two colors—“primary” (Color A) for most of the hat and “contrast” (Color B) for the accent rows.
- For different head sizes, adjust the number of brim rows (increase/decrease to fit circumference).
Pattern
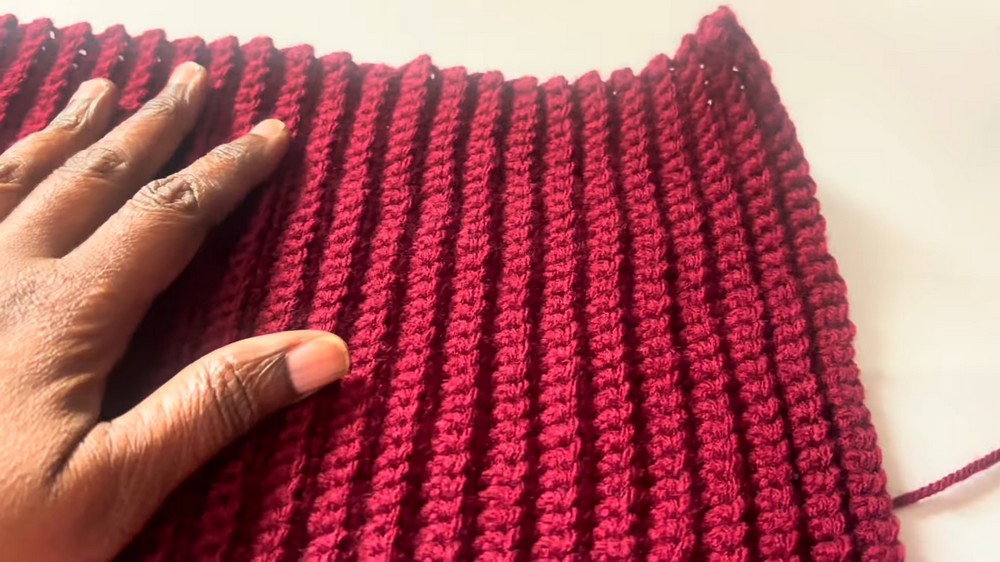
Brim (Worked Flat)
- With 5.0 mm hook and Color A, ch 33.
- Row 1: Sc in 2nd ch from hook and each ch across. (32 sc)
- Row 2: Ch 1, turn. Working in BLO throughout, sc in each st across. (32 sc)
- Repeat Row 2 until you have 72 rows (or enough to fit comfortably around your head, adjusting for desired size).
Tip: Use a stitch marker to help count rows.
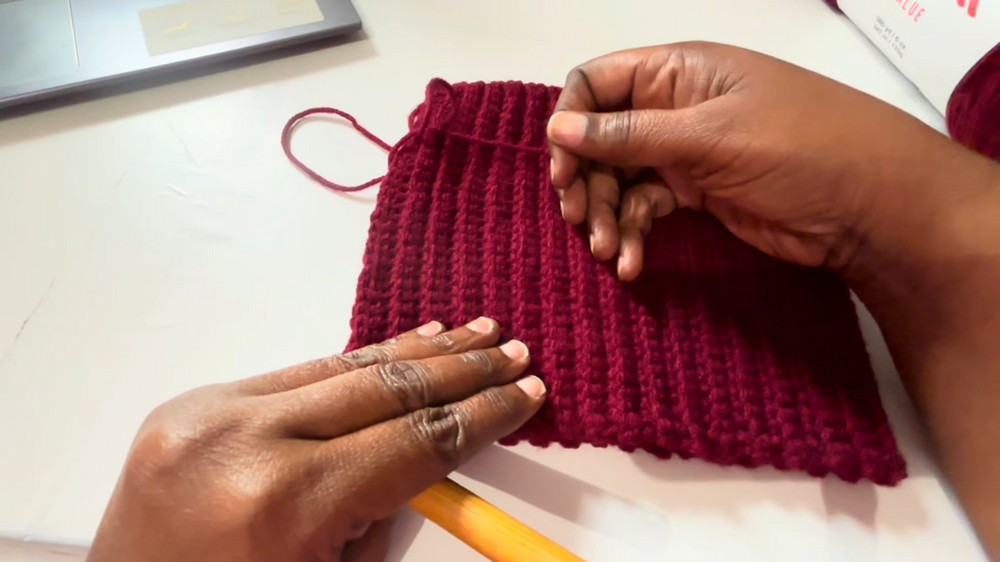
- Fold ribbing in half, align short ends, and sl st together through both layers to join (forms a ribbed ring).
Set Up Body/Join-in-the-Round
- Do not turn work. Switch to working along the long edge of the brim/ribbing.
- Ch 1. Work 1 sc into the end of each brim row around (placing 1 sc in each “hump”: 1 in each side of the rib for a total of 72 sc, or the number of rows you made). Join with sl st.
- Switch to 6.0 mm hook for the hat body.
Body of Hat
Main Body:
- Ch 1, turn work.
- Round 1: Dc in each st around. Join with sl st at the end of round. (72 dc)
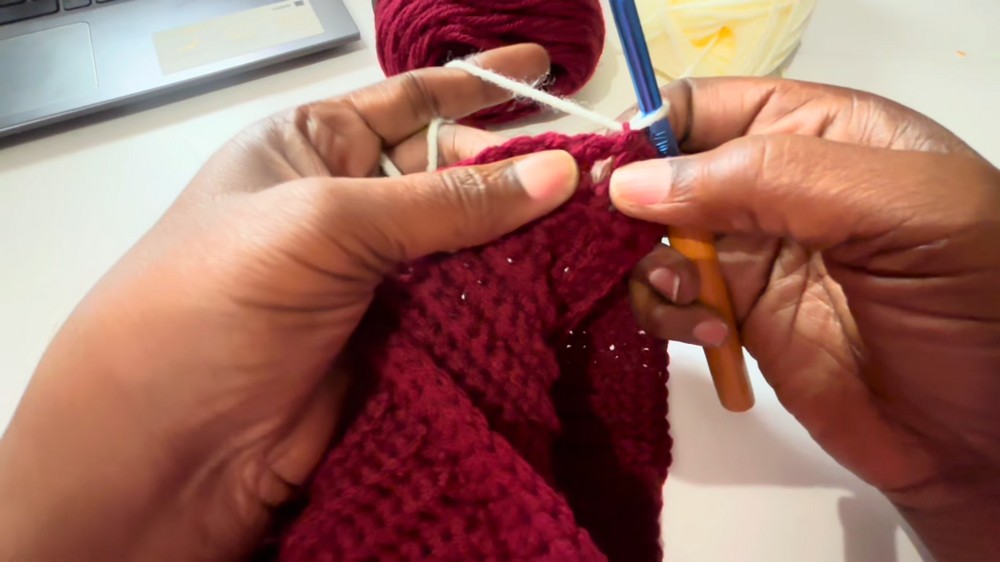
- Add Color B: Fasten on Color B, do not cut Color A.
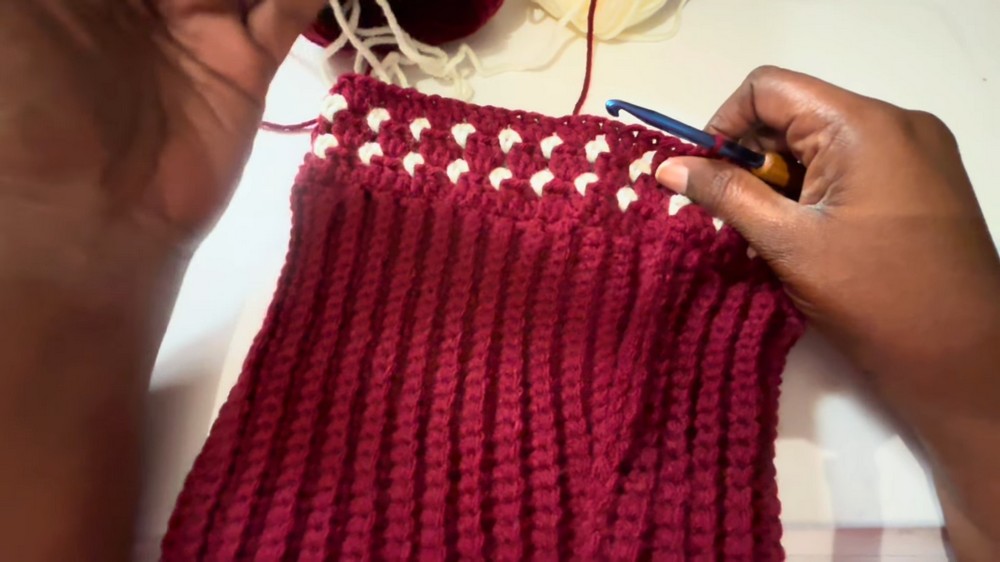
- Round 2 (Contrast Round):
- Inserting your hook between each dc post (not the top of the stitches), work as follows:
- Sc in first space between posts, ch 2, sk next 3 dc posts, repeat sc, ch 2, sk 3 posts around.
- You should land evenly at the end (if not, adjust slightly so joins are not visible). Sl st to first sc to join.
- Inserting your hook between each dc post (not the top of the stitches), work as follows:
- Switch back to Color A (do not cut Color B).
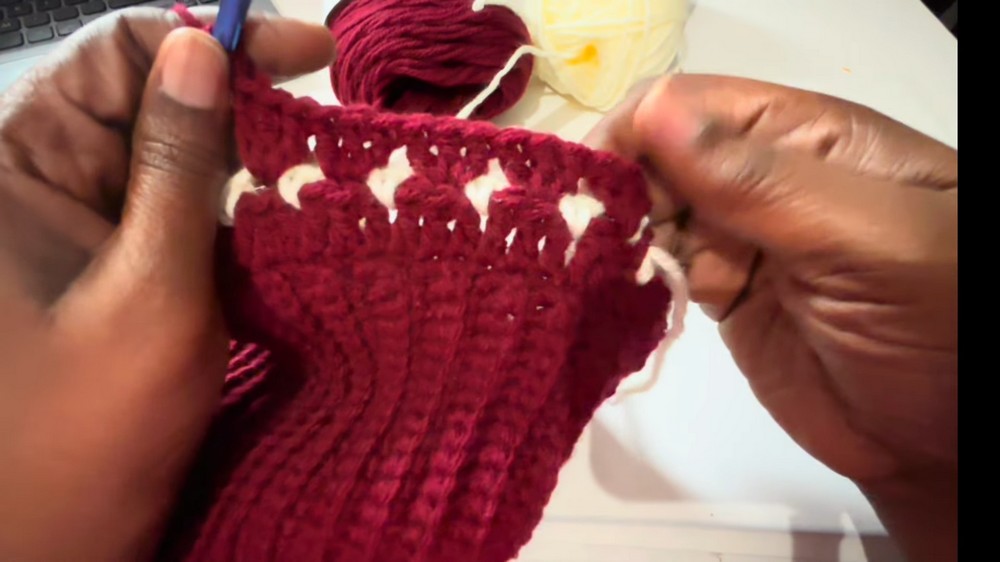
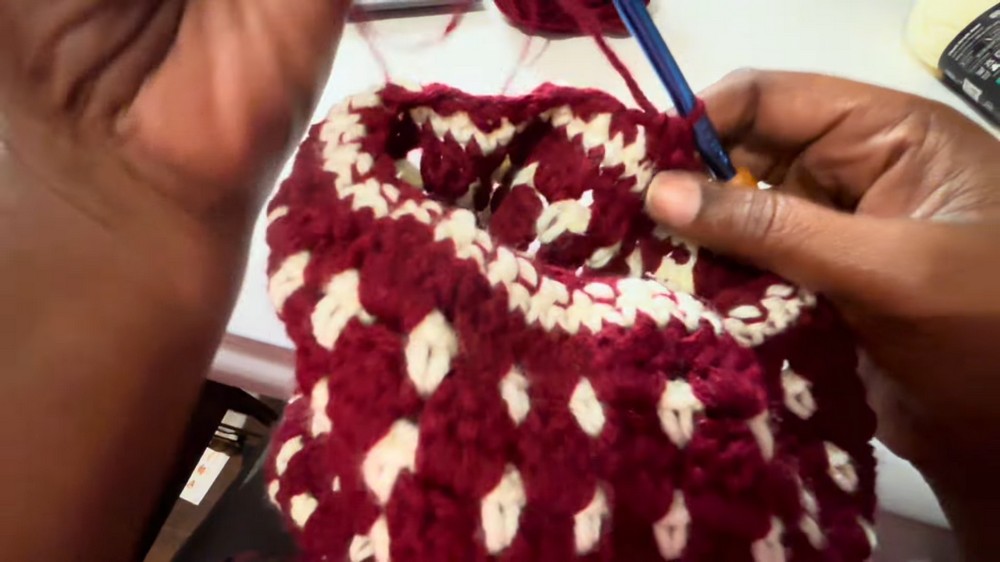
- Round 3: Ch 2, turn. In each ch-2 space from previous round, work 3 dc.
- Repeat this (3 dc in each ch-2 space) all the way around. Sl st to join.
- Round 4: Pick up Color B, in each space made by the 3-dc clusters, sc in the space, ch 2, repeat around, sl st to join.
- Repeat Rounds 3 and 4 (alternating 3 dc clusters in Color A, then sc/ch2 in Color B) until you have a total of 17 rounds in the hat body (including initial setup rounds).
- End after finishing a Color A “3 dc in each space” round.
Final Contrast Round & Decrease
- With Color B, sc in each ch-2 space around (no chain spaces).
- Sl st to join, fasten off Color B.
- Switch to Color A for final decrease round.
Decrease Crown:
- Round 1: Sc in next st, sc in next st, sc2tog over next two sts; repeat this (2 sc, sc2tog) pattern around.
- Next Rounds: Continue decreasing in the same pattern (or as needed) until the top opening is small enough to close (keep sc2tog all the way around until only a few stitches remain).
- Fasten off, leaving a long yarn tail.
Assembly
- Thread tail onto yarn needle. Weave through remaining stitches at top, pull tight to close.
- Weave in all loose yarn ends securely on the inside of hat.
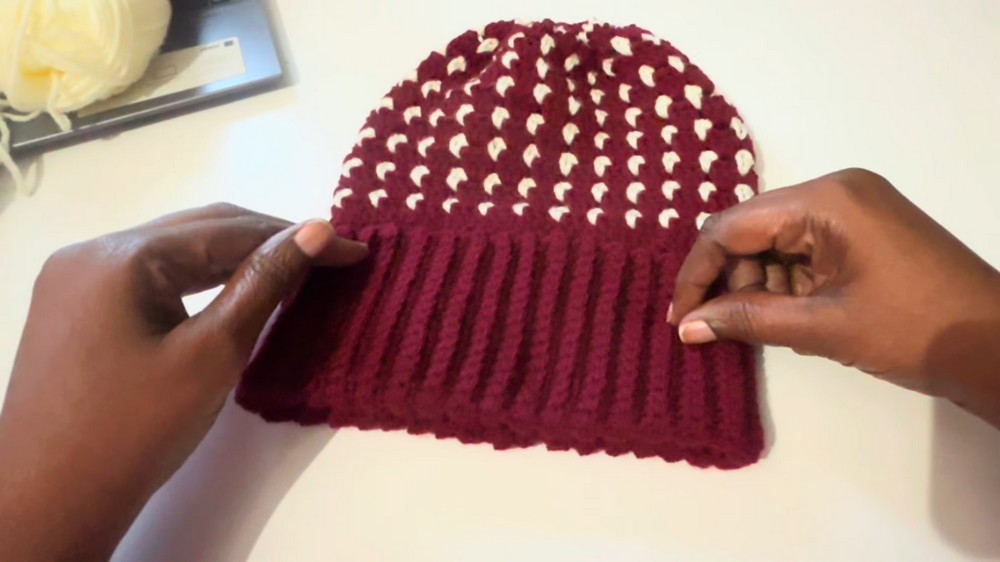
Conclusion
You have completed a stylish, two-color ribbed hat using beginner techniques and fun texture work. The hat is cozy, stretchy, and easily adjustable for any head size. Enjoy your new creation!
Pattern Corrections & Tips
- Brim Too Loose or Tight? Adjust brim row count before joining.
- Gap at Top? Seam tightly with yarn needle for a smooth finish.
- Color Changes: Always change color on a joining sl st for a neat look.
- Decrease Tip: If crown looks too bulky, decrease more aggressively in final rounds.
- Try a faux fur pompom for added flair!