Easy Crochet Star Baby Blanket Free Tutorial – Step-By-Step Pattern

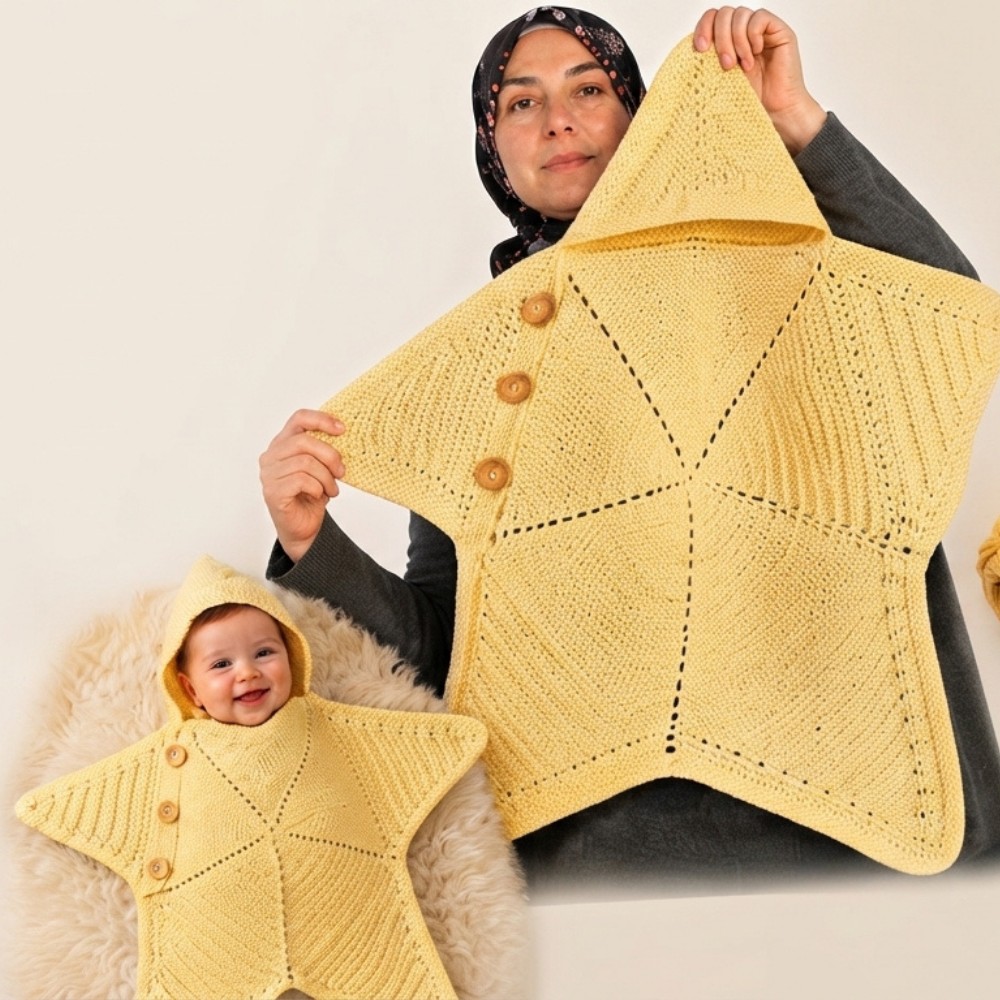
Wrap your little one in love with this free crochet star baby blanket pattern, a cozy and charming design perfect for nurseries and heartfelt gifting.
Creating a cozy and charming blanket for a little one is a wonderful way to add warmth and love to any nursery. This beautiful baby blanket features a delightful star pattern that instantly adds a touch of magic and comfort to your space. Herçeşit elişi offers a clear and friendly tutorial link is below (scroll down), guiding you step-by-step to make this lovely blanket with ease.
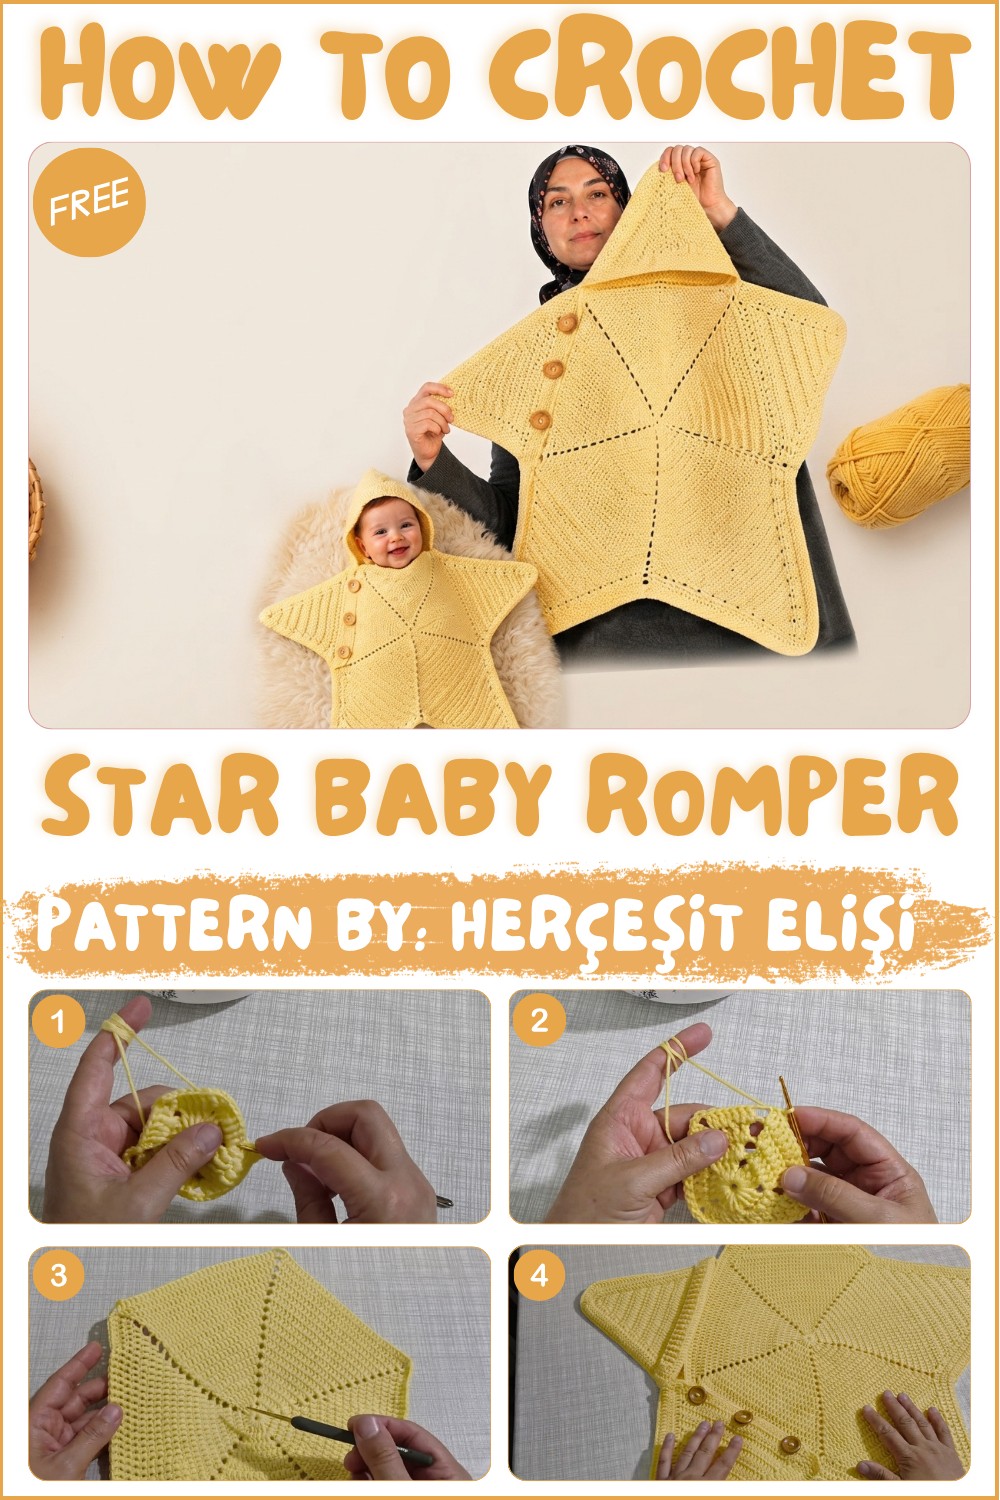
Free Crochet Star Baby Blanket Pattern With Simple Steps
The free crochet star baby blanket pattern uses soft, gentle yarn that feels perfect against a baby’s skin, making it ideal for snuggling. Its texture is plush yet lightweight, combining warmth without heaviness. The star-shaped details create a playful and eye-catching design, with neat and consistent stitches forming a smooth surface. The blanket’s shape is square, providing a perfect size for cribs, strollers, or as a lap throw during chilly moments.
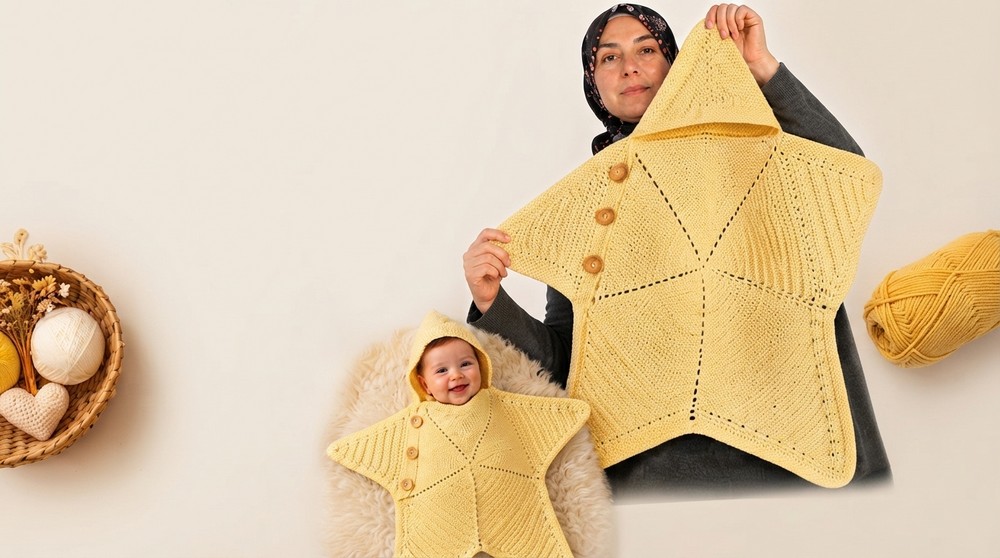
You can use this blanket in many way, as a comforting wrap for newborns, a decorative piece in baby rooms, or even a thoughtful handmade gift for baby showers. Because of its simplicity and clear instructions, crocheters of all skill levels can enjoy making it, from beginners wanting to practice stitches to experienced crocheters looking for a heartwarming project.
This pattern combines function and beauty, bringing a personal touch to everyday comfort. Whether for your own family or as a special gift, the soft texture, charming star design, and easy-to-follow steps make this blanket a treasured creation that will be loved by babies and parents alike.
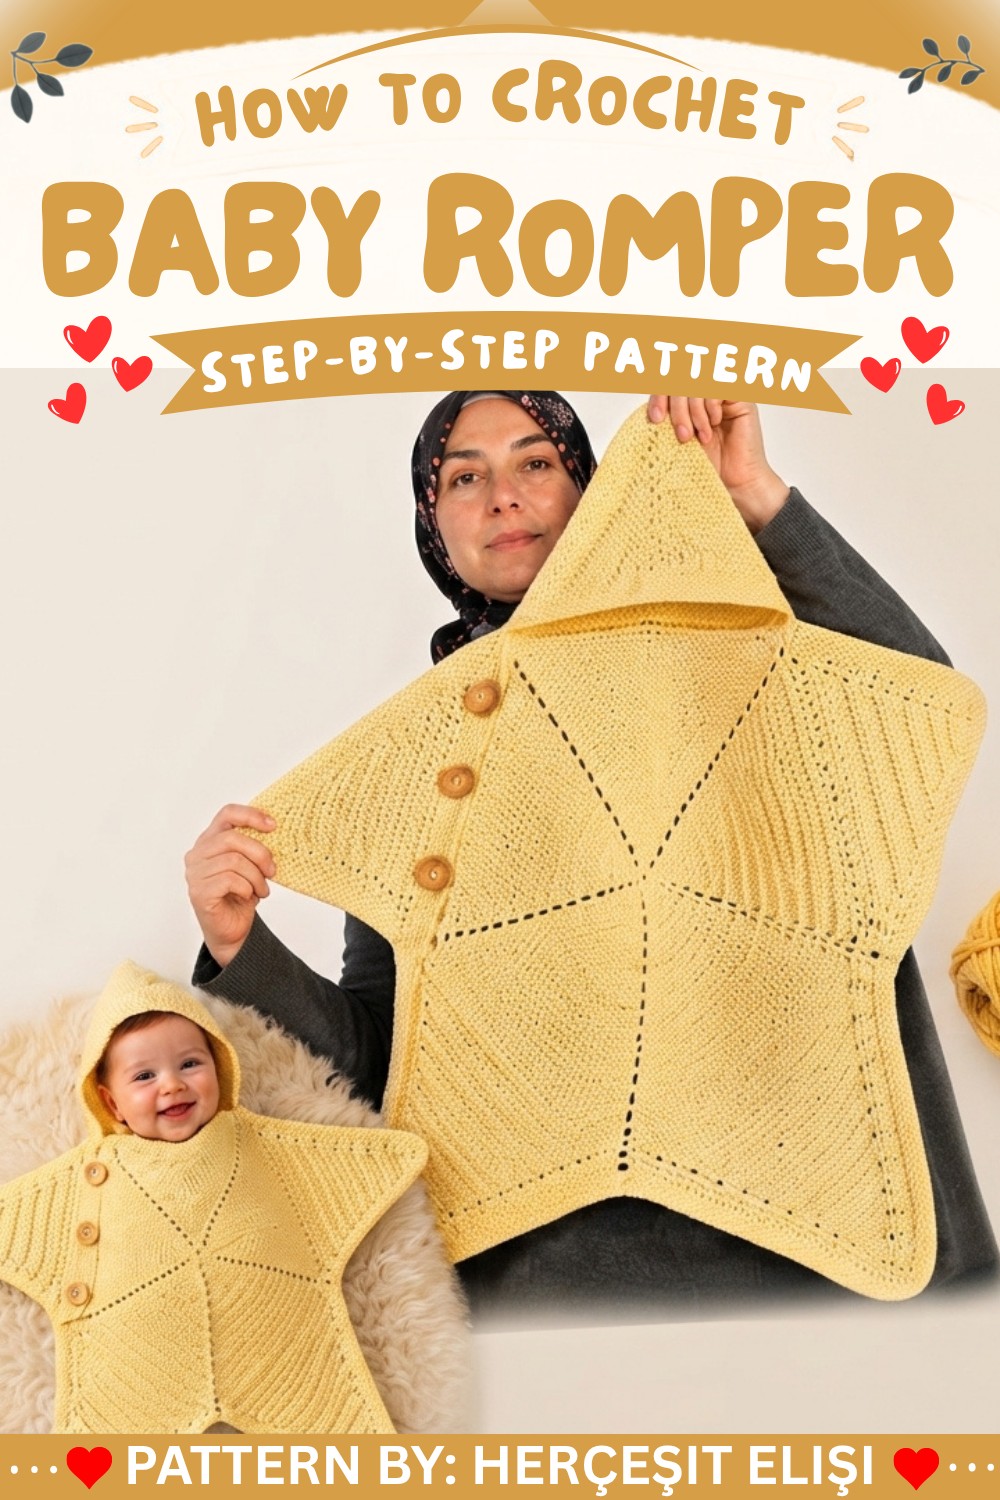
Star-Shaped Baby Blanket & Romper Crochet Pattern
This project is designed for versatility and can be customized in size, texture, and warmth, making it suitable as either a snuggly cover or a wearable cocoon for little ones. Construction uses clear, repeatable methods and focuses on approachable shapes and seams.
Pattern Basic Points
Key Features
- Dual Purpose: Use as a baby blanket or wearable romper.
- Seamless Star Shape: Worked in rounds and segments for a sculpted effect.
- Customizable Size: Easily adjust by adding or shortening rounds.
- Easy Blocking: Any central bulge can be flattened through simple blocking.
Overview
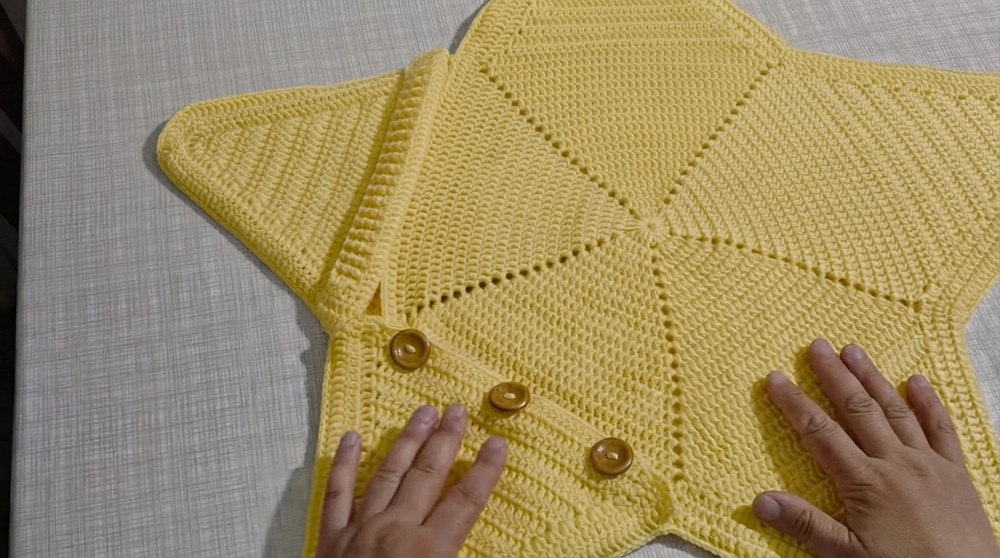
- Four main pieces: one back star, one front segment (split for head and arm), two identical sleeves, and a hood.
- Shaping the star shown through increases and decreases at the points.
- Assembly uses slip stitch or single crochet for a tidy seam.
Special Notes
- Blocking: Any bulge at the star’s center can be flattened by overnight pressing under a rug or mattress.
- Adjusting Size: Add or reduce rounds to vary overall dimensions.
- Consistency: Always carry unused yarn ends along seams for a neat finish.
Skill Level
Beginner to Intermediate
The project uses chain, double crochet, and similar basic stitches, as well as straightforward increases and decreases. Shaping is accessible for those comfortable with fundamental stitch patterns.
Materials
- Yarn: Nako Elite Baby or similar soft light/DK weight (approx. 350–500g or amount needed for size)
- Hook: 2.5 mm crochet hook
- Buttons: 3 per sleeve, or as preferred
- Tapestry needle (for assembly)
- Scissors
- Stitch markers/pins (optional)
Measurements / Sizing
- Sample Size: Finished point-to-center (radius) approx. 17 cm (expand as desired)
- Each additional round increases radius by 1–1.5 cm
- Each arm and hood: 18 rows (adjust for size)
Gauge
- Approximate: 10 rows in double crochet = 6 cm; 10 double crochet = 6 cm (after blocking)
- Stitch Pattern: Main motif is double crochet with chain spaces
Stitch Abbreviations
- ch: chain
- sl st: slip stitch
- sc: single crochet
- hdc: half double crochet
- dc: double crochet
- inc: increase (2 stitches in one space)
- dec: decrease (work two stitches together)
Special Stitches
- Star Point Decrease: At star tip, decrease using dc2tog over last two stitches.
- Hood Ribbing: Alternate front and back post double crochets for rib effect.
Step By Step Pattern
Back Star
Round 1:
- Start with magic ring or wrap yarn around finger and ch 6.
- Sl st to first ch to form a ring.
- Ch 3 (counts as first dc), work 3 dc into ring, ch 3; repeat from * to * for 5 groups of 4 dc, each section separated by ch 3.
- Join with sl st to top of first ch-3.
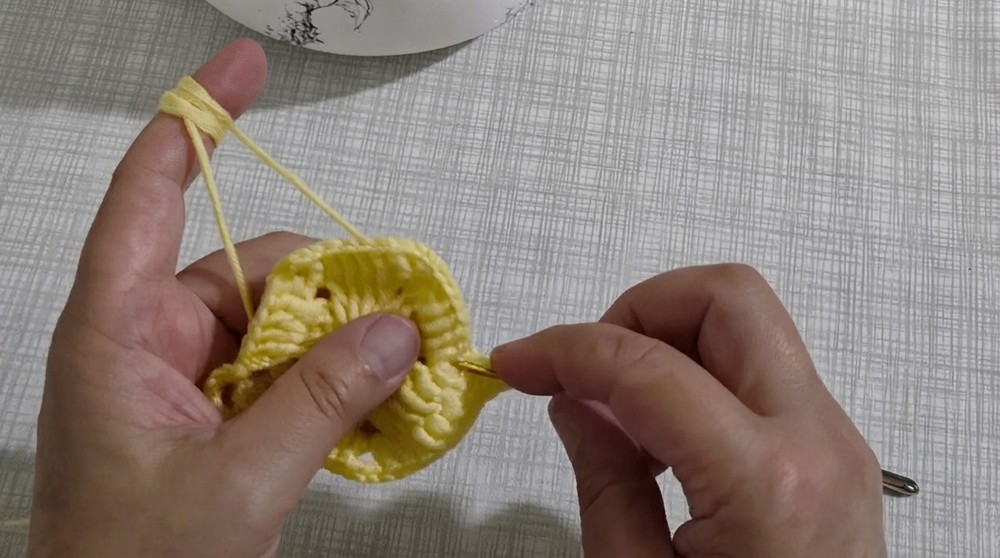
Round 2:
- Sl st to first ch-3 space, ch 6.
- Dc in same space, dc in each dc across (now 6 dc per arm), dc in next ch-3 space, ch 3.
- Repeat for each of 5 arms, joining at end.
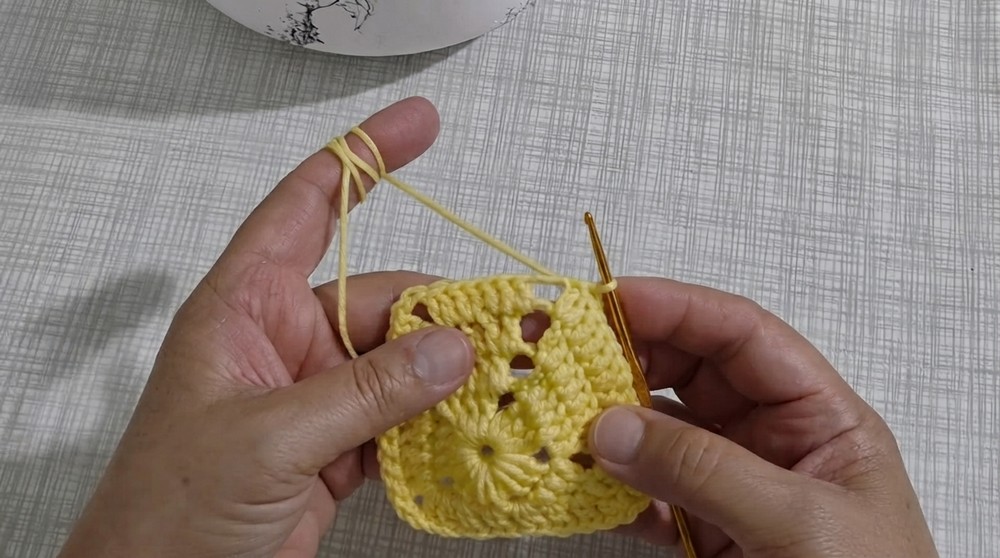
Rounds 3–9 (or larger/smaller as desired):
- Sl st to next ch-3 space, ch 6.
- [dc, dc in every dc of arm, dc in ch-3 space], ch 3.
- Each round, every arm increases by 2 dc.
- Continue until you have 18 gaps (or more/less for size) from the center out.
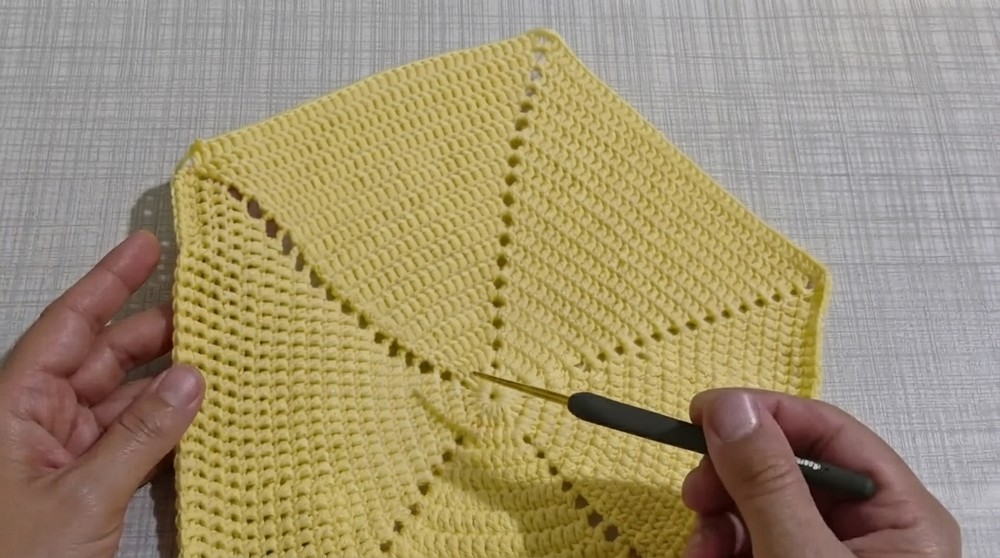
Shape the Points:
- Turn, ch 3, dc2tog over 2nd and 3rd st, dc in each dc to last 2, dc2tog over final 2.
- Repeat for each arm, continuing to decrease (about 6–8 rows) until arms taper to sharp points.
Front Star
- Repeat “Back Star” but only up to halfway (half the rows/arms).
- Close three “arms” for the body and leave an arm for sleeve and one (center) for hood.
- Decrease down points of both “body” and “arms” as in the back.
Hood
Rows 1–18:
- Magic ring, ch 3 (counts as dc), 3 dc into ring.
- Ch 3, turn, 2 dc in same stitch, 1 dc in next, 2 dc in last.
- For each row: Ch 3, increase in first stitch, dc across, increase in last, until 18 rows.
- On Row 10, increase in the center twice for a looser hood.
- For last 4 rows, dc even (no increases).
- Add ribbing: ch 3, alternate front and back post dc for 2–3 rows.
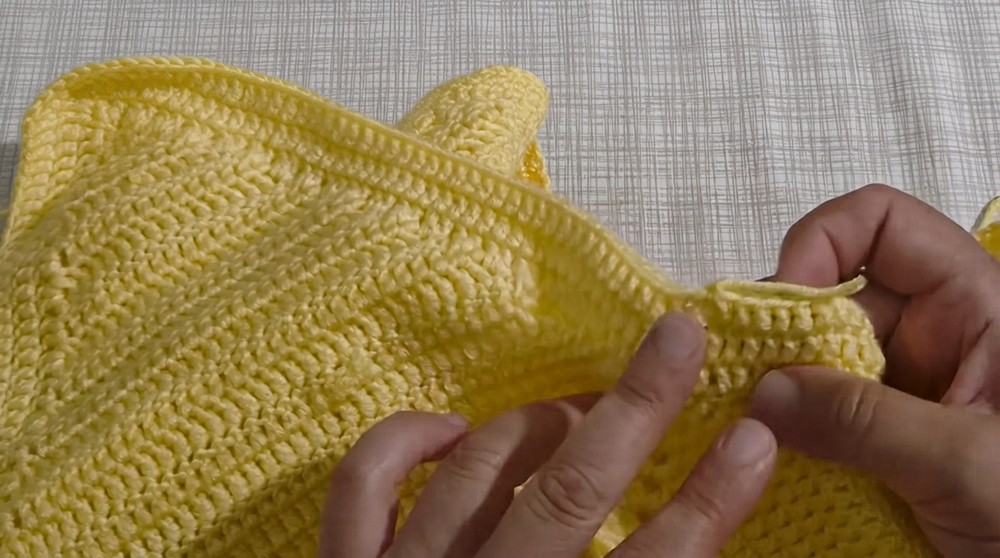
Edge Hood:
- Ch 3, dc evenly around, placing 2–3 dc at each peak.
- 2nd row: dc in each stitch.
- 3rd row: At peak, place 3 dc in peak stitch, then dc in next 5, repeat across.
Sleeves (Make 2)
- Same as hood, but do not increase at the center.
- 18 rows, 38 dc at the widest point.
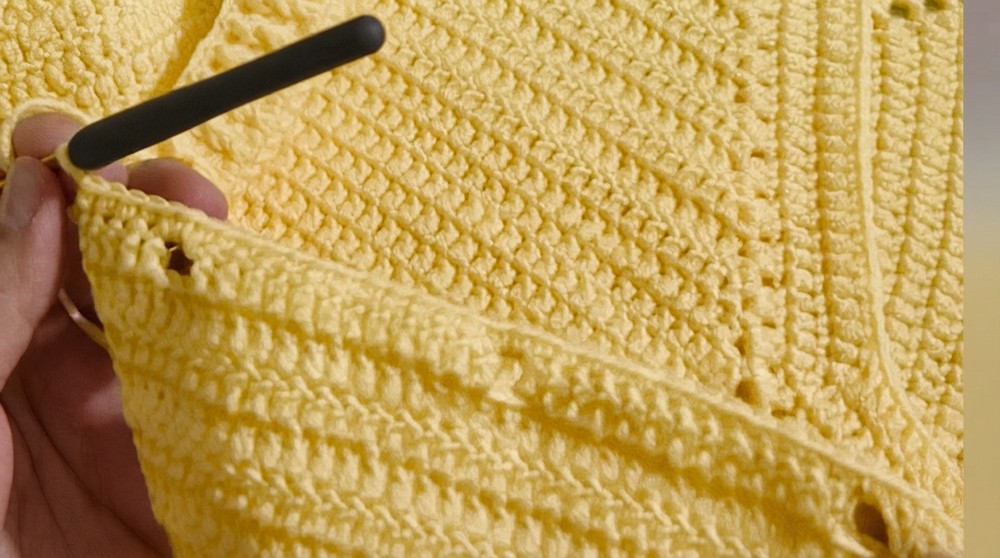
- On Row 19, create buttonholes:
- Ch 3, dc next 3, ch 2, skip 2 dc, dc next 12, repeat for 3 holes.
- Next row: sc across, working into chain spaces as well.
- Edge: 3 rows of dc all around, placing 2–3 dc at peaks.
Assembly & Finishing
- Block all pieces by pressing under a rug/mattress overnight.
- Join front and back: Place back WS up; position front on top RS up. Fold to match arms and valleys; pin if needed.
- Attach hood: Fold and seam hood to central top opening.
- Join sleeves: Match sleeve seams; sl st or sc through both layers.
- Buttons: Sew buttons to ribbing, aligning with buttonholes.
- Weave in all ends.
- Final block if needed.
Conclusion
This star-shaped baby blanket and romper delivers both function and delightful visual appeal. The adaptable rounds and straightforward assembly invite you to add personal touches in size, color, and finish. Starting from basic chains and double crochets, you will shape a star that becomes a versatile blanket or snug baby suit. Each step builds on easy-to-master stitches and shaping, making this pattern friendly yet engaging for those ready to explore structured motifs. The final result is a beautiful star that stands out in any cozy collection, perfect for gifting or keeping as a cherished piece.