Free Crochet Star Amigurumi Keychain Pattern for Cute Accessories

Add a playful touch to your accessories with a free crochet star amigurumi keychain pattern that adds charm and personality to your everyday items.
Looking for a fun, simple crochet project that you can finish quickly? The free crochet STAR Amigurumi Keychain Pattern is just what you need. This cute little star keychain is an easy and charming item to make, brought to you by Needle Cuddle, who explains every step clearly in the video tutorial. It’s perfect for those who want to create something small but adorable, whether for themselves or as a gift.
Adorable Free Crochet Star Amigurumi Keychain Pattern
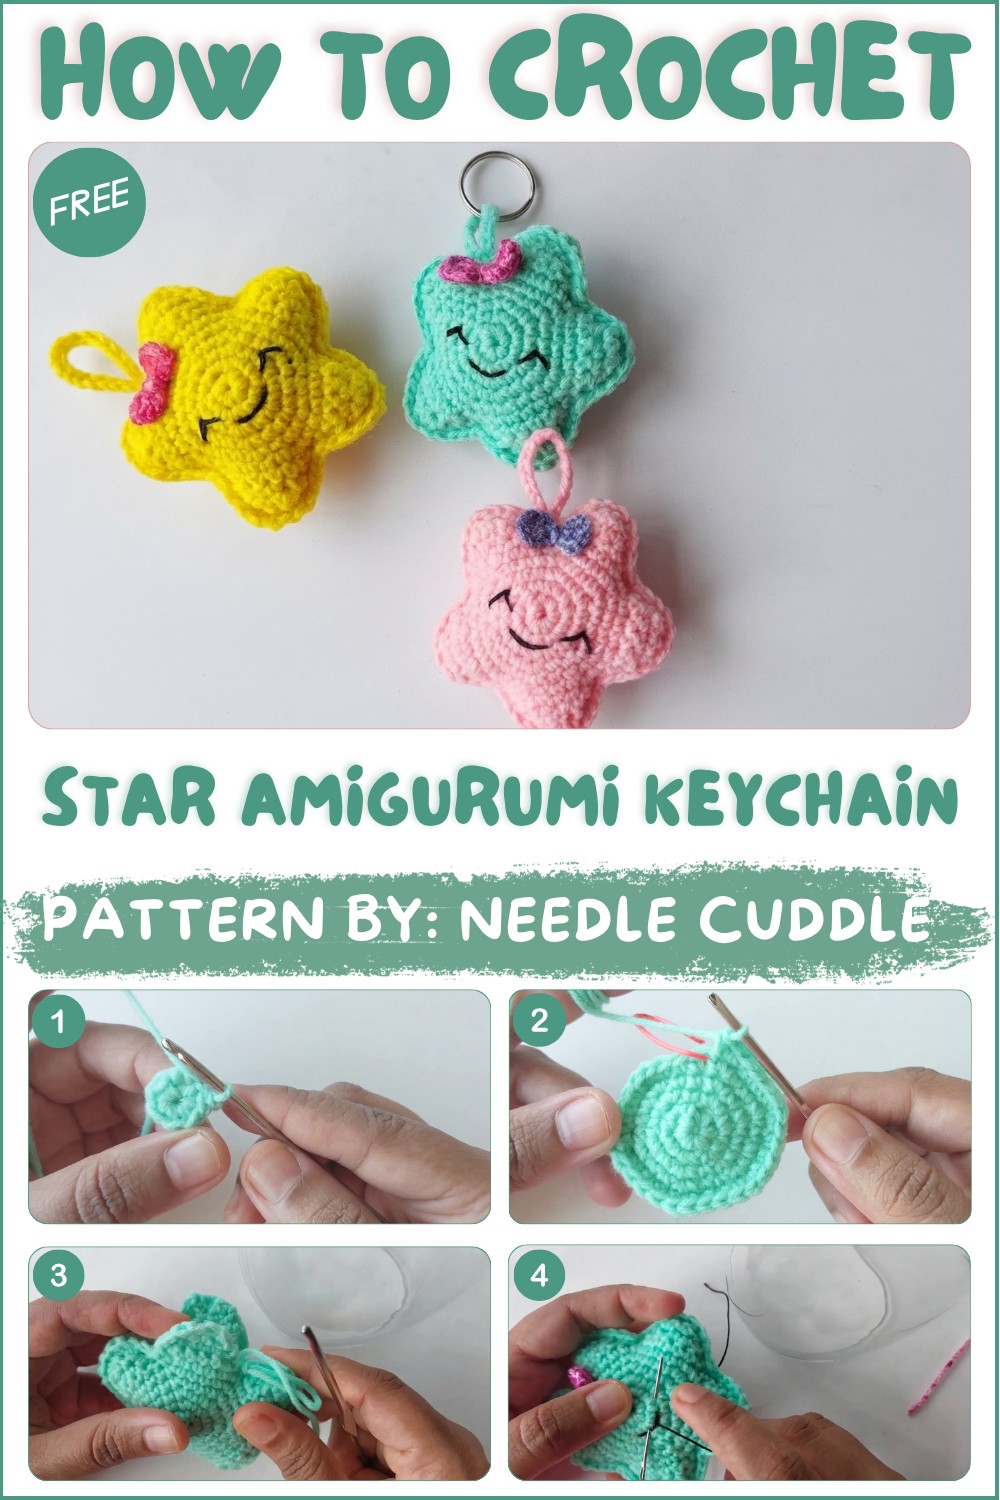
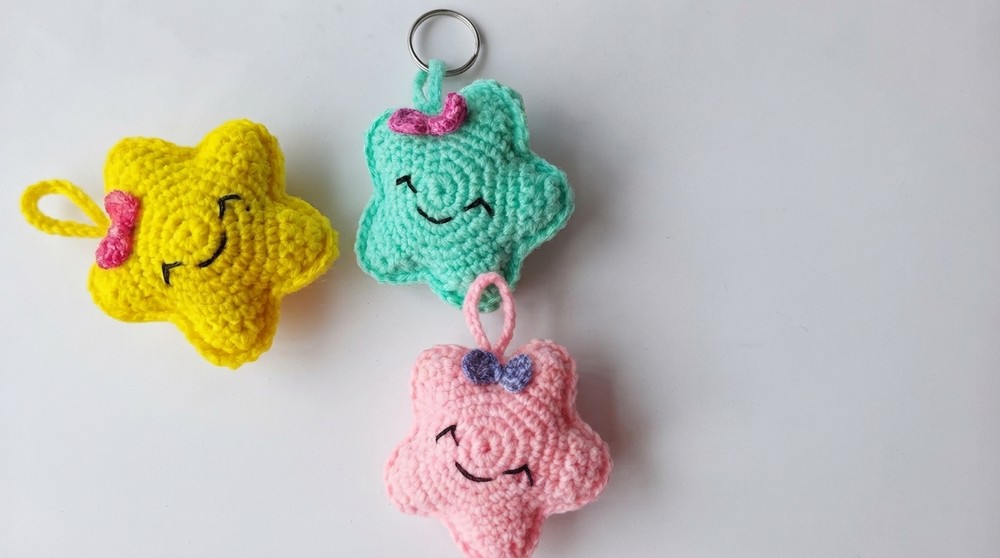
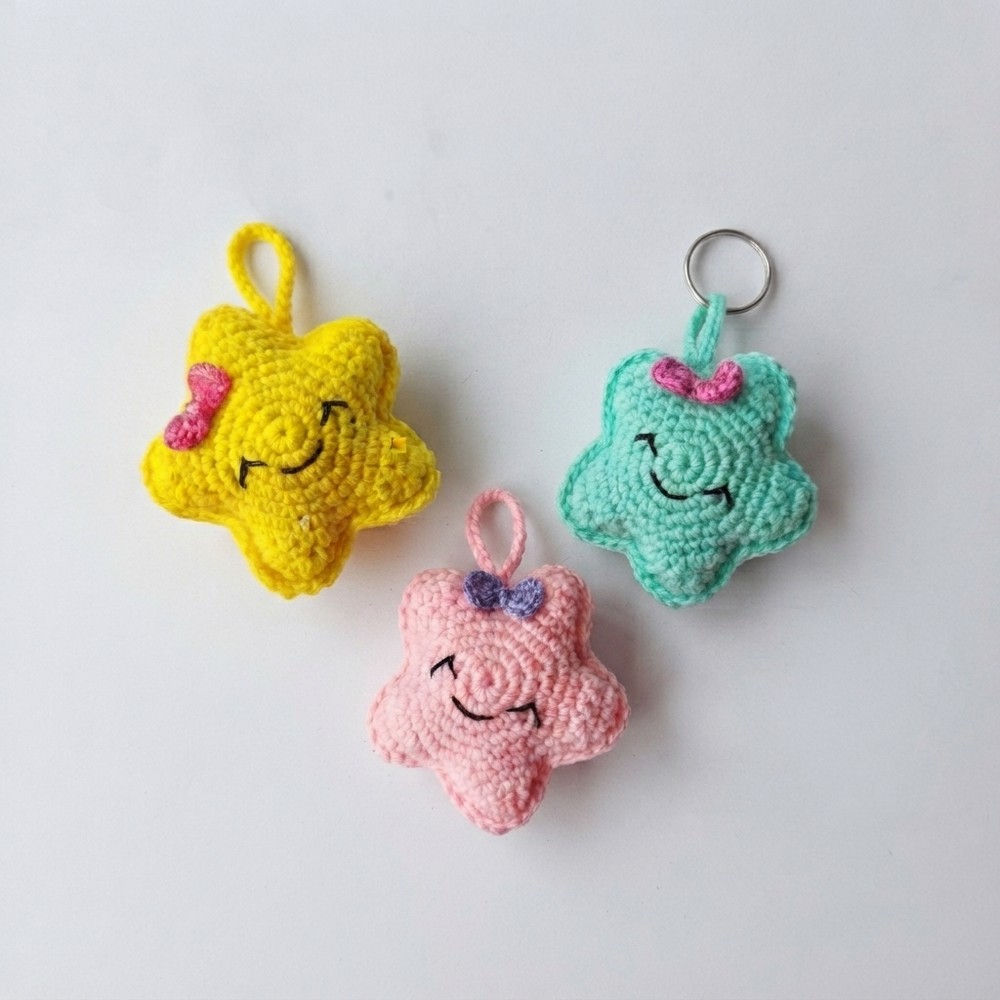
This star is soft and a bit puffy, made with a small crochet hook to keep it neat and tidy. With five perfect points, its shape is classic and eye-catching. The yarn used gives it a smooth texture, making it nice to hold or clip onto your bag or keys. Plus, it includes a tiny crochet bow detail that makes it unique and special.
Beyond being a pretty decoration, this little star has real uses. It helps you find your keys easily or adds a handmade touch to backpacks, purses, or even zipper pulls. Because it’s lightweight and tough, you can take it wherever you go! The project is also great for beginners, teaching important skills like crocheting in rounds and creating small shapes, with fun stitch patterns that keep things interesting.
This free crochet STAR Amigurumi Keychain Pattern makes a sweet, thoughtful gift for anyone who loves cute accessories. The star’s playful design and soft feel make it a lovely little surprise for friends or family. Plus, making these keychains can be a relaxing and rewarding hobby.
Cute Star Amigurumi Keychain Pattern
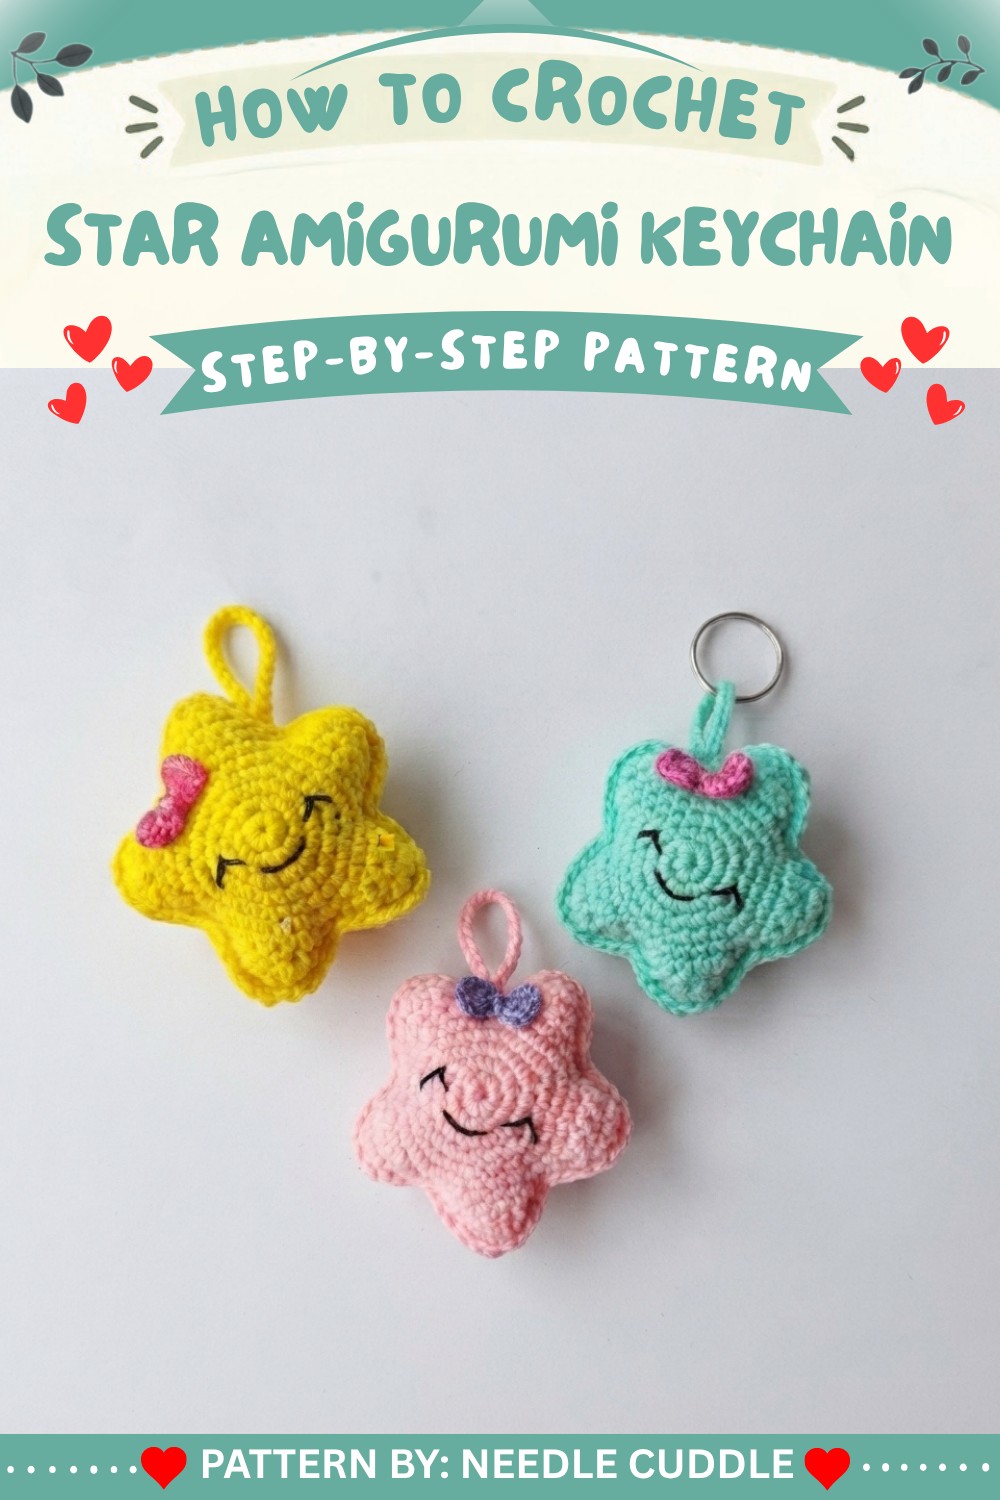
With this pattern, you’ll learn to make an adorable amigurumi star keychain with a bow, following each step as demonstrated in the video. The star is made in two parts, features five points, is joined and stuffed, and embellished with a sewn face and an attached bow. Clear instructions are provided for each round and row, so beginners and advanced crocheters alike can enjoy making this charming project.
Pattern Basic Points
Construction Overview
- Amigurumi star made in two flat parts and joined
- Classic increase method for a smooth, round star shape
- Each star side is worked in a large round, then star points are crocheted directly
- Parts are joined with single crochet, with stuffing inserted before fully closing
- Separate bow motif made with simple stitches and sewn on
- Embroidered face for personalization
- Optional keychain loop for easy attachment
Special Notes
- Use a stitch marker for marking rounds—essential for keeping count!
- Consistent tension helps maintain symmetry, especially on the star points.
- Stuff your star evenly but not too firmly for a soft and squishy feel.
- You may adjust eye/face placement to your preference.
- This project is a great way to use up small scraps of yarn.
Skill Level
Beginner to Upper Beginner
If you are comfortable with a magic ring, basic increases and decreases, and working in rows and rounds, you are ready for this pattern! No advanced shaping is required.
Materials
- Yarn:
- 4-ply yarn in yellow (or your chosen color) for the star
- Contrasting color for the bow
- Black thread or yarn: for the face
- Hook: 2.5 mm crochet hook
- Synthetic fiberfill: for stuffing
- Tapestry needle: for assembly and embroidery
- Stitch marker
- Scissors
Measurements / Sizing
- Finished star (unstuffed): approx. 6–8 cm across (point to point); stuffed size may be slightly larger
- Bow: approx. 2–3 cm wide
- Keychain loop: approx. 4–5 cm long
Gauge
- Gauge is not critical for this project. Aim for tight enough stitches that the stuffing will not show through.
Stitch Abbreviations
- st: stitch
- sc: single crochet
- dec: decrease (single crochet two together)
- ch: chain
- sl st: slip stitch
- dc: double crochet
- MR: magic ring
Special Stitches
- Magic Ring (MR): Form a loop with the yarn, then crochet stitches into the ring.
- Single Crochet Decrease (sc2tog/dec): Insert hook into next st, yarn over and pull up a loop, insert into following st, yarn over and pull up a loop, yarn over and pull through all 3 loops on hook.
Crochet Pattern
Star Body—Make 2
Work the following steps for each of the two main star sections.
- Round 1:
- Make a magic ring (MR).
- Round 2:
- Crochet 6 sc into the MR. Tighten ring to close. (6 sts)
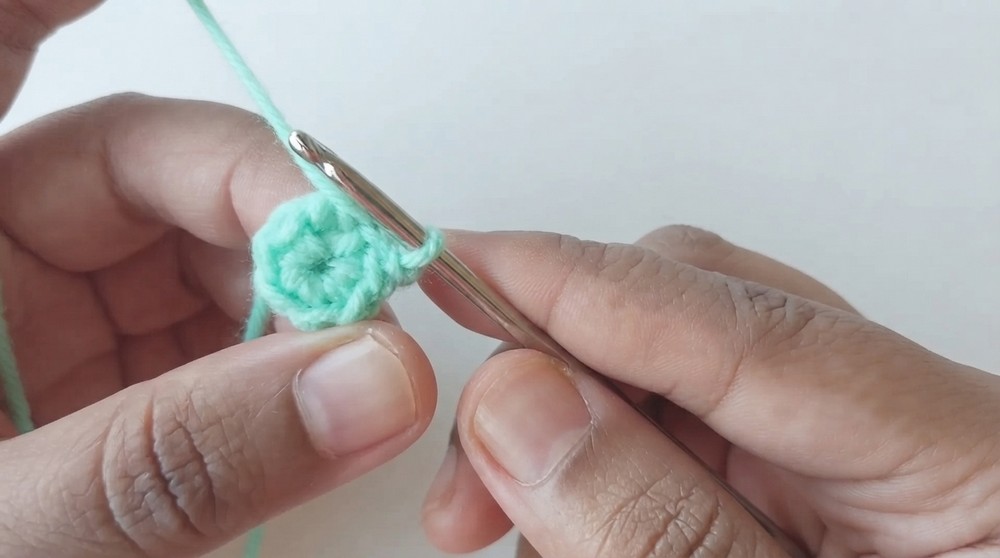
- Crochet 6 sc into the MR. Tighten ring to close. (6 sts)
- Round 3:
- 2 sc in each stitch around (increase in each st). (12 sts)
- Round 4:
- [1 sc in next st, 2 sc in next st (increase)]—repeat this pattern 6 times. (18 sts)
- Round 5:
- [1 sc in next 2 sts, 2 sc in next st (increase)]—repeat 6 times. (24 sts)
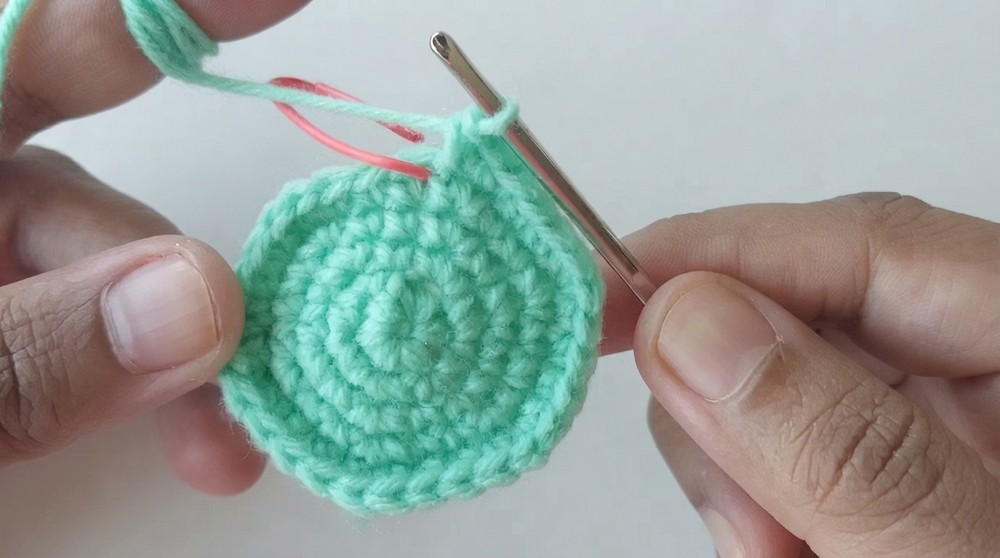
- [1 sc in next 2 sts, 2 sc in next st (increase)]—repeat 6 times. (24 sts)
- Round 6:
- [1 sc in next 3 sts, 2 sc in next st (increase)]—repeat 6 times. (30 sts)
Star Points (Make 5 Points per Star Piece)
For each star point, use the next 6 sts on your main shape. You will work back-and-forth in rows for each point, then move directly to the next 6 sts for the following point.
For each point (repeat five times on each star piece):
- Row 7:
- Work 6 sc.
- Row 8:
- Ch 1, turn. 4 sc, 1 decrease (sc2tog). (5 sts)
- Row 9:
- Ch 1, turn. 3 sc, 1 decrease (sc2tog). (4 sts)
- Row 10:
- Ch 1, turn. 2 sc, 1 decrease (sc2tog). (3 sts)
- Row 11:
- Ch 1, turn. 1 sc, 1 decrease (sc2tog). (2 sts)
- Row 12:
- Work 5 sc evenly spaced along the side of the point to transition you back to the main star perimeter; this brings you to the base of the next star point.
Repeat star point rows for each of the five segments around the star base. Finish off and weave in the end for each section.
Assembly
Joining the Star Halves
- Align both star pieces back to back, right sides out.
- Starting at any point, join yarn. Insert hook through both layers and make sc evenly around the full star perimeter to join the two halves.
- Stop before fully closing (leave one point open).
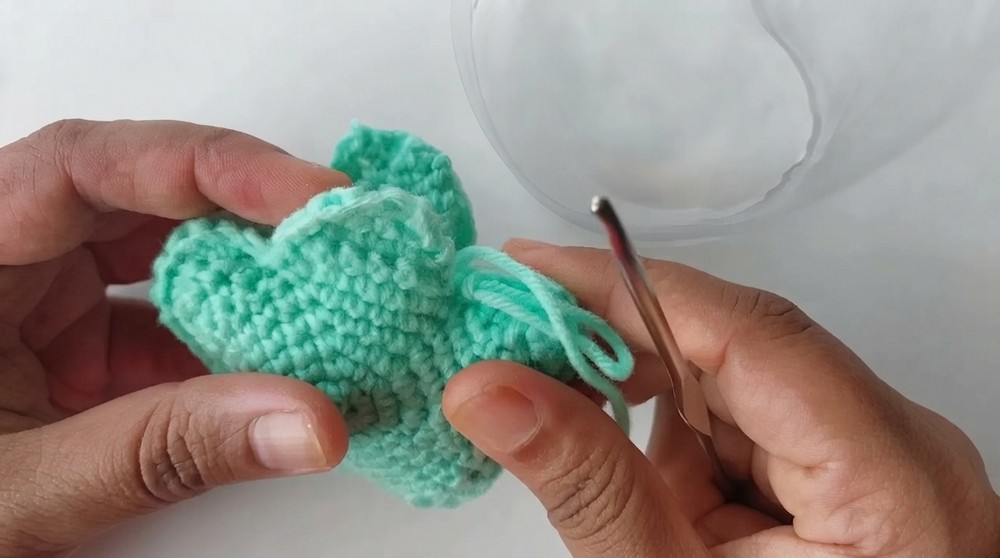
- Stop before fully closing (leave one point open).
- Stuff the star firmly with synthetic fiberfill.
- Finish by closing remaining stitches with sc. Fasten off and weave in end.
Keychain Loop (Optional)
- Attach yarn to the top of one star point.
- Chain 20.
- Fasten loop with a slip stitch into the base point where the chain began.
- Fasten off and weave in ends.
Bow
- With contrasting color yarn, make a magic ring.
- First Bow Side:
- Ch 3, 2 dc into ring, ch 3, sl st into ring.
- Second Bow Side:
- Ch 3, 2 dc into ring, ch 3, sl st into ring.
- Pull magic ring tight to form the bow’s shape.
- Fasten off and use yarn tails to sew the bow to one “cheek” of your star.
Face
- With black thread and tapestry needle, embroider eyes and a mouth:
- Place eyes and mouth between Rounds 2 and 3 of the main star.
- Use small straight stitches or French knots for eyes, and a simple curve or “V” for the mouth.
- Weave in thread ends securely.
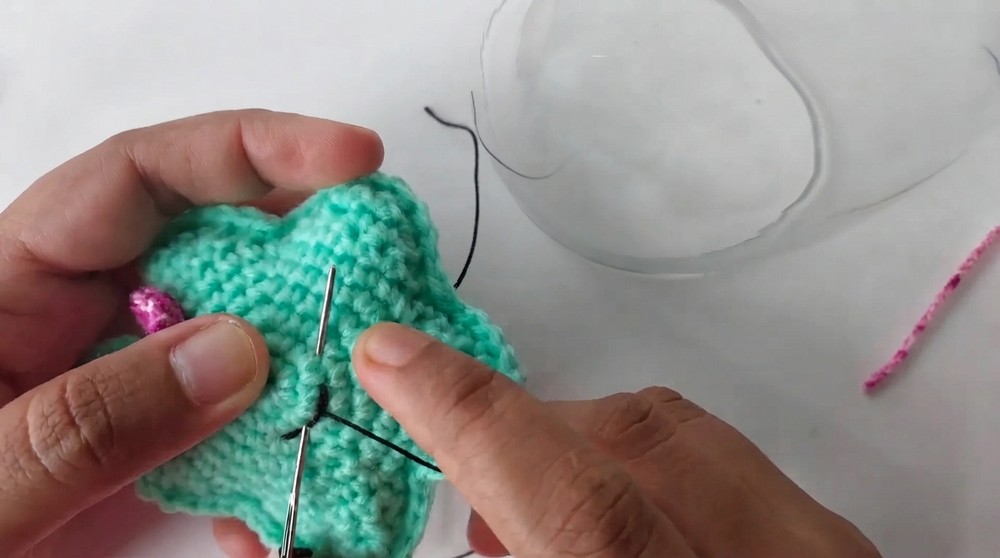
Assembly & Finished Size
- Finished and stuffed, your star will measure approx. 6–8 cm from point to point.
- Keychain loop adds an additional 4–5 cm.
- Place on a keyring, bag, or use as a cheerful ornament.
Conclusion
You have now finished your delightful Star Amigurumi Keychain! Carefully following each round and row ensures a neat, symmetrical star with perfectly placed points. The added bow and embroidered face bring your star to life. This project is a wonderful gift or personal accessory, and can be customized with many color combinations.
https://www.youtube.com/watch?v=UfYVbLBKbSs