Easy Free Crochet Tiger Amigurumi Pattern Step-by-Step Tutorial

Bring life to your collection with a free crochet tiger amigurumi pattern that enhances your handmade creations with charm and personality.
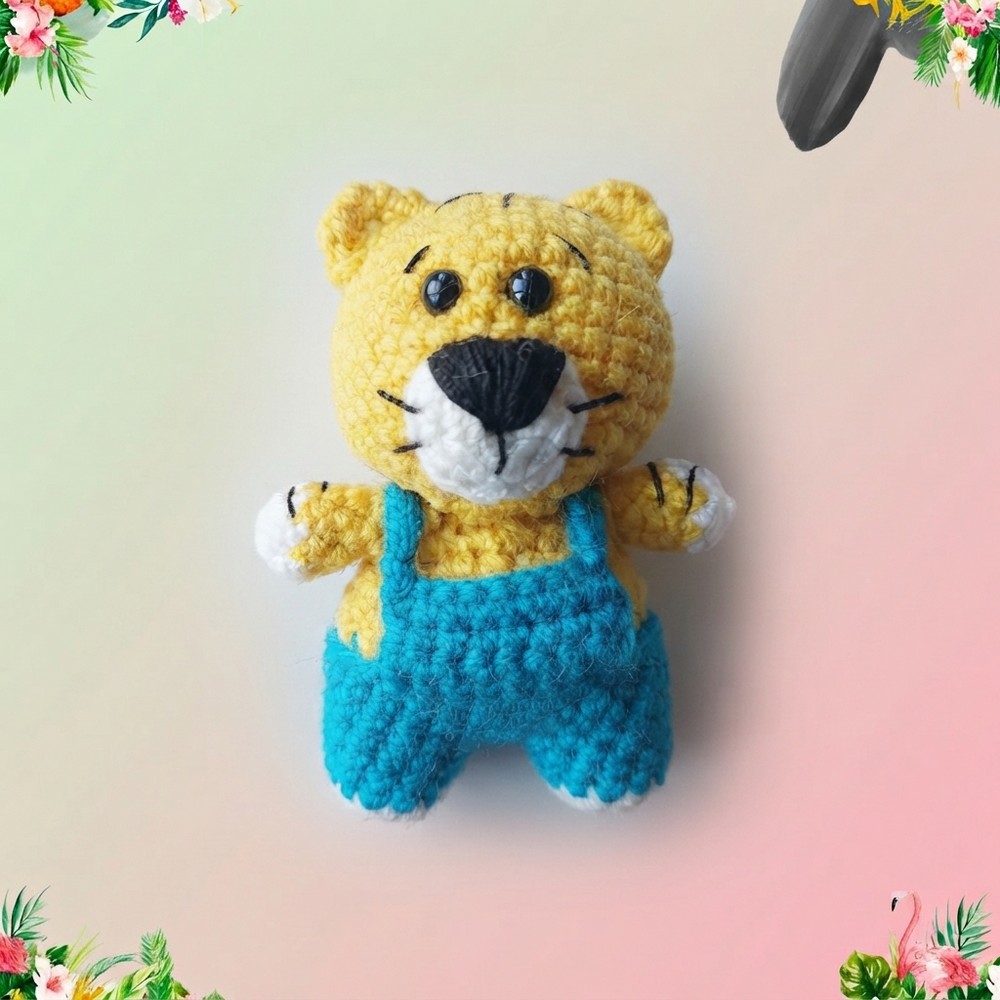
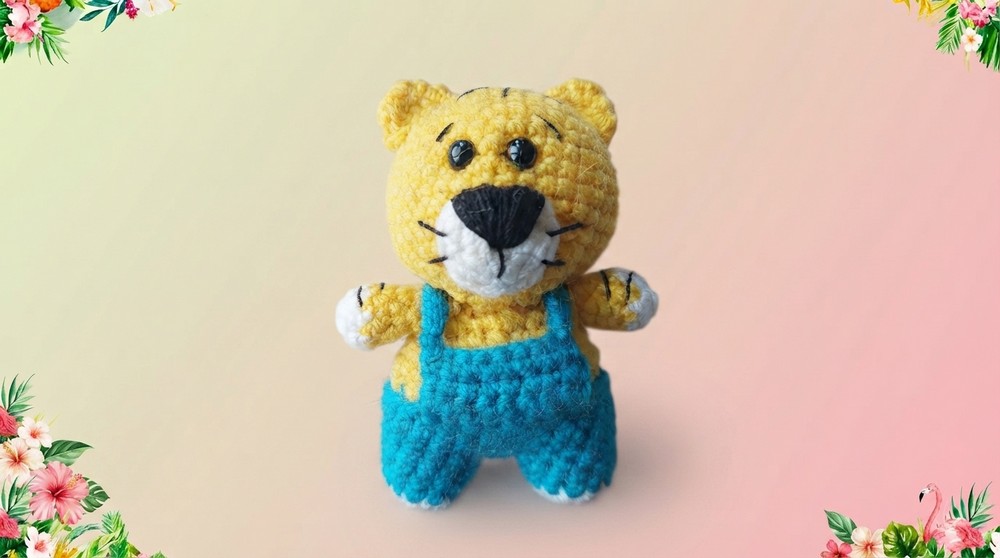
Creating handmade toys is a joyful and rewarding crochet, and the free crochet Tiger Amigurumi Pattern is a perfect project for that. This delightful little tiger, featured in a helpful tutorial by Needle Cuddle, combines charm and creativity into a small, soft toy that’s ideal for gifting or decorating. Measuring about three and a half inches tall, this amigurumi tiger is just the right size to become a treasured keepsake or a cute keychain accessory.
Simple Free Crochet Tiger Amigurumi Pattern Tutorial for All Levels
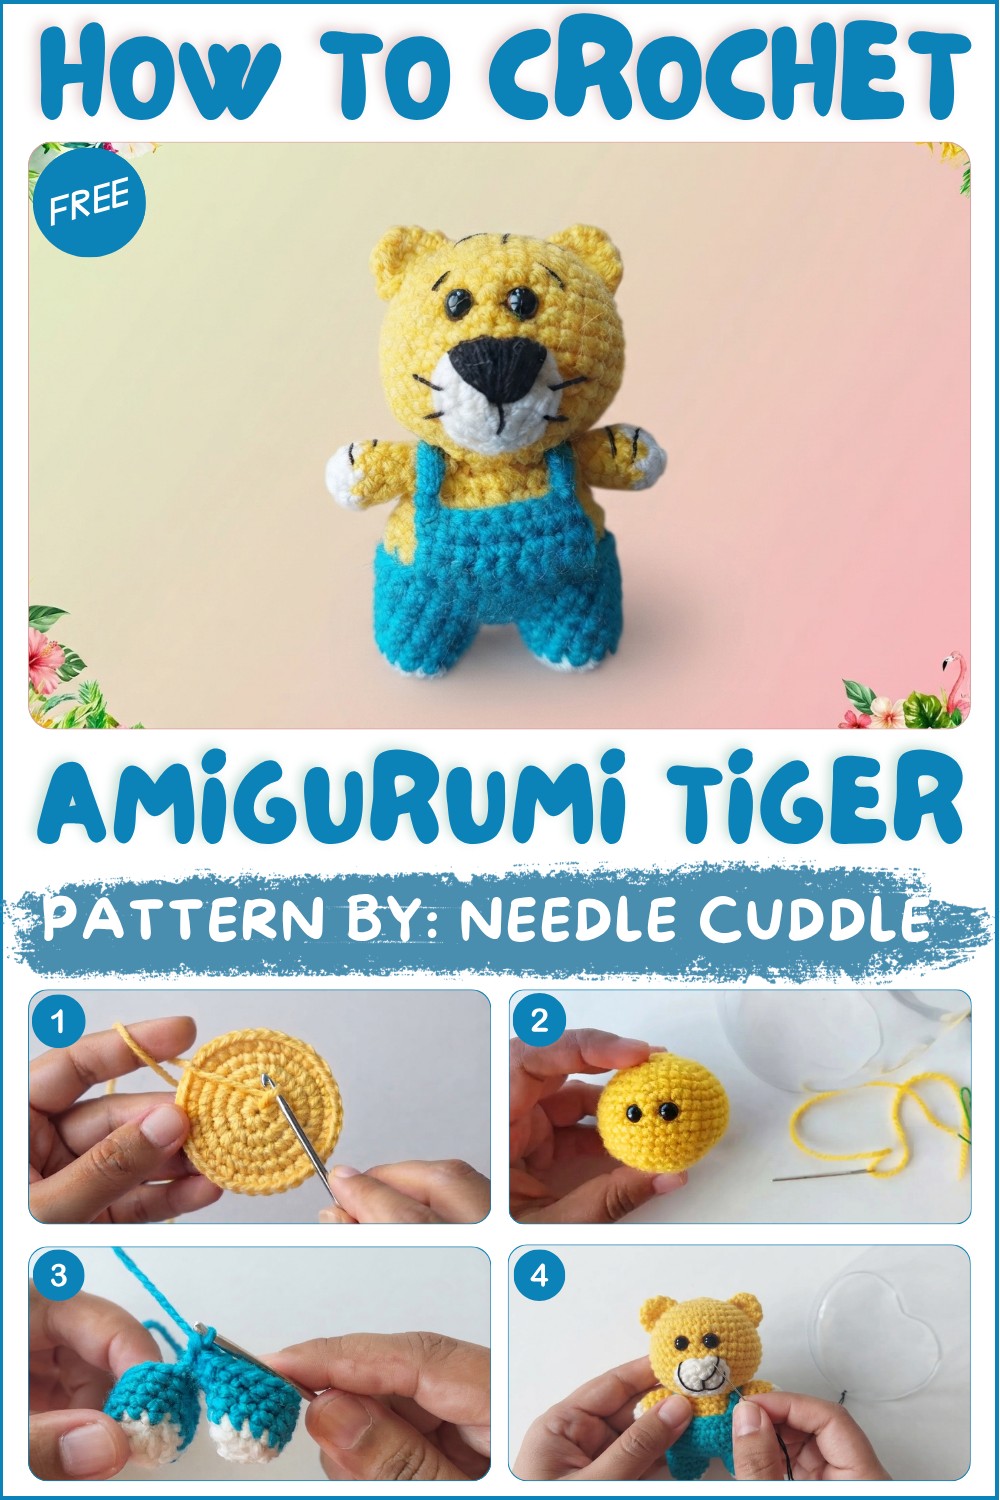
The tiger’s design is striking with its rounded, compact shape and vivid orange body accentuated by bold black stripes that bring this miniature wild feline to life. Made with soft yarn and tight stitching, it offers a smooth yet plush texture that is perfect to hold or display. The pattern includes crocheting key details like the stripes, ears, and an expressive embroidered face with a little nose and mouth, giving the tiger personality and warmth.
This handmade tiger makes a thoughtful gift for children, animal lovers, or crochet enthusiasts. Its small size makes it easy to carry around or use as a cheerful decoration on desks, shelves, or backpacks.
Beyond its decorative appeal, this project also helps build important crochet skills such as working in rounds, color changes, and assembling small parts neatly, making it an excellent choice for both beginners and experienced crafters.
With its charming appearance and rewarding craftsmanship, the free crochet Tiger Amigurumi Pattern offers a delightful way to add a touch of handmade joy to everyday life. This tiny tiger is sure to bring smiles wherever it goes.
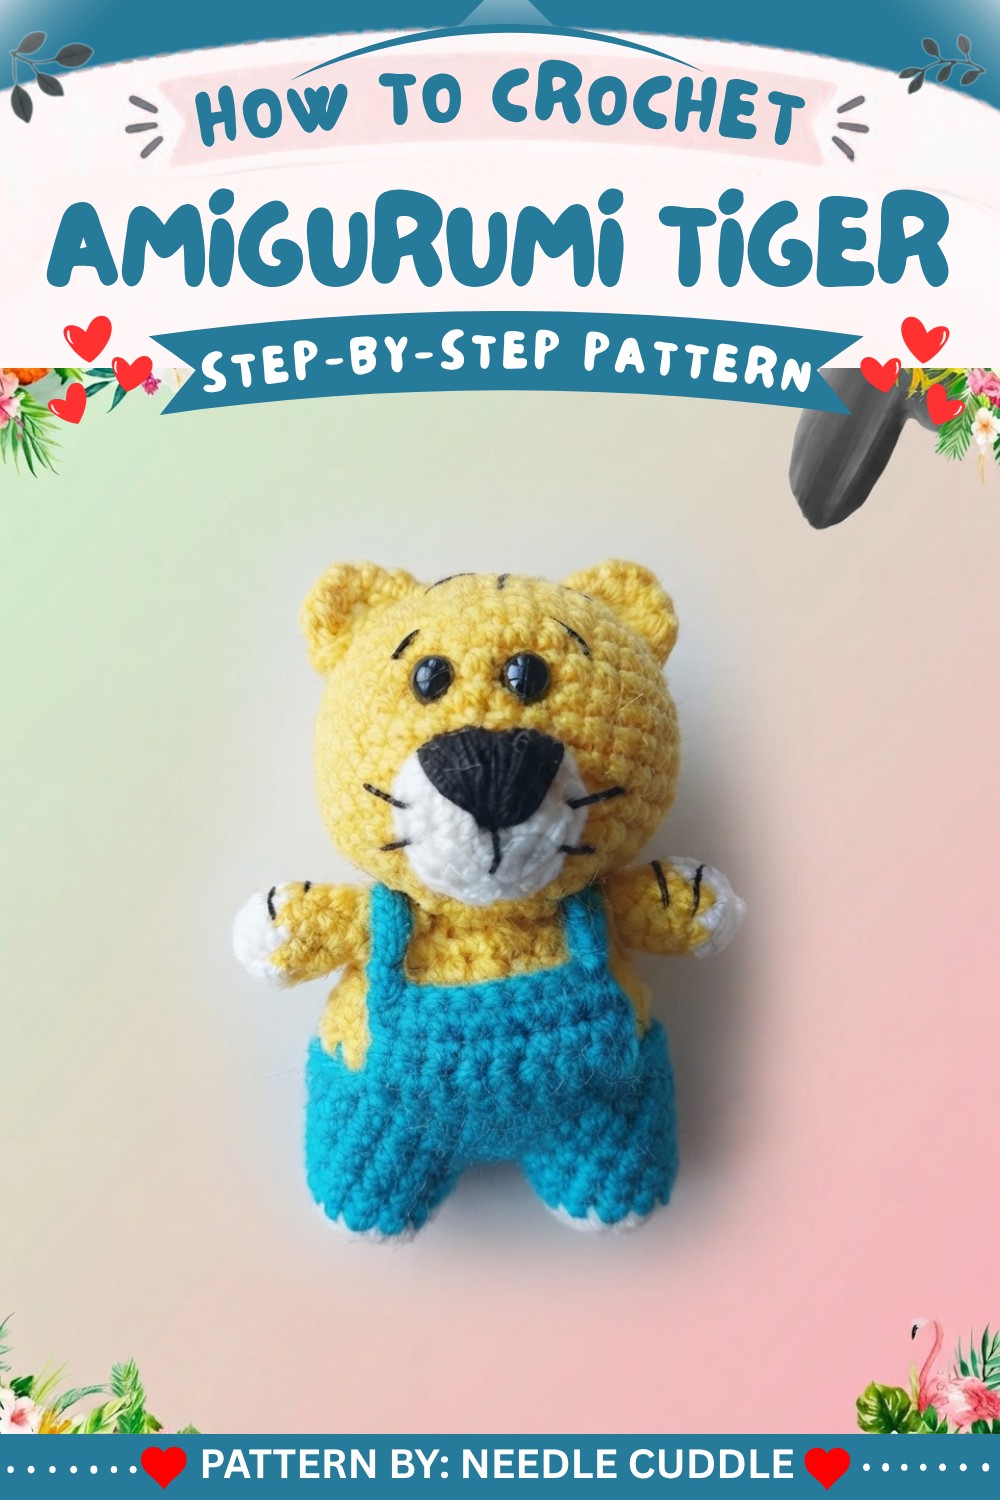
Tiny Tiger Amigurumi Pattern
Welcome to this step-by-step crochet tutorial to create an adorable, tiny tiger amigurumi. This amigurumi tiger measures about three and a half inches tall and is the perfect handmade companion for your desk, backpack, or as a keychain. Every step in this guide follows the detailed instructions from the video so you won’t miss any detail, from the head and muzzle to those charming stripes.
Pattern Basic Points
Construction Overview
- The tiger is made in pieces: head, muzzle, legs, body, arms, ears, and accessories.
- Amigurumi method: Each part is worked in the round using increases and decreases.
- Parts are sewn together for assembly.
- Details and stripes added with black thread for a realistic finish.
- A color change in the legs and arms adds to the tiger’s playful look.
- Dress and belt (optional) are created directly on the body.
Special Notes
- Use a stitch marker to track the beginning of each round.
- Eyes are inserted at a specific step—you must pause and position before closing the head.
- For the best shaping, stuff as you go when directed.
- Adjust eye spacing or stripe placement to make your tiger unique.
- The pattern uses US crochet terms.
Skill Level
Confident Beginner to Intermediate
If you are familiar with working in the round, basic increases and decreases, simple color changes, and sewing pieces together, you are ready for this pattern.
Materials
- Yarn:
- 4-ply (fingering or sport weight) in yellow (main color), white (for paws/muzzle/dress), blue (for dress/belt)
- Hook: 2.5 mm crochet hook
- Synthetic fiber filling
- Black embroidery thread: for facial features and stripes
- Two safety eyes
- Tapestry needle
- Scissors
- Stitch marker
- Pins (optional, for positioning parts while sewing)
Measurements / Sizing
- Finished tiger: 3.5 inches (approx. 9 cm) tall (from bottom of legs to top of head)
- This size is ideal for a keychain or a small plush accent.
Gauge
- Gauge is not critical as this is an amigurumi project. Ensure your stitches are close together so no stuffing shows through.
Stitch Abbreviations
- ch: chain
- sc: single crochet
- inc: increase (2 sc in same stitch)
- dec: decrease (single crochet two together)
- sl st: slip stitch
- st(s): stitch(es)
- BL: back loop only
- FL: front loop only
- MR: magic ring
Special Stitches
- Magic Ring (MR): Form a loop, hold it, and crochet the first stitches into this adjustable ring.
- Single Crochet Decrease (sc2tog/dec): Insert hook into next st, yarn over, pull up loop, insert into next st, yarn over, pull up loop (3 loops on hook), yarn over, pull through all.
Pattern Instructions
Head
(Work in the round. Pause at Row 6 to count stitches. Begin with your main (yellow) color.)
- Row 1: MR, 6 sc.
- Row 2: inc in each st (12).
- Row 3: [1 sc, inc] x 6 (18).
- Row 4: [2 sc, inc] x 6 (24).
- Row 5: [3 sc, inc] x 6 (30).
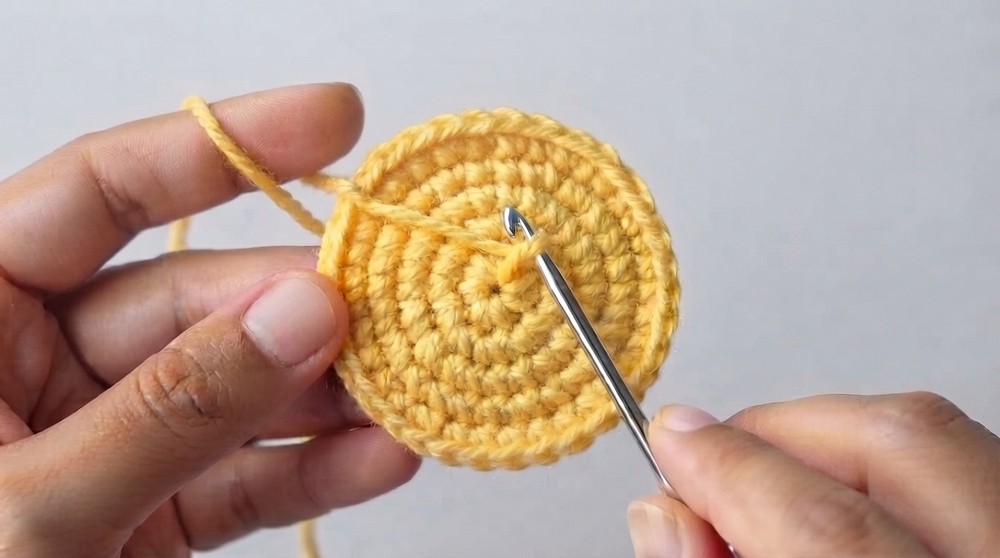
- Row 6: [4 sc, inc] x 6 (36).
- At this stage, your head base is ready; confirm you have 36 sts.
Rows 7–12: sc in each st around (36 sts per row).
Row 13: [4 sc, dec] x 6 (30).
Row 14: [3 sc, dec] x 6 (24).
Insert safety eyes in between Rows 8 and 9 with a gap of 3 stitches between them (count rows from the back of the work, placing eyes parallel horizontally across the face).
Row 15: [2 sc, dec] x 6 (18).
Begin stuffing the head firmly.
Row 16: [1 sc, dec] x 6 (12).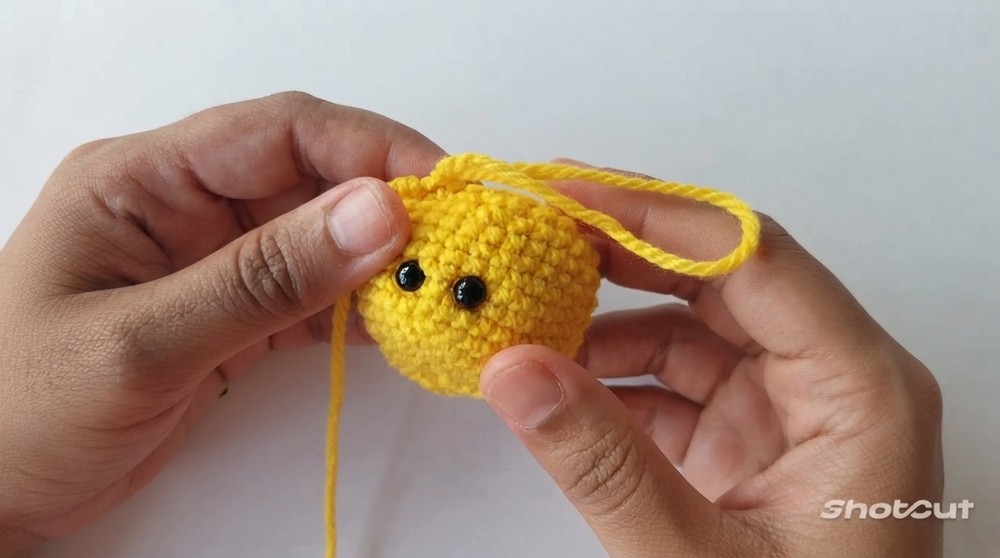
Row 17: 6 dec (6).
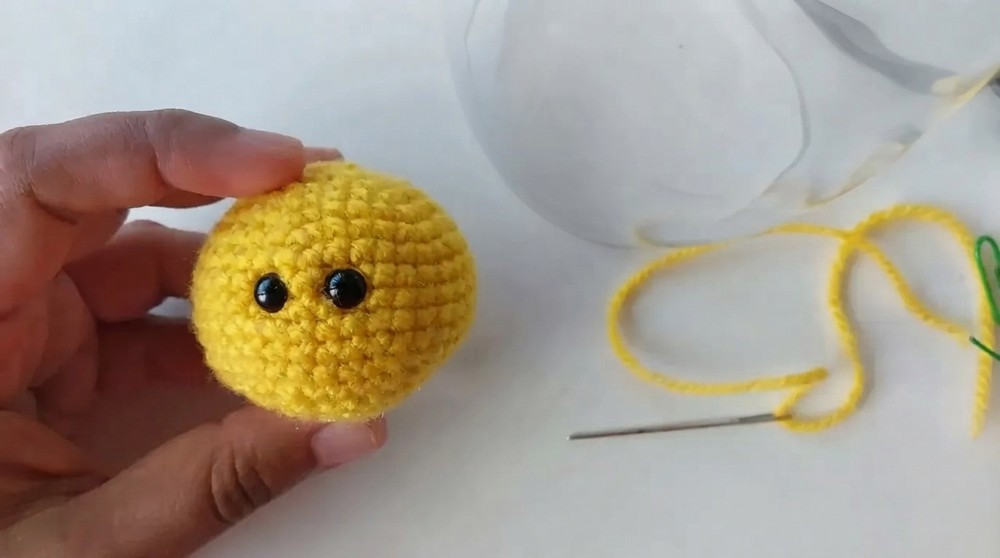
- Leave a long tail, cut yarn, fasten off.
- Add any additional stuffing.
- Using a tapestry needle, weave tail through front loops of last 6 sts and pull tight to close. Weave in end.
Muzzle
- Row 1: MR, 4 sc.
- Row 2: inc in each st (8).
- Row 3: [1 sc, inc] x 4 (12).
- Finish: sl st to join. Leave a long tail for sewing, then fasten off.
Legs (Make 2)
- Row 1: MR, 6 sc.
- Row 2: inc in each st (12).
- Color change at end of Row 2: Switch to yellow at st 12; knot ends securely.
- Rows 3–5: sc in each st (12).
- Cut and fasten off first leg. For the second leg, do not cut yarn—continuing onto the body.
Body
Start with two finished legs. Second leg should still have working yarn attached.
- Join legs: ch 2, attach to first leg with sc. sc in next 11 sts around first leg (=12), sc in next 2 ch, sc in 12 sts around second leg, sc in next 2 ch. You now have 28 sts total.
- Rows 7–9: sc in each st (28 sts per row).
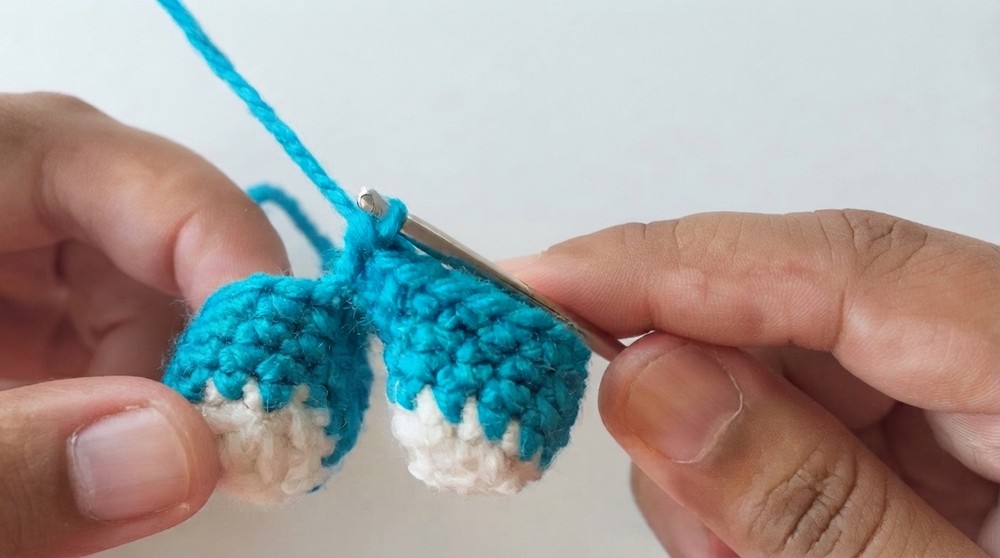
- At final st of Row 9: change color to yellow.
- Row 10: sc in BL only around (28).
- Rows 11–12: sc in each st (28).
- Row 13: [2 sc, dec] x 7 (21).
- Row 14: [1 sc, dec] x 7 (14).
- Begin stuffing body firmly.
- Row 15: 7 dec (7).
- Fasten off with a long tail.
Dress (front, worked into the FL of Row 10 only)
- Attach blue or white yarn to 4th st right of center front, in FL only.
- Row 1: ch 1, sc in same st and next 7 sts (total 8 sc).
- Rows 2–4: ch 1, turn, sc in each st across (8).
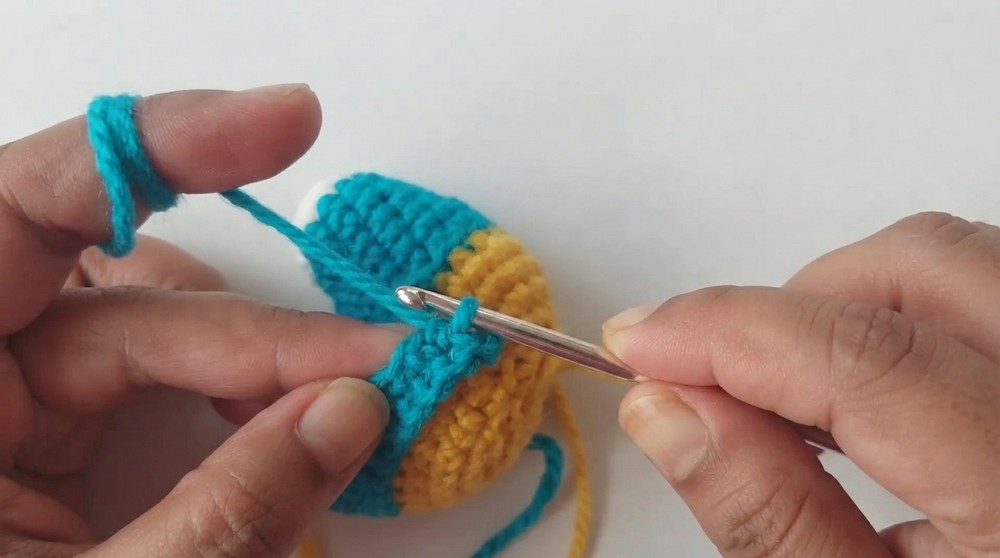
- Fasten off and secure ends.
Belt (Make 2)
- With blue yarn, leave long tail, slip knot, ch 14 (do not fasten off yet).
- Cut yarn (keep long tail for sewing). You may need to adjust chain length when sewing to fit the tiger snugly.
Arms (Make 2)
- Row 1: MR, 4 sc.
- Row 2: inc in each st (8).
- Color change at end of Row 2: Switch from white to yellow.
- Rows 3–7: sc in each st (8).
- Fasten off with long tail for sewing.
Ears (Make 2)
- Row 1: MR, 4 sc.
- Row 2: inc in each st (8).
- Row 3: [1 sc, inc] x 4 (12).
- Leave a long tail, fasten off.
Assembly & Sewing
- Sew Head to Body:
Place the head atop the body and pin into place. Using the long yarn tail from the body or head, stitch the two parts together securely. - Sew Arms:
Attach each arm to either side of the body (use pins to guide placement). - Sew Ears:
Ears are placed parallel to arms, with a gap of about two rows down from the head’s top center. Sew securely. - Sew Muzzle:
Attach the muzzle directly under the eyes. - Sew Dress:
The crocheted “dress” piece should sit in the center front, level with the body. - Sew Belts:
Turn tiger over to the back, pin the belts into place at the desired angle, and sew them down. - Stuff and Shape:
Ensure all parts are firmly stuffed and shaped as desired.
Face and Stripes
- Nose, Mouth, and Stripes:
Using black thread and a needle, embroider a small nose on the muzzle. Stitch the mouth as a “V” or curve below the nose. Add stripes on forehead, each side of face, body, and (optionally) two on each hand.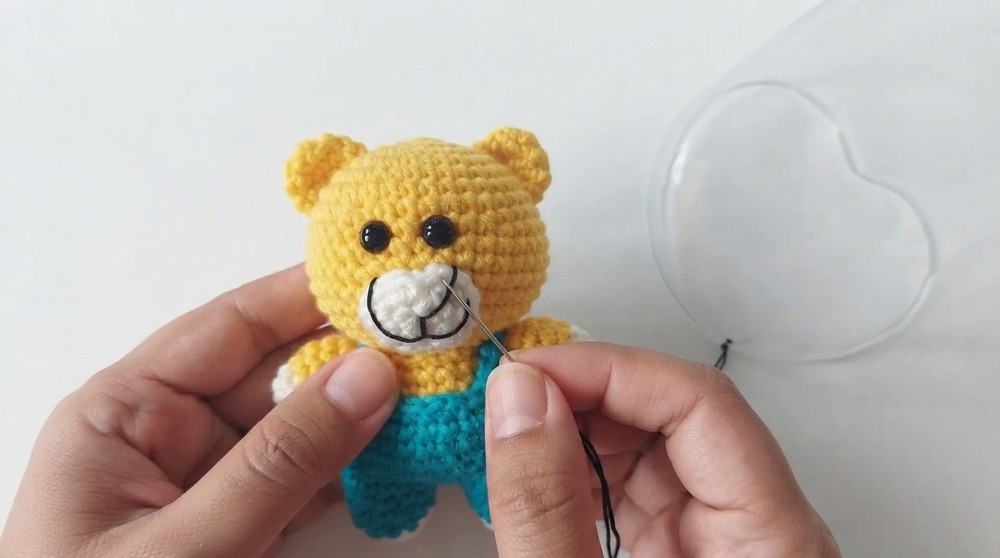
Finished Size
- The finished tiger should measure about 3.5 inches (9 cm) tall from base to ear tip.
Conclusion
Congratulations! Your mini tiger amigurumi is now complete. By following each step carefully, your tiger will resemble the adorable character on screen—complete with expressive eyes, a cute nose, stripes, and a fetching belt and dress. Feel free to add your own creative touches, experiment with colors, or scale up the pattern for a bigger plush if you wish.
https://www.youtube.com/watch?v=r_RLmAkGwx0